
PT Photography School Tip of the Week: Your Guide to Better Sunset Photos
For as popular as sunsets are to photograph, a lot of beginner photographers have trouble producing images that reflect their beauty. It’s easy to overexpose or underexpose a sunset. The warmth of the sunset’s colors can be lost as well. Details in the foreground might be lost, your images might be blurry, or you might even miss the best vignette by simply not turning around and seeing how the sun’s light illuminates the landscape behind you.
Fortunately, these are all mistakes that are easy to rectify with a little planning and patience. To get on the path toward taking better sunset photos, give the following tips a try!
Plan the Shot

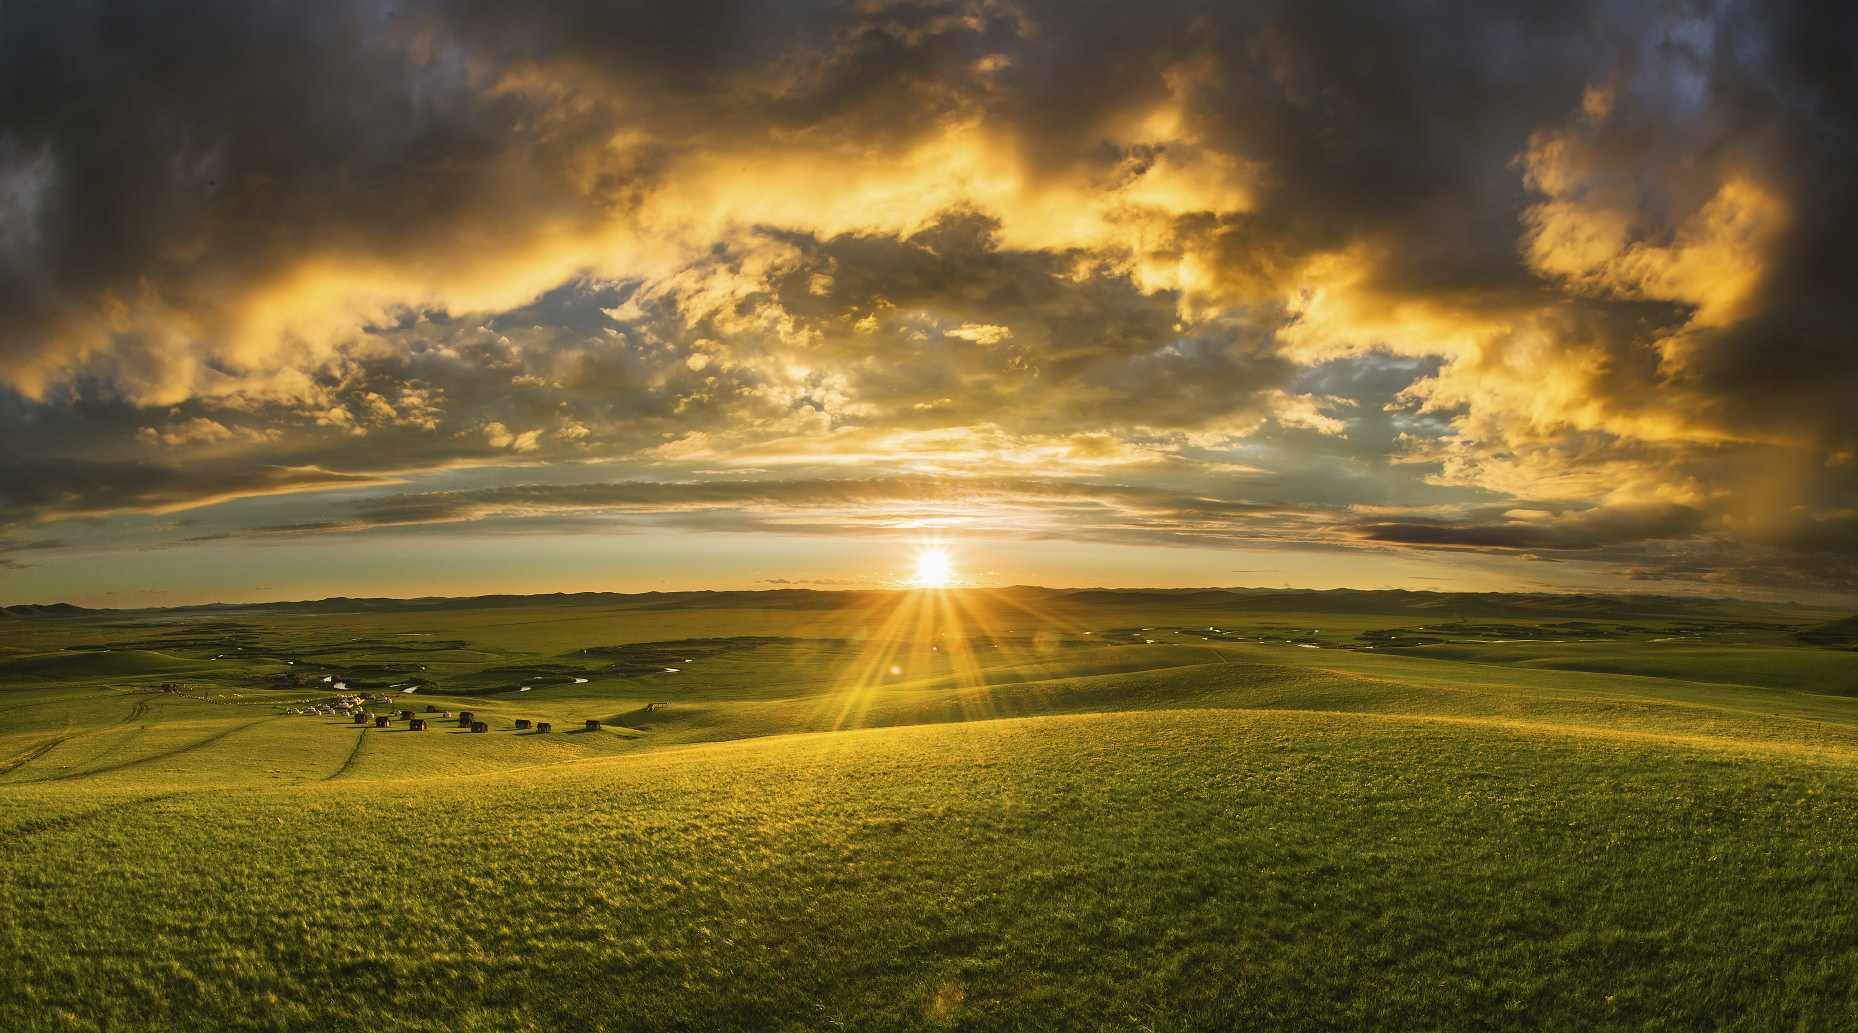
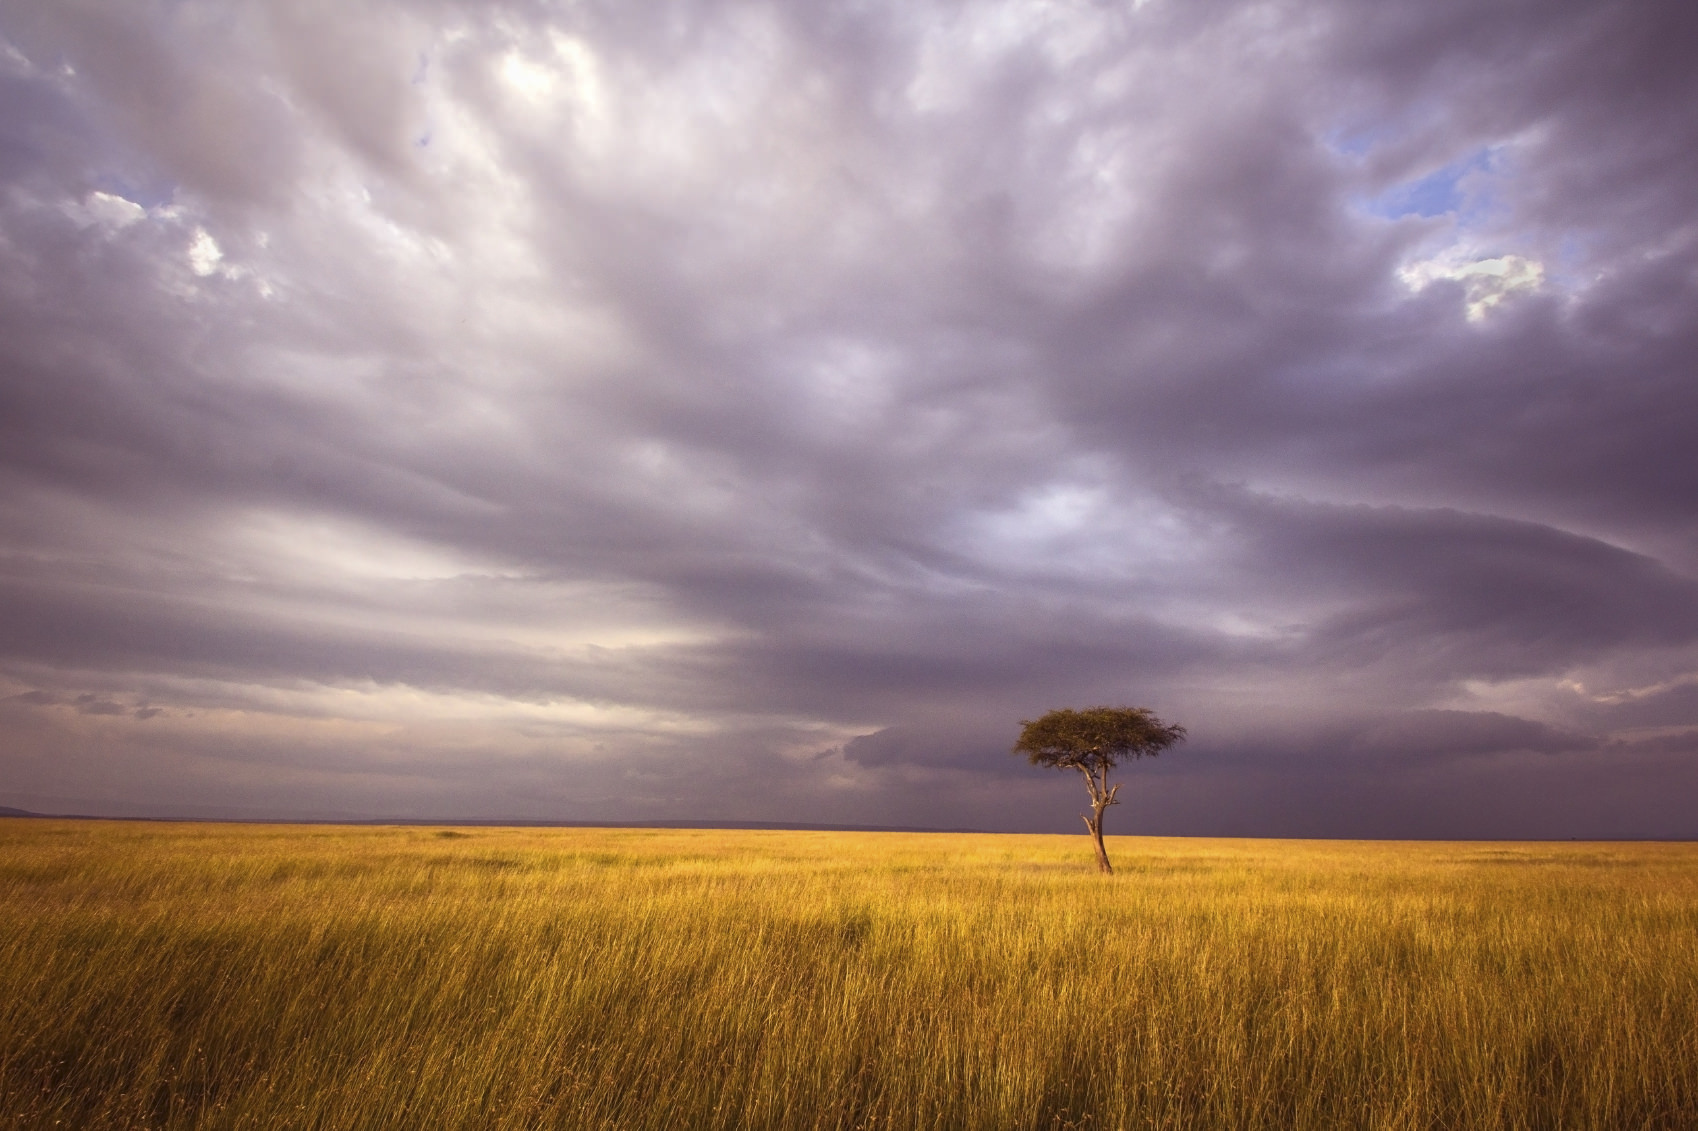
As with all things in photography, your sunset shots will greatly benefit from a healthy dose of planning. Think about where you can setup that will give you a good view of the sun as it tracks across the western sky and dips below the horizon. Find an area that has subjects that will add depth or drama to the shot - landscape elements like mountains and lakes are perfect examples.
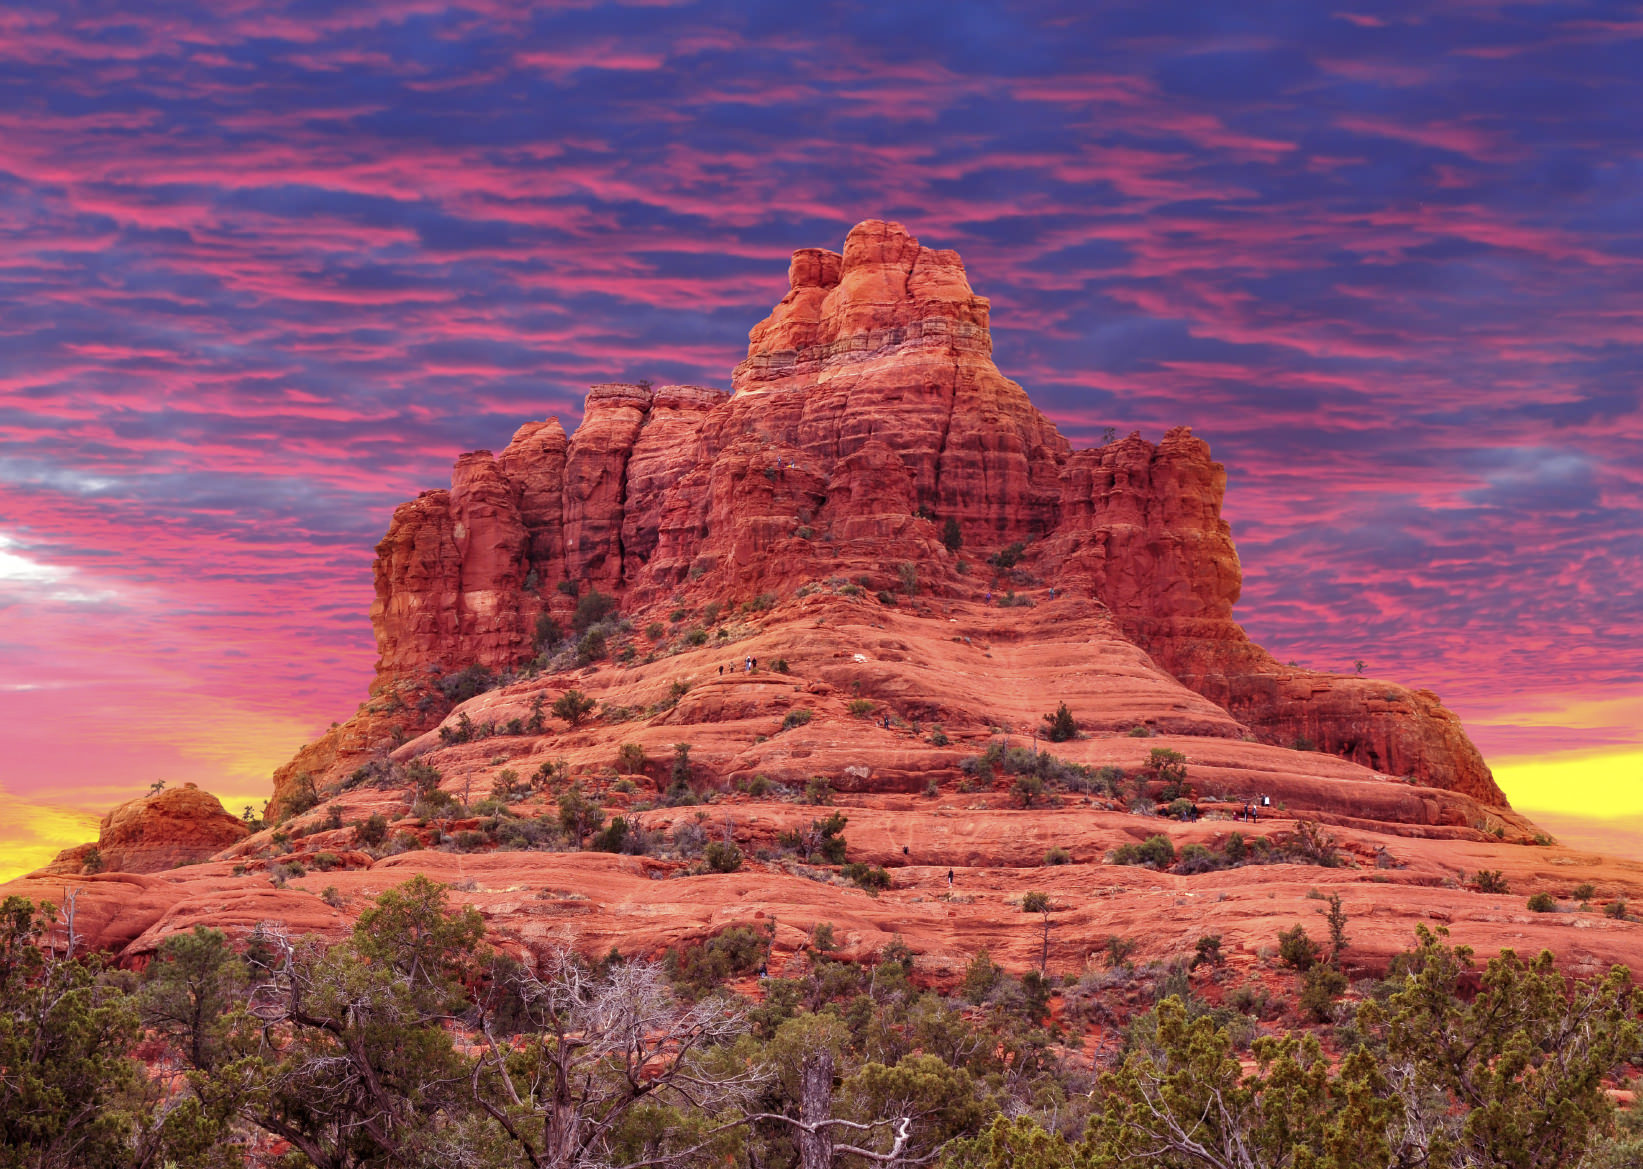
You’ll also want to keep track of the weather, as it can make or break your shot. Naturally, if it’s a clear night, the sky in your sunset shot might lack a little interest given the lack of clouds. On the other hand, if fog rolls in, you’ll be out of luck. But don’t be dissuaded by clouds or stormy weather because they can add all sorts of drama to a sunset image.
Planning should also include getting to your destination well in advance of sunset. Find out when the sun will set and get to your spot at least an hour beforehand. That will give you plenty of time to get set up so when the magic starts to happen, you’ll be ready to press the shutter button.
Work the Exposure

Experimentation with exposure is key when photographing sunsets. The beauty of a sunset shot is that you can get fantastic results with a variety of exposures, from underexposed to overexposed. This is where planning ahead will help - you’ll be at your destination with plenty of time to experiment with exposure.
Bracketing is a great way to play around with exposure. Many cameras have an auto bracketing feature that will take three images at the same shutter speed but at different apertures to get you three photos at different exposures. If your camera doesn’t have that feature, you can manually bracket the exposures by adjusting the aperture yourself. For example, if your camera thinks the ideal exposure is 1/30th of a second at f/5.6, you’d take an image at that setting, then at 1/30th of a second at f/3.5 and again at f/8.
If bracketing seems like too much trouble, you can also use your camera’s auto exposure lock to work on the exposure. Simply point your camera at a darker area of the scene, then recompose the image as you want it. Having locked the exposure on a darker area will mean a sunset image that is on the overexposed side, which might be nice if there are areas of foreground interest that you want visible in the image. On the other hand, you can also lock exposure on a bright area of the scene, reframe the shot, and get an underexposed image. This might be a better situation if there are elements of the scene that will make nice silhouettes.
Get Out of Auto!
If you leave your camera in auto white balance, the resulting images of the sunset will be less colorful than you like - the image will lack a lot of the warmth from the golden and orange tones in the sunset. Instead, switch to cloudy or shade mode. Doing so is usually reserved for lighting situations in which cooler tones prevail. However, because cloudy and shade modes warm up the image, using them at sunset will help you capitalize on the warmth of the tones present in the sunset.
Additionally, many photographers fail at sunset shots because they forget to take their lens out of autofocus mode. Despite all the advances in AF systems, they can still struggle to find the right focus when presented with rather extreme lighting conditions. If you want the sharpest shots, switch to manual focus and rely on your eyes - not the camera - to get everything tack-sharp.
For the best results, take your camera out of fully automatic mode in favor of shooting in aperture priority, shutter priority, or full manual. Having that extra level of control over your camera settings will get you better results. If you’re new to photography or shooting sunsets, or simply aren’t comfortable in full manual mode, try shutter priority with a relatively fast shutter speed, then slow the shutter down as the sun sets and the light fades.
Composing the Shot
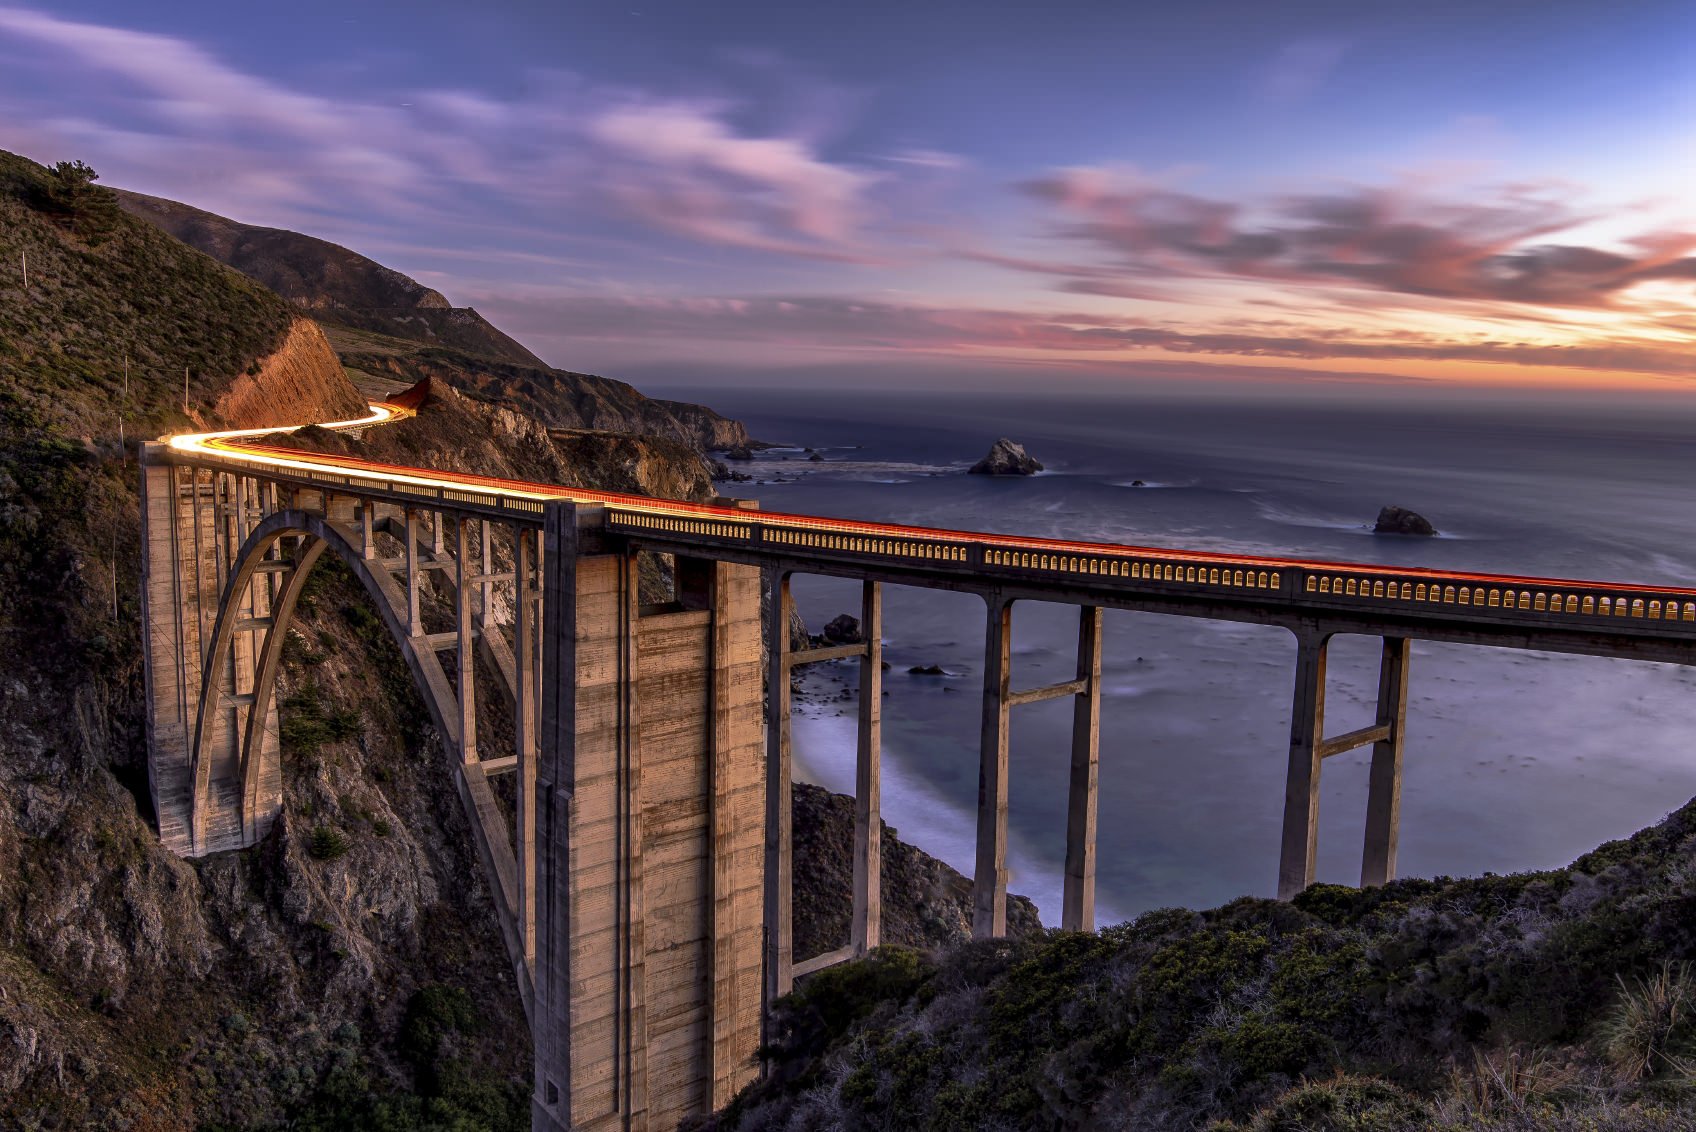
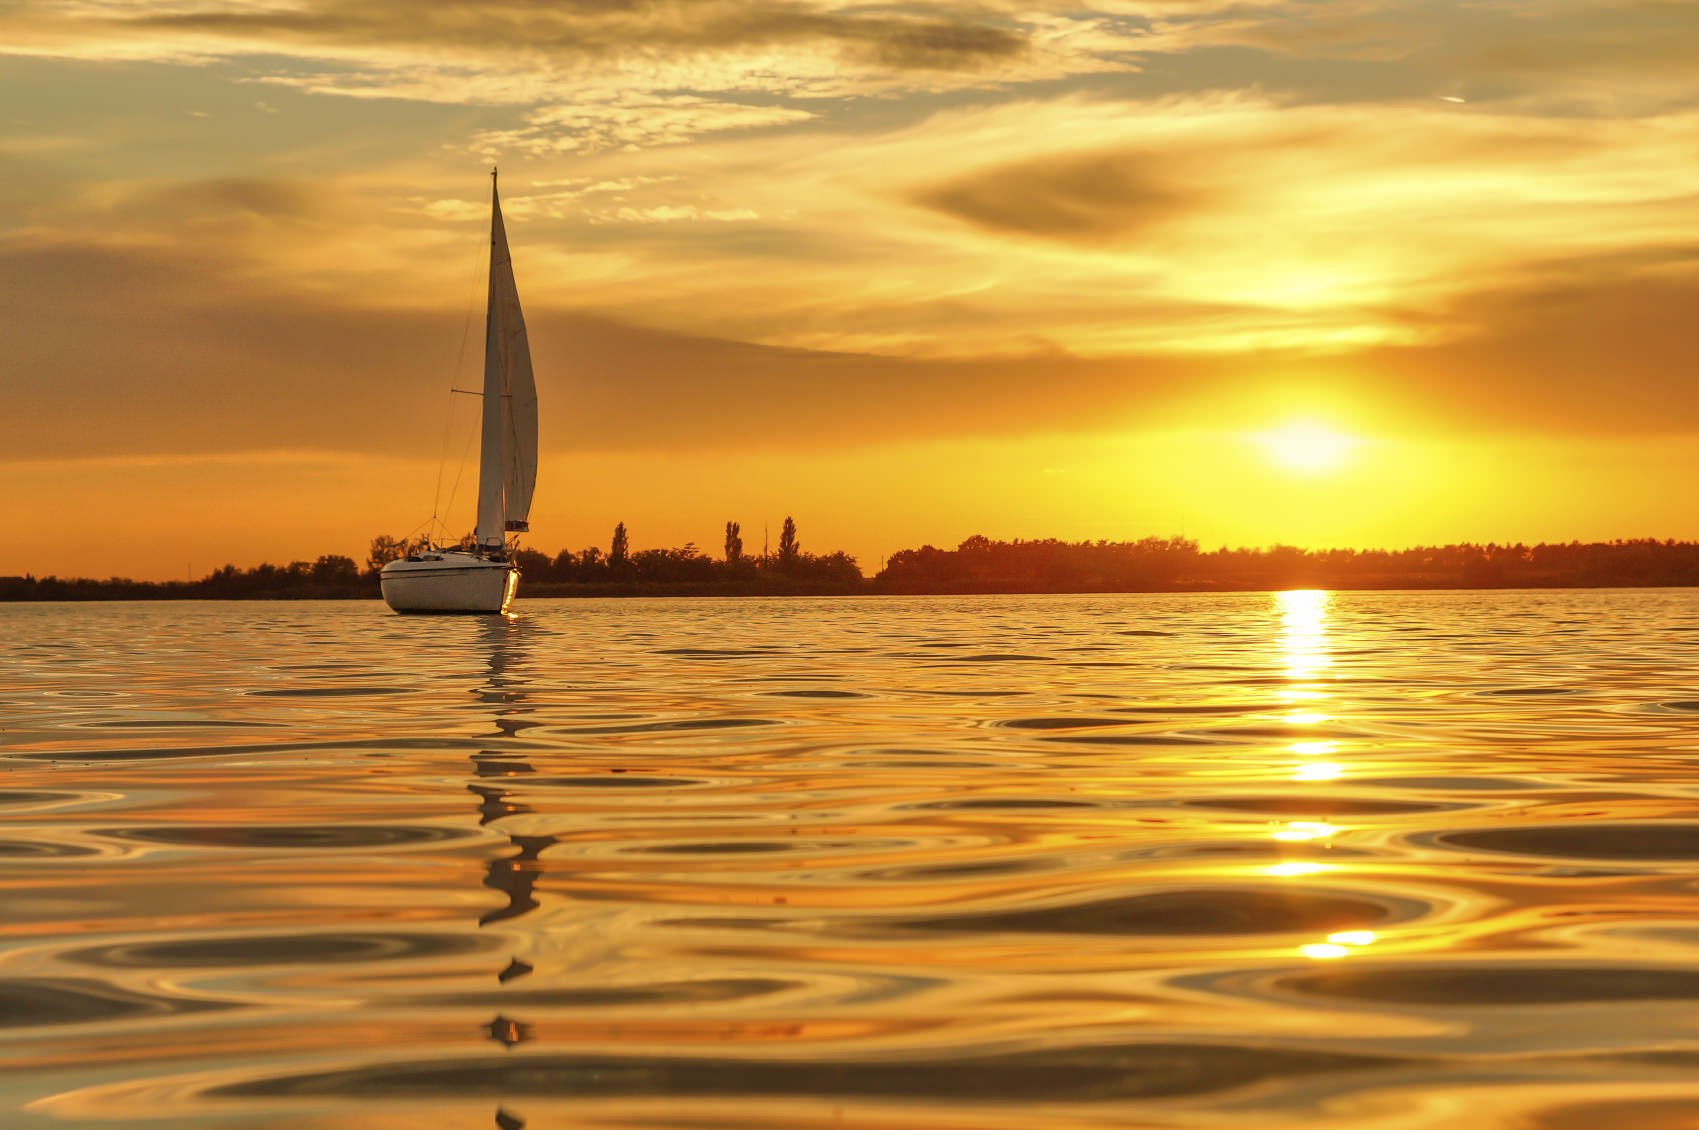
How you compose the shot will depend in part on what you’ve planned to do. For example, if your ideal shot is of the sun setting with a lake in the foreground, you’ll probably want to shift your horizon line downward such that two-thirds of the image is of the foreground and midground, with the sunset itself occupying the top third of the frame. On the other hand, if there isn’t much in the way of foreground interest, but there are a lot of interesting clouds in the sky, shifting your horizon line upward such that the sky occupies two-thirds of the frame might be the way to go.
Another compositional tip to bear in mind is that you should shoot at a variety of focal lengths. Get some wide-angle views of the sunset and the surrounding environment, but don’t be afraid to zoom in as well. A tightly-cropped image of the sun setting behind a silhouette of a person, a building, a tree, or another element can be just as striking as a wide-angle view.

Speaking of silhouettes, when it comes to sunsets, silhouettes are an excellent way to provide some foreground interest and a larger dynamic range. As noted above, what you decide to use as a silhouette can range quite widely, but the beauty of it is that regardless of what it is, it will add instant mood to the shot. Additionally, the inclusion of something of a familiar size, like a person, will give a bit of context and scale to the shot, letting the viewer develop a better understanding of how the individual parts of the scene relate to one another in space.
Look Behind You
It’s easy to become enamored with the sunset in front of you and forget that something just as spectacular might be happening behind you. Where the sunset in front of you might be bright pink, red, or orange, the light it emits behind you might be the perfect, soft, golden light for a portrait. With such great, warm light, there might be opportunities for landscape shots, or even macro shots in the surrounding environment as well. The point is that for all the planning you do, the best shot of the day might be when you face a different direction and snap an unexpected image. Keep your head on a swivel, keep your camera out of auto modes, and work your exposures, and you might be surprised at how much better your results will be!