
Photography might seem intimidating at first, especially when you’re surrounded by images from professionals with expensive equipment and years of experience. But here’s what I’ve learned after being a professional photographer for so long…
The best tips for beginner photographers have nothing to do with having the latest camera body or the most expensive lens. Great photography starts with understanding light, composition, and most importantly, developing your unique way of seeing the world around you.
Whether you’re picking up a camera for the first time or you’ve been taking snapshots for years but want to improve, this guide will give you practical, immediately actionable advice. These aren’t theoretical concepts that sound good on paper. Instead, they’re real-world techniques that will transform your images starting with your very next photo. The journey from snapshot to compelling photograph is shorter than you think, and it begins with mastering these fundamental principles.
Table of Contents
- Master Your Camera Basics First
- Composition: The Foundation of Great Photos
- Light: Your Most Important Tool
- Focus and Sharpness Fundamentals
- Subject and Storytelling
- Essential Technical Tips for Beginner Photographers
- Post-Processing: Simple Improvements
- Practice and Patience: Building Your Skills
- Common Mistakes to Avoid
- Frequently Asked Questions
Master Your Camera Basics First
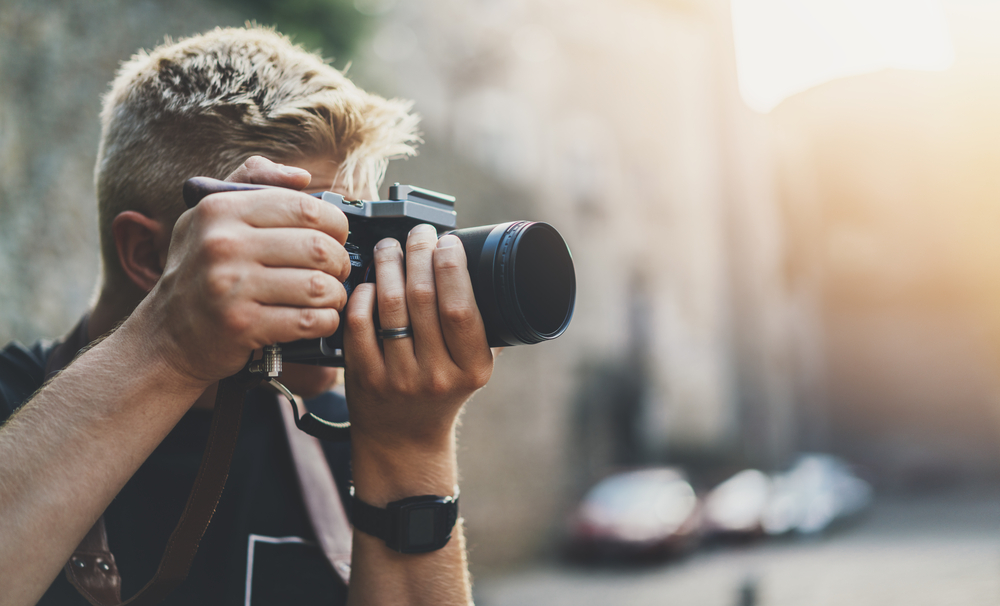
Photo by ImYanis via Shutterstock
Before diving into advanced techniques, you need to feel comfortable with your camera, whether that’s a smartphone, point-and-shoot, or DSLR. One of the most overlooked tips for beginner photographers is simply learning how to hold your camera properly.
Your left hand should support the lens from underneath, while your right hand grips the camera body. Keep your elbows tucked against your body for stability, and use your viewfinder rather than the LCD screen when possible.
Understanding your camera’s autofocus system is crucial for sharp images, too. Most cameras offer different autofocus modes. Single-point focus gives you precise control over exactly where you want to focus, while automatic area selection lets the camera choose. For portraits, always focus on the eyes. For landscapes, focus about one-third into the scene for maximum sharpness throughout the image. Get more insights into focus modes in the video above by Jared Polin.
Don’t overlook your camera’s exposure compensation feature, either. It’s one of the most powerful tools at your disposal. This allows you to make your images brighter or darker without switching to manual mode.
If your photos consistently look too bright or too dark in certain situations, exposure compensation can fix this instantly. Most cameras use a scale from -3 to +3, and even small adjustments of +/- 0.3 or 0.7 can make a significant difference in your final image.
Composition: The Foundation of Great Photos

Photo by SeanPavonePhoto via iStock (modified by PhotographyTalk staff)
Composition separates snapshots from photographs, and mastering it is among the most valuable tips for beginner photographers. The rule of thirds is your starting point. Imagine your frame divided into nine equal sections with two horizontal and two vertical lines. Placing your subject along these lines or at their intersections creates more dynamic, visually interesting images than centering everything.
However, rules exist to be broken intelligently. Center composition works beautifully for symmetrical subjects, reflections, or when you want to create a sense of stability and calm. The key is making deliberate choices rather than accidentally centering everything out of habit.

Photo by Lopolo via Shutterstock
Pay attention to your background as well. It’s just as important as your subject. I’ve seen countless potentially great photos ruined by distracting elements in the background. Before pressing the shutter, scan the entire frame for telephone poles “growing” out of people’s heads, bright objects that draw attention away from your subject, or cluttered backgrounds that compete for attention. Sometimes the solution is as simple as taking two steps to the left or asking your subject to move slightly.
Leading lines are another powerful compositional tool that can transform ordinary scenes into compelling photographs. Roads, fences, shorelines, architectural elements, or even shadows can guide the viewer’s eye through your image toward your main subject. The most effective leading lines start from the bottom corners of your frame and lead toward your focal point.
Light: Your Most Important Tool

Photo by Bear Prints Media via Shutterstock
Understanding light is perhaps the most transformative aspect of these tips for beginner photographers. Light isn’t just what makes your photo bright or dark—it’s what creates mood, reveals texture, and brings your subjects to life. The “golden hour,” that magical time just after sunrise and before sunset, provides warm, soft light that makes almost everything look better. But don’t think you can only take good photos during these brief windows.
Overcast days provide beautifully even, soft lighting that’s perfect for portraits. The clouds act as a giant softbox, eliminating harsh shadows and providing flattering light for people. I often tell people to embrace cloudy weather rather than waiting for sunny skies—some of my favorite portrait sessions have happened under overcast conditions.
Get some insightful tips about photography lighting in the video below by Sean Dalton.
The direction of light also dramatically affects the mood of your photographs. Front lighting provides even illumination but can appear flat. Side lighting creates dimension and depth by casting shadows that reveal texture and form. Backlighting can create dramatic silhouettes or gorgeous rim lighting that separates your subject from the background. Each direction tells a different story, so experiment with moving around your subject to see how the light changes the feeling of your image.
When working indoors, position your subject near a window for natural, flattering light. A large window on an overcast day provides some of the most beautiful portrait lighting available. If the light is too harsh, you can soften it by hanging a sheer curtain over the window or moving your subject further away from the light source.
Focus and Sharpness Fundamentals

Photo by Rido via Shutterstock
Sharp images are fundamental to good photography, making focus control one of the essential tips for beginner photographers. Modern autofocus systems are incredibly sophisticated, but they’re not mind readers. Single-point autofocus gives you precise control. You tell the camera exactly where to focus by positioning that single focus point over your desired area.
For portraits, always focus on the eyes closest to the camera. If both eyes are equally distant, focus on either one, but be consistent. An image can have a slightly soft nose or ear, but soft eyes will always look like a mistake. When photographing groups, focus on someone in the middle distance of the group to ensure everyone is acceptably sharp.
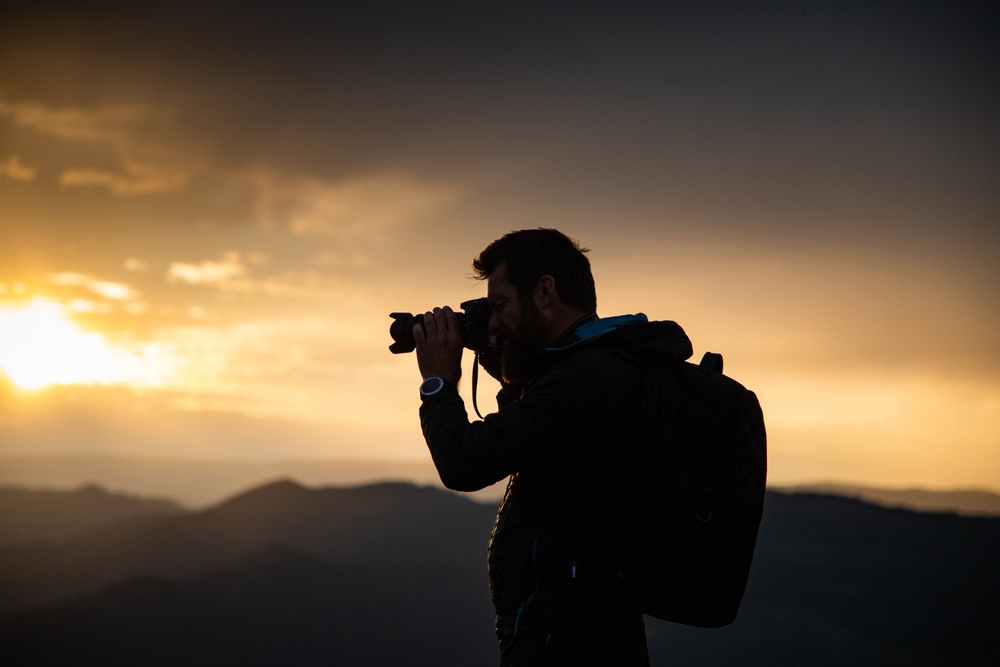
Photo by Melinda Nagy via Shutterstock
Camera shake is the enemy of sharp photos, especially in lower light conditions. The general rule is to use a shutter speed that’s at least as fast as your focal length. If you’re using a 100mm lens, use at least 1/100th of a second. With image stabilization, you can often get away with slower speeds, but this rule provides a good starting point.
When handholding your camera, proper breathing technique makes a significant difference. Take a deep breath, exhale halfway, then gently press the shutter while holding that breath. Jabbing at the shutter button will introduce camera shake, so use a gentle, steady squeeze instead.
Subject and Storytelling

Photo by Mama Belle and the kids via Shutterstock
Great photography is about connecting with your subjects and telling their stories, making this one of the most important tips for beginner photographers to master. When photographing people, take time to talk with them before raising your camera. This helps them relax and gives you insight into their personality, which you can then capture in your images.
Patience is crucial for capturing genuine expressions. The first few shots are often stiff and uncomfortable—keep shooting as people relax and forget about the camera. Some of the best portraits happen between posed shots when people are laughing, thinking, or just being themselves.

Photo by Gartforu via Shutterstock
Don’t limit yourself to traditional subjects. Photography opportunities exist everywhere, from the play of light on your morning coffee cup to the patterns created by shadows on a wall. I challenge you to photograph the same ordinary object—a chair, a fruit, a building—ten different ways. This exercise forces you to see beyond the obvious and discover new perspectives in familiar places.
Fill your frame with your subject. Many beginning photographers stand too far away, making their subjects small and insignificant in the frame. Get closer, zoom in, or crop tighter. Your subject should dominate the frame and immediately grab the viewer’s attention. If it’s not adding to your story, it’s probably detracting from it.
Essential Technical Tips for Beginner Photographers
Understanding exposure doesn’t require mastering complex technical concepts—these practical tips for beginner photographers will improve your images immediately. Your camera’s light meter shows you whether your image will be bright, dark, or properly exposed. It typically appears as a scale with negative numbers on one side, zero in the middle, and positive numbers on the other side.
Slightly underexposed images often look more dramatic and have richer colors than overexposed ones. When in doubt, it’s usually better to have an image a little too dark than too bright. Dark areas can often be brightened in post-processing, but blown-out highlights (pure white areas with no detail) are usually impossible to recover.

Photo by Sitthiporn Kongtee via Shutterstock
White balance affects the color temperature of your images. Auto white balance works well in most situations, but understanding the presets can improve your photos significantly. The “Cloudy” or “Shade” setting adds warmth to images taken in cool lighting conditions, while “Tungsten” removes the orange color cast from indoor lighting. If your images consistently look too blue or too orange, adjusting white balance is often the solution.
Don’t be afraid of higher ISO settings, especially with modern cameras. Many photographers avoid raising their ISO because they’re worried about noise or grain, but a sharp, well-exposed image with some noise is always better than a blurry, underexposed image with no noise. Most cameras today produce very usable images at ISO 1600 or even higher.
Post-Processing: Simple Improvements

Photo by Kaspars Grinvalds via Shutterstock
Post-processing isn’t about creating fake-looking images—it’s about bringing out the best in the photos you’ve already taken. Among the most practical tips for beginner photographers is learning basic editing skills that can transform good photos into great ones. Start with simple adjustments: exposure, contrast, highlights, and shadows.
Most images benefit from a slight increase in contrast and a small adjustment to the highlights and shadows. If your image looks flat or dull, adding contrast will give it more punch. If the bright areas are too bright, bring down the highlights. If the dark areas are too dark, lift the shadows. These adjustments should be subtle—if your edits are obvious, you’ve probably gone too far.
Straightening horizons is a simple edit that makes a huge difference in the perceived quality of your images. A crooked horizon is distracting and makes images look amateurish. Most editing software includes a straightening tool that makes this correction quick and easy.
You don’t need expensive software to edit your photos effectively. Many free options provide excellent results for basic adjustments. Phone apps like Snapseed or VSCO offer powerful editing tools, while computer users can try programs like GIMP or even the basic editing features built into operating systems. The key is learning to make subtle, natural-looking adjustments rather than applying heavy filters that overpower your original image.
Practice and Patience: Building Your Skills
Photo by phM2019 via Shutterstock
Consistent practice is the foundation of improvement, making this one of the most crucial tips for beginner photographers. Try to take photos daily, even if it’s just with your phone during your lunch break. Photography is like playing an instrument. Regular practice builds muscle memory and helps you develop an intuitive understanding of light, composition, and timing.
Focus on learning one concept at a time rather than trying to master everything simultaneously. Spend a week focusing solely on composition, then a week on understanding light, then a week on focus techniques. This focused approach allows you to really understand each element before moving on to the next.
Review your images critically, but not harshly. Look at photos that worked well and try to understand why they’re successful. More importantly, examine images that didn’t work and identify what you could do differently next time. This self-analysis is how you develop your photographic judgment and avoid repeating the same mistakes.
Study the work of photographers you admire, but analyze their images rather than just appreciating them. What makes their compositions compelling? How are they using light? What emotions do their images evoke, and how do they achieve those feelings? This analytical approach will help you incorporate successful techniques into your own work.
Common Mistakes to Avoid
One of the most valuable tips for beginner photographers is learning from common mistakes rather than making them yourself. The biggest mistake I see is gear obsession—believing that better equipment will automatically result in better photos. While good tools matter, a photographer who understands light and composition will take better photos with a basic camera than someone who doesn’t understand these concepts with the most expensive equipment available.
Trying to learn everything at once leads to frustration and inconsistent results. Photography has many aspects—technical settings, composition, lighting, post-processing, different genres—and attempting to master them all simultaneously is overwhelming. Instead, build your skills systematically, mastering one area before moving to the next.
Don’t compare your beginning to someone else’s highlight reel. Social media and photography websites showcase the best work from experienced photographers, not their learning process or failed attempts. Every professional photographer has taken thousands of mediocre photos while developing their skills. Focus on your own progress rather than comparing yourself to others.
Finally, be patient with yourself. Photography skills develop over time, and expecting immediate perfection is unrealistic. Embrace the learning process, celebrate small improvements, and remember that even professional photographers continue learning throughout their careers. The joy is in the journey, not just the destination.
Frequently Asked Questions
Photo by Sergey Nivens via Shutterstock
What camera should I buy as a beginner photographer?
Start with what you have. If you have a smartphone with a decent camera, use it to learn composition and lighting before investing in dedicated camera equipment. When you’re ready to upgrade, consider a mirrorless camera or entry-level DSLR with a kit lens. The specific brand matters less than learning to use whatever camera you choose effectively.
How many photos should I take to practice these tips for beginner photographers?
Aim for taking photos daily, even if it’s just a few shots. Quality practice is more important than quantity. Taking 10 thoughtful photos where you’re consciously applying these techniques is more valuable than taking 100 random snapshots. Focus on deliberate practice rather than just accumulating a large number of images.
Should I shoot in automatic mode or manual mode as a beginner?
Start with aperture priority or shutter priority modes, which give you creative control over the most important setting while letting the camera handle the rest. Full manual mode can be overwhelming initially and might slow down your learning of composition and lighting. As you become more comfortable, gradually take on more manual control.
How important is expensive equipment for good photography?
Equipment is far less important than understanding light, composition, and timing. Many professional photographers started with basic equipment and upgraded as their skills and needs grew. A skilled photographer can create compelling images with modest equipment, while expensive gear won’t compensate for poor technique or lack of understanding.
What’s the best way to learn composition quickly?
Practice the rule of thirds consciously for a week, deliberately placing subjects along the grid lines. Then spend time looking at photographs you admire and analyzing their composition. Take the same subject and photograph it from multiple angles and distances. This hands-on experimentation combined with studying successful images will accelerate your compositional understanding.
How do I know if my photos are getting better?
Compare your recent work to photos you took months ago rather than day-to-day comparisons. Look for improvements in technical execution (sharper focus, better exposure), composition (more thoughtful framing, better use of space), and emotional impact (photos that evoke feelings or tell stories). Ask for feedback from other photographers or join photography communities for objective perspectives on your progress.
Heads up: Clicking on our affiliate links and exploring our sponsored content helps us at no extra cost to you, and we only recommend gear we’re absolutely crazy about!
Hero photo by Jacob Lund via Shutterstock