Which ND Filter Do I Need?
- How To Photograph Rivers and Streams
- What Do Lens Filters Do?
- 6 Expert Tips for Improving Your Landscape Photography
- How To Take Killer Photos of the Night Sky
- Long Exposure Tutorial: Beach Photography
- First Impressions of the Haida M10 Filter System
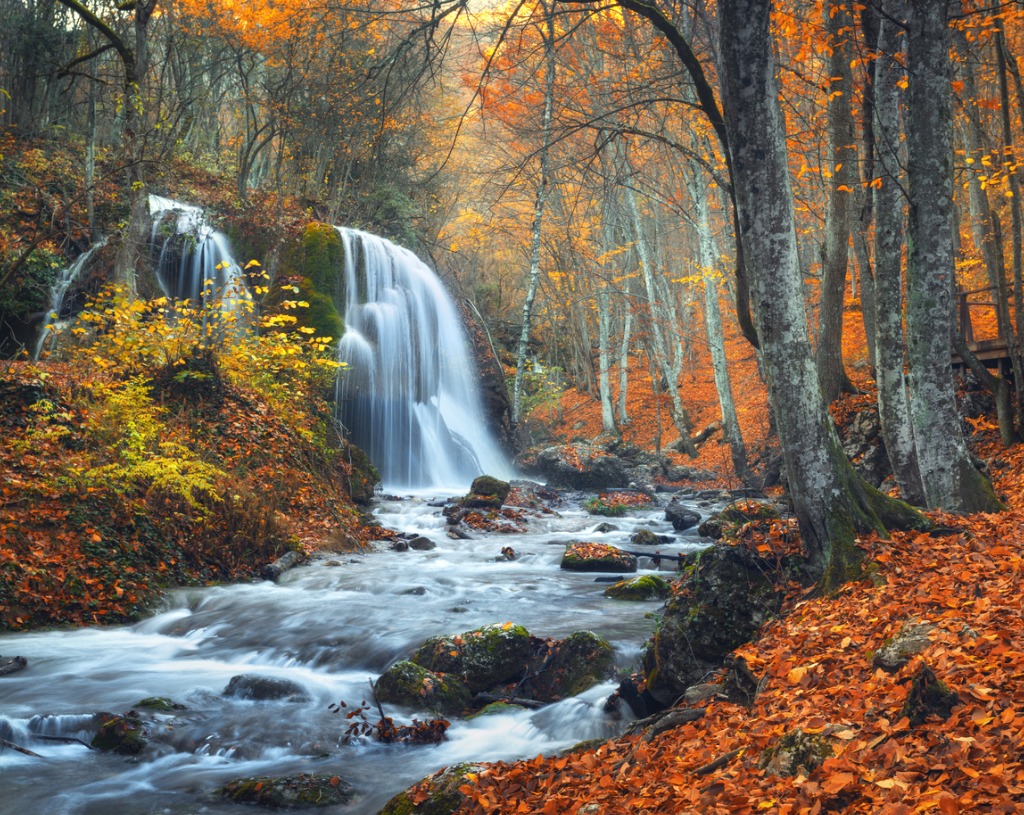
photo by den-belitsky via iStock
Neutral density or ND filters are an extremely useful tool for digital photographers for a wide variety of reasons. In addition to many ND filter uses in still photography, these ND filters are also very beneficial in videography, an important point since there is a huge uptick in the demand and response for digital video.
ND Filters Explained
photo by William Krumpelman via iStock
A neutral density filter is designed to attenuate or lesson the light passing through the optical path used to record to a sensor or to film. Density because it is dark, neutral because it has no color tint. ND filters will diminish the amount of light coming through the lens without affecting anything else.
Based on the exposure triangle, you can use ND filters to increase the shutter speed timing, open the lens aperture, or enable different frame rates for video. All of these ND filter uses either fix an exposure issue or open a creative alternative.
Types of ND Filters
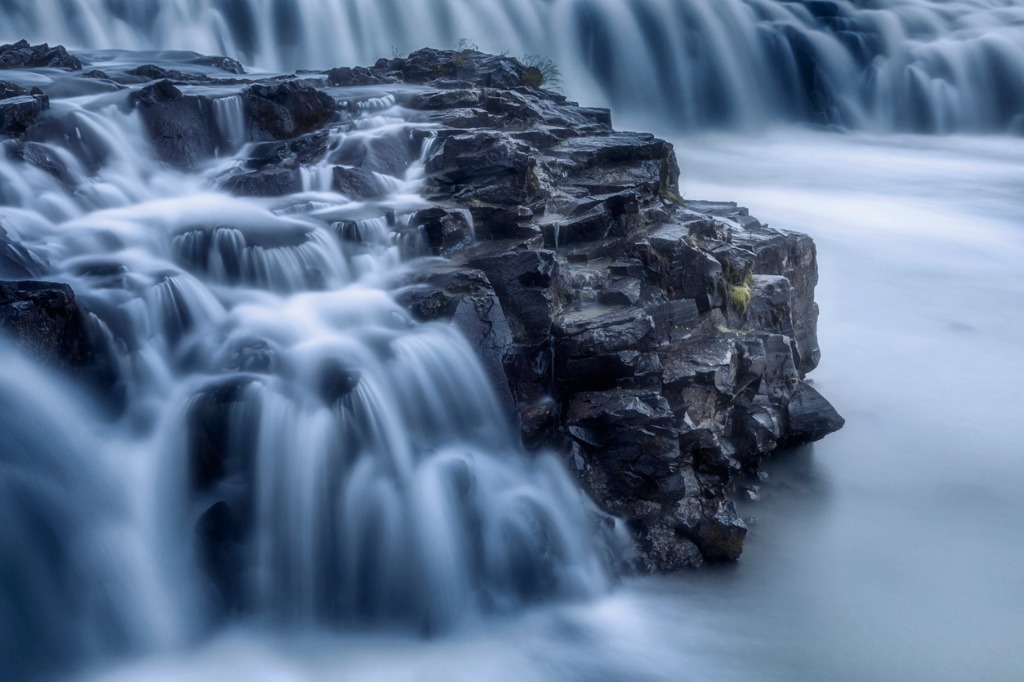
photo by tunart via iStock
There are several different types of ND filters and variation within these types. You can use this as a broad outline of an ND filters buyer’s guide. The major types of ND filters are solid ND filters, graduated ND filters, and reverse graduated ND filters.
Within these general types of ND filters are different strengths of density, such as 3-stop ND filters, 6-stop ND filters, and 10-stop ND filters. Graduated ND filters (GND) also have varied strengths and can also be differentiated by the type of transition zone between clear and density being either hard edge or soft.
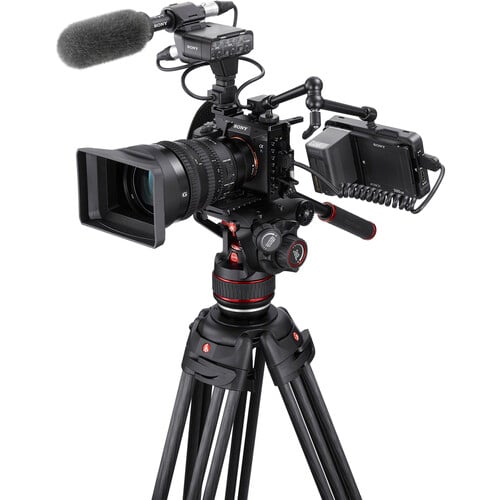
We have several tutorials on graduated ND filters, so we’ll concentrate on solid ND filters. Your ND filters can be either screw in filters or part of a filter system with a filter holder, adapters, and square or rectangular filters. For specialty filters, a filter holder system is preferred by many photographers for ease of use, versatility, and cost effectiveness.

photo by Konstantinos Ouzounidis via iStock
You will want to look for high-quality ND filters for your photography and videography. A lens filter goes right in the optical path of light reaching your sensor, so you don’t want to put substandard material in that path. That would be like putting ketchup on a perfectly seasoned steak. While it may be perfectly adequate, you want to preserve the high-quality you started with.
High-quality brands, such as Haida Red Diamond ND filters use superior optical grade materials and specialty coatings for scratch and reflection control just like your fine lenses.
Now, on to some specific filters and their uses and benefits.
Learn More:
3-Stop ND Filter
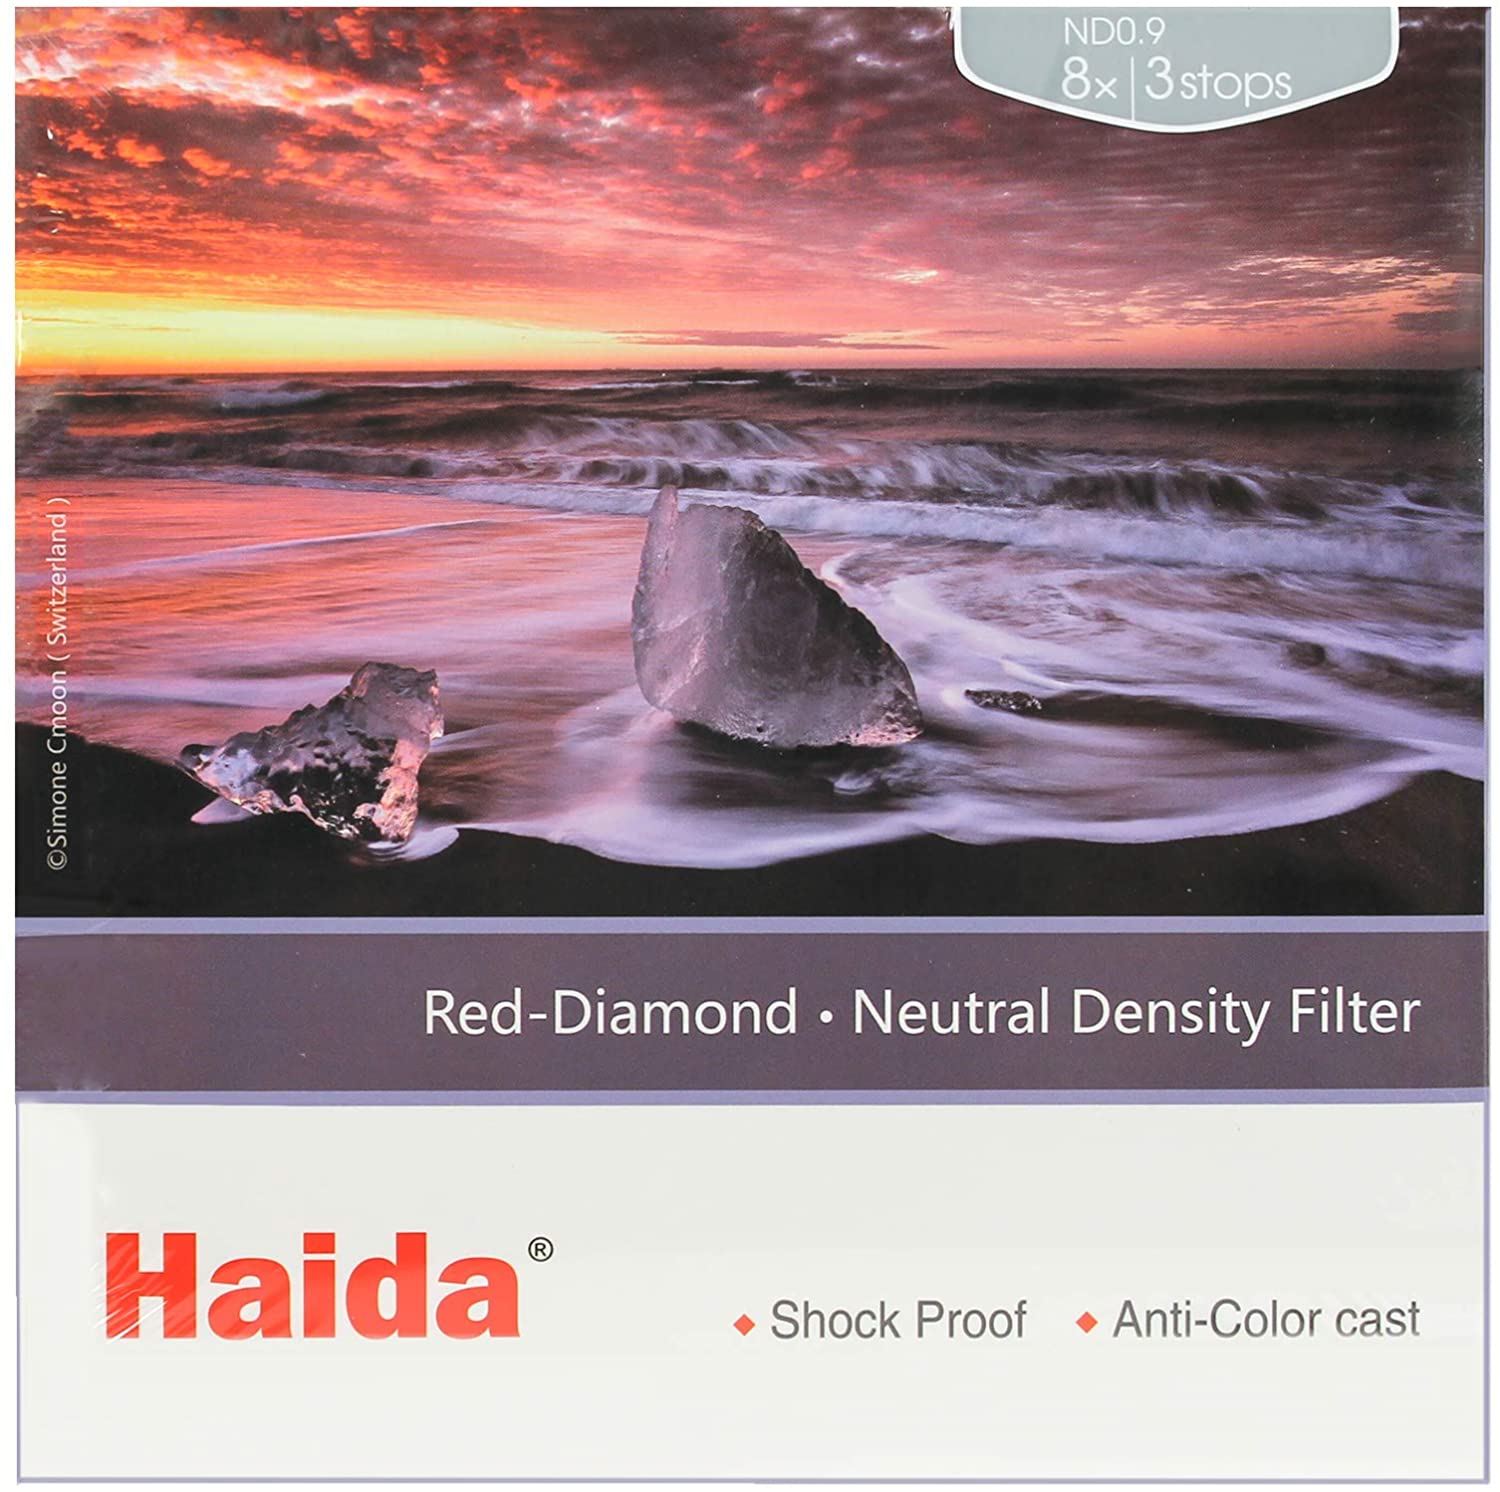
The 3-stop ND filters are among the most useful for many photographic and video uses since they attenuate by just a few stops of exposure difference. Haida Red Diamond 3-Stop ND filter is a good example of this type of ND filter.

photo by RapidEye via iStock
Using a 3-stop ND filter opens up a lot of very useful options for adjusting the exposure triangle to fit our artistic vision. We might want to use a wider lens aperture for selective focus techniques, a slightly slower shutter speed for panning along with action, or to change the video frame rate to a natural appearance.
A 3-stop ND filter is probably the strongest you would consider hand holding, as any other ND filter use is probably best accomplished on a tripod.
6-Stop ND Filter

Many photographers new to ND filters are likely to start out with a 6-stop ND filter like the Haida Red Diamond 6-Stop ND filter. Six full stops of exposure difference can be really effective in giving you the ability to use blurring effects for water such as a beach with waves or a waterfall.
As an example, if you have a meter reading reading at ISO 400 that says correct exposure might be 1/500th at f/8.0, changing ISO, stopping aperture, and adding a 6-stop ND filter will result in a shutter speed of 2 full seconds at f/16 and ISO 100. This is a long enough time to record a softening blur from moderately fast moving water like you might find in a babbling brook, waterfall, or wave action against rocks.
10-Stop ND Filter

The Haida Red Diamond 10-Stop ND filter will allow even more extreme effects by allowing even longer shutter speeds. If we’re still in the exposure situation highlighted above, a 10-stop ND filter will give you an exposure time of around 30 seconds. If you came back to that scene during Golden Hour or Blue Hour that has less light intensity, you could easily attain exposure times measured in minutes rather than seconds.
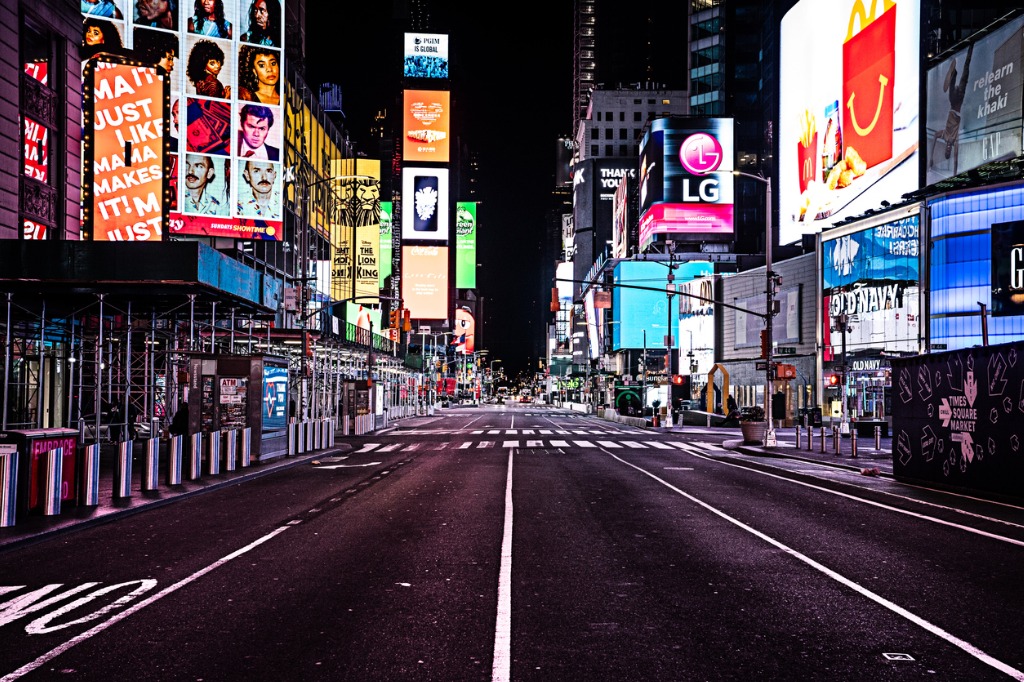
photo by Matthew Murphy for MurphyMadevia iStock
Having a 10-stop ND filter in your filter kit opens up another awesome photographic technique for popular landmarks with lots of tourist foot traffic, ghosting people out of the frame. The idea is that if your exposure time is long enough for the static part of the scene, anyone moving through the scene won’t be in one spot long enough to register in the exposure. You are effectively removing them from the photograph.
ND Filter Techniques

photo by Parshina Olga via iStock
In order to fully utilize the stronger versions of ND filters, you will need to learn some special techniques such as shooting in RAW, manually focusing before adding the filter, super steady tripod and remote techniques, and other tips and ideas you can find in our library of instructional articles.
Let us see what you’ve shot with your own ND filters.
Learn More: