

Landscape photography is one of the most rewarding genres for beginners. The ability to capture sweeping vistas, dramatic skies, and quiet moments in nature can turn ordinary trips into lifelong memories. For those starting out, the challenge often lies not just in finding beautiful locations but in understanding the fundamentals that make a landscape photograph compelling.
Many beginners struggle with composition, lighting, and camera settings while also managing their gear in outdoor conditions. It’s easy to get distracted by the scenery and forget that preparation and protection play a crucial role in getting consistently great shots. Knowing how to approach these basics will save both time and frustration.
This guide covers five essential tips for beginner landscape photography. From mastering composition to experimenting with perspective, we’ll provide actionable advice you can put into practice immediately. We’ll also touch on practical gear solutions that help you protect your camera without interrupting your creative flow.
Table of Contents
Mastering Composition for Strong Landscapes
Composition is at the heart of beginner landscape photography. Where you place the horizon, how you frame your subject, and what you include in the foreground can dramatically alter the impact of your image. Beginners often place the horizon in the center, but experimenting with the rule of thirds and other compositional guides can create more dynamic photographs.
Foreground elements, like rocks, plants, or pathways, give viewers a sense of depth. Leading lines, whether natural or man-made, draw the eye through the image and help create a sense of scale. Layering elements, such as a mountain range behind a river, adds complexity and makes your landscape feel immersive.
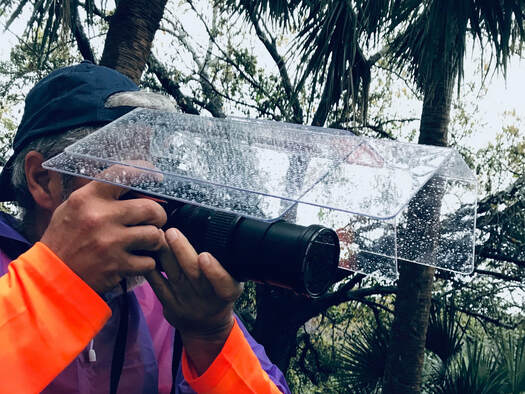
One tip for beginner landscape photography is to take multiple shots from slightly different angles or positions. Small adjustments can make a big difference in how the composition feels. Having gear that is ready and protected, such as a camera with a Camera Canopy deployed (as shown above), allows you to focus on framing rather than worrying about the weather or accidental splashes.
Understanding Light and Timing

Photo by rdonar via Shutterstock
Light is perhaps the most critical element in beginner landscape photography. The soft glow of sunrise or sunset can transform a flat scene into something magical. Paying attention to the angle and quality of light allows you to highlight textures, colors, and contrasts in your landscape.
Golden hour, typically an hour after sunrise or an hour before sunset, offers warm, directional light that enhances natural scenery. Blue hour, just before sunrise or after sunset, provides cooler, ethereal tones that are perfect for moody landscapes. Even mid-day light can be used creatively by focusing on high-contrast elements or shadows.
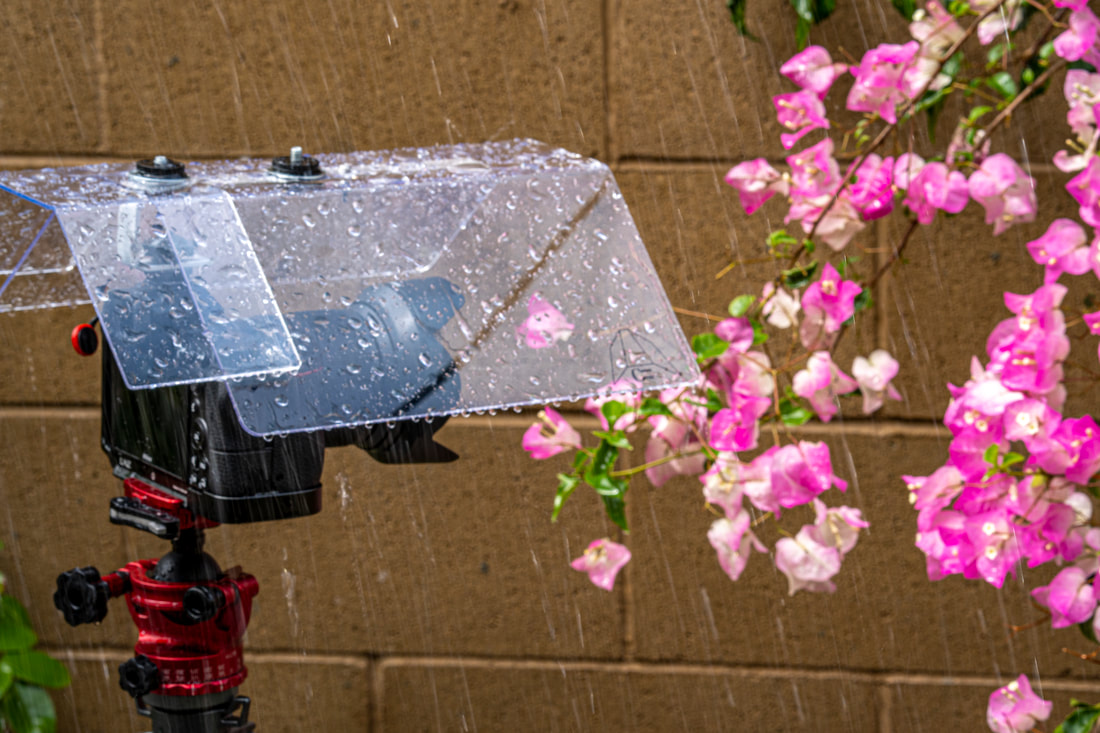
Being prepared for light changes is crucial. Quick shifts in weather or moving clouds can alter exposure drastically. Using a Camera Canopy ensures that your camera is ready to shoot at all times, even in light rain or drizzle. This way, you never miss that perfect lighting moment because your gear was stowed away for protection.
Using the Right Camera Settings

Photo by Primakov via Shutterstock
Understanding basic camera settings is essential for beginner landscape photography. ISO, aperture, and shutter speed control exposure and can dramatically change the final image. Keeping ISO low reduces noise, while adjusting aperture affects depth of field, allowing both foreground and background to remain sharp.
Shutter speed lets you control motion in the scene. A longer exposure can smooth moving water or clouds, creating a sense of motion and tranquility. Conversely, a faster shutter can freeze action in wildlife or moving elements. Beginners should experiment with these settings to see how they influence their images.
Tripods are invaluable for stability, especially when using slow shutter speeds. Combining a tripod with a Camera Canopy or Mini Canopy allows you to leave your camera ready while keeping it protected, giving you flexibility to change settings, adjust composition, and capture multiple exposures without interruption.
Protecting Your Gear Without Interrupting Shooting
While many beginners focus on technique, protecting your gear is equally important. Outdoor conditions, even mild ones, can pose risks to cameras. Sudden rain, dust, or condensation can affect image quality and damage equipment over time.
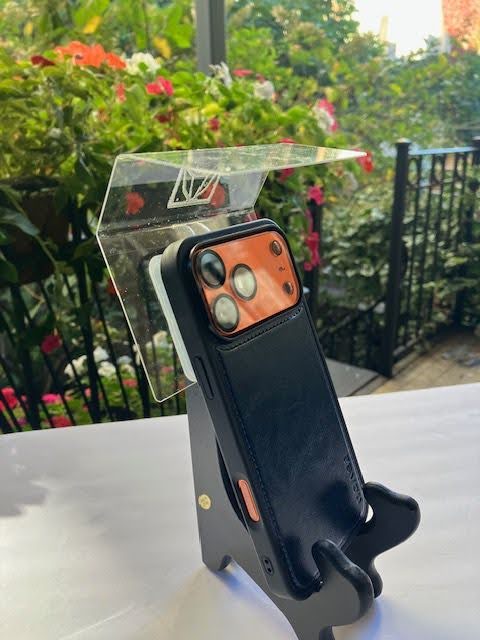
Camera Canopy products provide practical protection while keeping you shooting. The standard Camera Canopy is ideal for DSLRs with long lenses, the Mini (shown above) is perfect for mirrorless cameras, and the Mobile version (shown below) keeps smartphones ready for action. Each version allows full access to camera controls while shielding the lens and body from environmental hazards.
Using a canopy doesn’t mean you need to stop shooting or fumble with bulky covers. The hands-free, easy-to-deploy design means you can maintain your creative flow, whether hiking, walking along a beach, or standing in a city park. For beginner landscape photography, this is invaluable: you can focus on your composition and timing without worrying about your gear.
Exploring Angles and Perspectives for More Impact
Photo by Smit via Shutterstock
Changing your perspective can dramatically enhance beginner landscape photography. Shooting from a low angle can emphasize foreground elements, while climbing slightly higher can provide a wider vista. Reflections in water, shadows, and natural frames like trees or arches create visual interest.
Experimenting with angles encourages creativity and can help you discover unique compositions that differentiate your photos. When your camera is ready and protected, you can move freely to explore new viewpoints without worrying about exposing your equipment to minor hazards.
Being patient and observant is key. Sometimes the best shots come from waiting for clouds to move, light to shift, or wildlife to enter the scene. Protecting your camera with a Camera Canopy ensures you’re always prepared to capture these fleeting moments without interruption, enhancing your confidence as a beginner landscape photographer.
At the end of the day, landscape photography becomes more enjoyable and productive when you combine solid technique with practical preparation. Composition, lighting, camera settings, and perspective all contribute to compelling images, while protecting your gear ensures you never miss a shot. Using a Camera Canopy, Mini, or Mobile allows you to stay ready, whether hiking, traveling, or exploring local parks. By mastering these tips and keeping your camera prepared, you’ll be able to focus on capturing the landscapes that inspire you.
FAQ
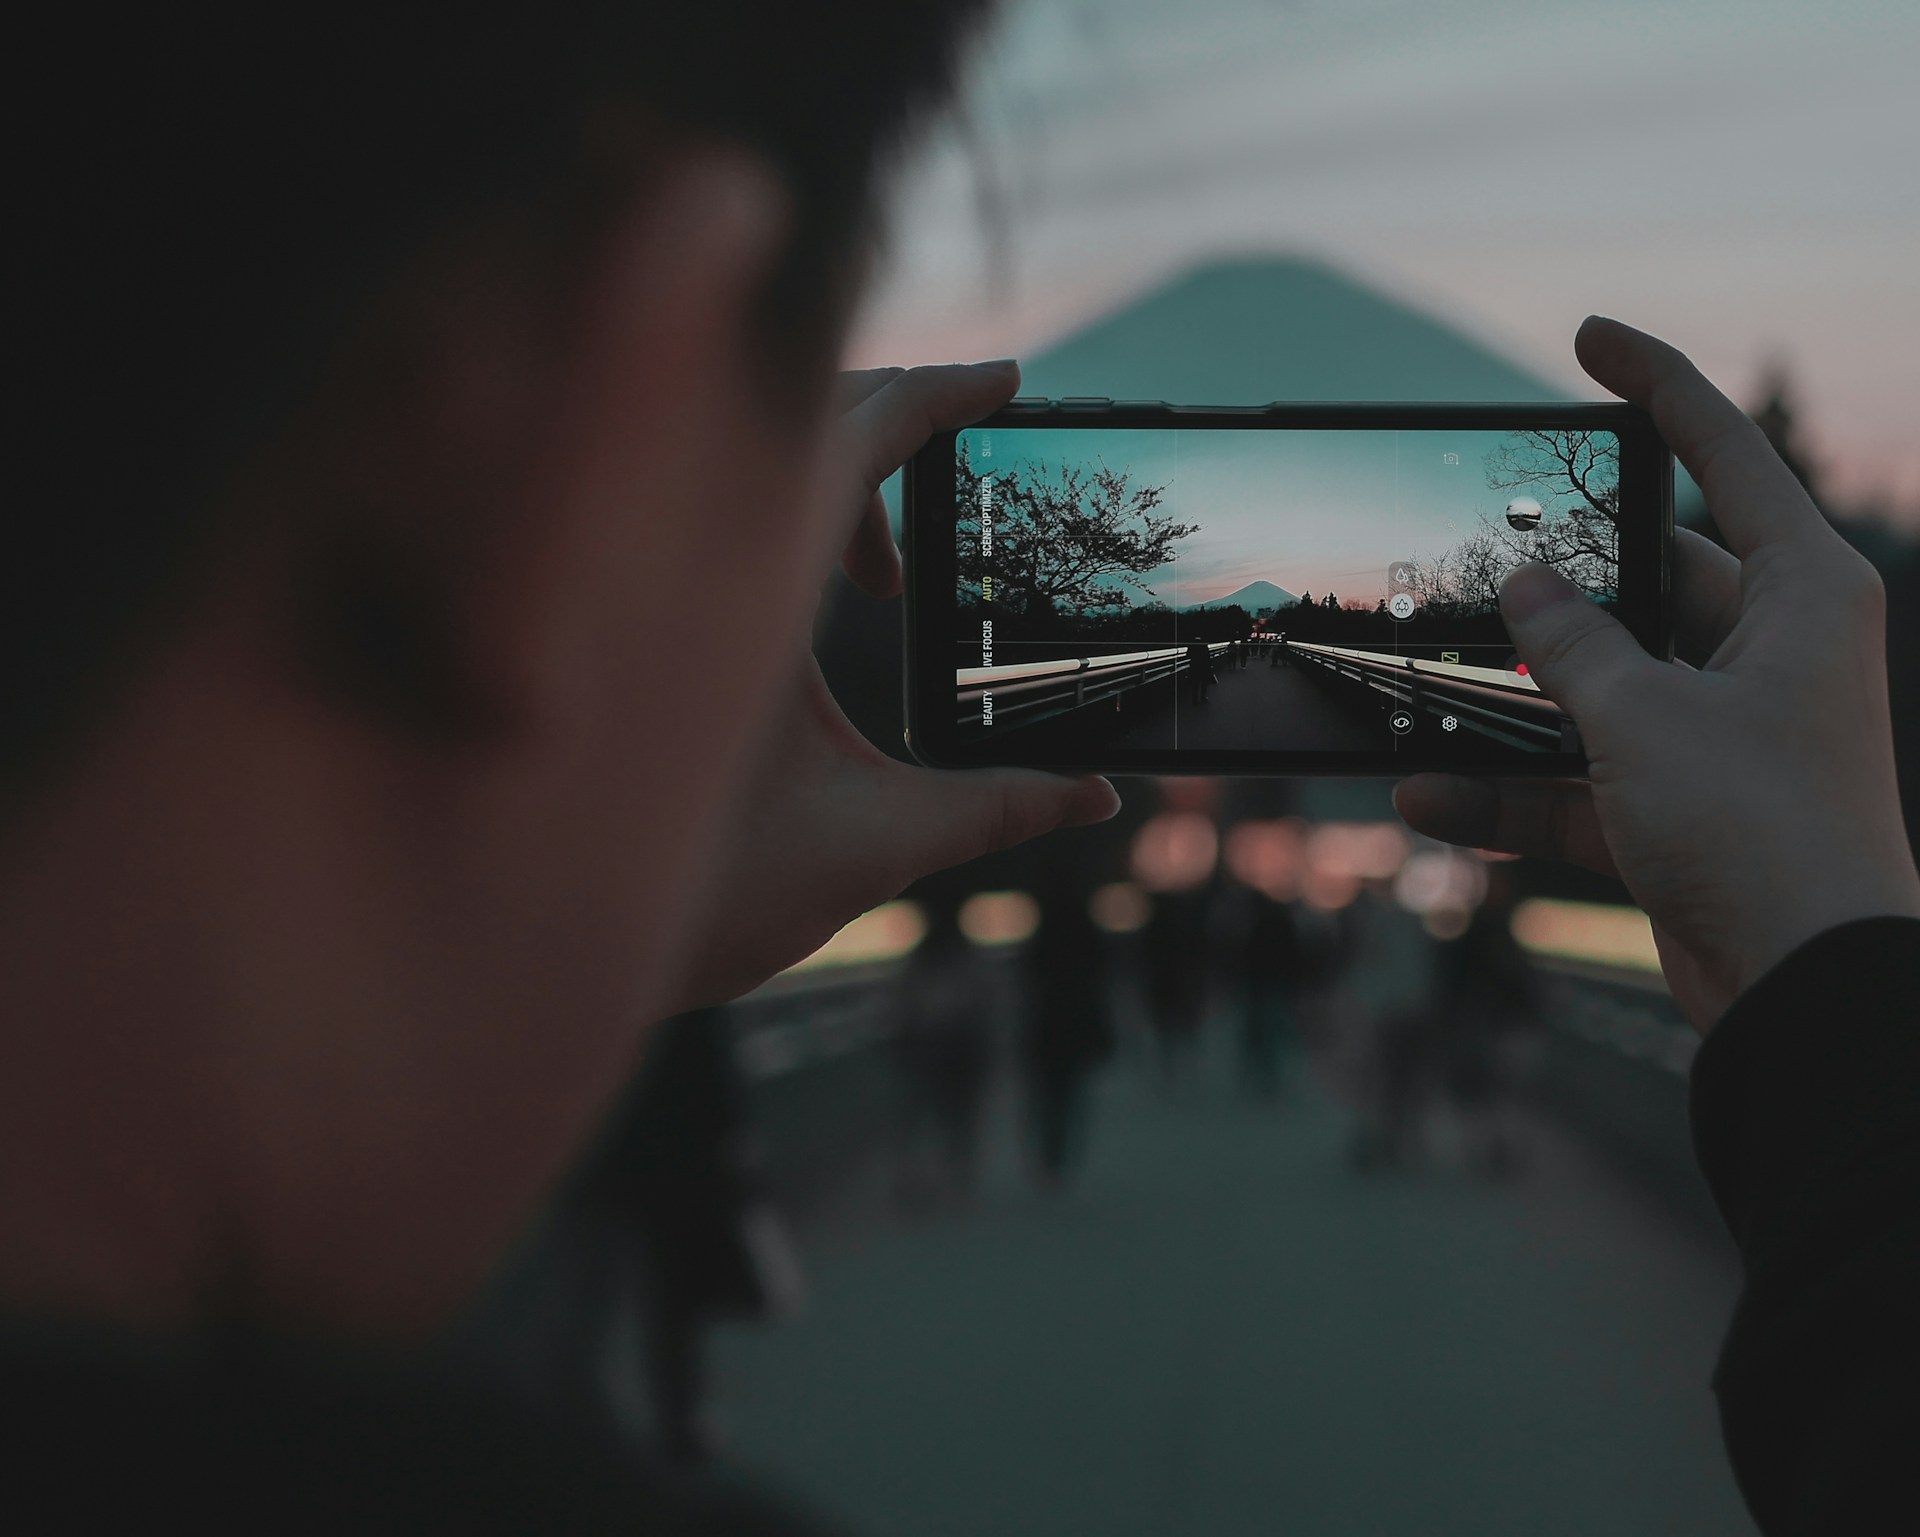
Photo by Christofer Tan on Unsplash (license)
What lens should I use for beginner landscape photography?
A wide-angle lens is ideal for capturing expansive scenery, but a standard zoom can also work for versatility. Focus on lenses that allow you to include foreground interest and maintain sharpness across the frame.
Do I need a tripod for landscape photography?
A tripod is highly recommended, especially for low-light situations, long exposures, and HDR photography. It stabilizes the camera and allows more precise composition.
How can I protect my camera while shooting outdoors?
Using a Camera Canopy, Mini, or Mobile version provides hands-free protection from light rain, dust, or accidental splashes while allowing full access to controls and shooting.
Should I shoot in RAW or JPEG for landscapes?
RAW is preferred because it preserves more detail and allows greater flexibility in post-processing, particularly for adjusting exposure and color.
How can I make my landscape compositions more interesting?
Include foreground elements, use leading lines, experiment with perspectives, and pay attention to light and timing. Small changes in viewpoint can dramatically improve the final image.
Just so you know, some of the cool stuff we mention comes with affiliate links, meaning we earn a commission if you buy (no extra charge to you!). Plus, we occasionally feature sponsored content, but rest assured, we only shout out products we genuinely stand behind.
Learn More:
- How to Protect Your Camera in Variable Winter Conditions
- How to Shoot in Snowstorms: Practical Tips for Beginners
Hero photo by Mumemories via Shutterstock