
If the camera is your creative brain, the lens is your eye, shaping what you see, how you see it, and ultimately how your story lands with a viewer. I’ve lost track of how many times I’ve changed lenses, stepped back, moved forward, and watched a scene transform simply because the optics changed my perspective. That’s the magic of glass: it doesn’t just record; it interprets.
When I first began, I thought “better camera” meant better photos. Then I borrowed a friend’s fast prime, shot at dusk, and realized why photographers obsess over good glass. The same scene became cleaner, brighter, and more expressive. That day taught me that understanding camera lenses is one of the fastest paths to better images. No camera menu diving required!
This guide is your foundation. I’ll walk through what lenses actually do, the parts you’ll handle, the specs you’ll see on product pages, and how different types of camera lenses influence style. I’ll share practical insights that I wish someone had told me on day one, plus simple diagrams to visualize key concepts. By the end, you’ll know exactly how to pick, use, and care for your next lens with confidence.
What Camera Lenses Actually Do
At its core, a lens gathers light and focuses it onto your camera’s sensor. The arrangement of glass elements bends incoming rays so they converge precisely where the sensor sits. When that convergence lands sharply, you get detail; when it misses, things look soft. Everything you change—focal length, aperture, focus distance—nudges how those rays meet the sensor. You can see the physics behind lens functionality in the video above by Canon Asia.
Think of focal length as your point of view. Short focal lengths (wide-angle) pull in more of the scene and exaggerate distance; long focal lengths (telephoto) narrow the field of view and compress space, making background elements look closer to the subject. Neither is “right” or “wrong”—they’re creative decisions that steer how your photo feels.
Aperture governs both exposure and depth of field. A wider aperture (lower f-number) lets in more light and produces blurrier backgrounds; a narrower aperture (higher f-number) admits less light but renders more of the scene in focus. In practice, portraits often favor wider apertures for subject separation, while landscapes frequently use narrower apertures for front-to-back clarity.
The Parts of a Camera Lens
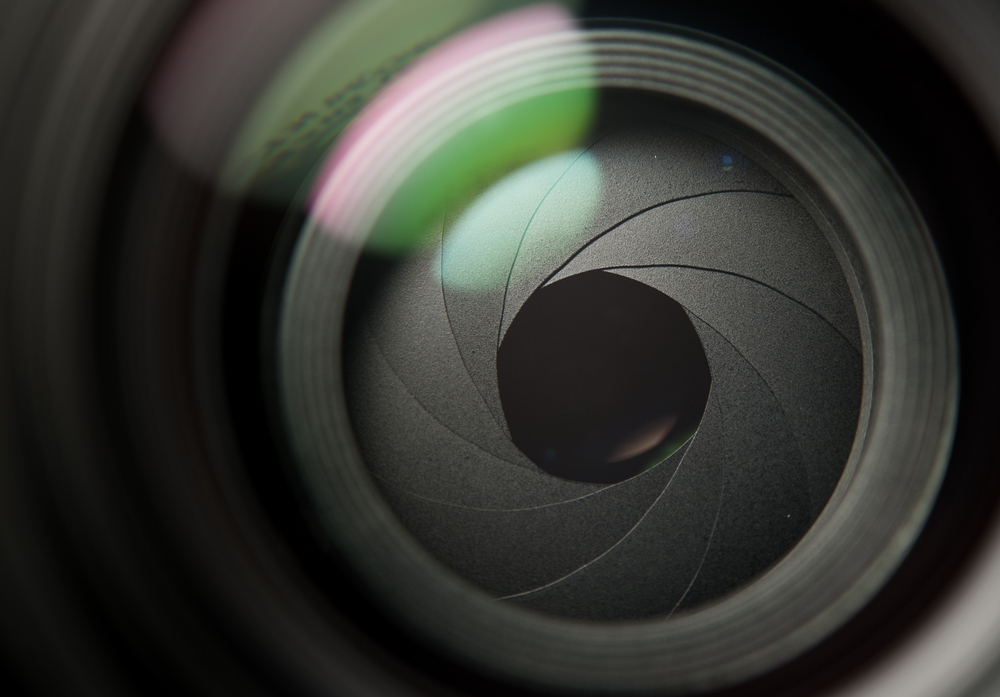
Photo by showcake via Shutterstock
Inside every lens is a carefully arranged set of elements—glass pieces shaped to correct aberrations and channel light efficiently. Modern designs often include aspherical and low-dispersion elements to sharpen corners and reduce color fringing. While you can’t see these internal shapes, you’ll feel their value when images look crisp edge to edge.
The aperture (shown above) sits in the middle like an iris, expanding and contracting to control light. It’s built from overlapping blades that form a near-circular opening; the rounder the opening, the smoother your bokeh often appears. Some lenses have more blades to keep out-of-focus highlights pleasing, which is something I pay attention to for portrait work and night scenes.
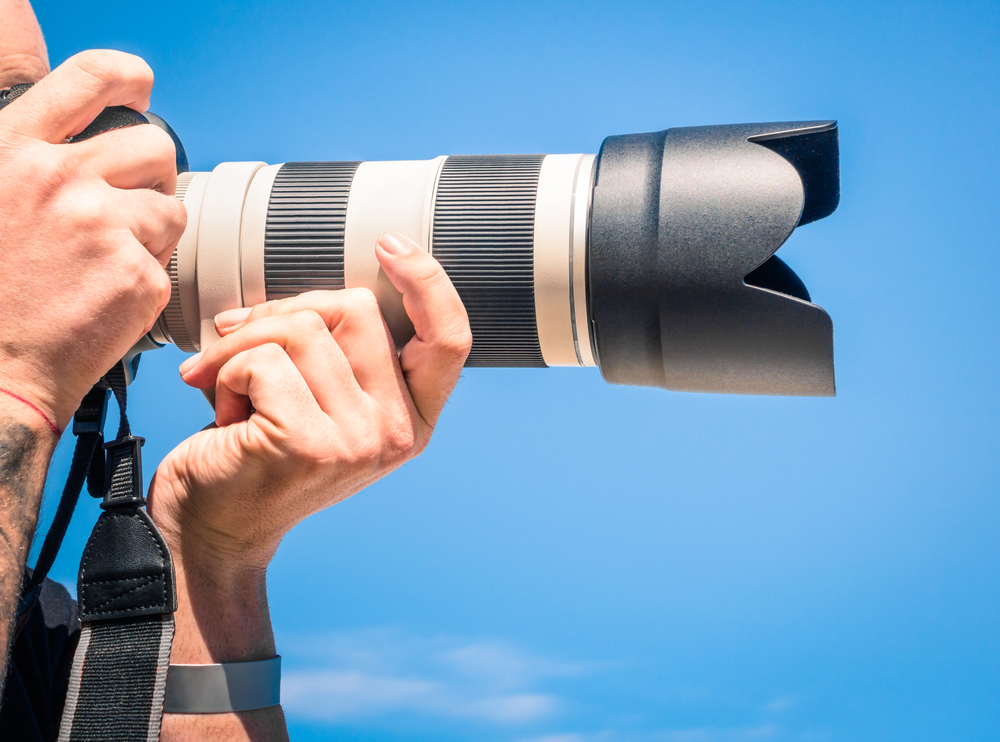
Photo by View Apart via Shutterstock
Externally, the focusing ring and zoom ring (for zooms) are your primary controls. A grippy, well-damped focus ring gives you precise manual control—critical for macro, video pulls, or low light. The lens mount connects your lens to the body, and different brands use different mounts. Adapters can bridge systems, but they sometimes affect autofocus performance, so I choose adapters carefully when mixing ecosystems.
Two other small parts matter more than most beginners realize: the lens hood and filter threads. The hood (like the one shown in the image above) helps reduce flare from stray light and provides practical protection from bumps or drizzle. Filter threads, meanwhile) let you attach polarizers (for richer skies and reflections) and neutral density filters (for long exposures). I keep a quality circular polarizer in my bag; it’s one accessory that consistently elevates outdoor photos.
Key Lens Specifications & What They Mean
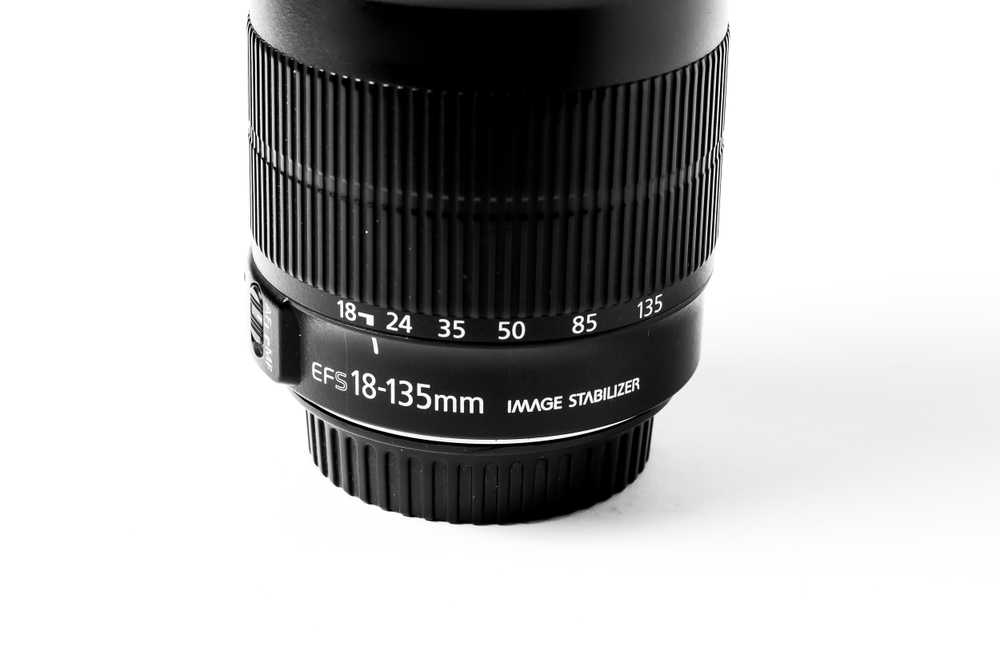
Photo by By Jibond via Shutterstock
Focal length is printed right on the barrel—either a single number for primes (e.g., 50mm) or a range for zooms (e.g., 18-135mm). Shorter numbers mean wider views; longer numbers bring distant subjects closer. On smaller-than-full-frame sensors, the field of view changes, so it’s worth learning your system’s crop factor to compare lenses across formats.
Maximum aperture (like f/1.8 or f/2.8) tells you the lens’s brightest setting. A “fast” lens with a large maximum aperture helps in low light and gives you more control over background blur. Zooms sometimes have variable maximum apertures (e.g., f/3.5–5.6), which darken as you zoom in. Constant-aperture zooms stay bright end-to-end but tend to be larger and pricier.
Image stabilization (noted as IS/VR/OSS, depending on the brand of the lens) counteracts small hand movements, letting you shoot at slower shutter speeds without blur. It’s especially useful at longer focal lengths, where shake is magnified. Minimum focusing distance and maximum magnification matter if you love details—closer focusing means larger subjects in the frame without a dedicated macro lens.
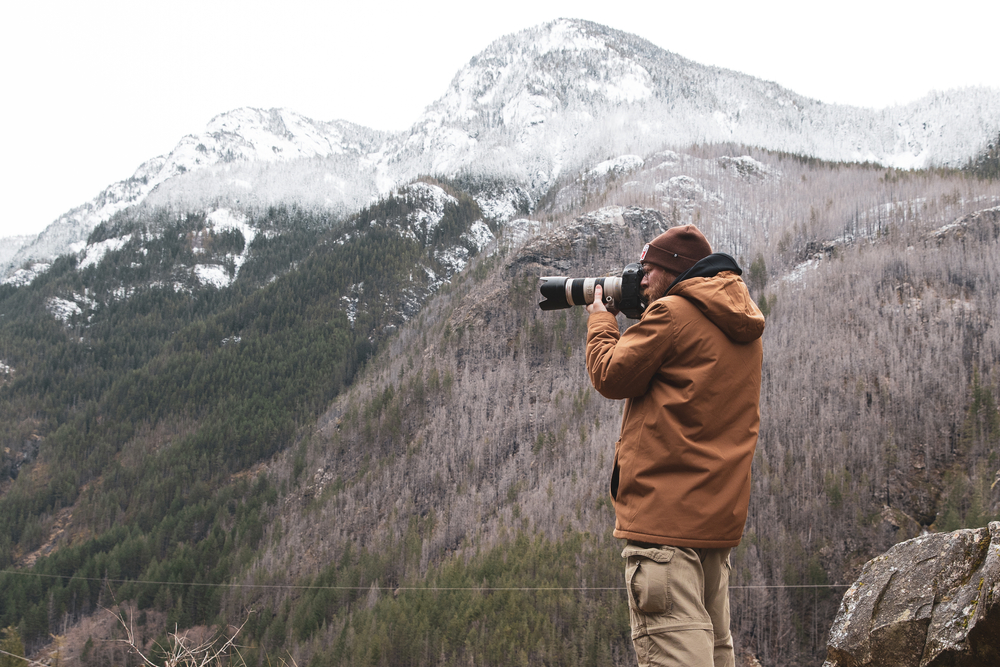
Photo by MPH Photos via Shutterstock
Weather sealing is another spec worth noting if you shoot outdoors. It isn’t a free pass in a storm, but it adds peace of mind in dust, mist, or light rain. I also look for linear or stepping focus motors for video—they’re quieter and smoother, which keeps on-camera audio cleaner and focus transitions more professional.
Common Types of Camera Lenses and Their Uses
Photo by Tom Morbey on Unsplash (license)
Standard lenses (around 35–50mm on full-frame) match a natural perspective and are incredibly versatile. They’re perfect for street, travel, and storytelling portraits. A fast 50mm, for instance, can handle dim interiors and create gentle background blur without carrying a bag full of glass. Many photographers keep a 35mm for contextual scenes and a 50mm for tighter, more intimate frames.

Photo by emjaybea via Shutterstock
Wide-angle lenses (roughly 14–35mm) emphasize space and depth, making them favorites for landscapes, architecture, and interiors. They also demand careful composition: leading lines, foreground interest, and level horizons matter more because distortion and perspective stretch can be pronounced. When I shoot very wide, I often get low and include a strong subject in the foreground to anchor the frame.
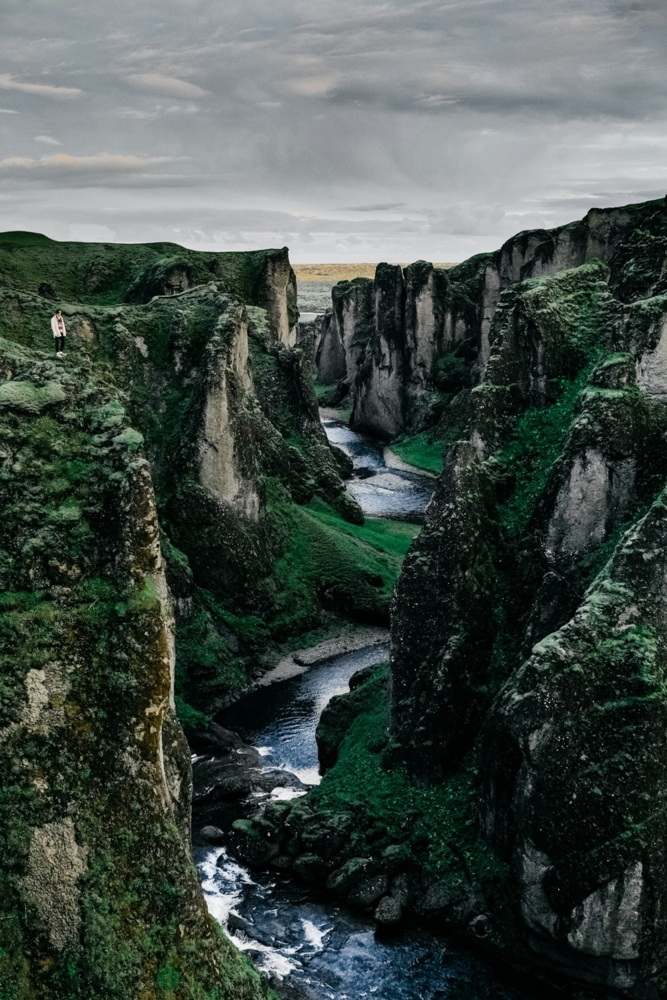
Photo by Daniel Malikyar on Unsplash (license)
Telephoto lenses (70mm and beyond) let you isolate subjects, compress backgrounds, and shoot from a distance—useful for portraits, wildlife, and sports. The tradeoff is that longer lenses magnify camera shake and often need faster shutter speeds or stabilization. I like to brace against a wall or tree when handholding a telephoto outside; the tiny stability boost can make a noticeable difference in sharpness.

Photo by ArtEvent ET via Shutterstock
Macro lenses are designed to focus extremely close, usually reaching 1:1 magnification. They reveal textures and details that normal lenses can’t, from the veins in a leaf to the facets of a watch dial. Macro work rewards patience and controlled light; even a small breeze can move your subject out of focus, so I often switch to manual focus and rock gently toward the focal plane for precision.

Photo by Andrei Armiagov via Shutterstock
Finally, there are specialty options like fisheye (example shown above) and tilt-shift. Fisheyes deliver sweeping, curved perspectives that can be whimsical or graphic; tilt-shift lenses allow plane-of-focus control for architectural straight lines or miniature-style effects. While niche, these camera lenses can become signature tools when used thoughtfully.
Autofocus vs. Manual Focus in Camera Lenses

Photo by OlegD via Shutterstock
Modern autofocus systems are fast and accurate, but knowing when to disengage them is a quiet superpower. Phase-detect AF excels at tracking moving subjects; contrast-detect can be highly precise for static scenes. Many mirrorless bodies combine both, giving you reliable performance in most situations.
Manual focus shines when depth of field is razor-thin (macro) or when light is scarce and AF hunts. Focus peaking and magnification in mirrorless cameras make manual work far easier than it used to be. I often pre-focus manually for street photography at a set distance and work within that zone, which keeps me quick and discreet.
Focus motors matter, especially for video. Stepping and linear motors are quieter and deliver smoother transitions, minimizing the audible whir that older screw-driven systems sometimes produce. If you record interviews or ambient sound, quieter camera lenses help keep your footage clean without resorting to heavy post-processing.
One more tip: decouple focus from the shutter (back-button focus) if your camera allows it. This separates focusing and shooting into two steps, preventing the camera from refocusing at the last second and ruining a carefully composed moment.
Lens Care and Maintenance
Good care preserves image quality and resale value. I start every cleaning with a blower to remove grit before anything touches the glass. If smudges remain, a few drops of lens solution on a microfiber cloth (never directly on the lens) typically does the trick. Avoid circular scrubbing with pressure; gentle passes from center to edge are safer. Get more details on lens cleaning in the video above by Jeven Dovey.
Storage matters more than most people think. Lenses prefer dry, stable environments—extreme heat or damp conditions invite haze or fungus. If you live in a humid climate, consider silica gel packs or a small dry cabinet. I also store gear with caps on and hoods attached to minimize accidents when I grab a lens in a hurry.
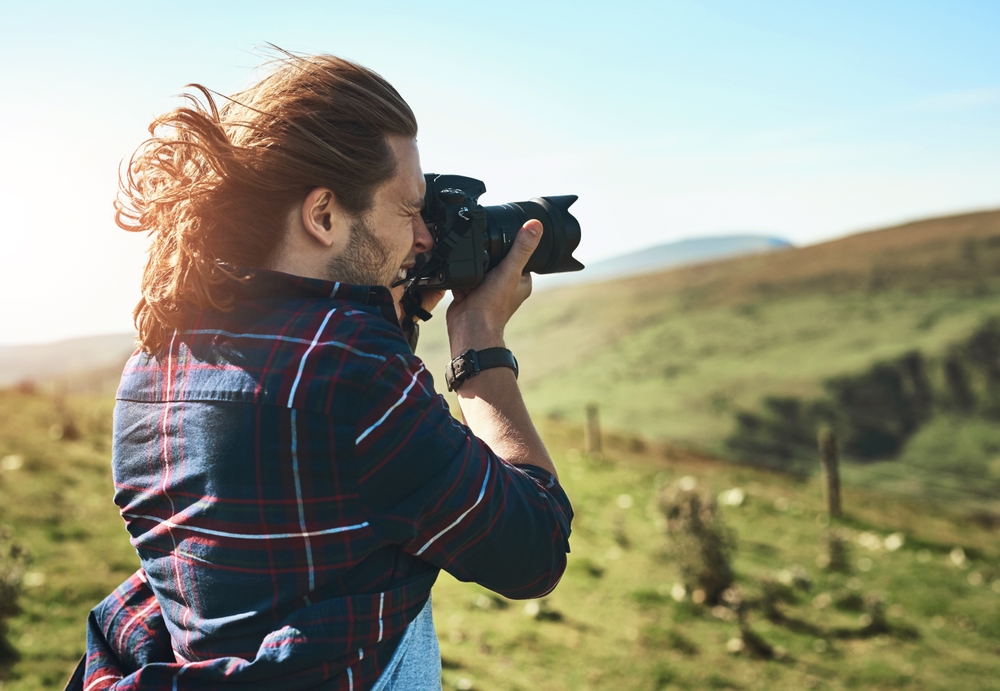
Photo by PeopleImages.com – Yuri A via Shutterstock
In the field, keep a lens hood on as a first line of defense. It blocks stray light and cushions minor bumps. For weather, a simple rain cover or plastic bag with a rubber band can keep shooting when conditions turn. After a dusty day, I wipe the barrel and mount so debris doesn’t migrate into the camera next outing.
Finally, check for firmware updates on modern lenses with electronic controls. Manufacturers occasionally improve autofocus behavior or stabilization through updates. It’s a small task that can yield real-world improvements with zero cost.
Choosing Your First Lens

Photo by Andre Furtado on Unsplash (license)
Start by defining how you like to see the world. If your camera roll is full of people and everyday moments, a fast 35mm or 50mm is a fantastic first choice. For travel and variety, a 24–70mm or 18–55mm gives flexible framing with minimal lens changes. If wildlife or sports call to you, consider a 70–200mm and plan for stabilization or faster shutter speeds.
Budget realistically but remember that quality glass lasts. I’d rather own one excellent lens I adore than three that feel “almost right.” Renting or borrowing before buying is a smart way to confirm focal lengths that match your style. Many shops and online services make this easy and affordable.
Avoid spec chasing for its own sake. The sharpest MTF charts won’t rescue a photo with weak light or composition. Prioritize handling: does the focus ring feel precise? Is the weight comfortable for a full day? Do the controls fall under your fingers naturally? When a lens disappears in your hands, you shoot more—and better.
For beginners specifically, a simple fast prime is the best teacher. With a 50mm f/1.8, you’ll learn to move your feet, think about background, and see light in a new way. Those habits transfer to every other lens you’ll own.
Final Thoughts
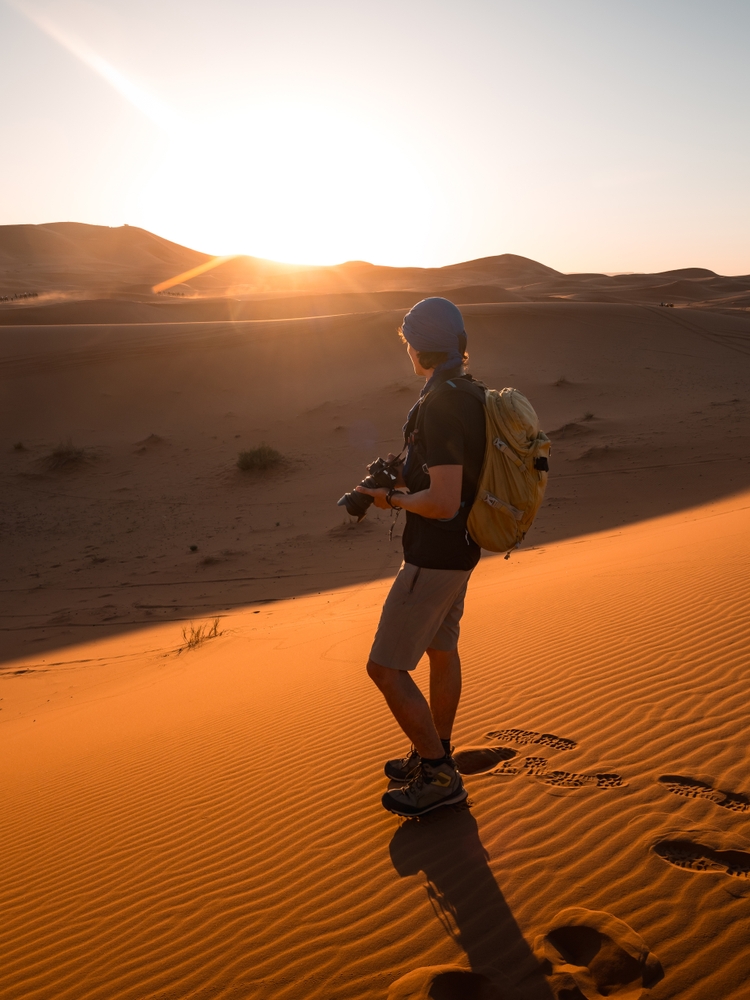
Photo by larraend via Shutterstock
Mastering camera lenses is less about memorizing jargon and more about feeling how focal length, aperture, and distance shape a scene. The more you experiment—change lenses, alter your position, shift your aperture—the more fluent you become in the language of light.
Over the years, I’ve learned that lens choice is storytelling. A wide frame invites context; a tight frame invites intimacy. Neither is universally better. What matters is using the right tool to say exactly what you mean.
So take this knowledge, pick a lens, and give yourself an hour to explore a single location at different focal lengths and apertures. You’ll come home not just with photos, but with a deeper understanding of how camera lenses help you see.
FAQs

Photo by Prostock-studio via Shutterstock
What is the most important factor when choosing a camera lens?
The most important factor is how well the lens matches your style of photography. For example, a portrait photographer might prioritize a fast prime lens with a wide aperture, while a travel photographer might prefer a versatile zoom lens.
Are prime lenses better than zoom lenses?
Neither is inherently better. Prime lenses offer sharper image quality and wider apertures, while zoom lenses provide flexibility in framing. Your choice should depend on your shooting needs and preferences.
Do expensive lenses always produce better photos?
Not necessarily. While high-end lenses often have superior build quality, faster apertures, and better optics, skill and technique are far more important for creating great images.
How often should I clean my camera lens?
Clean your lens only when it’s visibly dirty or has smudges. Over-cleaning can cause unnecessary wear to coatings. Use a blower first, then a microfiber cloth with lens cleaning solution if needed.
Can I use any lens with my camera?
No. Lenses are designed for specific mounts and sensor sizes. Check compatibility before buying, or use an appropriate lens adapter if available.
Is image stabilization worth it in a lens?
Yes, especially if you shoot handheld in low light or at longer focal lengths. Image stabilization can help reduce blur caused by camera shake.
Should I buy a UV filter for my lens?
Many photographers use UV filters for protection rather than image improvement. A high-quality UV filter can safeguard the front element from scratches and dust without noticeably affecting image quality.
Hero photo by structuresxx via Shutterstock