
Beginner Real Estate Photography Tips
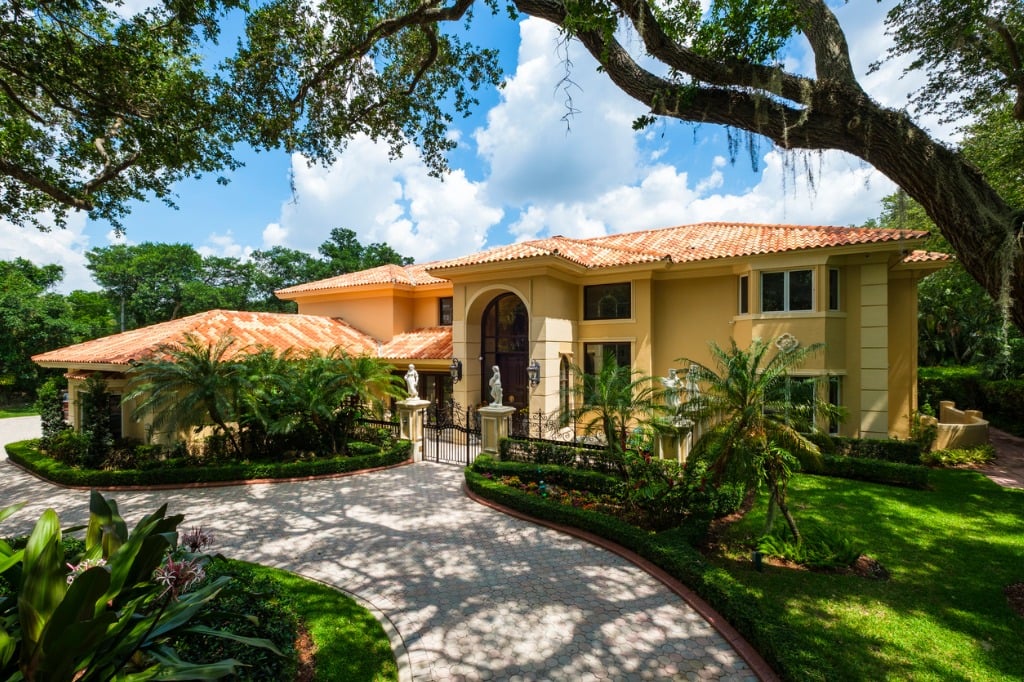
photo by RAUL RODRIGUEZ via iStock
Real estate photography is an amazing business to break into. Just being a good photographer will only go so far, though, so we have some beginner real estate photography tips to help guide you.
Wide Lenses Are King
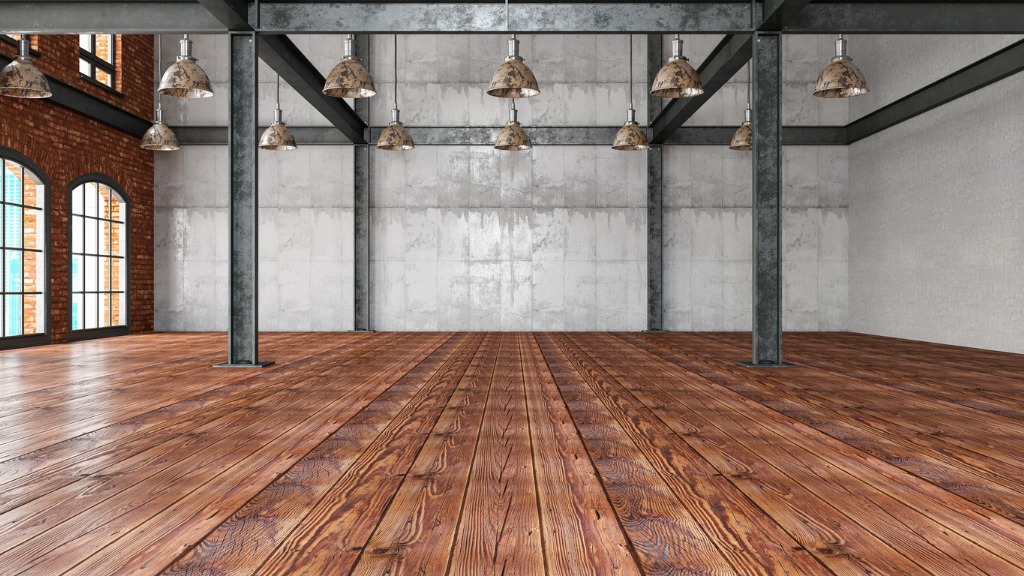
photo by asbe via iStock
You likely have already considered adding a wide angle lens beyond the widest focal length of the kit lens.
If you’re using an APS-C format camera, a lens shorter than the 18mm end of the 18-55mm kit lens like a 10mm, 11mm, or 12mm lens or wide angle zoom incorporating that focal length will make the job much easier.
Full Frame format cameras would use focal lengths shorter than 24mm such as about 14mm to 17mm will work out well.
Faster lenses will give you more exposure options but you probably won’t need to shoot wide apertures very often. The sweet spot aperture tends to work well for sharpness and increased depth of field.
Use a Tripod
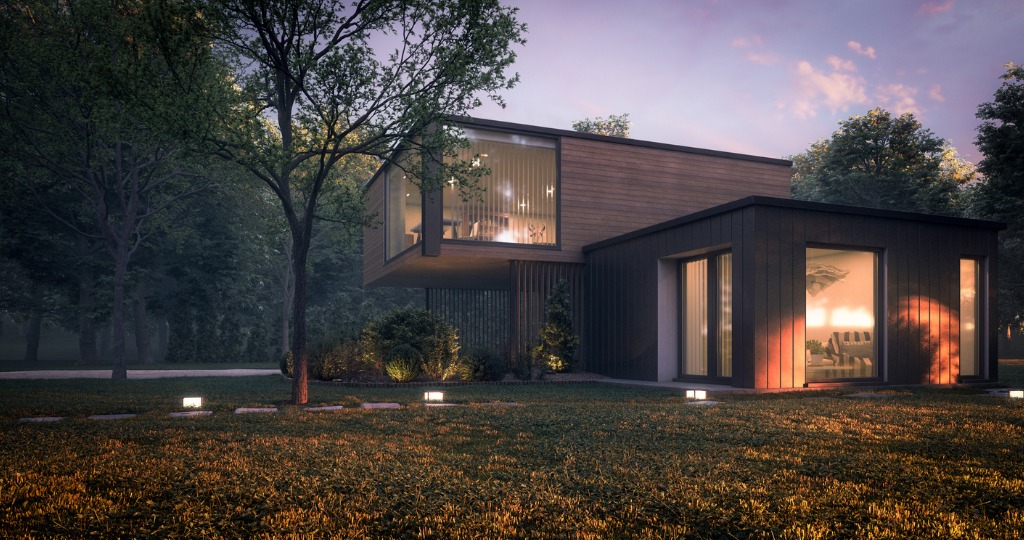
photo by Bulgac via iStock
Since you’re shooting a lot of inside shots with medium to small apertures much of the time, one of the more simple real estate photography tips is to use a tripod whenever possible. Smaller apertures will result in longer shutter speeds which means a tripod is a good idea.
As part of the tripod tips for beginner real estate photographers, use a spirit level and a remote release, too. Since we’re using wider angle lenses, levelling the camera is important to avoid apparent perspective or distortion issues. Using a remote release, wired or wireless, helps prevent unwanted camera shifting or moving.
Shoot in RAW
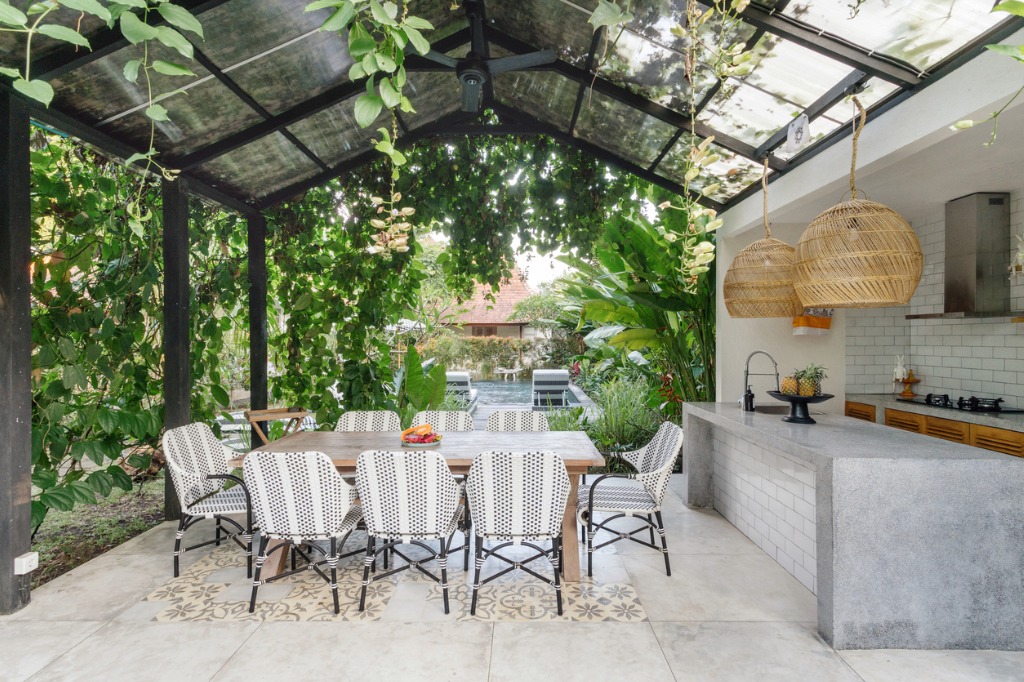
photo by brizmaker via iStock
General and real estate photography tips extoll the value of shooting in RAW for good reason. You get more exposure detail than in a compressed JPEG, plus you get to assign a white balance or color temperature after the shot during post processing.
For real estate photography, you will be shooting more often than not in RAW to take full advantage of your camera’s imaging capabilities.
Learn More:
HDR Exposure
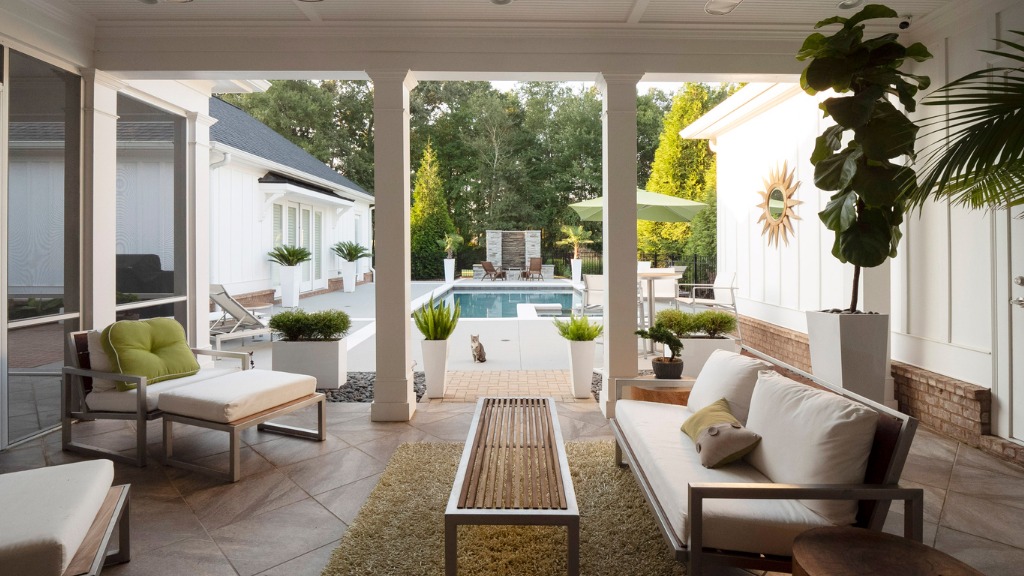
photo by stevecoleimages via iStock
Though it may be a more advanced photo technique, we include HDR in our beginner real estate photography tips because of how simple it has become to post process for HDR images.
You will need that tripod for this method since you are shooting multiple frames at slightly different exposures and merging them into a single final image by means of specially designed programs.
Here is a good idea of how simple it can be to accomplish this with the right methods and a good program.
Open Blinds and Curtains
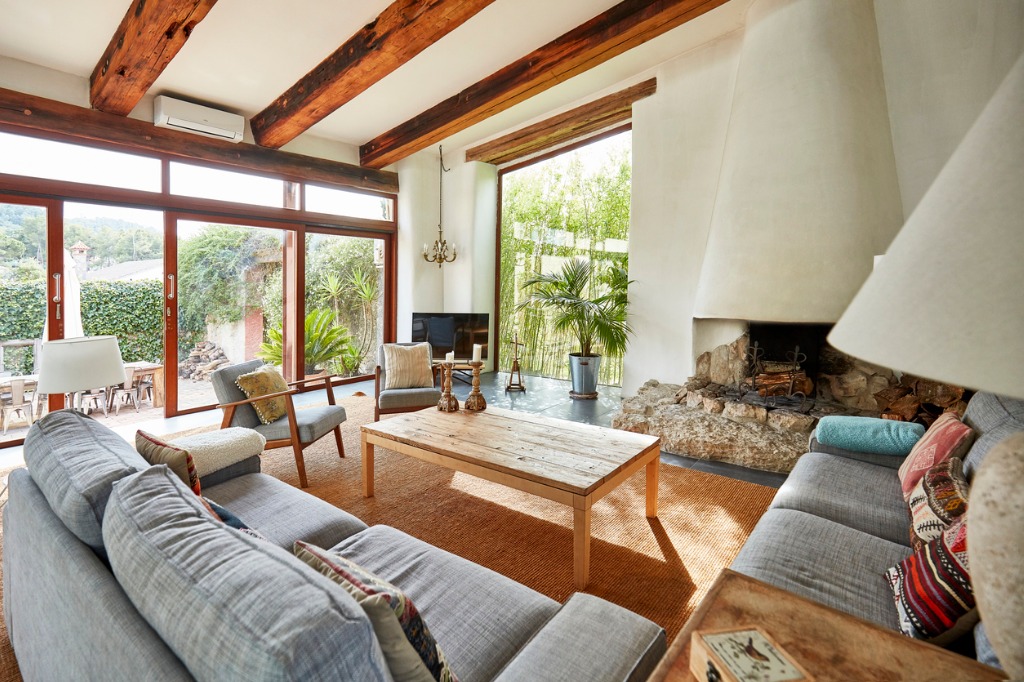
photo by xavierarnau via iStock
We may be bracketing and merging exposures, but we still want good lighting. Opening up shades, blinds, and curtains works as nicely for exterior images as it does for interior real estate photos.
If you’re bracketing shots and processing for HDR, you can often see into the home from the exterior views. When imaging the interior, HDR lets us blend all the different highlight and shadow values in the image files.
As far as helpful tips for beginner real estate photographers go, it bears pointing out that we usually want our HDR imagery to look natural and not have that artificial, overly artsy feel to the pictures. This YouTube video offers some beneficial real estate photography tips about bracketing, merging, and HDR.
3 Wall Views
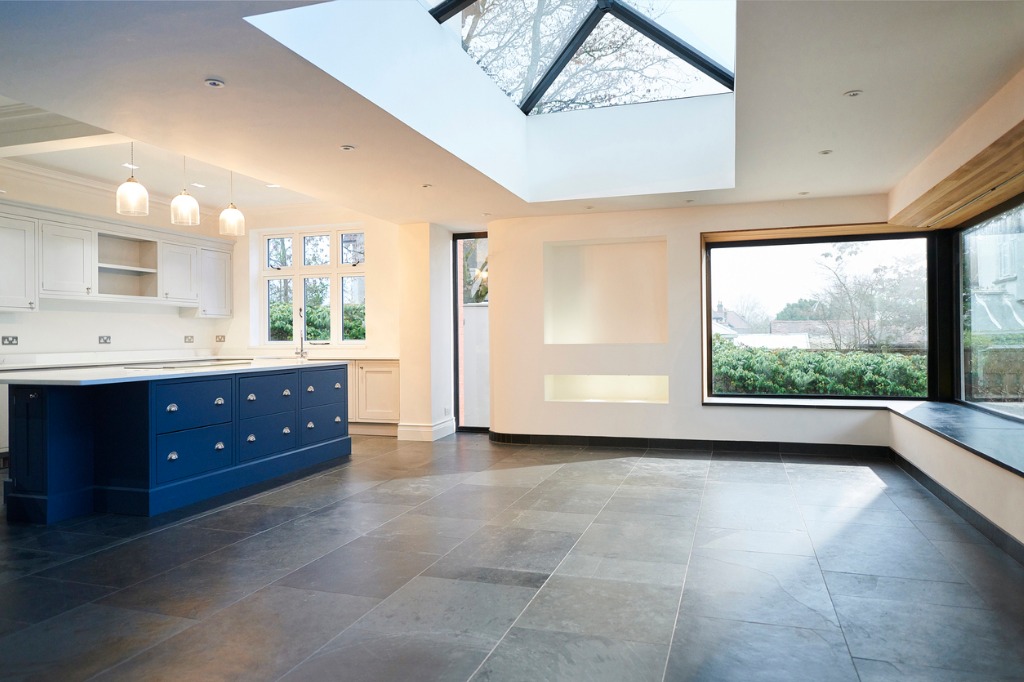
photo by sturti via iStock
When shooting the interiors, real estate professionals have come to expect an attractive representation of the property. Positioning the camera to capture views of three walls at a time are valuable in this respect.
It doesn’t have to be equal portions of all three walls, though. In fact, it adds visual appeal if the 3 wall is a little bit asymmetrical in composition. Be sure to keep the camera level so that all those straight lines don’t look odd to a viewer.
Create a Tour
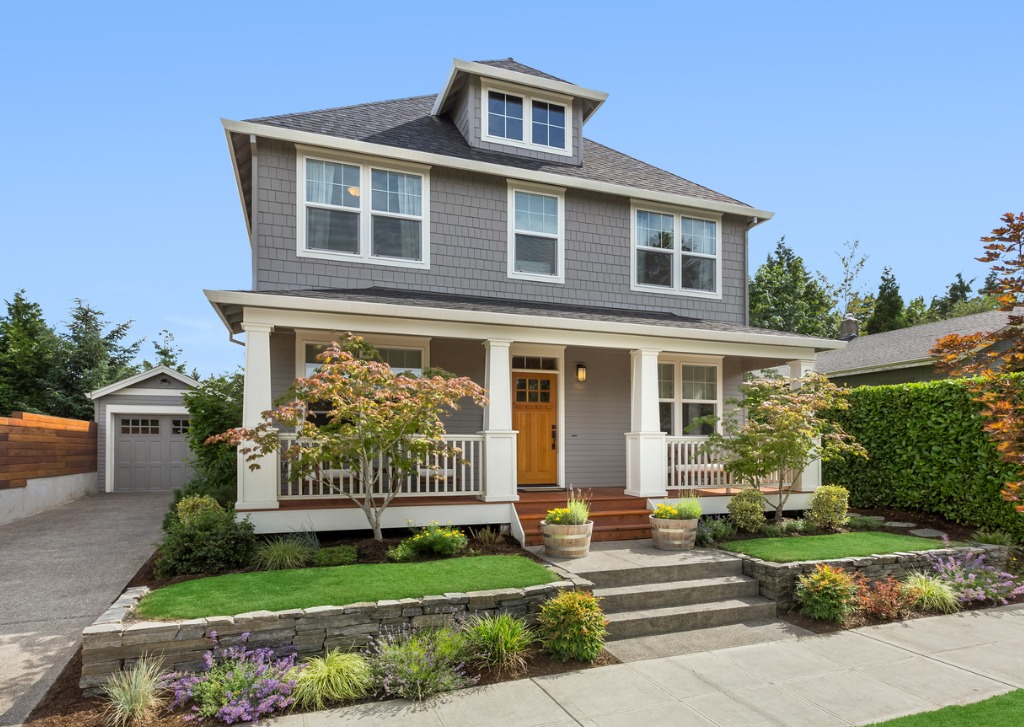
photo by hikesterson via iStock
You can create a virtual tour of the photos. A simple slide show is one way to do this. Another way is by creating a walk through viewing of the photos blended into a video. You can do this with your own software or use a service to create and even host the video tours.
Other Simple Real Estate Photography Tips

photo by hikesterson via iStock
Some of the other very useful beginner real estate photography tips are to use staging when appropriate, real life props or virtual staging. Also try out twilight time, morning or evening, for the beauty shot of the property.
Pricing our services is another of the simple real estate photography tips to implement thanks to the internet. Simply check to see what others in the area are charging and what services they offer. Compare with your expectations and go from there.
Use these beginner real estate photography tips to help you break into this profitable and enjoyable type of professional photography. You’re already a good photographer, practice these methods and ideas to a good real estate photographer.
Learn More:


