
How to Prepare a Property for Real Estate Photos
- Mow the lawn. This would include weeding flower beds and sweeping up any of the stuff that tends to find itself in yards and driveways but does not have to include major landscaping or pruning. Just get it neat. Hiding any trash cans is helpful as well as parking any cars in the garage or away from the property..
- Remove cobwebs, clean up exterior features. Underneath porches and overhangs is where we might run into cobwebs, spider webs, wasps nests. Sweep off or wash off really dirty brick or siding. Power washing is in the earlier repair category, if needed at all.
- Clean the windows. Windows are a vital picture element in real estate photography, especially when using the bracket and merge technique, so clean the glass, dust the blinds, straighten the curtains.
- Dust and vacuum. Make ready specialists will tell you to dust first, vacuum last. Good advice.
- Clean the kitchen and bathrooms. Put away food and dishes, and empty the trash. Hang clean towels and put that toilet lid down!
- Turn on the lights. Outside lights, overhead lights, under cabinet lights, stove lights, any lights highlighting artwork displays, all should be turned on. Leave the TVs off, though, also the ceiling fans.
- Open the blinds on windows. This adds a lot of character. If there isn’t a decent view from any window, open enough to let in the light. If there is a view of the yard, garden, neighborhood, or any special features, open them up all the way. This YouTube video explains how you can blend in an exterior view to your indoor shots.
- What You Need To Do Before Taking a Single Real Estate Photo
- What Makes Real Estate Photos Look Good?
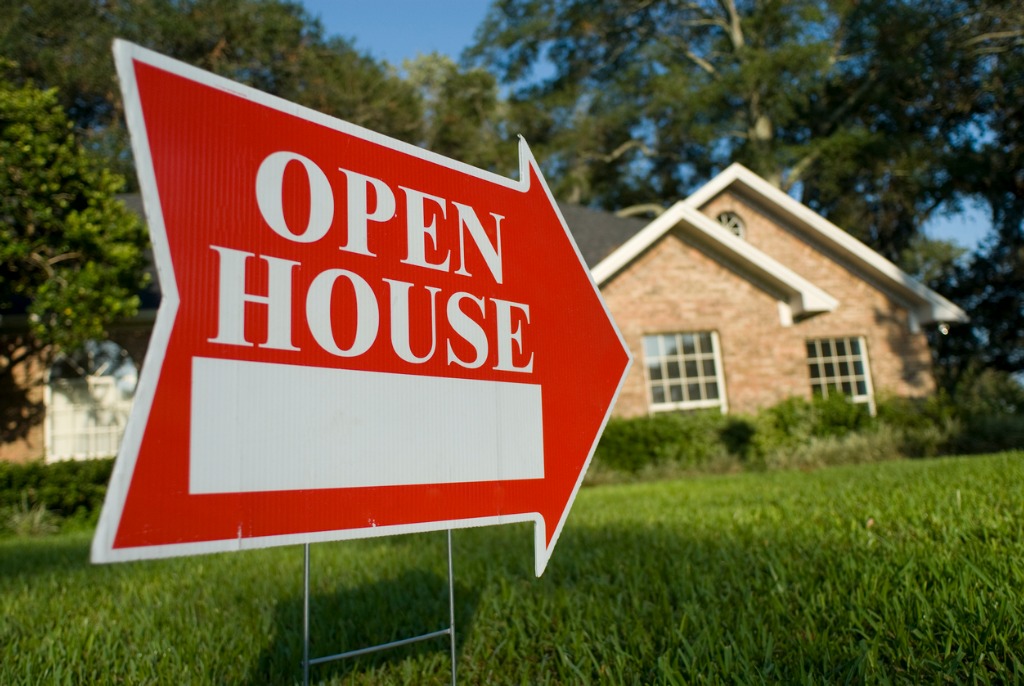
photo by KLH49 via iStock
How to prepare a property for real estate photos is an essential part of capturing good images for real estate listings.
Oftentimes, the photographer won’t be required to do much of the preparation themselves, but knowing staging tips for real estate photographers is good information to have on hand in general.
Why Preparation is Needed
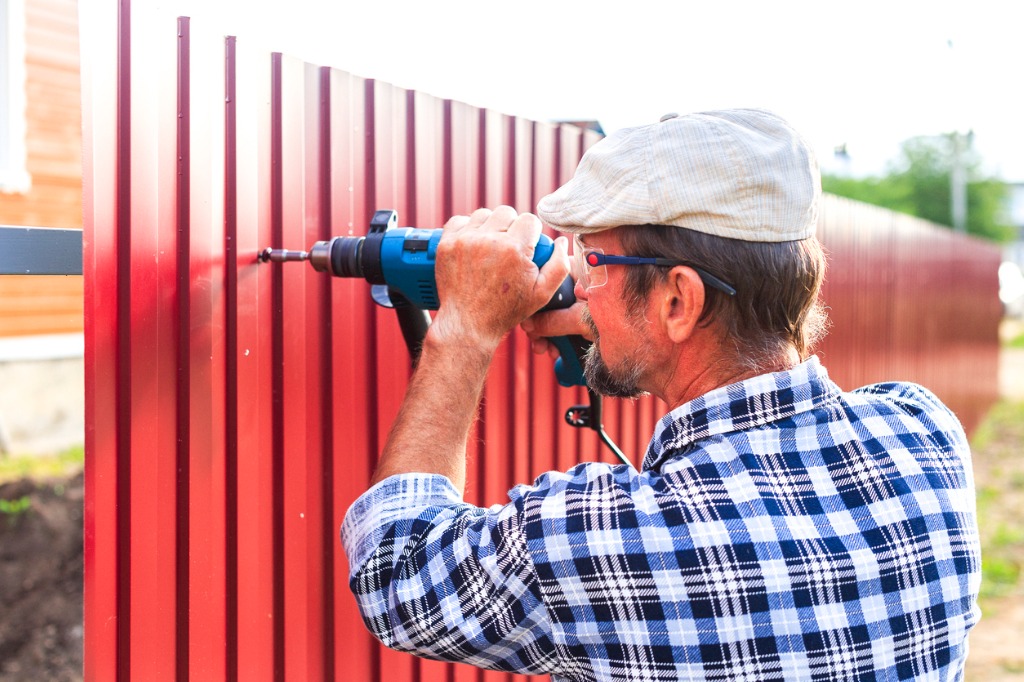
photo by EvgeniiAnd via iStock
Real estate photography is advertising, ads should present the best view to potential customers whatever the product. Who actually does the prep work doesn’t have hard and fast rules.
The homeowner is usually very involved in any major preparation, such as fence repair, replacing pieces of siding, fixing tile, repainting, and things like these. But all of that is generally done well before the property is due to be listed, unless there are other considerations involved.
Once the property is ready to be listed, it’s ready to be photographed, so we follow some basic real estate photography tips for this step.
What Prep Should Be Done?

photo by valentinrussanov via iStock
Now we’re at the time just before the photos get taken, maybe from a day or two ahead up to as the photographer is getting the camera and tripod set up.
Here is a partial list for how to prepare a property for real estate photos:
Learn More:
Staging or Not?
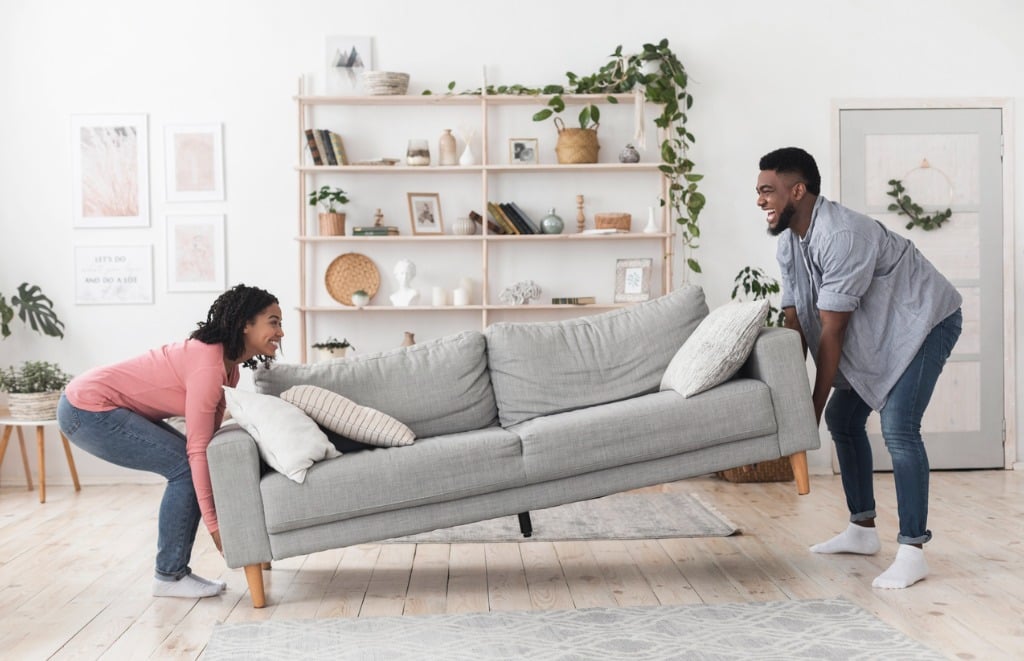
photo by Prostock-Studio via iStock
Staging is used in real estate photography to make a house look more like a home. It allows people to imagine themselves inside the property as though they lived there.
When the property being listed is actually occupied, staging tends to run along the lines of keeping things neat and tidy, not adding too much personalized material. Of course, when an office is being used or a home is lived in by someone, there is going to be some personalization. The trick is to keep it minimized, closer to generic than eclectic.
For empty or vacant properties, there are two options for staging, real and virtual.
Real staging businesses are available in most major markets and quite a few smaller ones. For a fee, they come in to arrange furniture, fixtures, and add some faux personal items to give the home or office a lived in look.
Virtual staging is another amazing tool made possible by digital photography. Since you’re probably already making use of post processing software for the bracket and merge HDR technique and for minor enhancements like color correcting, it isn’t a stretch to use 3D rendering to populate an empty space with furniture.
What’s great about virtual staging is that you can furnish the space in multiple styles that can be viewed and compared with a click of a mouse or a finger swipe on a mobile device. There are a few user friendly programs for photographic D-I-Yers or you can use online or in person pros for this step.
Photography and Post-Processing
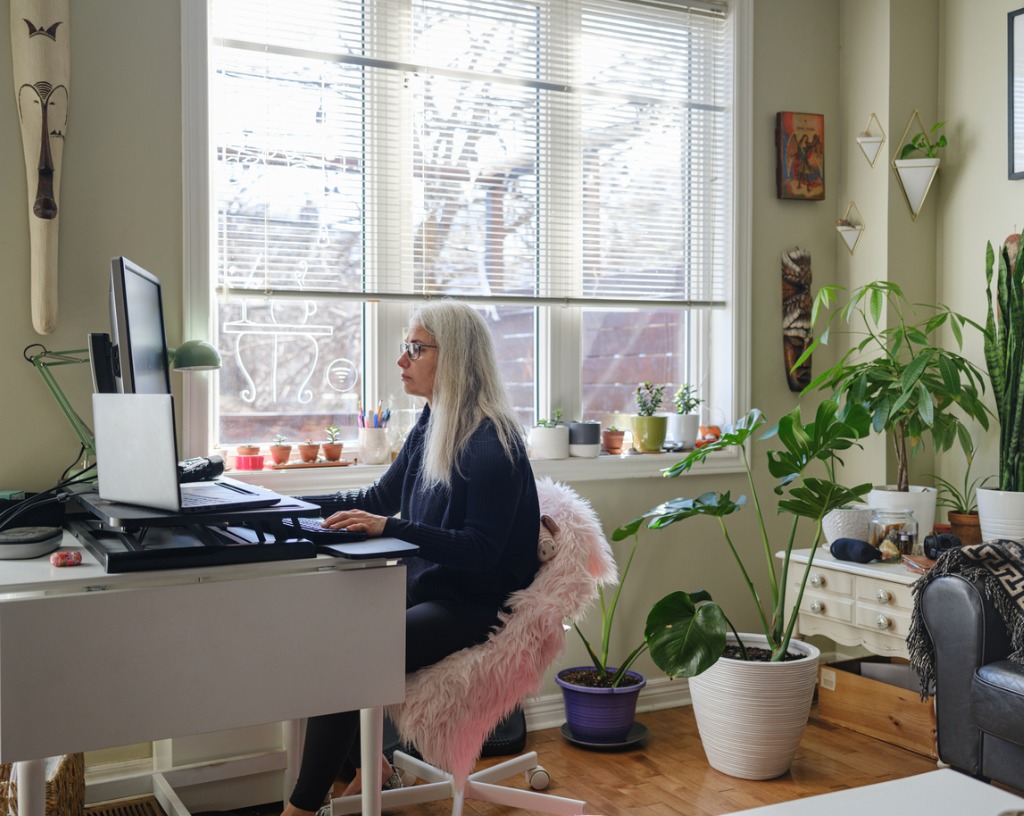
photo by FOTOGRAFIA INC. via iStock
The last step in how to prepare a property for real estate photos is to determine what style, method, and technique for imaging the property will be used.
Many photographers also include in their prepwork a few checklists for the actual appointment time.
First checklist is similar to the bulleted points above, making sure the property is ready to be photographed. How much of that work you pitch in and do as the photographer is up to you, but it’s a good idea to have it all spelled out ahead of time. Even if not specifically in a contract, it isn’t a bad idea to help finish it up, within reason.
Another checklist covers all of the photographer gear, such as tripod, charged batteries, clean memory cards, bubble level, and so on. Whatever our gear kit is, there is always a chance to leave something behind accidentally, so double checking is prudent.
A checklist of shooting order and what’s actually being shot is also very important. Generally, because of scheduling concerns for all involved, it’s very hard to go back and reshoot that one room we left off, so having a predetermined checklist and then actually using it are vital.
Please check out all of our other articles for additional helpful real estate photography tips.
Learn More:


