
Photography for Realtors
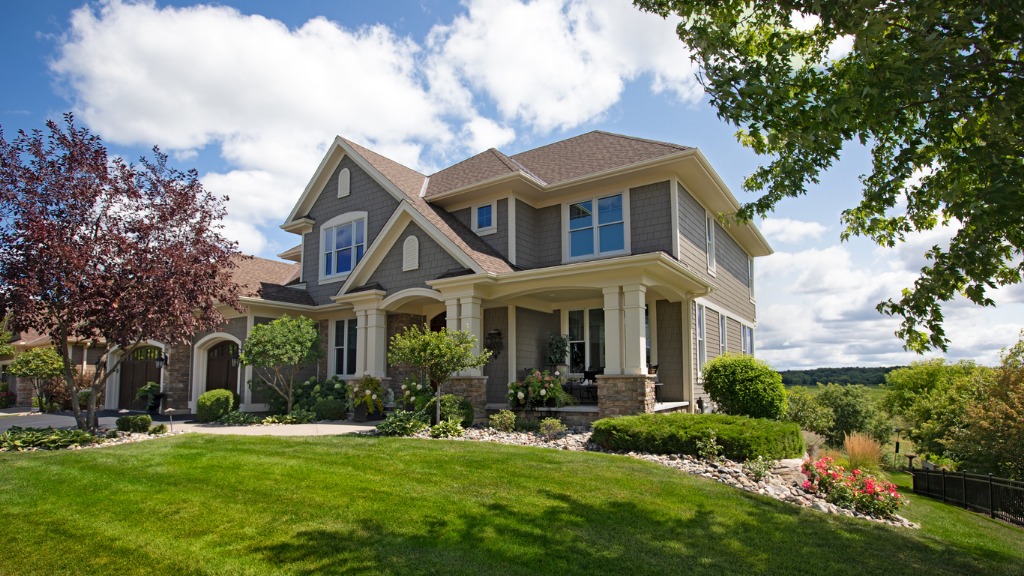
photo by Xacto via iStock
Realtors, are you trying to take your own pictures for some of your listings and want to get the same type of results you receive from the professional services you’ve been using? There are several good reasons to know how to take real estate photos yourself making it a good idea to learn photography for realtors.
I’ll list five of the most critical real estate photography tips that help you be able to know how to take real estate photos yourself when you need to. The outside shots seem easy for most people familiar with casual photography, it’s the interiors that many find difficult.
Why Learn Photography for Realtors?
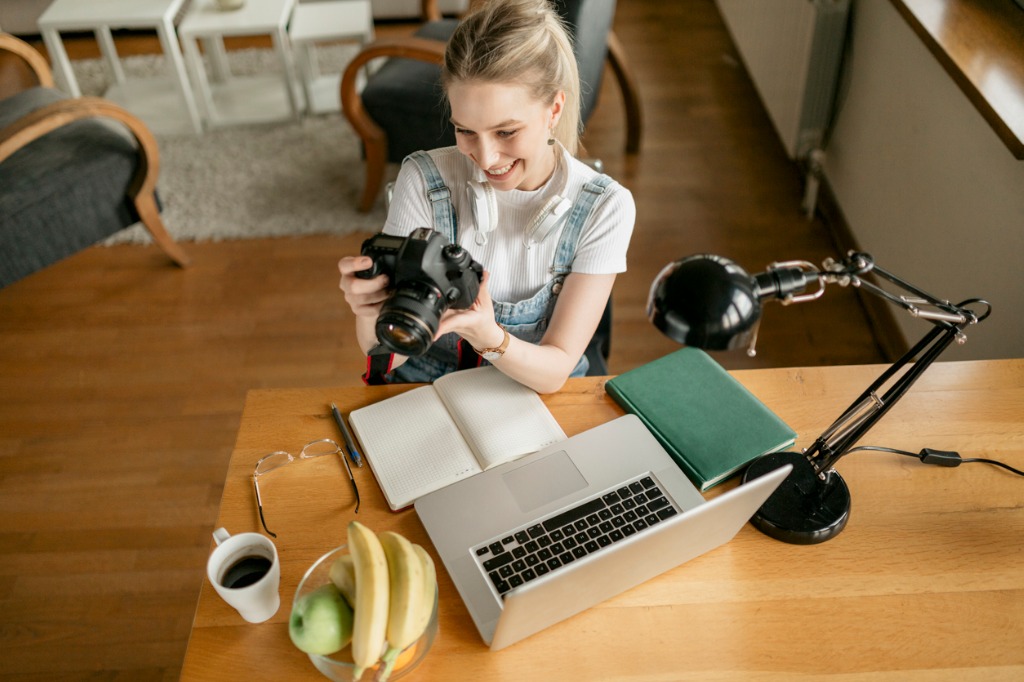
photo by van Pantic via iStock
There are a couple of reasons why it’s good for realtors to know how to photograph interiors for real estate as well as all of the exterior views that showcase a home in the best light possible.
One of the reasons to know photography for realtors is to be able to meet a super tight deadline. As a realtor, you may have a favorite photographer you use most of the time or an arrangement or contract with a photography company, but when you need to put up a listing today, doing it yourself might be the best option.
Another reason to really know photography for realtors is to be able to accurately communicate to homeowners the need to clean and stage properly and to be able to understand what your regular photographer is offering you. When everyone is on the same page, the resulting images and virtual tours will be of superior quality.
Invest In Excellent Photo Gear
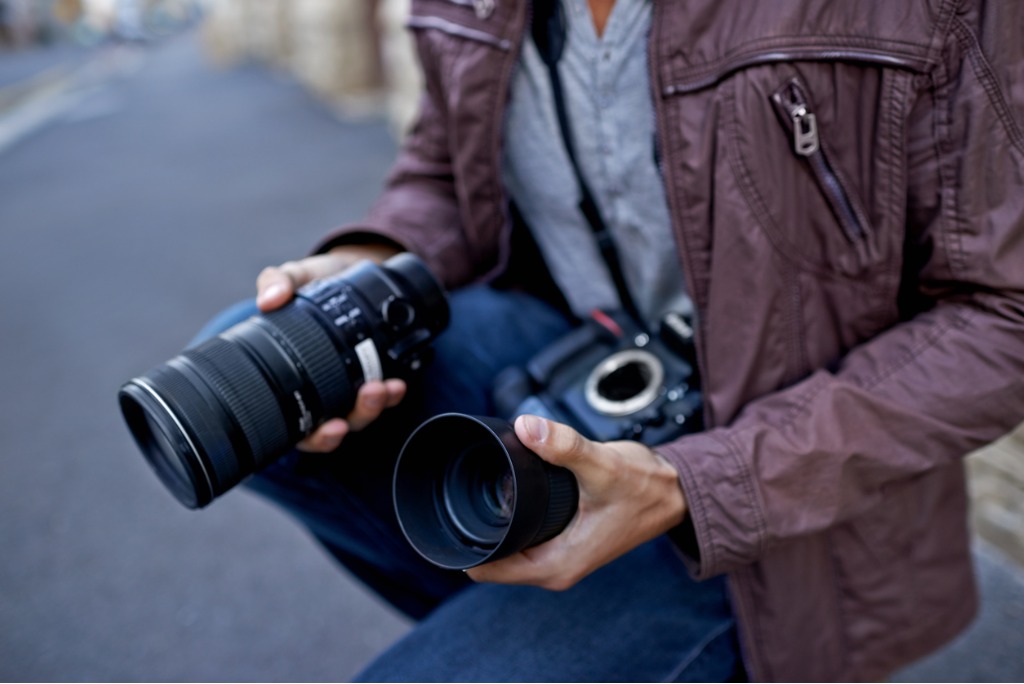
photo by PeopleImages via iStock
I have nothing against smartphones with their amazing level of photo and video quality but there are reasons other cameras still exist. A Full Frame or APS-C mirrorless camera or DSLR with advanced exposure controls and interchangeable lenses, when used properly, will provide better images than the best smartphone camera.
There, I said it! Seriously, the larger the format, the higher the overall quality a good photographer can achieve. But if we don’t know how to take advantage of the larger formats and advanced features, then we won’t get all of the benefits of these cameras.
The basic needs for a real estate photography camera gear kit are an interchangeable lens camera, a wide angle lens (wider than the kit lens), a tripod, and a post processing program.
The cameras and lenses don’t have to be the top line pro series equipment, but some entry level cameras may not have all the features required for better photography for realtors. Prosumer level cameras usually do, though, and many of these don’t cost too much more than entry level.
Learn More:
Real Estate Photography Camera Settings
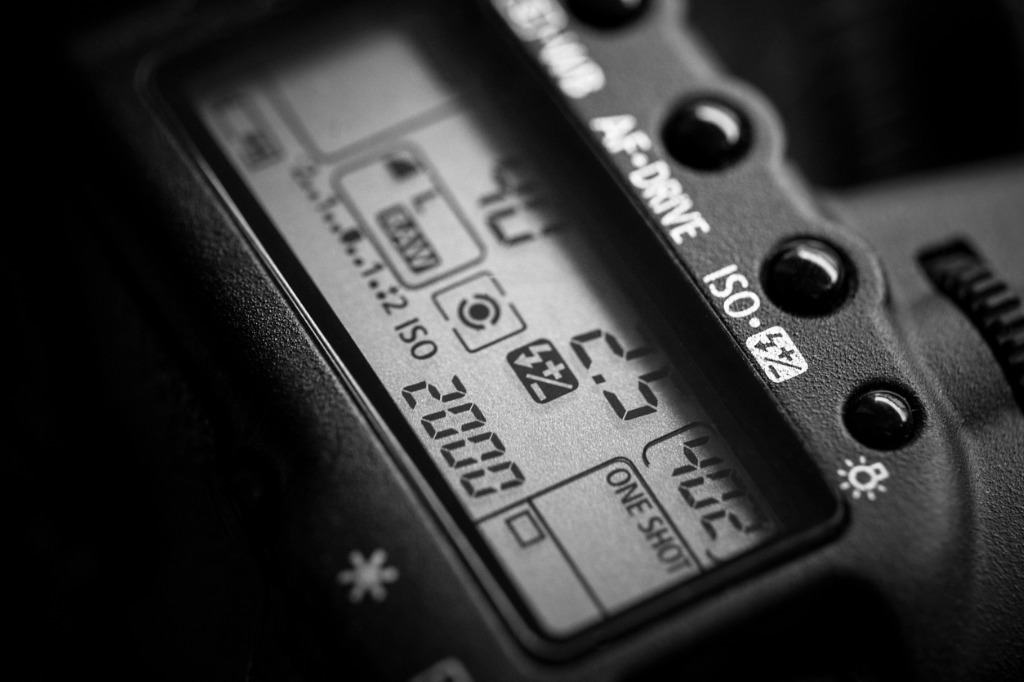
photo by deepblue4you via iStock
Current camera technology provides amazing automation for exposure and focus. However, we will usually be overriding the automation to capture the best images for real estate.
What should we use as real estate photography camera settings? An aperture that provides adequate depth of field for focus is helpful. With an ultra wide angle lens such as 10mm to 12mm for APS-C or 14mm to 18mm for Full Frame, an aperture of f/8.0 will likely work well.
The shutter speed will need to be adjusted to get correct exposure for that lens aperture, so using the camera meter or a separate meter will give us an idea of where to set this control. Remember that indoors, the resulting shutter speed for a smaller f-stop (aperture) will be slow enough to require using a tripod.
Setting the ISO is the third part of the Exposure Triangle for capturing images. We will be tempted to use an ISO that is more sensitive to light, a higher number, but that will lower the image quality. So, an ISO of 400, 640, or 800 is a good setting.
Setting the focus manually avoids the camera hunting for correct focus in low light or in a large room. Learning our lens’ hyperfocal distances will assist us with maintaining good focus. All of these settings and controls are explained in some of our other PhotographyTalk.com articles and courses. Please check them out.
The Right Software

photo by skynesher via iStock
A fantastic technique for creating the best real estate photography images is called Bracket and Merge Technique or HDR Photography. The idea behind this technique is to take multiple images of a scene with different exposure settings and use a post processing program to blend them together for an amazingly detailed and nice looking image.
A program specially designed for this technique is required for best results. Thankfully, these post processing programs are readily available for relatively low cost and are pretty simple to use. Here’s a YouTube video that explains the technique and programs.
Light It Up
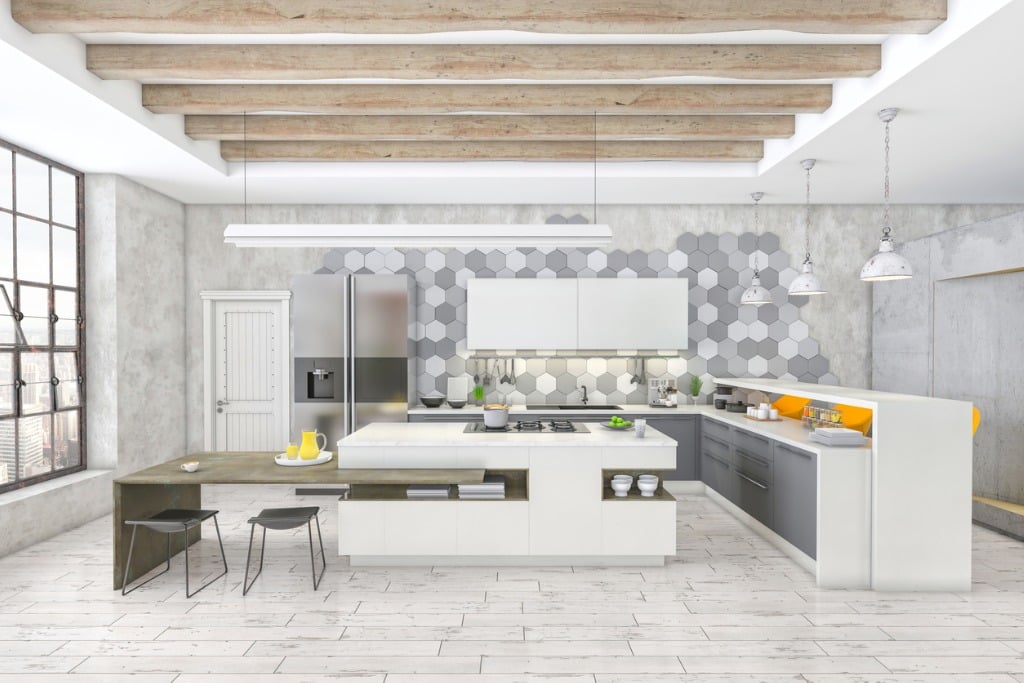
photo by ExperienceInteriors via iStock
Turn on those lights, open up blinds, and maybe add some additional lighting so that viewers will be able to see all the features of the home or business being listed.
The bracket and merge technique allows us to capture most interiors without requiring adding extra lights, but having a couple of portable battery powered LED lights will help open up extremely dark rooms such as we might find in a finished basement.
Use a Checklist
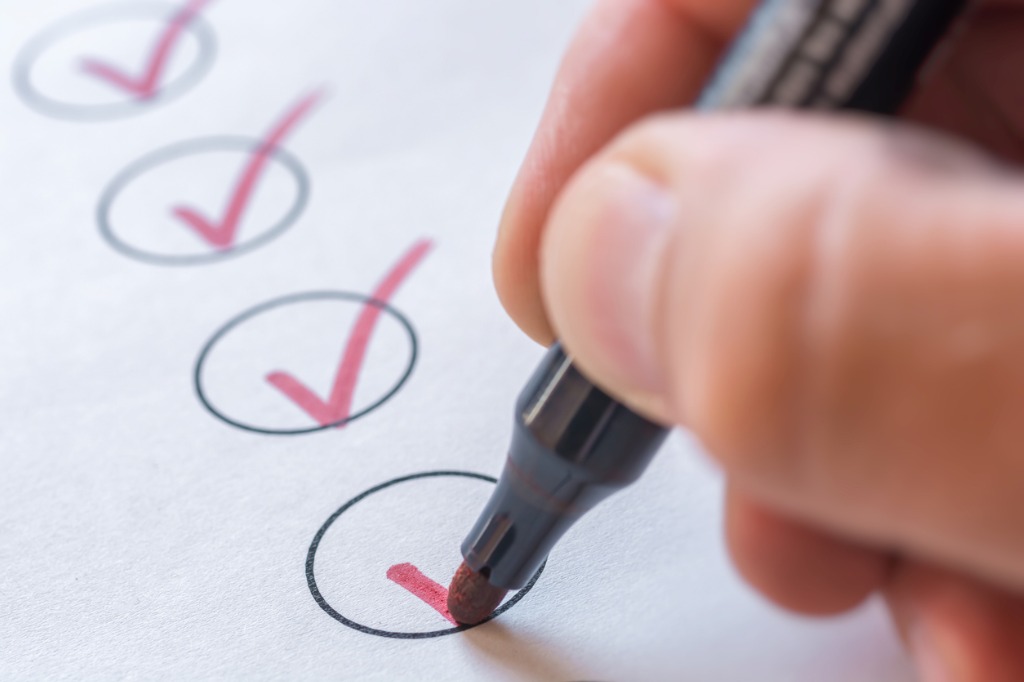
photo by Ralf Geithe via iStock
In order to be certain of capturing all of the images we need for a listing, having a checklist for properties in general is good practice. We can adjust it for a particular property as we do our walkthrough to ensure the place is tidy and ready for photography.
These are a few ideas to help you create the best photography for realtors when you need to capture the images for a listing yourself.
Learn More:


