
Professional Real Estate Photography Kit: What’s in the Camera Bag?
 Image Credit: CentralITAlliance via iStock
There are endless choices when it comes to camera gear for real estate photography.
And while there are obvious components that you need to launch a career photographing properties - a camera and wide-angle lens come immediately to mind - there are numerous other components and accessories that enable you to take high-quality photos.
Let’s look at a few must-have items for taking interior and exterior property photos. Note that “must-have” does not necessarily mean “expensive,” either.
In fact, as you will discover, some of the most valuable components you can have in your kit don’t cost much at all.
Use a Remote Trigger to Avoid Blurry Images
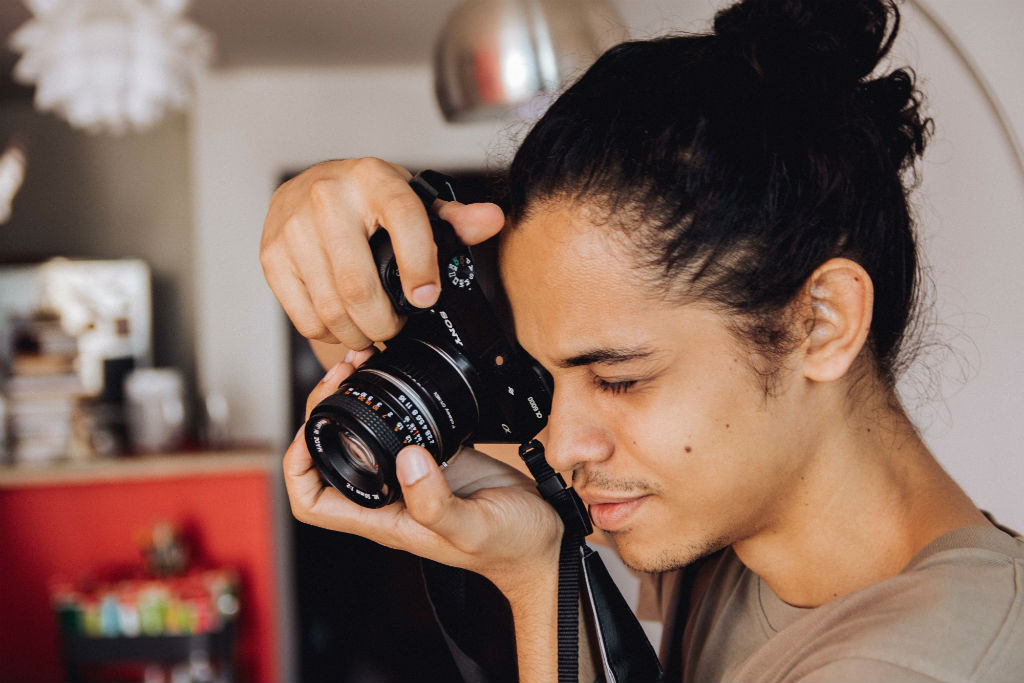 Photo by Maria Fernanda Gonzalez on Unsplash
One of the most common problems for photographers - no matter their subject - is images that aren’t quite sharp.
There are various reasons why an image might not be sharp, but perhaps the most common of these is that the subtle movements that occur when shooting handheld cause the image to be ever so blurry.
That means that you need to give your camera a stable base with a tripod (more on that next) and utilize a remote trigger so you can fire the shutter without actually touching the camera.
Some photographers will tell you that you don’t need a remote because you can use the camera’s self-timer to delay the shutter for a couple of seconds.
And while that’s certainly true, it’s much easier to have a remote in your hand that you can use to fire the shutter immediately.
There are all kinds of camera remotes, too. Three of the most popular types are outlined below.
Wired Camera Remotes
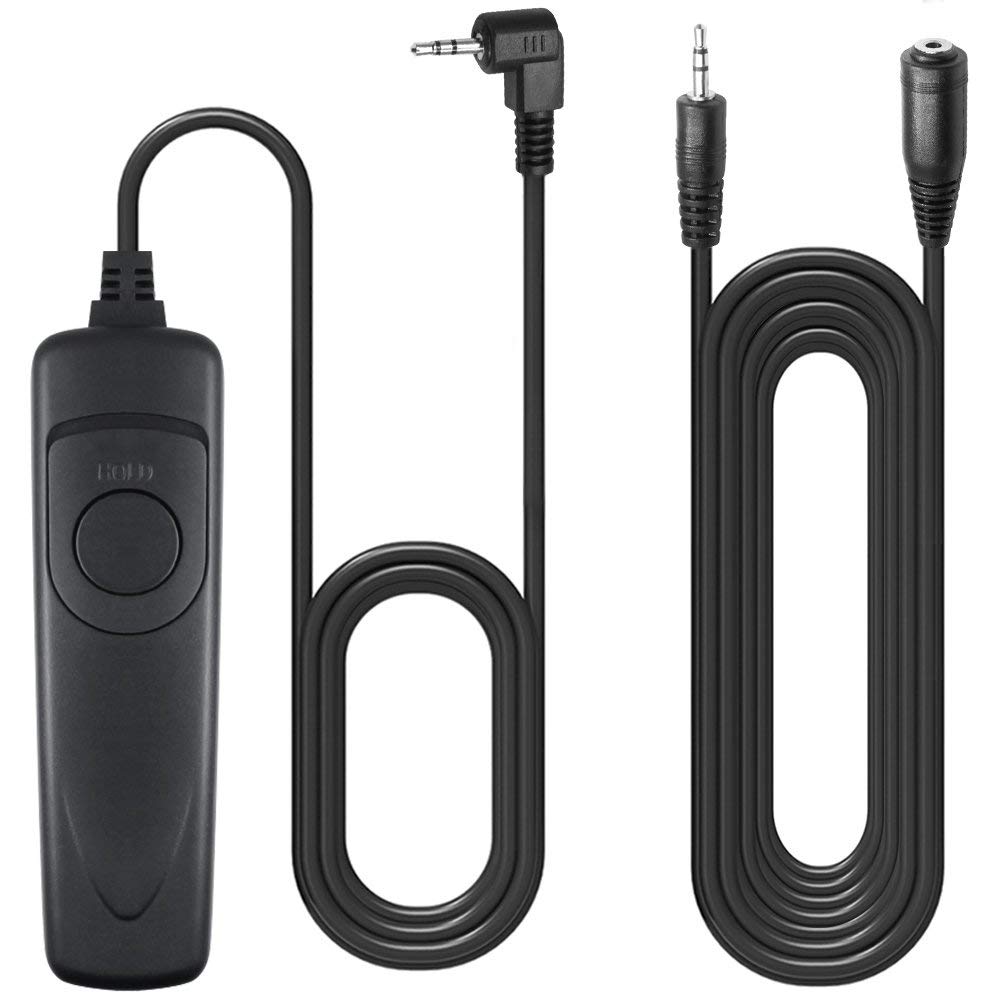
As their name states, wired camera remotes are plugged into the camera via a short cable.
These types of remotes come with varying capabilities, from a very basic one-function shutter release as you see above to more complex remotes that can do everything from fire the shutter to set intervals between shots to create time-lapse photos.
While these remotes have the obvious disadvantage of having to be directly connected to the camera, they are extremely reliable - there is no worry that the remote is out of range or otherwise can’t “talk” to the camera.
Wireless Infrared Remotes
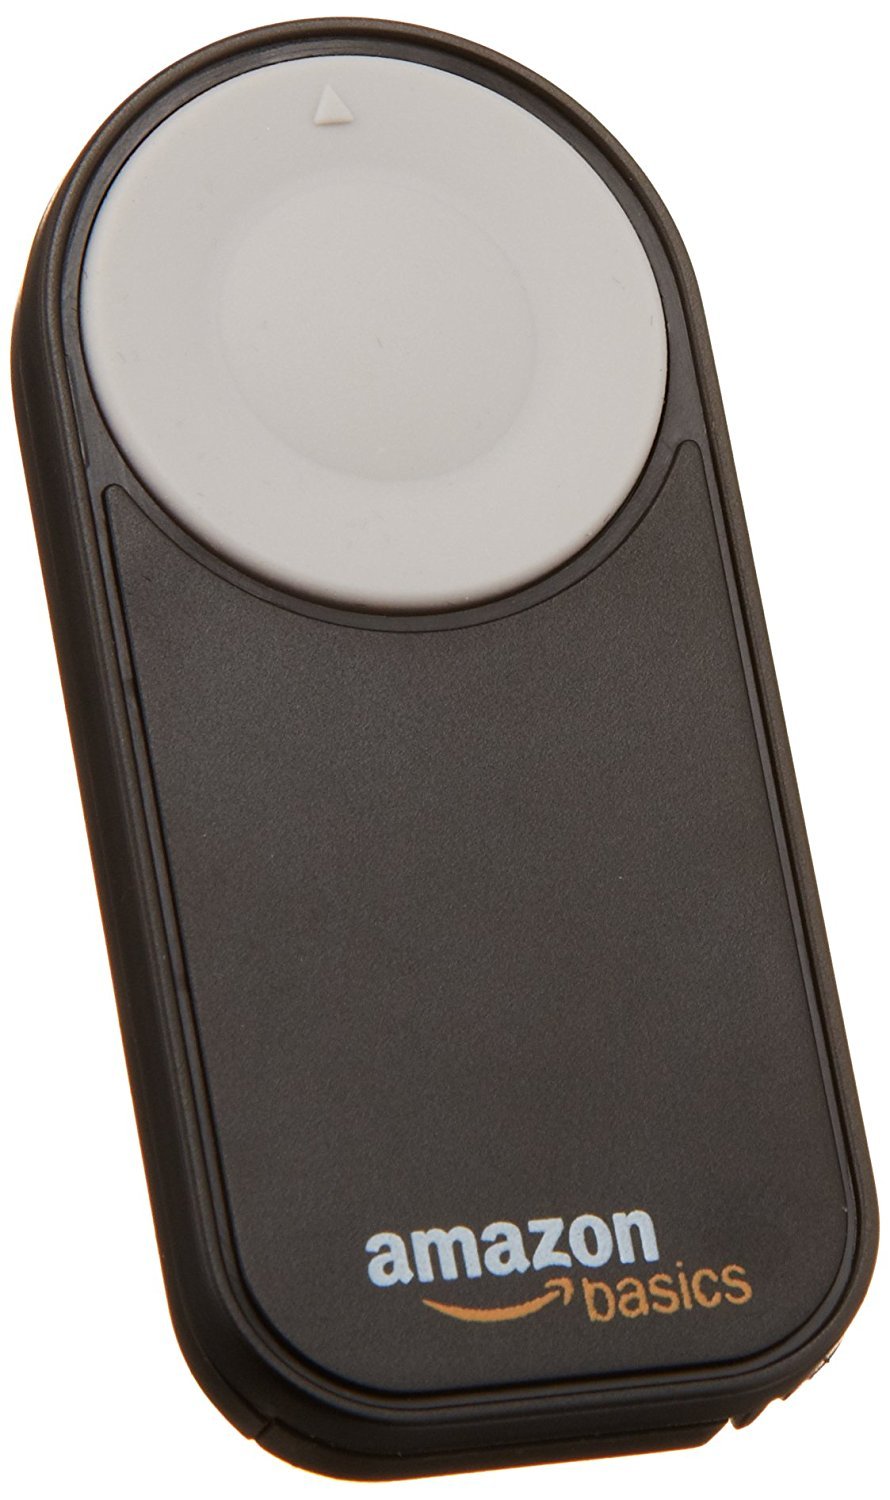
Wireless infrared remotes like the one shown above are extremely popular for two reasons.
First, they are budget-friendly (this one is just $8.50), and second, they offer the freedom of wireless operation.
Where a wired remote limits you to the length of the cord, you can use an infrared remote from across the room.
The primary problem with these kinds of remotes when photographing real estate is that they work on a line-of-sight basis.
That means that you have to be in front of the camera for the remote to “talk” to the camera. Clearly, this is not ideal.
If you use a wireless infrared remote, it’s best practice to use it in conjunction with a delay, that way you can position yourself in front of the camera to send the signal to trigger the shutter, but have a couple of seconds to move out of the way before the shot is taken.
App-Based Remotes
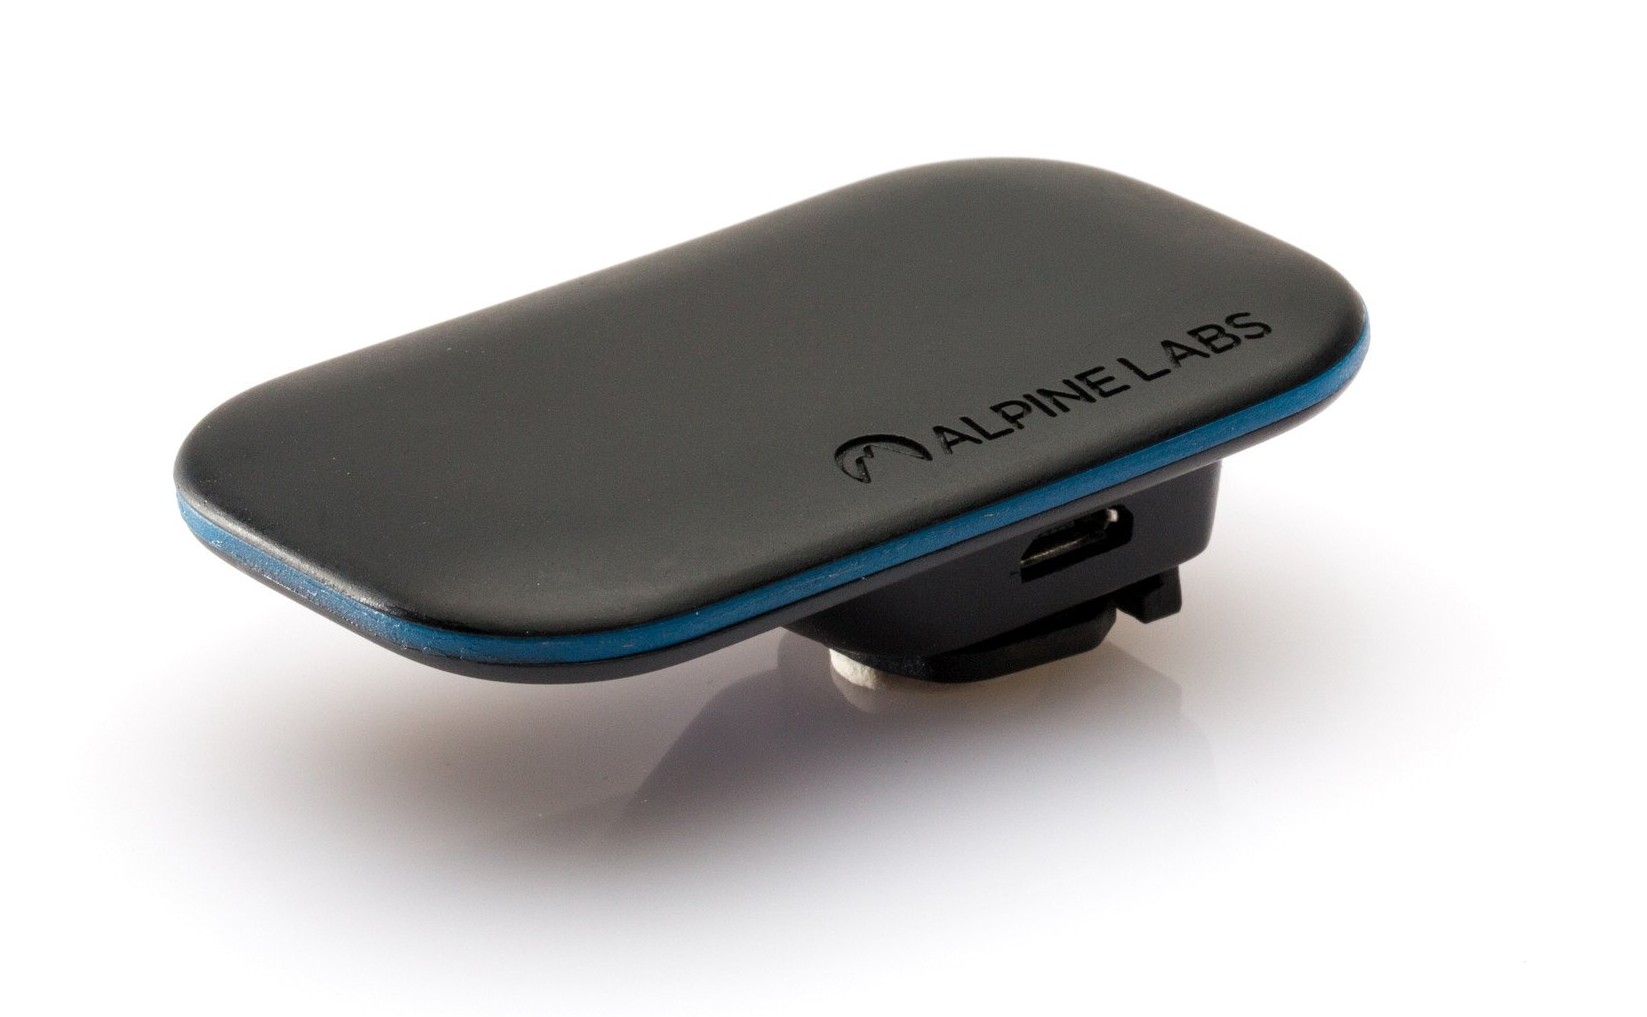
This third remote option is the newest - and priciest - of the bunch, but it offers by far the most functionality.
Remotes like the one shown above enable you to trigger the shutter from an app on your phone. Not only that, you can take still images, time-lapses, long exposures, and even start and stop video recording.
Clearly, an app-based remote enables you to do much more than take a simple photo, but the downside is the cost - where the previous two types of remotes are less than $10, this one is $119.00.
The choice of which type of remote you use is up to you and will depend on your specific workflow. But the point is that to get the highest-quality photos, a remote is an absolute must.
Maximize Sharpness With a Good Tripod
As noted earlier, giving your camera a solid base helps eliminate blurriness and maximize the sharpness of the images you take.
Thus, a good tripod is necessary for real estate photographers.
Note that “good” does not necessarily mean expensive, either.
Ideally, what you want is a tripod that is easy to carry around the property and easy to transport from one property to the next. This likely means opting for a lightweight carbon fiber tripod that collapses down to a small size.
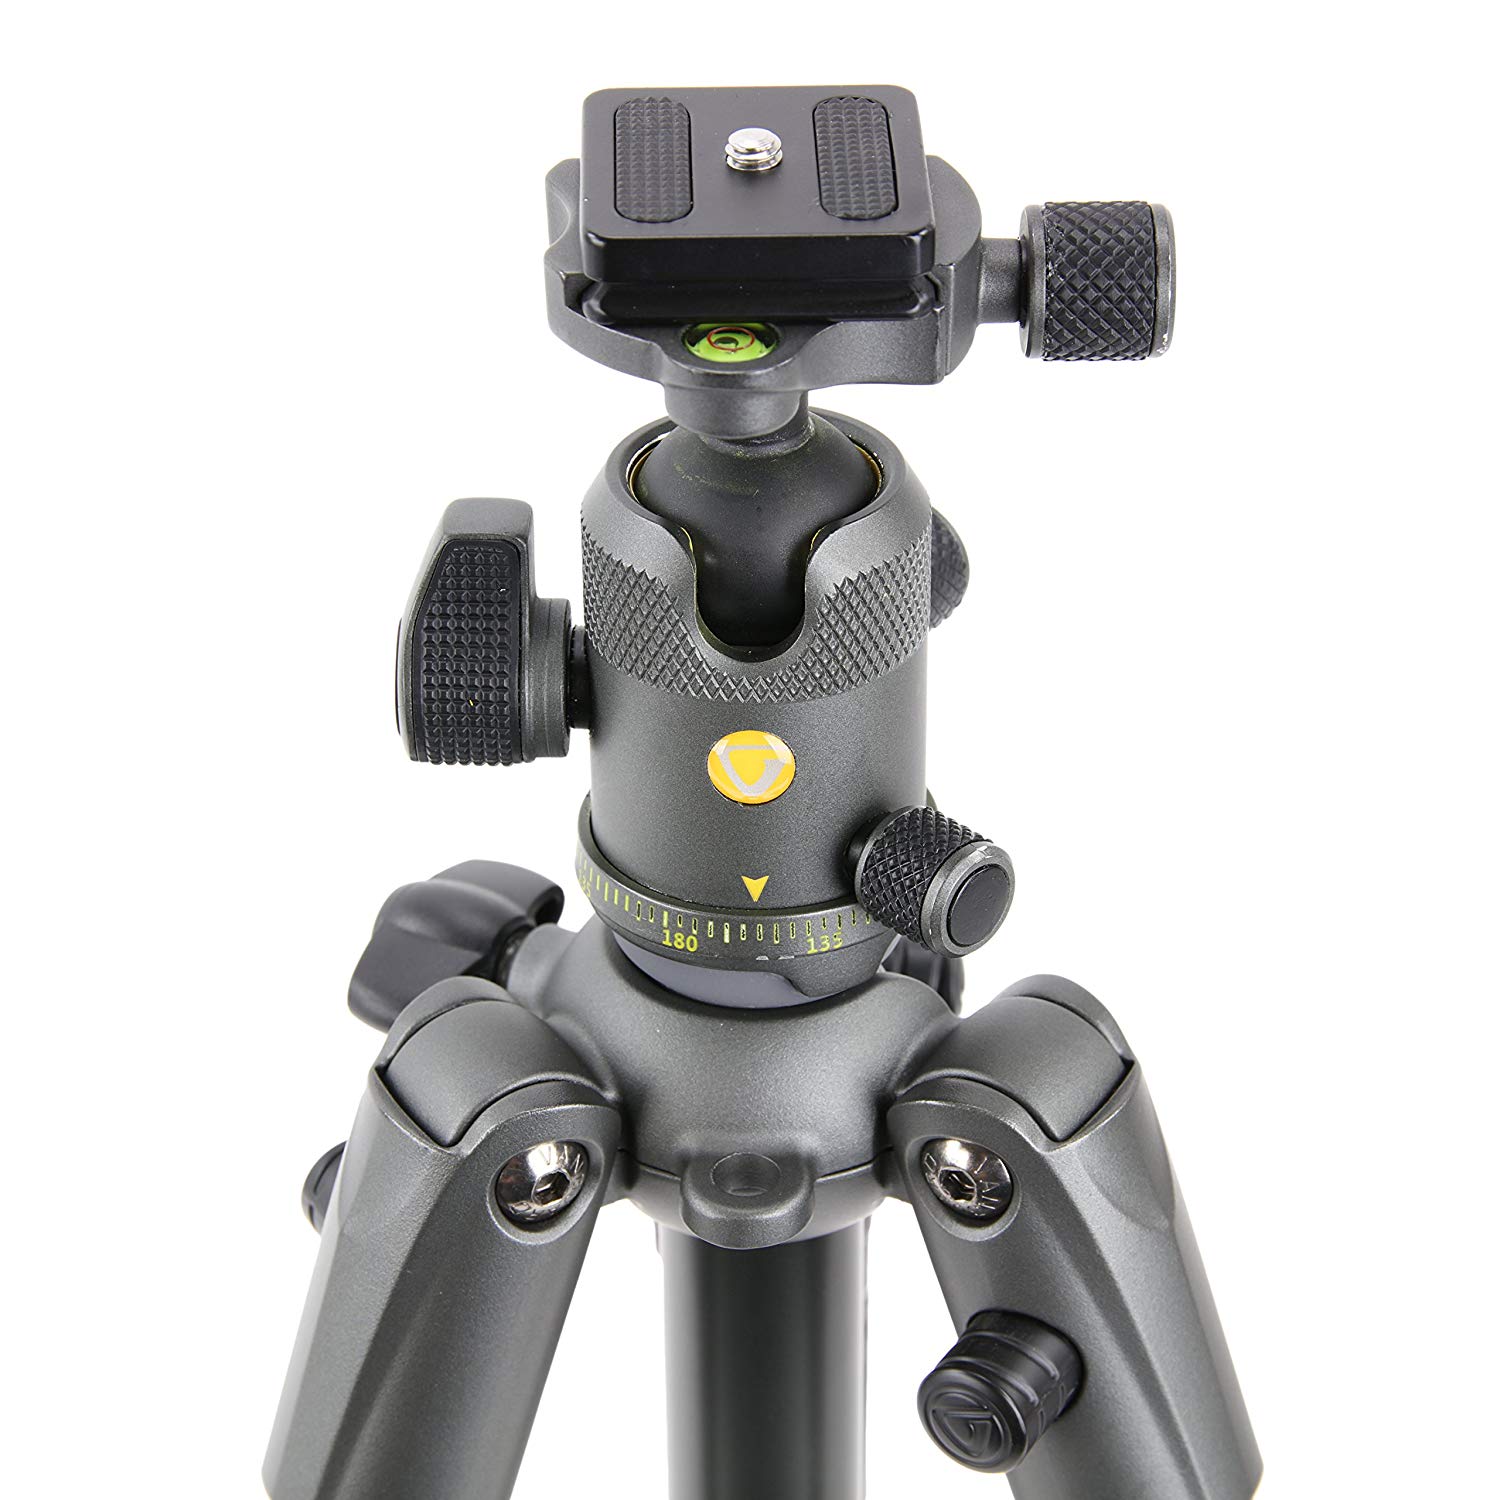
Another feature that’s handy for this type of photography is an integrated bubble level (shown on the tripod above), which will help you keep your interior and exterior photos nice and level.
Tripods that have large, rubber feet are ideal because they don’t slip on surfaces like tile flooring, which, depending on the type of tile, can be rather slippery. It’s also helpful to have a tripod that can accommodate low-angle and high-angle photos, so finding one with a good range of shooting heights can be advantageous.
Here’s a few affordable tripod options to consider:
Neewer Carbon Fiber Tripod/Monopod
Not only does this tripod offer the flexibility of working as a monopod as well, but it also extends to a height of up to 66 inches (and collapses down to 20.9 inches). Additionally, it comes with a ball head for making quick and easy adjustments to the plane of the camera. It weighs under 5 pounds and comes with a carrying bag, so it’s easy to maneuver from one location to the next.
Vanguard VEO 2 265CB Carbon Fiber Tripod
Though the Vanguard VEO 2 265CB is pricier than the Neewer option, it offers superior build quality and a host of features that could prove helpful when photographing properties. It sets up very quickly - just a handful of seconds - and has three different leg locking positions for getting low, medium, and high-range shots.
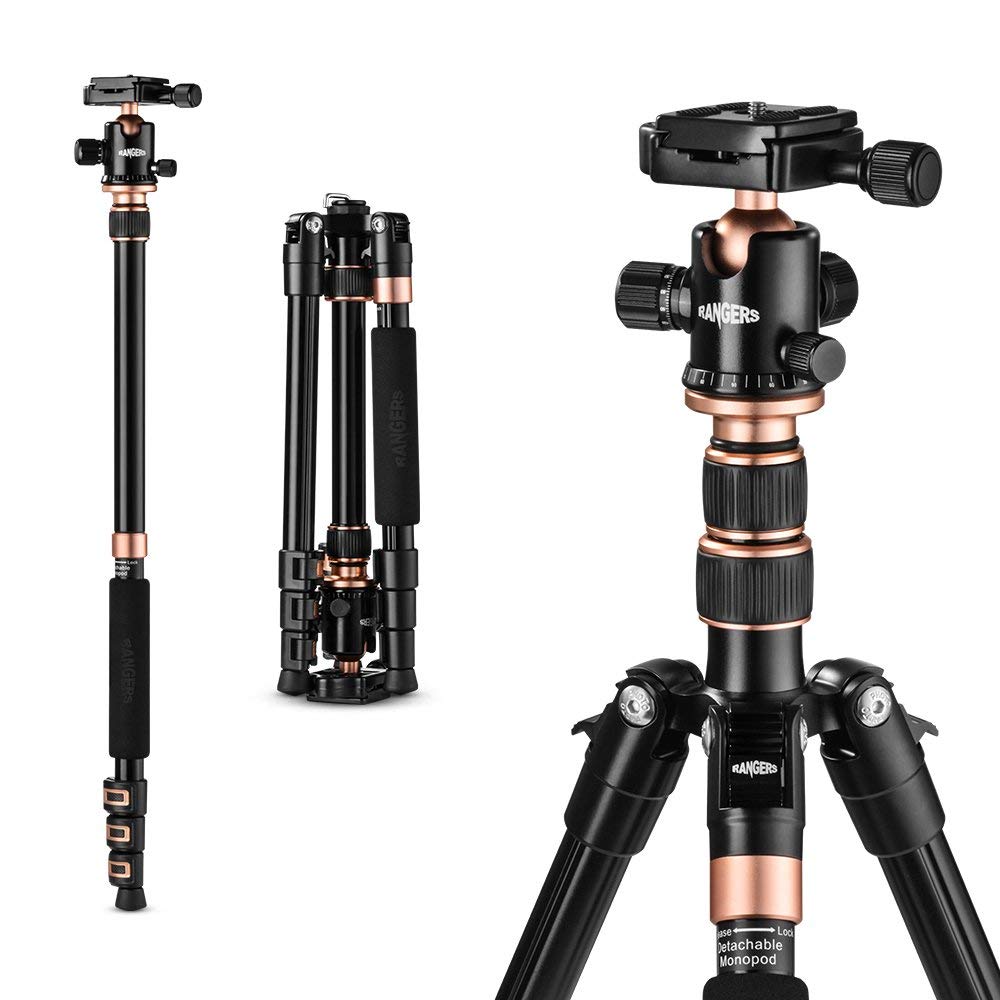
Rangers Ultra-Compact Aluminum Tripod
Though this Rangers tripod is made of aluminum - which is heavier than carbon fiber - it still comes in at just 2.89 pounds. What’s more, it includes a 360-degree panoramic ball head which will aid in creating sweeping panoramic photos of the interior and exterior of properties. The height range is also excellent, with photos possible from a low of 14-inches to a high of 55-inches. There’s even an integrated monopod for extra flexibility.
Is Lighting Gear Necessary?
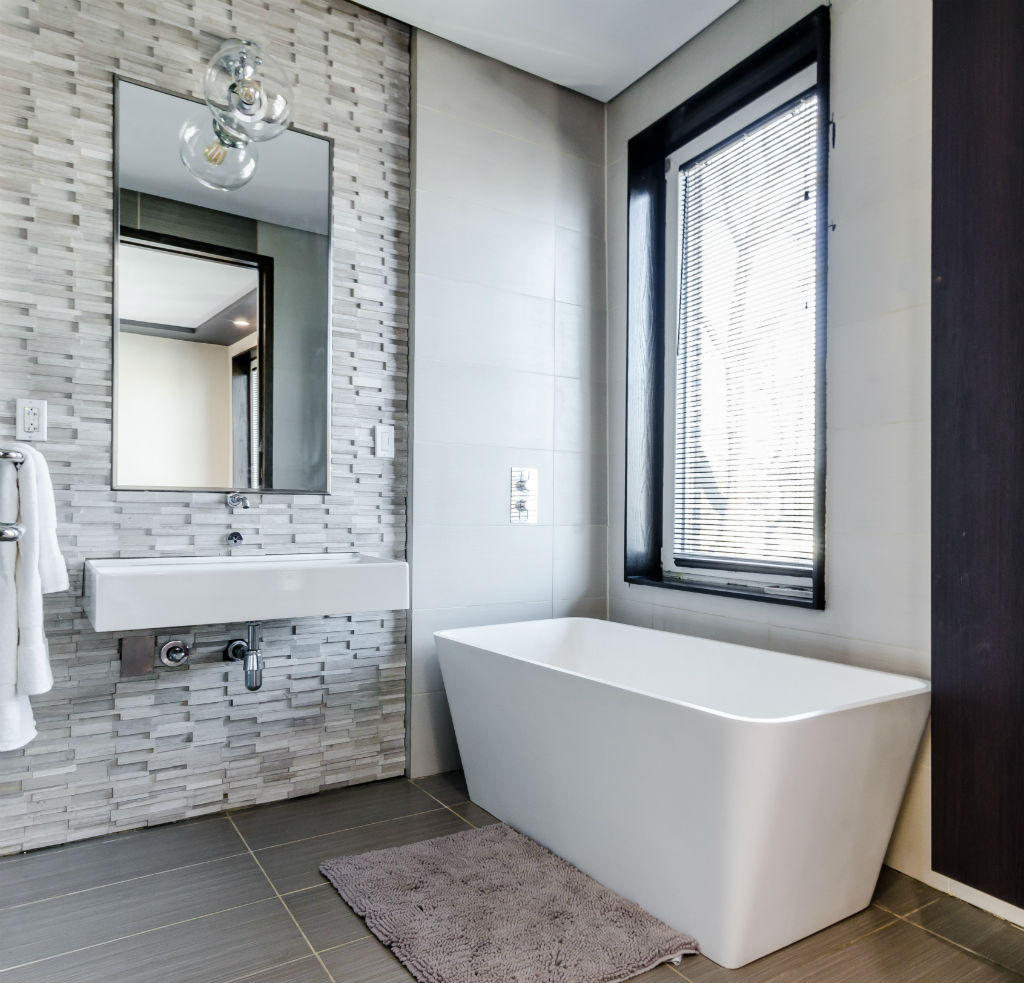 Photo by Chastity Cortijo on Unsplash
This might seem like a silly question at first, but to get beautifully-exposed photos, you don’t actually need to lug around lens filters, light meters, flashes, light stands, diffusers, and so forth.
Instead, modern photography technology enables real estate photographers to create the interior photos that their clients demand using nothing but natural light.
This is done by using the exposure merge technique in which multiple exposures are taken of the same space, each at a different level of exposure.
For example, to achieve the shot shown above, the photographer could have taken three individual shots - one exposed for the shadowed areas, one for the midtones, and one for the highlights (specifically, the window) - and merged them together to create the final product.
Naturally, this is far easier to do than to set up and tear down lighting gear in every single room.
As a result, using this HDR technique is the preferred method for getting well-exposed interior photos. It’s also less expensive because you don’t have to buy all that lighting gear!
Wrapping It Up
 Photo by Rhema Kallianpur on Unsplash
As noted in the introduction, there is no lack of gear that you can buy for this type of photography.
But as demonstrated here, there’s really just a few basics that are needed to start taking great photos of real estate.
A remote and tripod as well as HDR software is really all the gear you need (other than a camera and lens, of course!) to start your career.
You’ll no doubt find that as your business grows that you’ll have a need for additional gear - a drone, perhaps, or maybe multiple lenses. But for now, if you’re just trying to get your business off the ground, focus on acquiring a basic kit, and go from there.


