
Your Long Exposure Step-By-Step Guide
There are all sorts of gadgets and gizmos - many of them inexpensive in photography terms - that have come on the market in recent years that have allowed more and more people to dabble in long exposure photography. But despite having greater access to the realm of long exposure, many of us still find that the results we get when we attempt long exposure photography just aren’t up to par with our expectations.
Long exposures have many applications: street photography, cityscapes, and astrophotography among them. But by far, the most popular long exposure subject is landscapes. This easy step-by-step guide will take you through the process of daytime long exposures of landscapes, from preparation all the way through taking the shot.

Step #1: Keep an Eye on the Weather
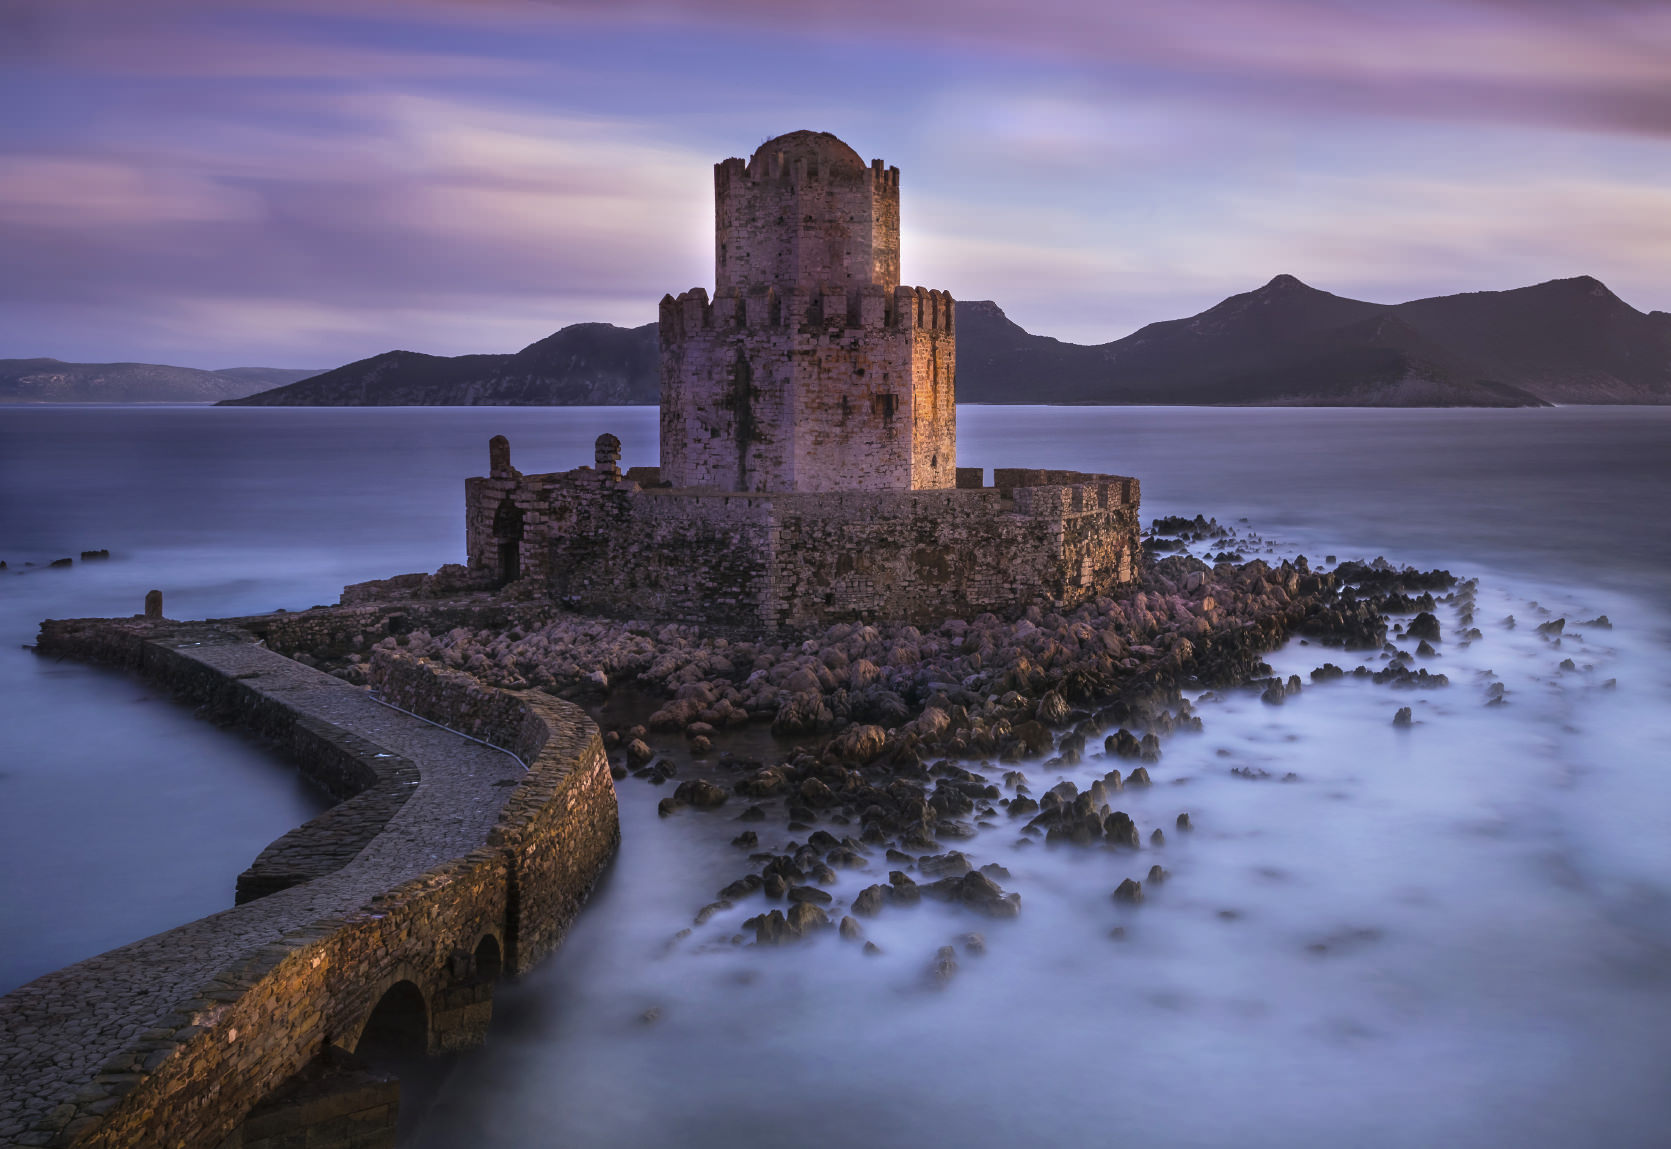
When taking daytime long exposures, you need something going on in the sky. You don’t need a full-blown storm, but some clouds to provide texture and interest to the shot would be nice. Check meteorological websites and look not just at the forecast for your area, but look at satellite images as well. Satellite images will give you a better idea of any impending clouds or storms that will give your long exposure the added punch it needs.
Step #2: Scout the Location
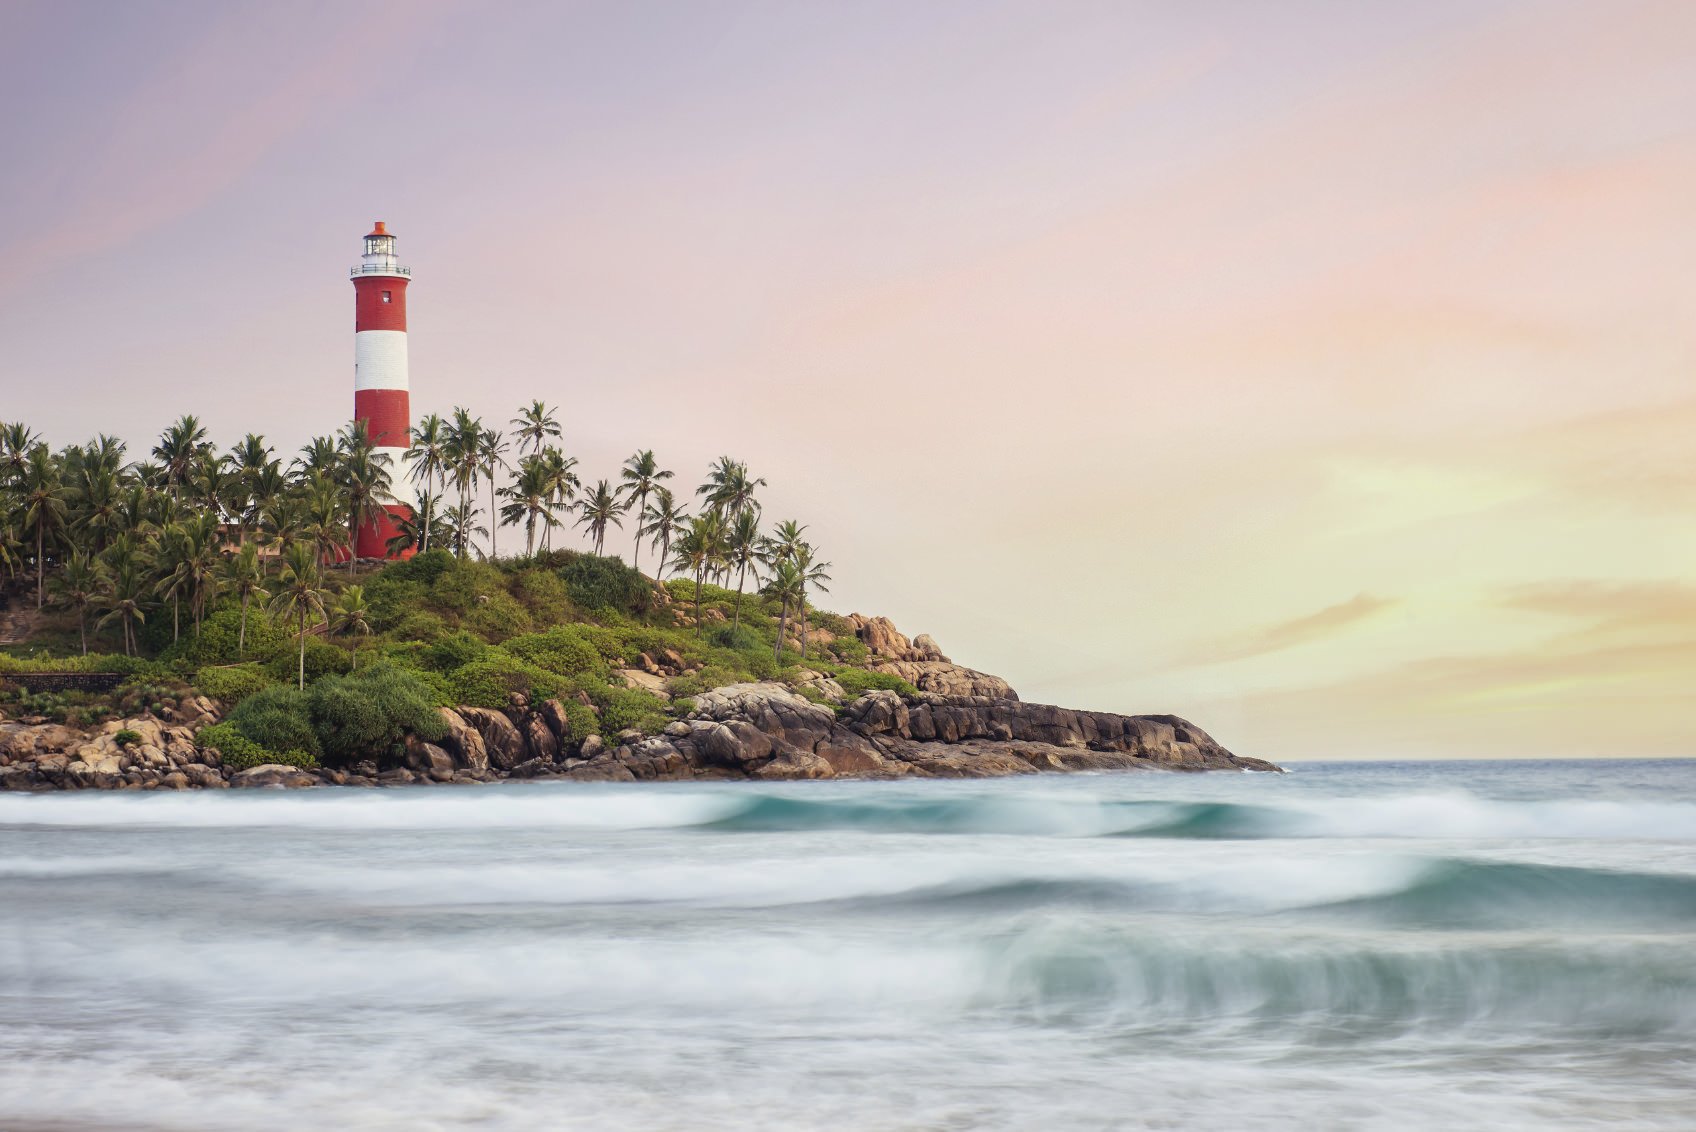
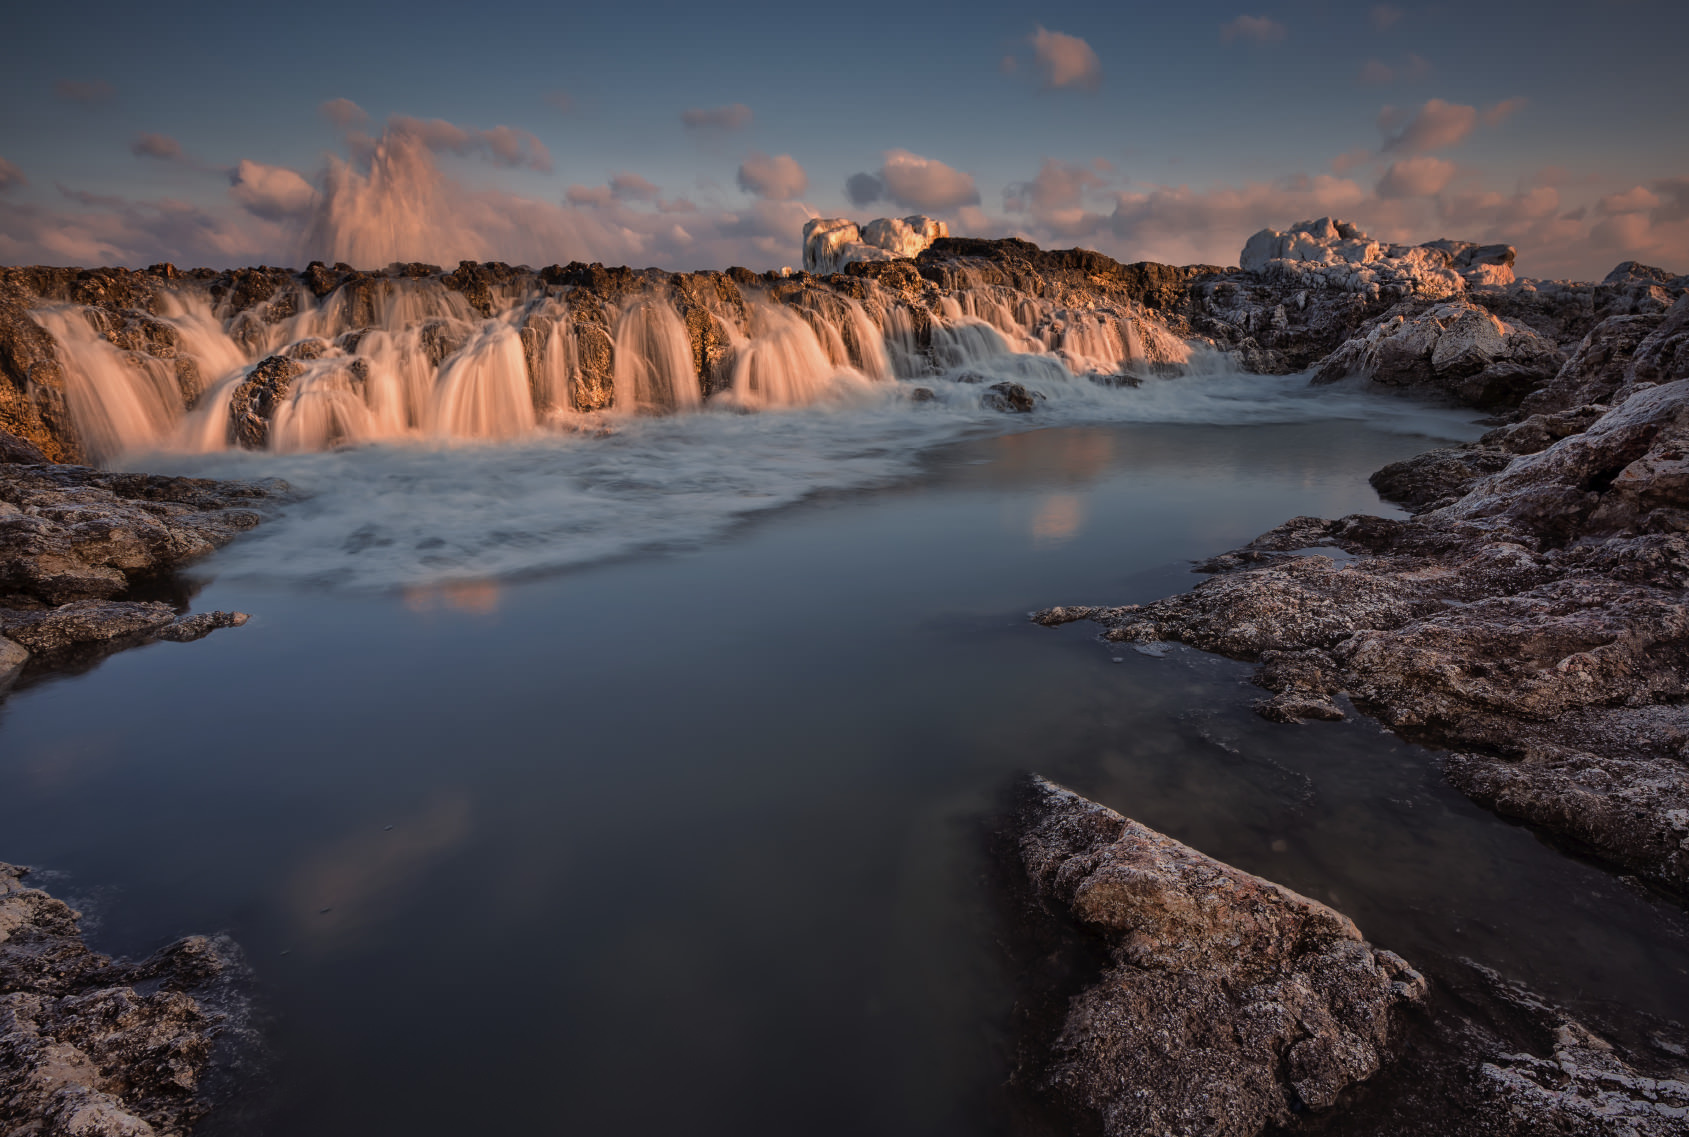
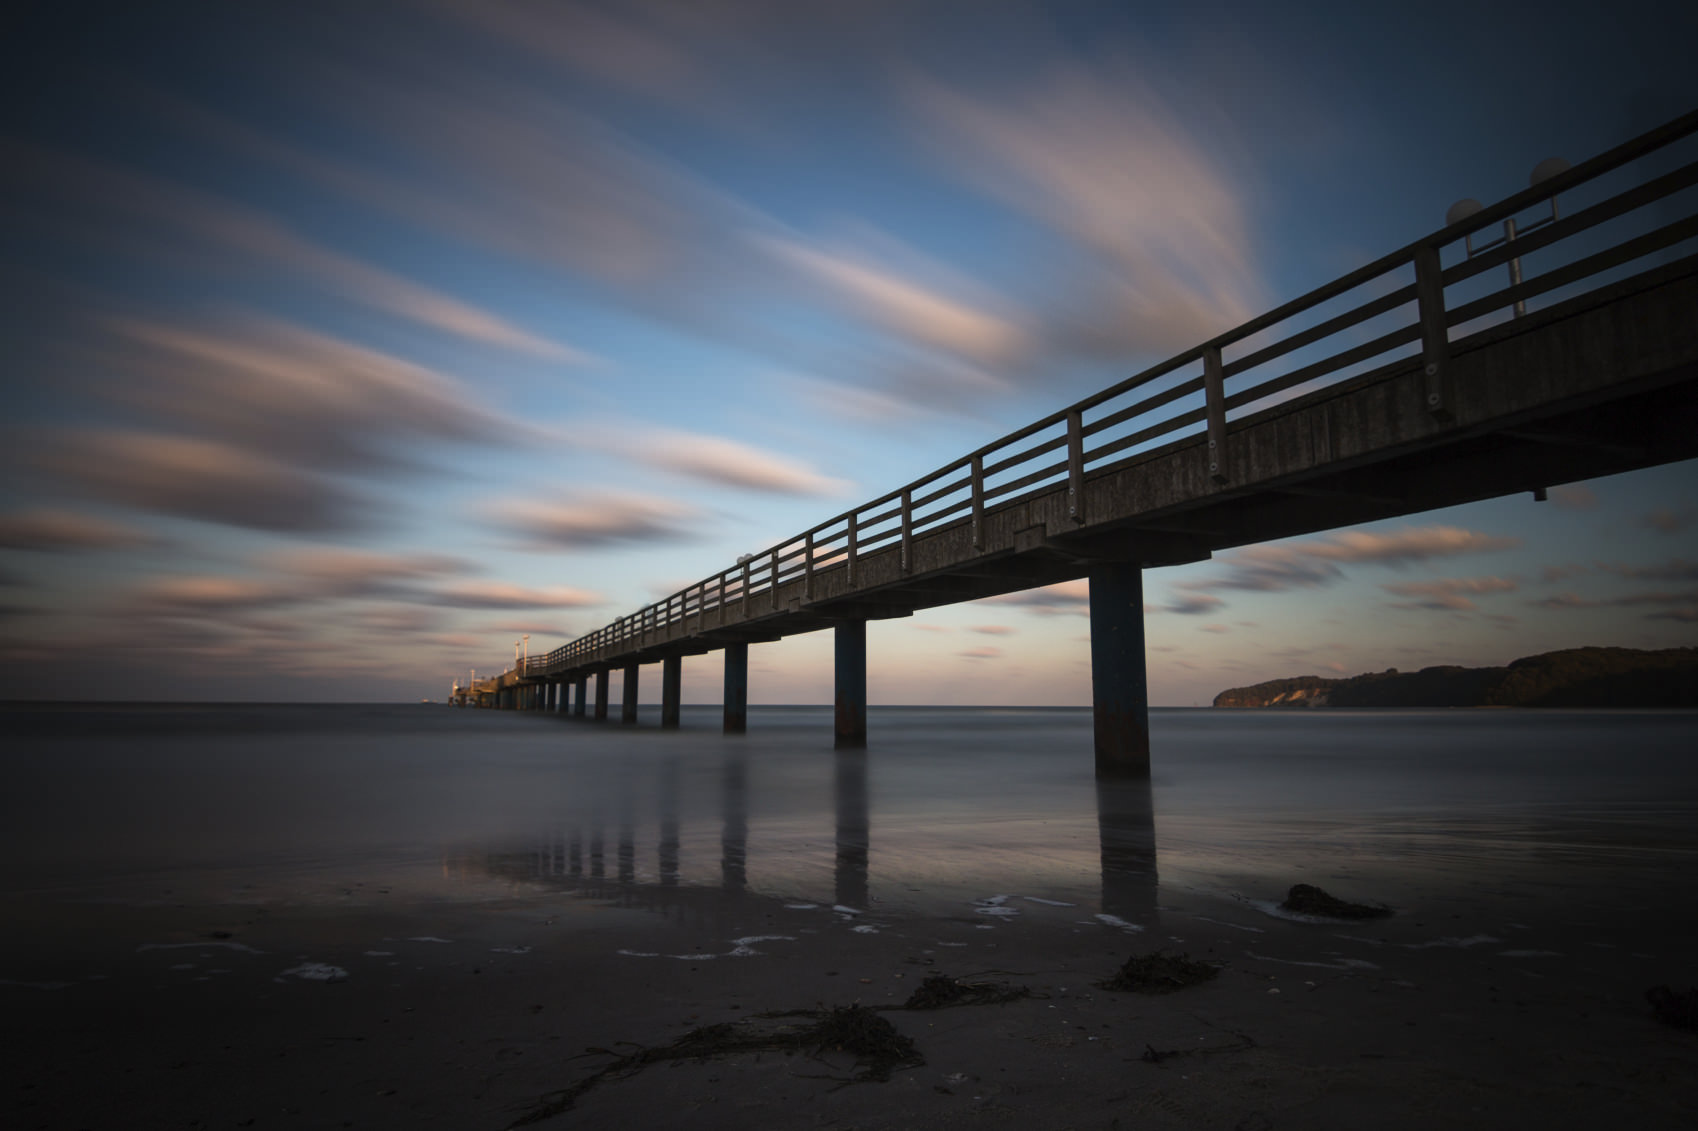
One of the most critical steps in long exposure photography takes place well before you ever set up your camera: scouting the perfect location. Since long exposures aren’t just a static moment in time, you have to consider how the composition will look over the course of the exposure. Look for elements that add movement, like clouds or waves on the water.
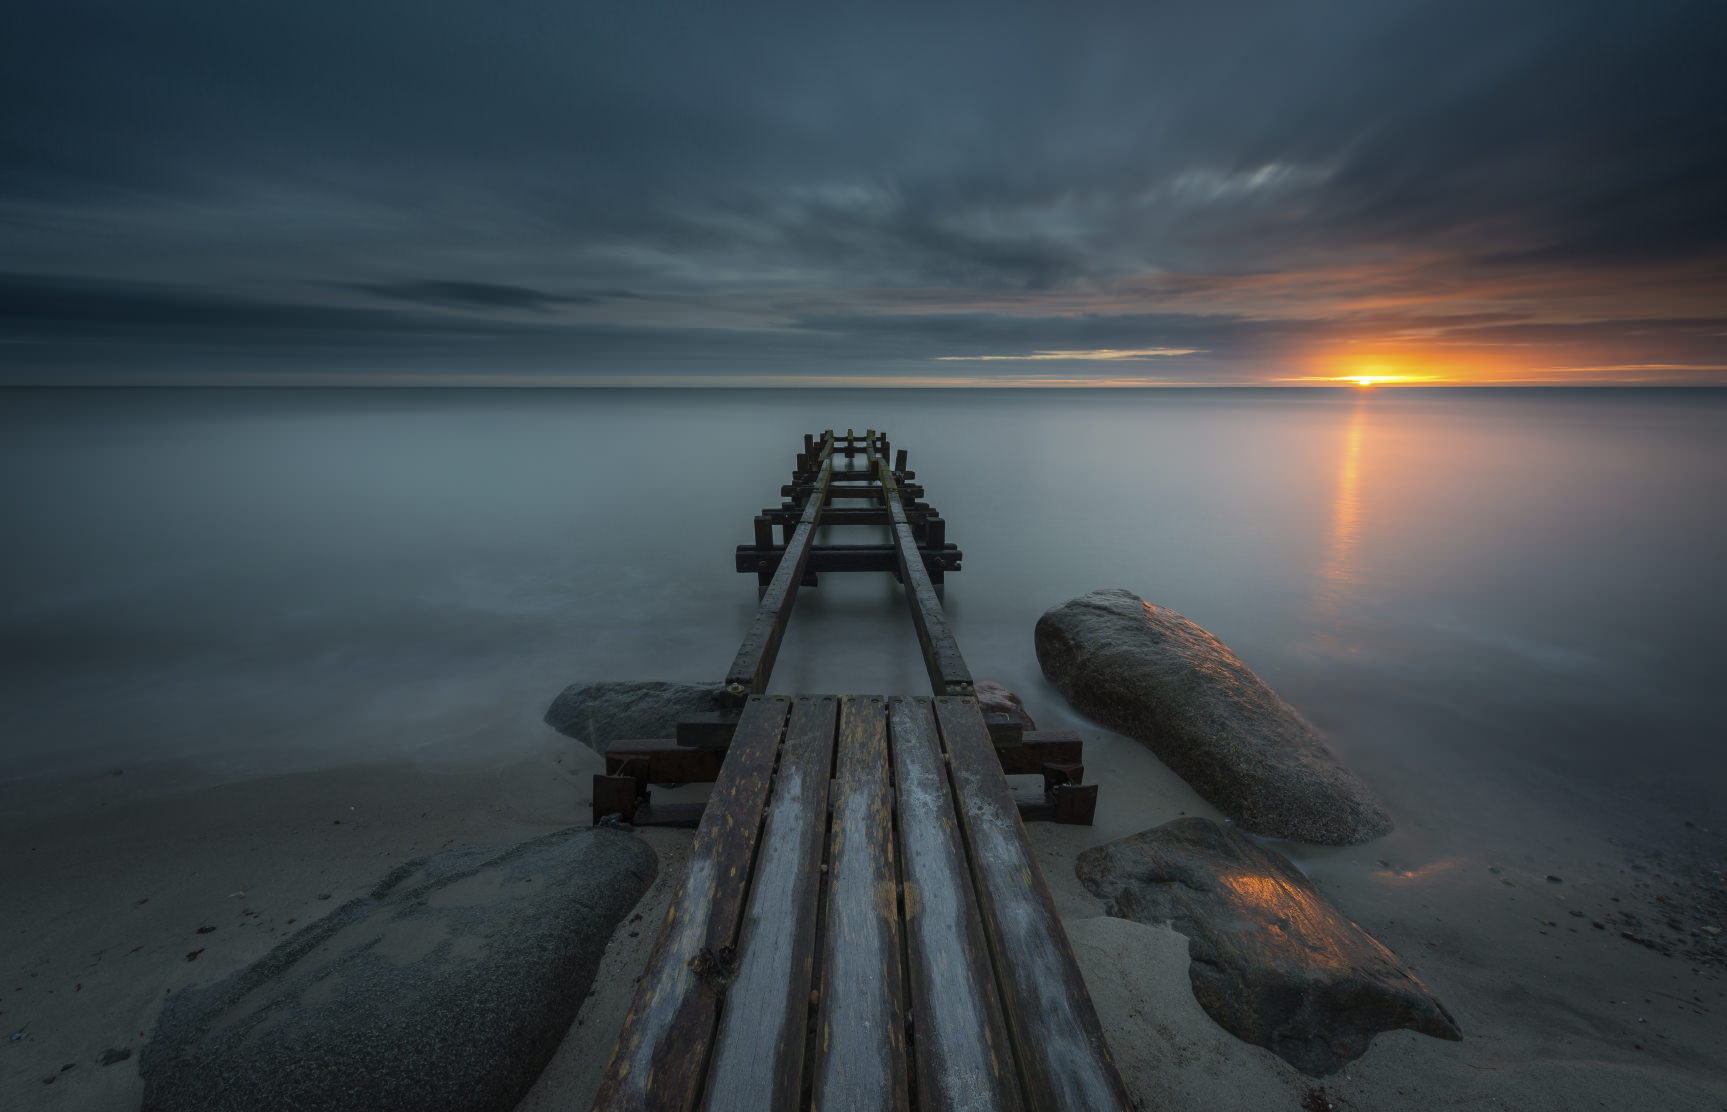
When doing so, try to find a vantage point in which the movement comes toward the camera as this will give the image a greater sense of movement and grandeur. Likewise, avoid having the sun in the shot. While the movement of clouds looks wonderful in a long exposure, the movement of the sun does not. Besides, any area of the image in which the sun appears will be wildly overexposed. If you can’t avoid the sun, try taking the shot before the sun rises over the horizon or wait until it goes behind a cloud.
Step #3: Get Set Up
Once you’ve determined the best spot to take your image, it’s time to get your gear set up. First, get your camera and mount it on a tripod. Your tripod needs to be sturdy, and you should strongly consider adding weight to it to make it less prone to shaking in the wind. Many tripods have a hook on the bottom of the center column that’s perfect for hanging your backpack or camera bag to give it a little more weight.
Next, attach a remote shutter release to your camera. This is a critical component so that you don’t have to depress the camera’s shutter button for the entire exposure, which often causes camera shake and results in blurry images. If you’re using a drop-in filter, attach the housing to the lens, but don’t drop the filters in just yet. That will come in a moment.

Step #4: Compose the Shot
Now it’s time to compose the shot. Frame it up, ensuring that the primary subject is in sharp focus. You can use manual focus or autofocus here. If using autofocus, depress the shutter button halfway to focus, and then while still depressing the button halfway, switch the focus lever from auto to manual. This will lock the focus. You can lock focus by setting up your camera’s back button focus feature as well.
Next, check your corners to ensure there aren’t random objects that will detract from the image, like a tree branch sticking into the frame or the very edge of a park bench protruding into the shot. Also ensure that the sun won’t interfere with the shot.
Step #5: Lock In the Exposure
Now it’s time to dial in the camera settings. You can either shoot in aperture priority mode or manual mode if you so choose. Set the aperture to a setting that’s appropriate for landscapes, in the f/8-f/11 area. This will give you good depth of field while allowing you to remain in your camera’s sweet spot for maximum sharpness.
Take a test shot. Inspect the image for areas of overexposure, referring not just to the LCD but also to your camera’s histogram. The histogram should be free of spiked areas on the left or right sides, which indicate underexposure and overexposure, respectively. Keep taking test shots until you’ve got a well-exposed image, noting the shutter speed that was used to get the best exposure.
Step #6: Add a Filter and Switch to Bulb Mode
Add a neutral density filter to your lens. Depending on its power, you may or may not be able to see the scene through the viewfinder or using live view. But don’t worry! We’ve already composed the shot, set the camera settings, and locked focus. Although you won’t be able to see the scene, your camera will.
Switch your camera to bulb mode. This will allow the camera to hold the exposure for more than 30 seconds. Be careful not to change any of the other settings you used to get the best exposure in your test shots.
Step #7: Take the Long Exposure
Finally, you’re ready to take the long exposure shot. To get the length of the exposure correct, refer to the shutter speed you noted in step five. You will need to make adjustments to the shutter speed to account for the strength of the filter. For example, if during your test shot your shutter speed was 1/8th of a second, and your neutral density filter has a power of eight stops, your shutter speed will now need to be 30 seconds. Don’t be overwhelmed by the math processes involved here. Just search online for a neutral density filter chart and you should find a conversion table that will help you determine the right shutter speed. There are also many smartphone apps to help you out!
Once you’ve got the correct shutter speed dialed in, take the shot.
Step #8: Check the Histogram Again
After the shot, examine the histogram. If it is close to the same as the histogram from the test shot, you’ve successfully taken a well-exposed long exposure shot. If the histogram indicates overexposure or underexposure, make the necessary adjustments to the shutter speed and give it another go. If the image is overexposed, reduce the time the shutter is open. If it’s underexposed, increase the time the shutter is open. It’s as simple as that!
Step #9: Practice
Armed with this step-by-step guide, now it’s time to practice. The old adage that “practice makes perfect” might be a cliche, but it is absolutely the truth. The more you get out there and work on taking long exposures, the better the results you will get. Good luck!