

There’s something magical about the moments just before sunrise and right after sunset. The sky turns deep blue, the world feels still, and the light becomes soft and dreamy. This brief window of time is known as the blue hour, and it’s one of the most rewarding times for photographers to shoot.
Unlike the golden hour, which bathes the landscape in warm light, blue hour brings a cooler tone and a calm mood. It’s perfect for creating serene cityscapes, dramatic landscapes, or even moody portraits. But capturing great blue hour photography takes some planning and a few special techniques.
With that, let’s dive into what blue hour photography is, why it’s special, and how you can master it.
Table of Contents
- What is the Blue Hour?
- Why Photographers Love the Blue Hour
- Ideal Subjects for Blue Hour Photography
- Blue Hour vs. Golden Hour
- Camera Settings and Gear Tips
- Planning and Timing Your Shoot
- Creative Techniques to Try
- Why You Should Embrace the Blue Hour
- FAQ
What is the Blue Hour?

Photo by Hans Isaacson on Unsplash (license)
The blue hour is the period of twilight that occurs just before sunrise and just after sunset. During this time, the sun is below the horizon, and the sky takes on a rich, deep blue color. It typically lasts between 20 to 40 minutes, depending on the season and your location.
The blue hue is caused by the way sunlight scatters through the atmosphere. With the sun out of sight, the red and yellow wavelengths fade, leaving the cooler blues. It creates a soft, even light with little contrast—perfect for balanced, dramatic images.
Many people mistake this time for night, but it’s not quite there yet. There’s still enough natural light to capture detail, especially if you’re using a tripod and slower shutter speeds. That’s what makes blue hour photography so unique—you’re shooting in a space between light and dark.
Understanding when the blue hour happens is key. You can use apps like PhotoPills or The Photographer’s Ephemeris to predict it down to the minute for your exact location.
Why Photographers Love the Blue Hour
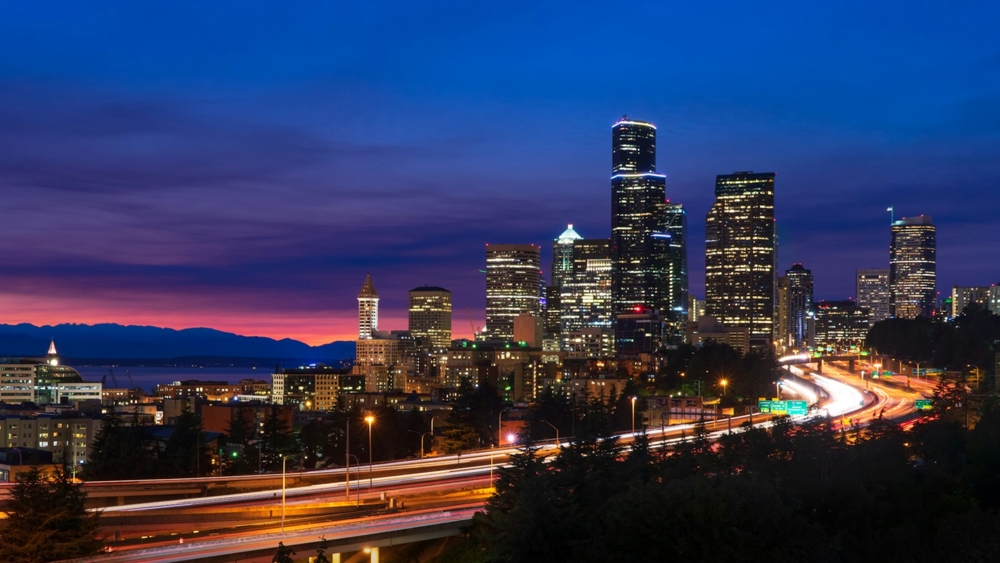
Photo by Chad Peltola on Unsplash (license)
Photographers are drawn to the blue hour because of the beautiful, soft light it provides. Unlike the harsh midday sun, blue hour light is gentle and moody. It doesn’t create strong shadows, making it ideal for both landscapes and cityscapes.
It’s also a great time for long exposures. Because the light is low, you can use slower shutter speeds to capture movement—like clouds, water, or traffic trails. This can add a dreamy or dynamic quality to your images.
From a personal perspective, some of my favorite photos have come from blue hour shoots. There’s something peaceful about setting up your camera in the quiet of early morning or late evening. You feel more connected to your surroundings, and that often shows in your work.
In addition, the contrast between natural blue tones and artificial lights creates stunning images. Think glowing windows, streetlights, or reflections on wet pavement—blue hour brings these scenes to life in a way that no other light can.
Ideal Subjects for Blue Hour Photography
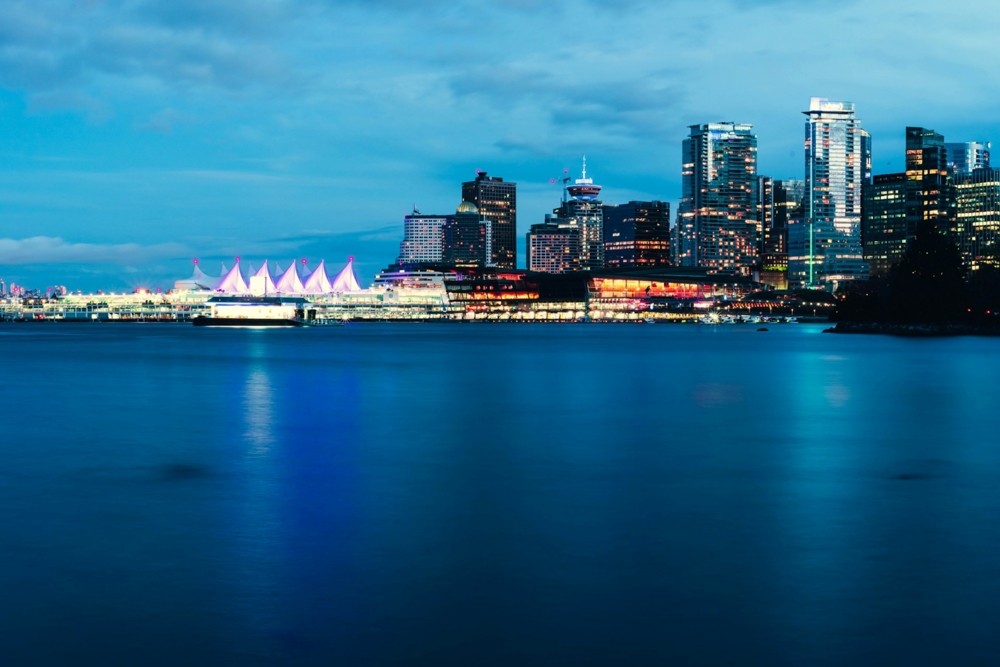
Photo by Paolo Syiaco on Unsplash (license)
Blue hour is perfect for photographing cities. Buildings glow with interior lights, and streetlights give off a warm contrast against the cool sky. Reflections in rivers, puddles, or glass add depth and atmosphere.
Nature also looks incredible during the blue hour. Lakes become mirrors, mountain silhouettes stand out, and fog or mist can enhance the mood. Water scenes, in particular, look magical as they reflect the soft blue tones of the sky.
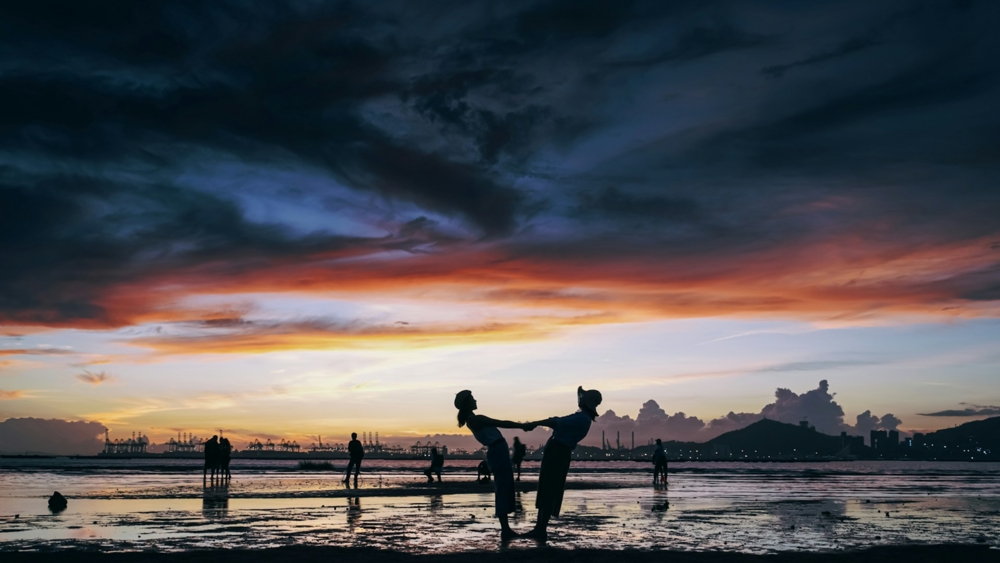
Photo by Henry Lai on Unsplash (license)
Portraits during the blue hour can be cinematic and emotional. The light is flattering and creates a calm, moody vibe. You may need some added lighting (like a soft LED panel), but the result can be striking.
Even everyday scenes like roads, boats, or parks take on a new personality in blue hour light. The key is to think about contrast—light versus dark, warm versus cool—and use that to compose your image.
Blue Hour vs. Golden Hour: What’s the Difference?
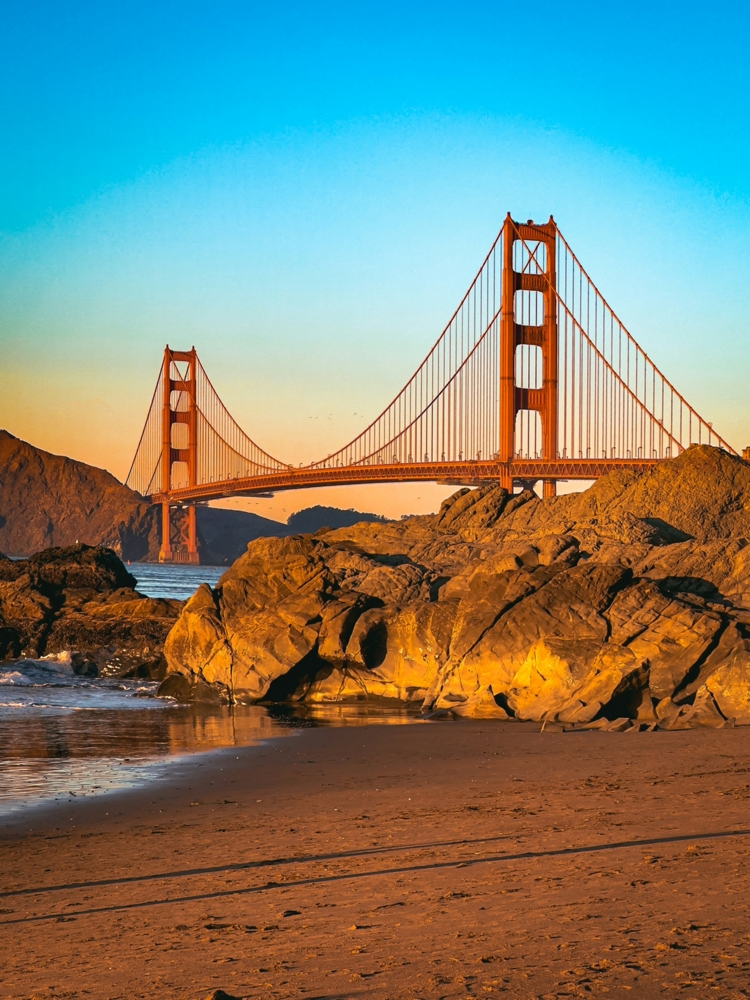
Photo by James Genchi on Unsplash (license)
Both the blue hour and golden hour occur around sunrise and sunset, but they’re very different in tone. Golden hour happens when the sun is low on the horizon, casting warm, golden light. Blue hour comes before sunrise or after sunset, when the sun is no longer visible.
The mood during blue hour is cooler and more serene. It’s great for thoughtful, dramatic images. Golden hour is warmer and more vibrant, making it better for energetic, glowing scenes.
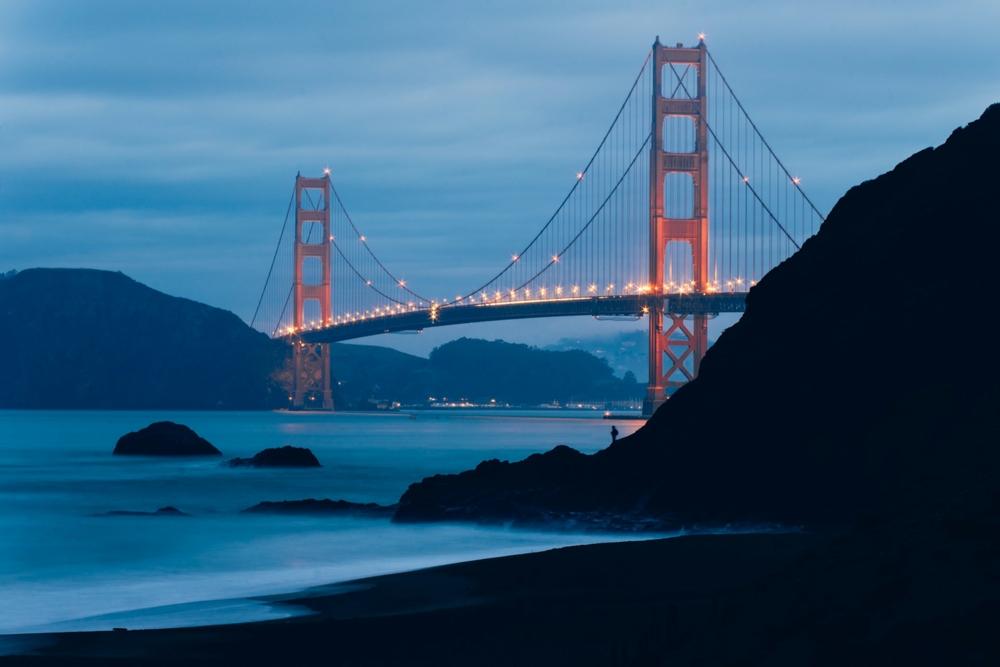
Photo by Robson Hatsukami Morgan on Unsplash (license)
If you’re shooting portraits, golden hour gives that classic warm look. But if you want a moodier or more cinematic style, blue hour may be the better choice.
It’s not about one being better than the other—it depends on the story you want to tell. Many photographers even shoot both, starting with golden hour and continuing into the blue hour for a variety of looks.
Camera Settings and Gear Tips
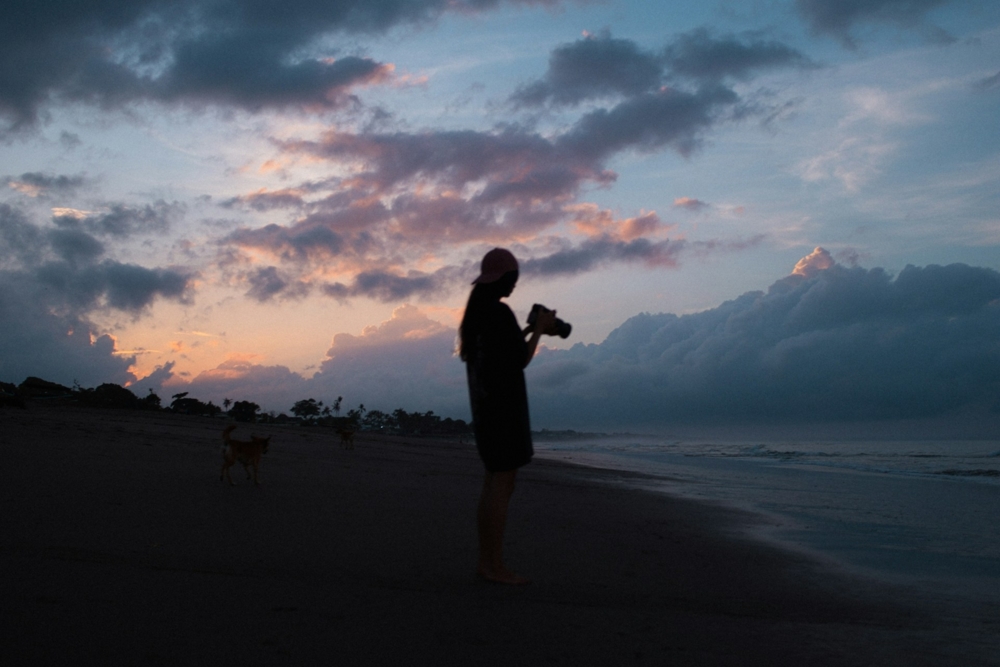
Photo by Jakub Chlouba on Unsplash (license)
Because of the low light, a tripod is essential for blue hour photography. You’ll often be working with longer shutter speeds to get enough light, and any movement can blur your image without a stable setup.
A good starting point for camera settings is ISO 100–400, an aperture of f/8–f/11, and a shutter speed anywhere from 1 second to 30 seconds, depending on the scene. Always shoot in RAW to give yourself more flexibility in post-processing.
Manual focus is often more reliable than autofocus, especially as the light fades. Use live view and zoom in to get sharp focus on key elements.
Lastly, keep an eye on white balance. Auto white balance may not accurately reflect the blue tones you’re going for. Set it manually or correct it later when editing.
Planning and Timing Your Shoot
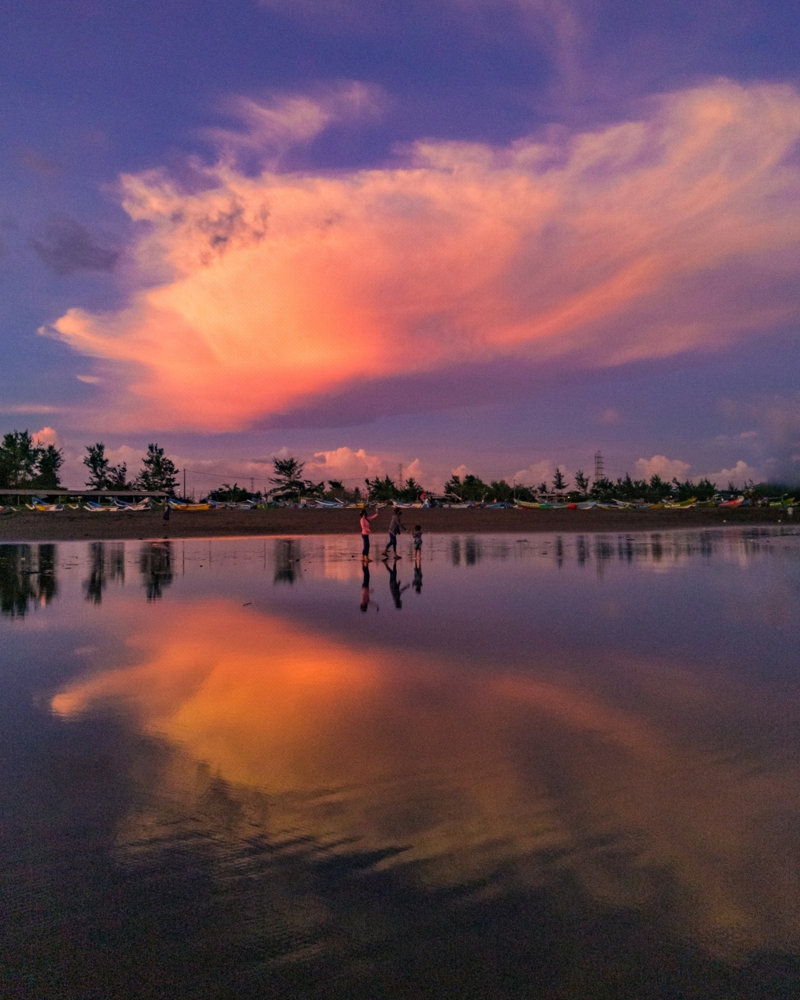
Photo by Yassin Nur Fadhilah on Unsplash (license)
Timing is everything in blue hour photography. The window is short—sometimes only 20 minutes—so it helps to plan ahead. Know your location, scout your composition, and arrive early.
Use apps to predict the exact timing of blue hour for your area. Cloud cover, humidity, and temperature can also affect how vivid the colors appear.
Dress for the conditions, especially in the morning when it can be cold. Bring extra batteries, as long exposures and low temps can drain them quickly.
Most importantly, be patient. Sometimes the best light comes just when you’re about to pack up. Stick around—you might capture something truly special.
Creative Techniques to Try
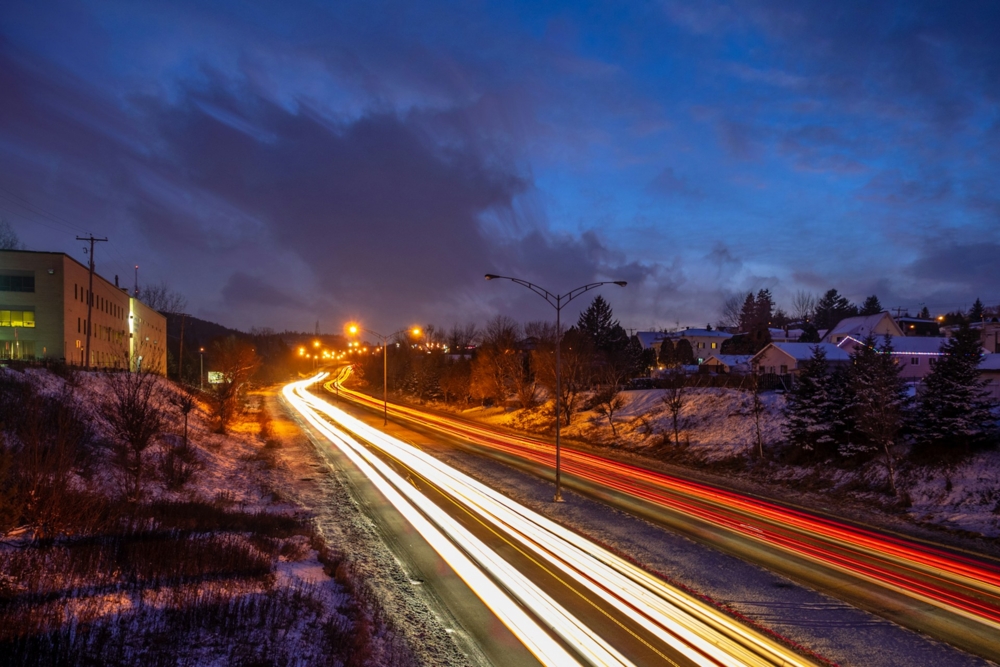
Photo by Andre Ouellet on Unsplash (license)
Long exposures during the blue hour can create stunning effects. Try capturing car light trails, boat motion, or cloud movement to add energy to your image.
Reflections are another great technique. Look for puddles, wet streets, or still lakes to double the impact of the blue sky and glowing lights.
Try light painting—using a flashlight or LED to highlight parts of your subject during a long exposure. It adds a magical, surreal touch.
If you’re shooting a high-contrast scene, consider bracketing your exposures and blending them later. This ensures you capture details in both the shadows and highlights.
Why You Should Embrace the Blue Hour
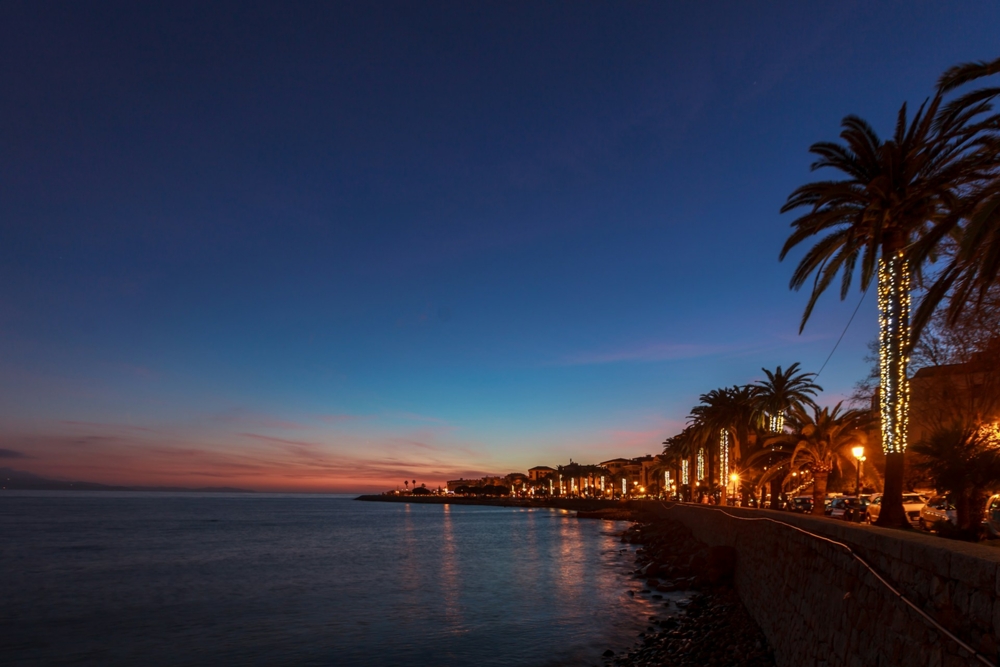
Photo by Jerome Granados on Unsplash (license)
Blue hour photography offers a chance to capture the world in a completely different light—one that’s quiet, cool, and emotionally rich. It’s one of the best ways to grow your skills and learn to work with light and mood.
Whether you’re shooting cityscapes, nature, or portraits, the blue hour gives you a powerful tool for creating memorable images. And because it happens every day, you always have another chance to try again.
So grab your camera, set your alarm or stay out a little longer, and see what the blue hour has to offer. You might be surprised by what you capture.
FAQ
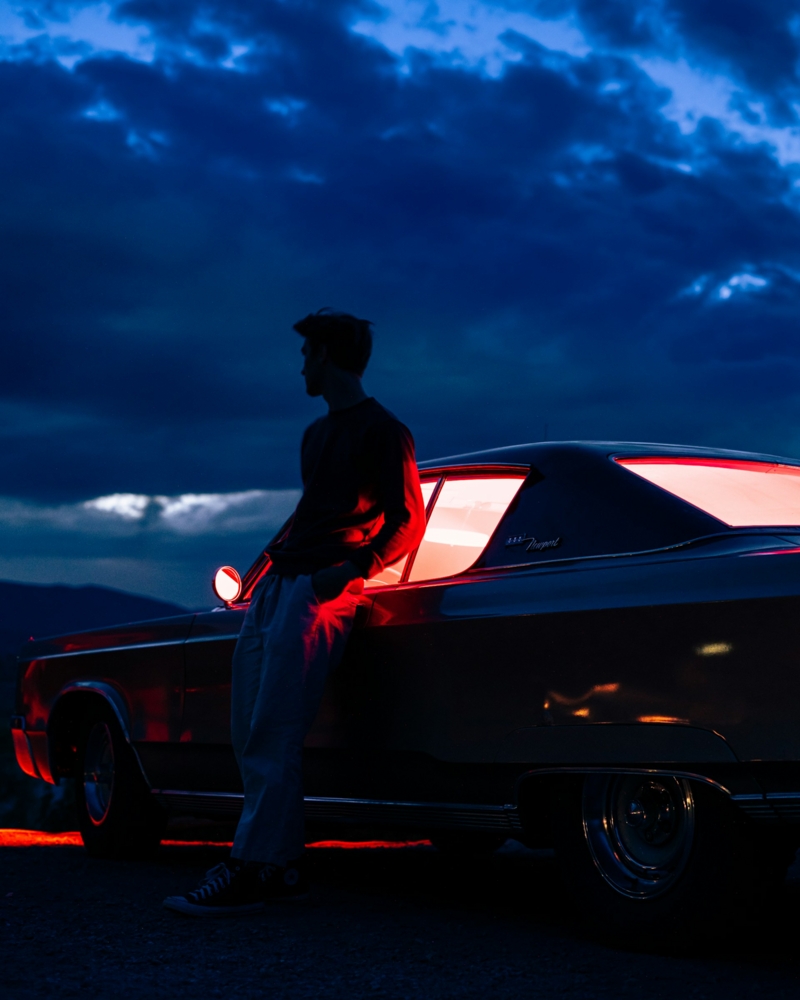
Photo by Carter Baran on Unsplash (license)
How long does the blue hour last?
It usually lasts between 20 to 40 minutes, depending on your location and the season.
Is blue hour before or after sunset?
It occurs both before sunrise and after sunset, while the sun is still below the horizon.
What’s the best time to arrive for blue hour photography?
Arrive at least 15–30 minutes early so you can set up and be ready as the light changes.
Do I need a tripod for blue hour photography?
Yes, a tripod is essential to avoid camera shake during long exposures.
Can I use my phone for blue hour photos?
Yes, many smartphones can take decent low-light shots, especially if they have a night mode. But a camera with manual settings will give better results.
A quick heads-up: If you snag something through our affiliate links or check out our sponsored content, we might earn a commission at no extra cost to you. But fear not, we’re all about recommending stuff we’re truly stoked about!
Learn More:
- Capturing Nature’s Drama: A Beginner’s Guide to Storm Photography
- Critical Tips for Low-Light Photography
Hero Photo by Paul Rogers on Unsplash (license)