

Have you ever taken a photo of a beautiful sunset only to discover that the sky is completely white or the shadows are pitch black? If so, you’re not alone! This is a common problem that stems from a camera’s inability to handle a wide dynamic range.
Dynamic range is one of the most important concepts in photography. It affects how much detail your camera can capture in both the brightest and darkest areas of an image. Mastering it is key to taking professional-quality photos that are rich in detail and tone.
In this guide, I’ll break down what dynamic range really means, why it matters, how different cameras handle it, and what you can do—both in-camera and in post-processing—to get the best possible results. Whether you’re just starting out or refining your skills, this tutorial is for you!
Table of Contents
- What is Dynamic Range?
- Why Dynamic Range Matters in Photography
- How Dynamic Range Works in Cameras
- High Dynamic Range (HDR) Photography Explained
- Techniques to Maximize Dynamic Range
- Post-Processing Tips to Recover Dynamic Range
- Real-World Examples
- FAQ
What is Dynamic Range?

Dynamic range refers to the range of brightness a camera sensor can capture—from the darkest shadows to the brightest highlights—without losing detail. It’s typically measured in “stops.” Each stop doubles the amount of light a sensor can record. The higher the number of stops, the greater the dynamic range. It’s represented on a camera using its histogram, as shown above.
To put it into perspective, the human eye can perceive around 20 stops of dynamic range, while most cameras can manage between 10 and 15. That means when you’re photographing a high-contrast scene, your camera may struggle to expose both the bright and dark areas properly.
Understanding this concept is essential because it helps you make smarter decisions about exposure, lighting, and post-processing. Once you know your camera’s limits, you can use tools and techniques to work around them and get the best shot possible.
Why Dynamic Range Matters in Photography
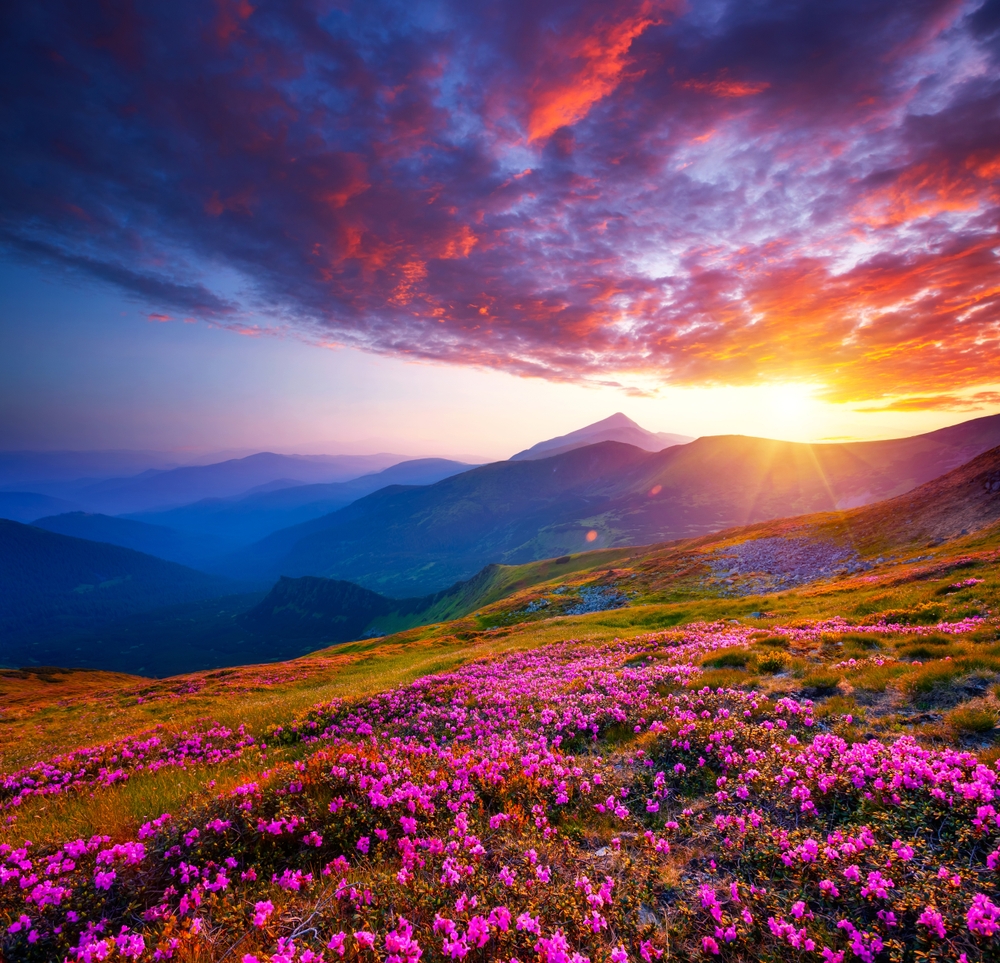
Photo by Creative Travel Projects via Shutterstock
Dynamic range has a direct impact on image quality. When your camera captures a wide range of tones, your photos look more natural, balanced, and detailed. You retain texture in highlights, subtle gradations in shadows, and overall better tonal separation.
In genres like landscape, portrait, and architectural photography, dynamic range becomes even more critical. Imagine shooting a scene where the sun is setting behind a mountain. A camera with poor dynamic range will either blow out the sky or lose all detail in the dark rocks.
Personally, I’ve found that understanding this helped me avoid countless disappointing shots. Once I learned how to meter properly and use exposure compensation, I started capturing much more balanced images—even in tricky lighting conditions.
How Dynamic Range Works in Cameras

The ability of a camera to record dynamic range depends on its sensor technology. Larger sensors typically perform better because they can collect more light. This is one reason full-frame cameras generally outperform crop-sensor models when it comes to dynamic range.
Bit depth also plays a role. A 14-bit RAW file contains much more information than an 8-bit JPEG, giving you more flexibility to adjust exposure in post. Always shoot in RAW if your goal is to preserve the most range possible.
Dynamic range is often tested and rated in lab environments. For example, the Nikon Z9 and Sony a7R V (shown above) are praised for having some of the best capabilities in the mirrorless world. These numbers aren’t everything, but they can be helpful for comparing gear.
High Dynamic Range (HDR) Photography Explained
HDR photography is a technique used to overcome the limitations of a camera’s dynamic range. It involves taking multiple exposures of the same scene—one for the highlights, one for the shadows, and one for the midtones—and blending them together.
This can be done manually using exposure bracketing and software like Lightroom (as shown above by Adobe Live) or Photomatix. Many smartphones also offer automatic HDR modes that work surprisingly well for casual photography.
When done right, HDR allows you to create images that are both dramatic and natural-looking. The key is to avoid over-processing. Subtlety is everything in HDR. Overcooked HDR images with glowing halos and unnatural colors are a dead giveaway.
Techniques to Maximize Dynamic Range

Photo by photostocklight via Shutterstock
There are several techniques that can help you get the most out of your camera’s dynamic range. One of the most useful is exposing to the right (ETTR). This involves slightly overexposing your image—without clipping highlights—to retain more shadow detail.
Using graduated ND filters is another effective method, especially for landscape photography. These filters help balance the exposure between a bright sky and a darker foreground.
Bracketing your shots and blending them later is also a go-to strategy. Many modern cameras allow you to automatically shoot a series of bracketed exposures, which you can later merge into one high-dynamic-range image.
Post-Processing Tips to Recover Dynamic Range
As Christian Möhrle – The Phlog Photography discusses in the video above, even if you nail your exposure in-camera, post-processing can help you fine-tune the dynamic range. Start with the Highlights and Shadows sliders in Lightroom or Camera Raw. Pulling down highlights and lifting shadows can reveal hidden detail without ruining the overall look.
Use local adjustment tools like Radial Filters and Masks to apply exposure corrections selectively. This helps keep the image natural and avoids flattening the contrast too much.
Be careful not to push the image too far. Over-editing can introduce noise, color shifts, and unnatural halos. Subtle adjustments go a long way in preserving a clean, high-quality look.
Real-World Examples
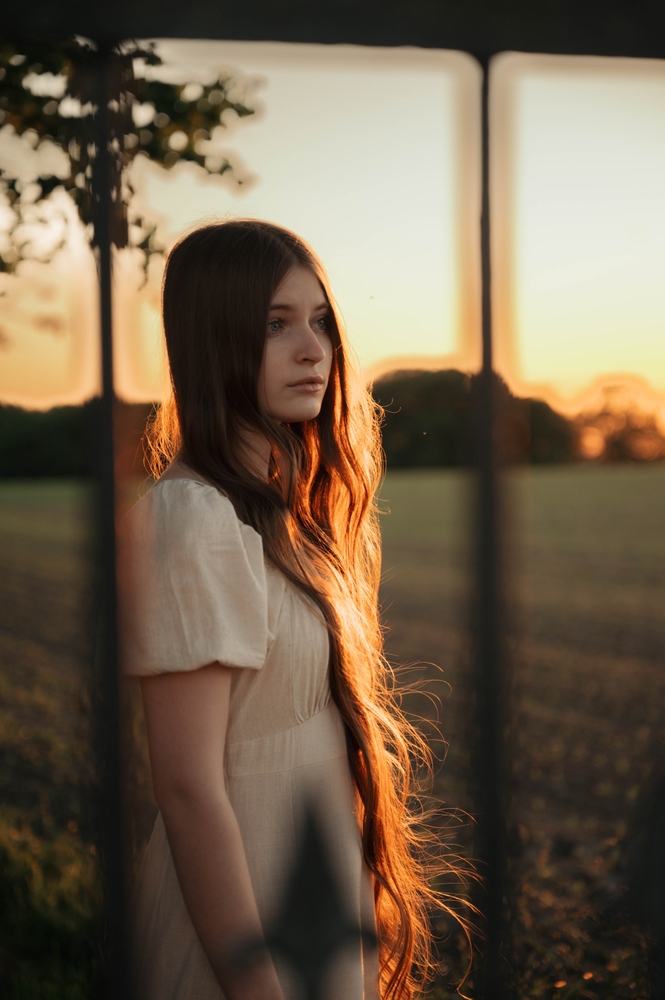
Photo by ludikniss via Shutterstock
Let’s say you’re photographing a forest at sunrise. The bright sky and dark trees challenge your camera’s dynamic range. By exposing for the highlights and later lifting the shadows in post, you can retain detail across the entire scene.
Or consider shooting the interior of a home with large windows. Balancing indoor light with outdoor brightness is nearly impossible without either bracketing or using fill flash—or ideally, both.
Even portrait photographers benefit from understanding this. A backlit subject can easily become a silhouette without proper exposure. Using reflectors, spot metering, or post-processing can help recover those critical details.
Final Thoughts

Photo by Stivog via Shutterstock
Dynamic range plays a massive role in how your photos turn out. Understanding what it is, how to control it, and how to recover it in post will elevate your photography significantly.
Experiment with your camera’s histogram, try exposure bracketing, and shoot in RAW whenever possible. And remember—while gear matters, technique makes the biggest difference when it comes to mastering this concept.
With a bit of practice and attention to detail, you’ll start creating images that are balanced, rich, and visually stunning—even in challenging lighting conditions.
FAQ
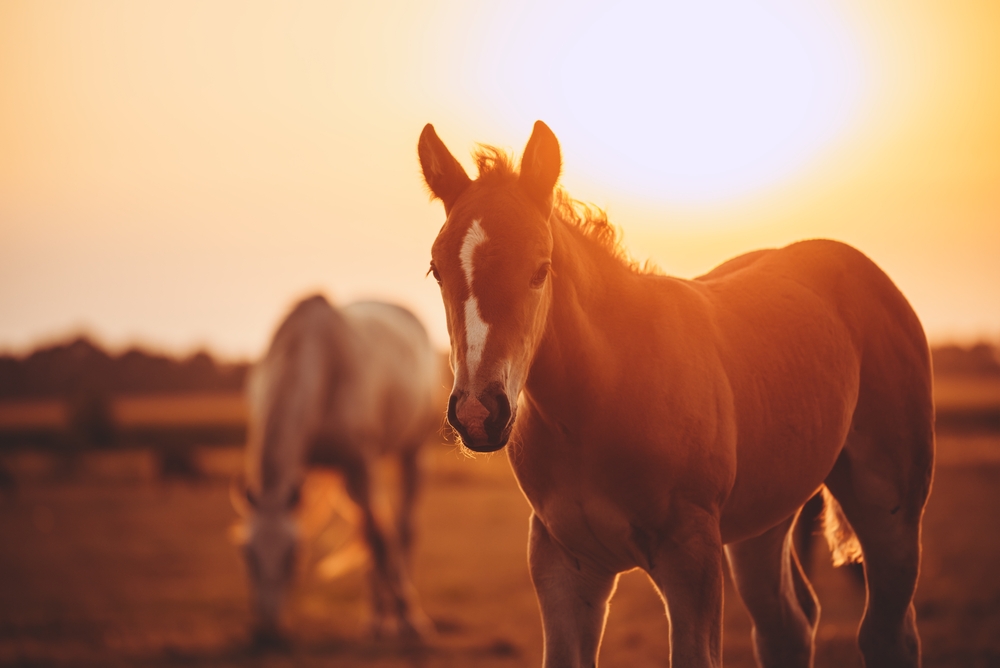
Photo by Kateryna Puchka via Shutterstock
What does dynamic range mean in photography?
Dynamic range refers to the range between the darkest and brightest areas of a photo that a camera can capture without losing detail.
How can I increase my camera’s dynamic range?
You can’t physically increase it, but you can maximize it by shooting in RAW, using exposure bracketing, applying ETTR, and editing carefully in post.
Which cameras have the best dynamic range?
Full-frame and medium format cameras typically offer better performance. Popular models include the Sony a7R V, Nikon Z9, and Fujifilm GFX series.
Is HDR photography the same as having good dynamic range?
Not exactly. HDR is a technique to simulate higher range by blending multiple exposures. A camera with good range may not need HDR in many situations.
A quick heads-up: If you snag something through our affiliate links or check out our sponsored content, we might earn a commission at no extra cost to you. But fear not, we’re all about recommending stuff we’re truly stoked about!
Learn More:
- 8 Essential Tips for Capturing Stunning Sunrise and Sunset Photos
- Use Long Exposures to Create More Unique Landscape Photos
Hero photo by Creative Travel Projects via Shutterstock