

Quick Verdict: Weather sealing alone will not protect camera in rain or snow for more than 15-20 minutes of steady exposure. Even IP53-rated bodies allow moisture through lens mounts, battery doors, and cable ports. A dedicated camera rain protection system like the Camera Canopy ($80-$89) provides rigid, transparent coverage while keeping full access to your controls. For cold-weather shooting, condensation poses a bigger threat than snow, and proper transition protocols prevent the fogging and sensor damage most photographers overlook.
Last updated: March 2026 | 9 min read
In This Guide
- Why Weather Sealing Won’t Protect Camera in Rain
- Camera Weather Protection Options at a Glance
- Rain Protection Methods Ranked by Effectiveness
- Snow and Cold Weather Camera Protection
- Condensation: The Hidden Threat to Your Gear
- Post-Exposure Recovery and Maintenance
- Camera Canopy vs. Rain Sleeves vs. DIY Covers
- Pros and Cons of Each Protection Method
- Final Verdict
- Frequently Asked Questions
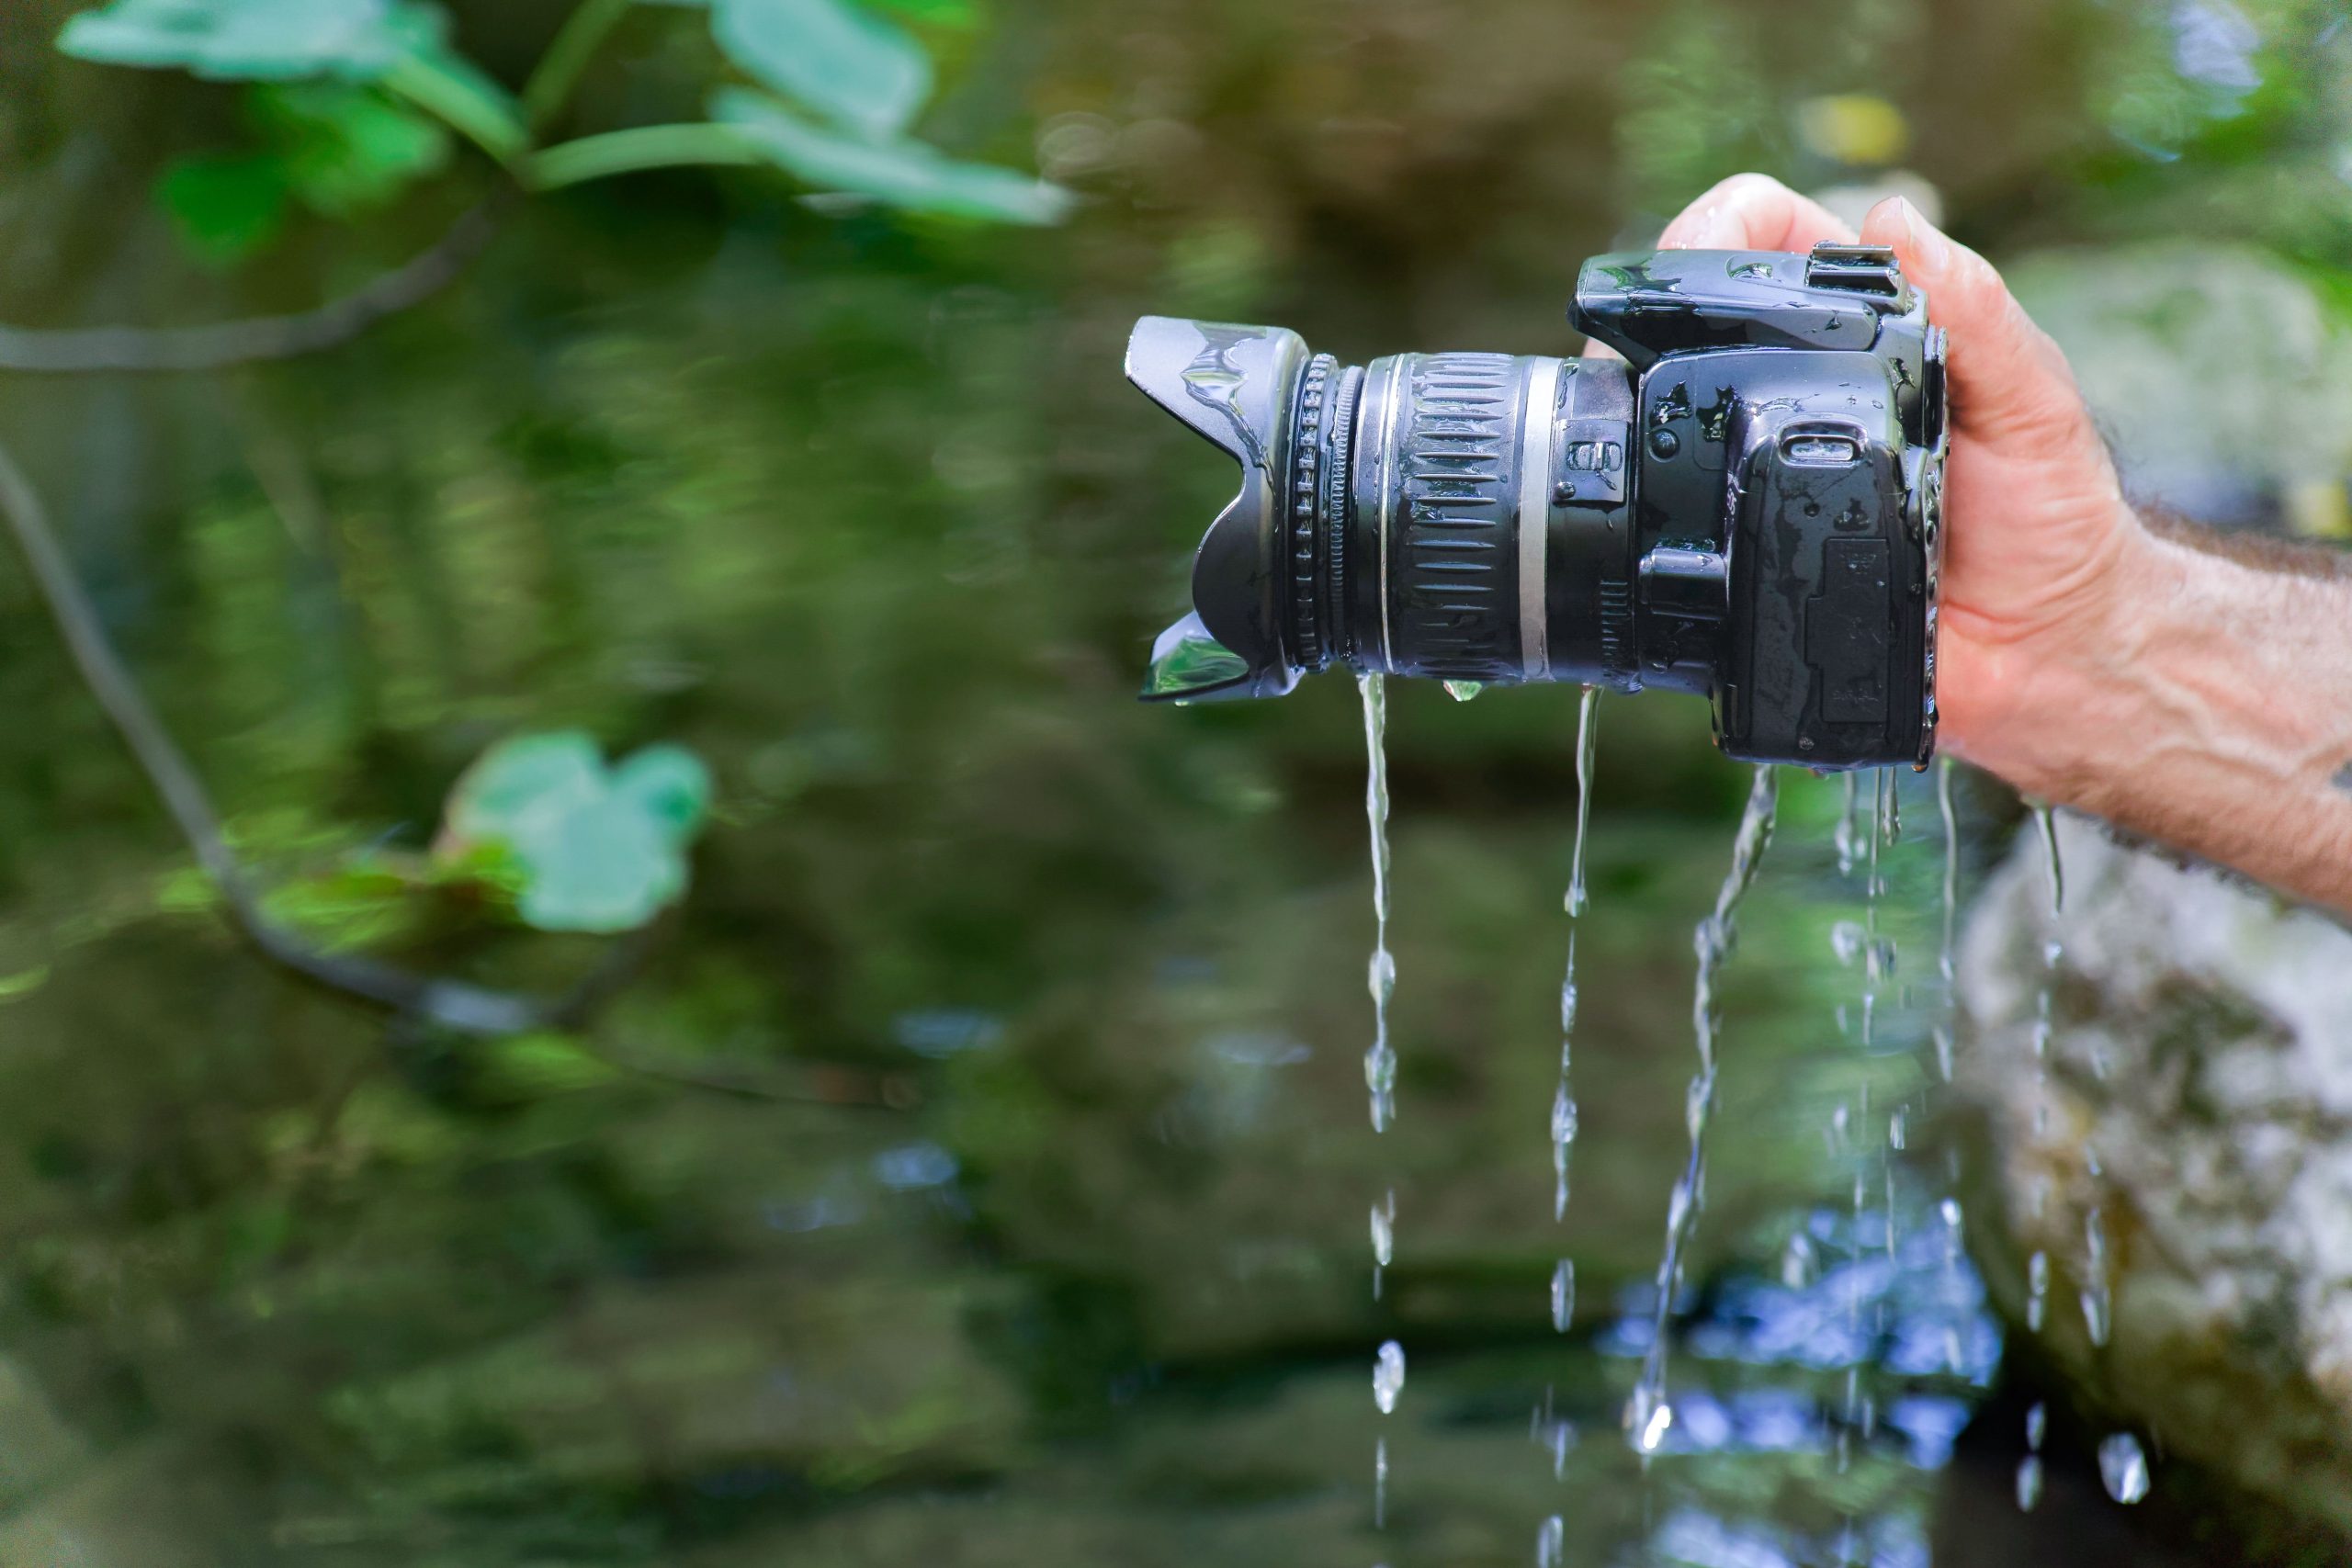
Why Weather Sealing Won’t Protect Camera in Rain

If you need to protect a camera in the rain for any serious length of time, weather sealing is not the answer. Every manufacturer promotes it as a feature, yet none of them covers water damage under warranty. Canon, Nikon, and Sony all bury the same disclaimer in their fine print: weather resistance does not equal waterproofing. That distinction matters when you’re standing in a downpour trying to capture a bald eagle diving for salmon.
Weather-sealed cameras typically carry an IP53 or similar ingress rating, which in practical terms means protection against light drizzle for short periods. However, prolonged exposure to steady rain drives moisture through gasket seals around the lens mount, battery compartment, and SD card door. Roger Cicala of LensRentals has documented moisture damage in weather-sealed bodies that spent relatively brief periods in moderate rainfall.
For wildlife photographers who spend hours in hides during storms, or landscape shooters working coastal conditions, dedicated camera rain protection becomes essential. A single repair for water damage to a mirrorless body runs $300-$800 depending on the manufacturer and extent of corrosion. Consequently, investing $30-$89 in a rain cover for camera equipment is the simplest insurance you’ll ever buy.
Camera Weather Protection Options at a Glance
| Protection Method | Price Range | Coverage | Control Access | Best For |
|---|---|---|---|---|
| Camera Canopy | $80-$89 | Top and sides, lenses up to 500mm | Full, unrestricted | Wildlife, sports, birding |
| Think Tank Hydrophobia | $120-$165 | Full enclosure | Through access flaps | Heavy downpours, extended sessions |
| LensCoat RainCoat | $77-$100 | Full sleeve | Through sleeve openings | Telephoto lenses, birding |
| Disposable Rain Sleeves | $5-$15 (pack) | Basic wrap | Limited | Emergency backup |
| DIY Plastic Bag + Rubber Band | $0-$2 | Improvised | Poor | Absolute last resort |
Featured Product
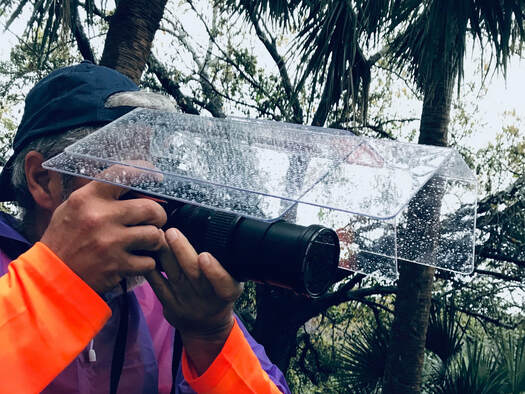
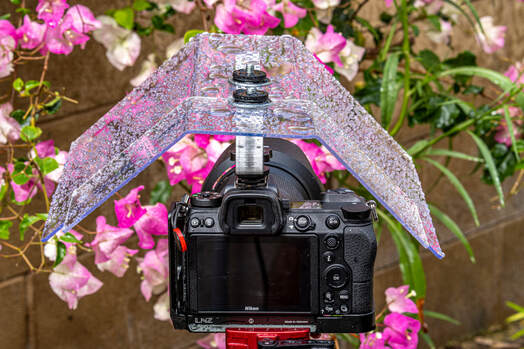
Camera Canopy: Rigid Rain Protection with Full Control Access
Transparent 2mm acrylic canopy mounts to your hot shoe. Covers camera body and lenses up to 500mm. No fumbling through sleeves or flaps. Starting at $80.
How to Protect a Camera in Rain: Methods Ranked by Effectiveness
The best way to protect the camera from the rain depends on how you shoot. Specifically, tripod-based landscape photographers face different challenges than handheld wildlife shooters tracking birds through dense canopy. Below is how each camera’s weather protection method performs under field conditions.
Rigid canopy systems like the Camera Canopy mount directly to the hot shoe and extend a clear acrylic shield over the camera body and lens. Because the transparent shield sends unobstructed light through to your autofocus system, AF performance stays at full speed. Meanwhile, you maintain access to every dial, button, and the viewfinder without removing or repositioning the cover. For wildlife photographers using 200-500mm telephoto lenses, this design eliminates the biggest frustration with fabric covers: the constant need to reach inside a sleeve to change settings during fast-moving action.
Full-enclosure rain covers from Think Tank and Peak Design wrap the entire camera-lens combo in waterproof nylon. These provide the strongest camera rain protection in torrential downpours. On the other hand, they force you to operate through zippered access flaps or clear vinyl windows. In cold weather, your fingers lose dexterity inside the cover, and the viewing panel fogs up repeatedly. At $120-$165, these covers work best for photographers who stay in one position for extended periods.
Rain sleeves from LensCoat and OP/TECH offer a middle ground at $77-$100. Think of them as fitted socks for your lens; they pull over the camera-lens combination and block rain from all angles. Still, you lose quick access to your dials, and in my experience condensation builds inside these sleeves faster than expected during temperature swings.
Disposable plastic rain sleeves ($5-$15 for a pack of 5-10) serve as emergency backup only. They tear easily, fog up within minutes, and restrict movement. Keep a pack in your bag for unexpected showers, but do not rely on them as your primary waterproof camera cover.
Snow and Cold Weather Camera Protection
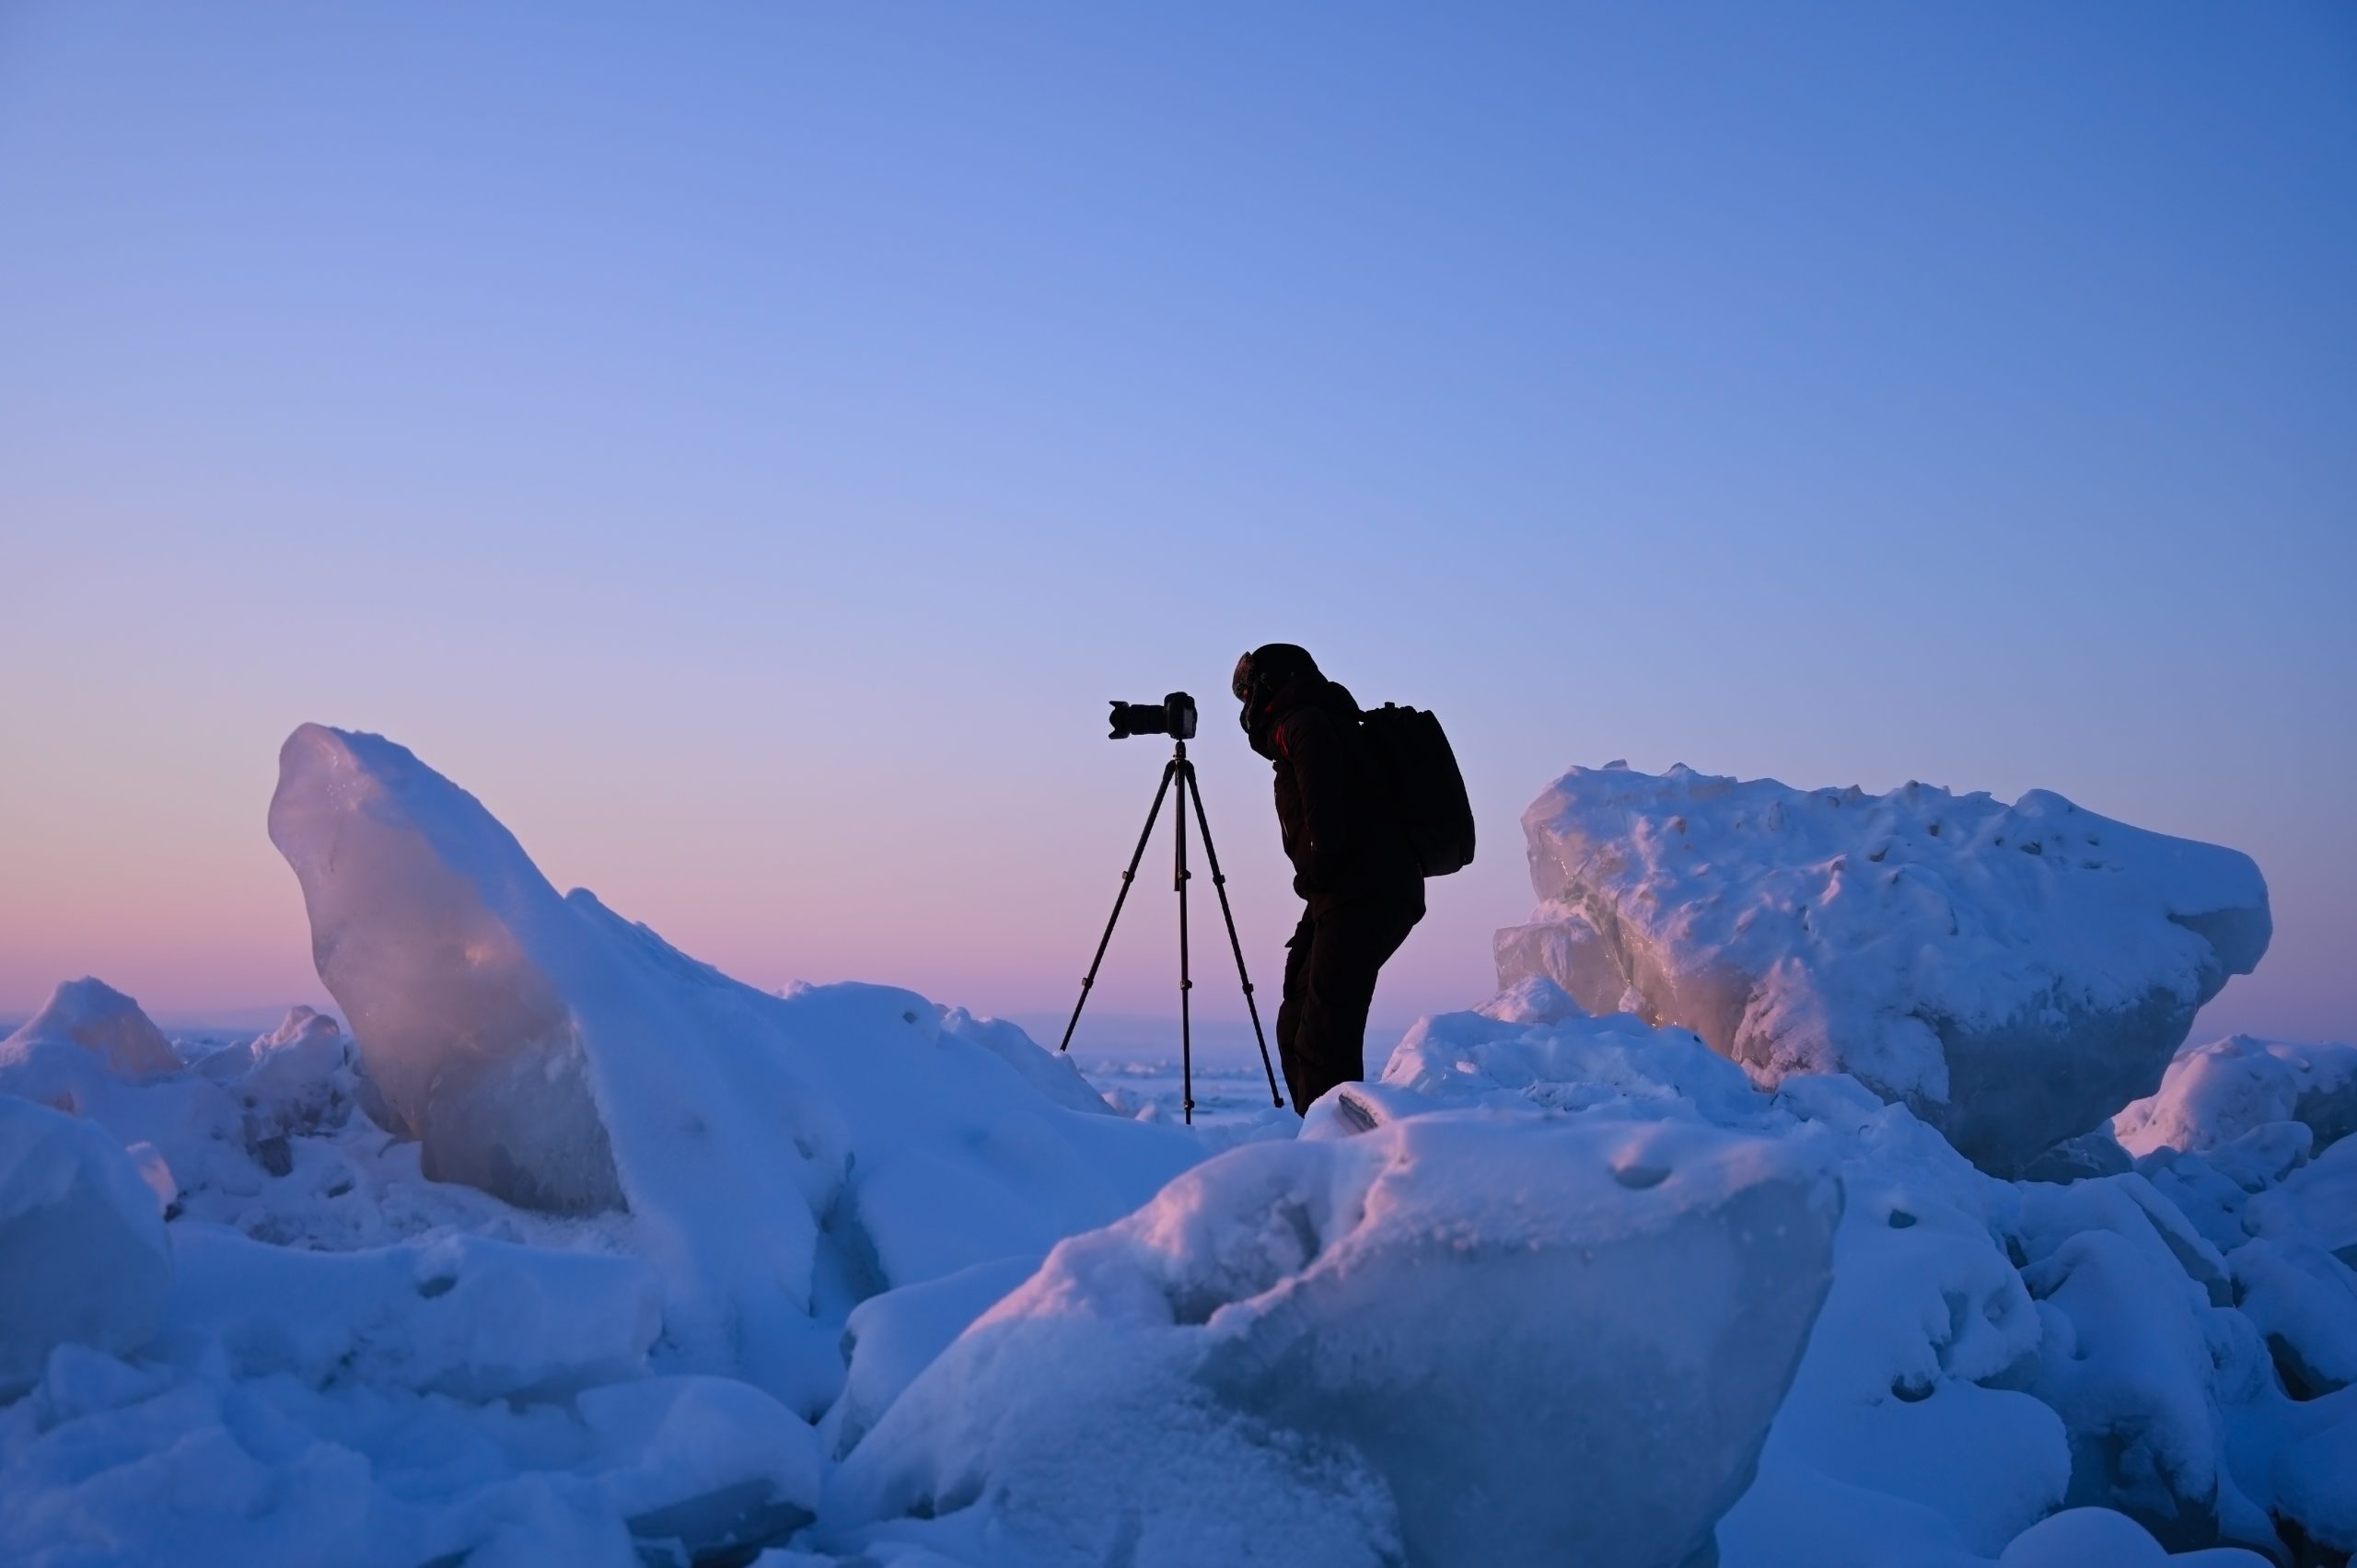
Snow itself poses less immediate danger to your camera than rain does, since snowflakes sit on surfaces without penetrating seals the way liquid water does. Instead, the real threat comes from two sources: melting snow on a warm camera body and battery failure in sub-zero temperatures.
Lithium-ion batteries lose significant capacity as temperatures drop. At 14°F (-10°C), expect roughly 20-30% capacity loss compared to room temperature. By -4°F (-20°C), performance drops by 40-50% or more, depending on the battery model. Therefore, keep two spare batteries in an inside coat pocket, rotating them every 30-45 minutes to maintain operating temperature.
Your rain cover for camera gear still matters during snow sessions. When you move indoors or into a warm vehicle, the snow on the camera body melts instantly. Without protection, meltwater runs into every crevice. Before transitioning to warmth, brush off all visible snow with a soft-bristle brush (not your gloves, which transfer oils and moisture). Then follow the condensation protocol in the next section.
Also worth noting: touchscreens become unreliable below 32°F (0°C). Configure your camera for button-and-dial operation before heading out. Assign key functions like ISO, drive mode, and AF area to physical buttons so you never depend on the touchscreen in the field.
Condensation: The Hidden Threat to Your Gear
Condensation damages more cameras than rain does. When you bring a cold camera into a warm, humid environment, moisture from the air condenses instantly on every surface, including the sensor, internal circuit boards, and lens elements. As a result, this causes fogging, electrical shorts, and long-term fungal growth if left unchecked. Knowing how to protect the camera in the rain matters, but knowing how to handle the transition back indoors matters equally.
Protect Your Gear Year-Round
Camera Canopy: Works in Rain, Snow, and Harsh Sun
The clear acrylic design blocks rain and snow while keeping your camera accessible. Adjustable length fits lenses from 24mm to 500mm. Includes carry pouch.
The culprit is straightforward: warm air absorbs moisture, and cold air releases it. A camera at 25°F brought into a 72°F room crosses the dew point almost immediately. Fortunately, the fix is simple but requires discipline.
The Ziplock Protocol: This is the single best investment of your time when walking in from cold weather. While your gear is still cold, seal it in a large plastic bag. A 2-gallon Ziplock bag accommodates most camera bodies with standard zoom lenses. For longer telephotos, a kitchen trash bag works; squeeze the air out and twist the top shut. Once sealed, bring the bag inside and leave it sealed for 45-60 minutes. The bag traps the warm, humid air outside, letting the camera warm gradually without condensation forming on its surfaces.
For extended cold-weather trips, pack 5-10 large silica gel packets (40g each) in your camera bag. Place two packets inside the sealed bag with your camera during the transition. The silica absorbs residual moisture and reduces the condensation window significantly.
Post-Exposure Recovery and Maintenance
After shooting in rain or snow, your camera needs specific attention within the first 30 minutes. These steps apply regardless of which camera weather protection method you used during the shoot.
Step 1: Battery and card out first. Open the doors and leave them open to create an air path. If you spot water droplets inside, do not power the camera on. Water plus electricity corrodes circuit boards faster than anything else.
Step 2: Separate the lens. Wipe the rear element and lens mount with a microfiber cloth. Next, inspect the rubber gasket around the mount for debris or visible moisture. Then stand the camera body mount-down on a clean microfiber cloth so gravity pulls moisture away from the sensor.
Step 3: Skip the canned air. Reach for a Rocket Blower or similar hand pump instead. Compressed air cans release propellant residue and extreme cold bursts. A manual blower pushes air across buttons, dials, and port covers without those side effects.
Step 4: Silica gel storage. Place the camera body, lens, and battery in a sealed container with fresh silica gel packets. Leave the camera powered off in this container for 12-24 hours to draw out residual moisture from internal components.
If your camera experienced submersion or heavy rain exposure for more than 30 minutes without protection, schedule a professional cleaning within 48 hours. The longer moisture sits on internal components, the higher the risk of corrosion spreading beyond repair.
Camera Canopy vs. Rain Sleeves vs. DIY: Which Approach to Protect the Camera in Rain?
The wrong camera rain protection system will either slow you down or leave your gear soaked. Here’s what matters most when choosing between the three main approaches.
The Camera Canopy ($80-$89) uses a rigid 2mm acrylic panel mounted to the hot shoe. It extends from 14 to 18 inches to accommodate lenses up to 500mm. Because the material is clear, your autofocus receives full light, and you access every button and dial directly. Wildlife and sports photographers benefit most from this design because those genres demand fast setting changes during unpredictable action. The trade-off: the canopy protects from above and partially from the sides, so driving horizontal rain remains a vulnerability. It also occupies the hot shoe, blocking external flash or microphone mounts.
Traditional rain sleeves from LensCoat and OP/TECH ($77-$100) wrap the entire camera-lens combination. They block rain from all angles and work well for tripod-based shooters who stay in one position. For handheld shooting with frequent setting changes, however, these sleeves slow you down. Your hands operate inside the sleeve, reducing tactile feedback on dials. In cold weather, condensation builds inside as body heat meets cold exterior air.
The DIY approach (plastic bag, rubber band, lens hole cut in one end) costs almost nothing and works in a pinch. In contrast, it provides zero control access, tears at the slightest snag, and fogs up within 5 minutes. Keep a Ziplock bag in your kit for emergencies, but no working photographer relies on DIY as a primary waterproof camera cover.
Pros and Cons of Each Protection Method
Pros: Camera Canopy
- Full, unrestricted access to all camera controls and viewfinder
- Transparent acrylic keeps autofocus performance at full speed
- Adjustable length fits lenses from wide-angle to 500mm telephoto
- Rigid design stays in place without sagging or flapping in wind
- Mounts to any hot shoe in seconds without tools
- Reusable for years with proper care
Cons: Camera Canopy
- No protection from driving horizontal rain hitting the lens front
- Occupies the hot shoe, blocking external flash or mic mounts
- Acrylic panel adds visible profile to your setup
Pros: Traditional Rain Sleeves
- 360-degree rain coverage protects from all angles including below
- Fitted models from LensCoat match specific lens dimensions
- Hot shoe remains available for accessories
- Established designs with decades of field testing
Cons: Traditional Rain Sleeves
- Restricted access to buttons and dials through fabric openings
- Internal condensation builds during extended use
- Fabric sleeves sag and flap in moderate-to-strong wind
- Multiple sizes needed for different lens combinations
- Reduced tactile feedback when operating controls through material
Final Verdict: Best Way to Protect Camera in Rain and Snow
For wildlife, sports, and birding photographers who need to protect their camera in the rain while maintaining instant access to controls, the Camera Canopy stands out as the most practical option. Its rigid, transparent design solves the biggest problem with traditional rain sleeves: the loss of speed and tactile control when action happens fast. At $80-$89, it pays for itself the first time it prevents a $500+ water damage repair.
Traditional rain sleeves still make sense for tripod-based landscape and timelapse shooters who prioritize total enclosure over quick access. If you regularly shoot in sustained downpours lasting more than an hour, the full-wrap design of a Think Tank Hydrophobia ($120-$165) provides the strongest barrier against moisture from all angles.
Beyond your choice of camera rain protection gear, the condensation management and post-exposure protocols in this guide prevent the most expensive category of weather-related damage. Sensor corrosion and lens fungus from condensation mismanagement cost photographers more annually than direct rain damage. The Ziplock Protocol costs nothing and takes 60 seconds to execute.
If you shoot wildlife or sports outdoors in any climate, start with a Camera Canopy for active shooting and keep a pack of disposable sleeves as your emergency backup. Pair either option with the post-exposure maintenance routine above, and your gear will last through years of wet-weather shooting without a single moisture-related repair bill.
Ready to Protect Your Gear?
Camera Canopy: Clear Protection, Full Control
Stop fumbling through rain sleeves. Mount the Camera Canopy in seconds and keep shooting. Available at cameracanopy.com and B&H Photo.
Frequently Asked Questions
How do I protect my camera in heavy rain?
Weather sealing handles light drizzle, and nothing more. Once you hit sustained downpours lasting 15-20 minutes or longer, you need a physical barrier between the water and your equipment. A dedicated system to protect the camera in rain, like the Camera Canopy or a full-enclosure sleeve from Think Tank, becomes essential at that point. Mount your cover before the rain starts, since moisture already on the camera body gets trapped under the cover if you wait.
Do weather-sealed cameras need rain covers?
Yes. Weather sealing reduces moisture intrusion but does not prevent it entirely. No camera manufacturer covers water damage under warranty, and the seals around lens mounts, battery doors, and card slots degrade over time. As a result, a waterproof camera cover provides the physical barrier your seals alone cannot deliver, especially after repeated exposure to wet conditions.
What is the best rain cover for wildlife photography?
The Camera Canopy ($80-$89) works best for wildlife photography because it provides camera rain protection without restricting your access to controls. Wildlife photography demands rapid setting changes as animals move unpredictably. Rigid-mount systems let you adjust ISO, shutter speed, and AF points instantly. In contrast, full-enclosure rain sleeves slow you down during the critical moments when a bird takes flight or a predator begins stalking.
How do I prevent condensation on my camera after shooting in cold weather?
Before entering a warm space, seal your camera in an airtight plastic bag while it is still cold. A 2-gallon Ziplock bag accommodates most camera bodies with standard zoom lenses. Leave the camera sealed inside the bag for 45-60 minutes while it gradually reaches room temperature. The bag prevents warm, humid indoor air from contacting the cold camera surfaces where condensation would otherwise form. Adding silica gel packets inside the bag speeds up the process considerably.
How do I dry out a camera after water exposure?
Remove the battery and memory card immediately, then detach the lens and leave all doors open. Use a hand-powered blower (not canned compressed air) to push water droplets away from buttons, dials, and ports. Next, place the camera body and lens in a sealed container with fresh silica gel packets for 12-24 hours. Do not attempt to power on the camera until it has fully dried. If the camera experienced heavy rain exposure for more than 30 minutes, schedule professional cleaning within 48 hours to prevent corrosion.