
How to Take Sharp Photos at Night
- Set your lens to manual focus
- Set the focus at infinity
- Enable live view
- Frame the shot, with the brightest object in the sky in the center of the frame
- Use live view to zoom in on the bright object
- Fine-tune the focus by manually adjusting the focus ring
- Take a test shot
- Inspect the results
- Lock the focus in place with gaffer's tape once the focus is spot on
- Get the Specs and Pricing on the Vixen Polarie Star Tracker Mount
- Take Better Photos of the Stars With These Quick Tips
When you shoot photos during the day, the autofocus system on your camera is good enough to work like a charm in most instances.
Granted, it's not perfect, but the instances in which it isn't spot on are few and far between.
But shooting at night is another story...
Even the most sophisticated autofocus systems struggle to acquire focus at night or when shooting a dark scene. The question is how to take sharp photos at night.
Fortunately, there are quite a few things you can do to get the tack-sharp photos you're after.
Editor's Tip: New to astrophotography? Get all the latest tips and tricks in our astrophotography section, sponsored by our friends at MrStarGuy. If you need a tripod, a telescope, astro binoculars, or any other astrophotography gear, MrStarGuy - a family-owned business that treats you like a friend - is the place to do it!
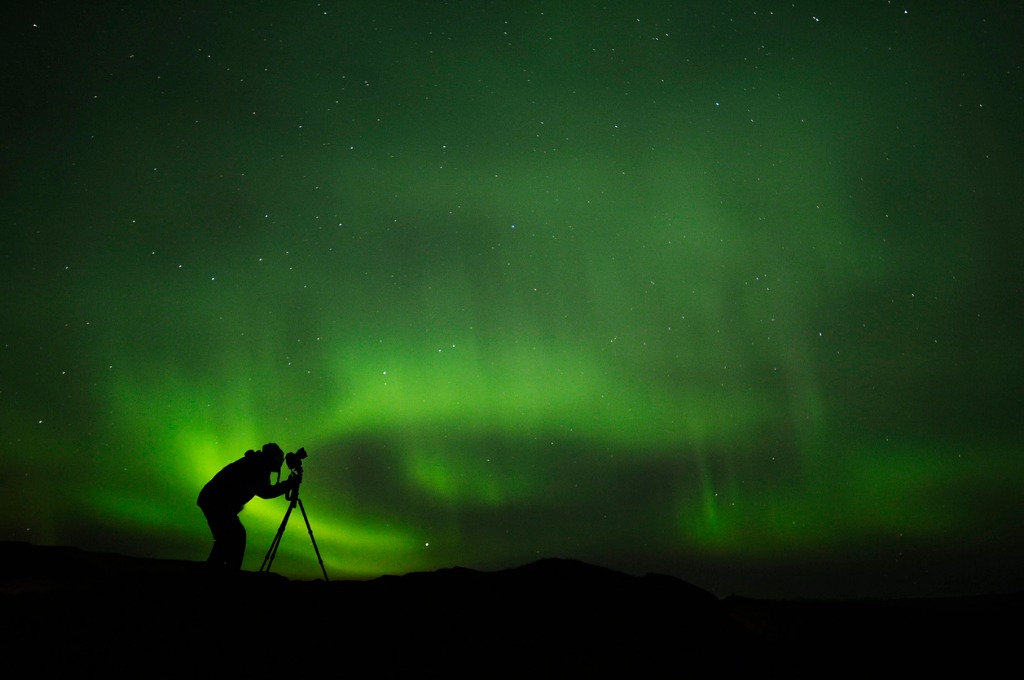
How to Take Sharp Photos at Night: Manual Focus
Even if you have a camera with a superb autofocus system (like the Sony a7R III), it's still not good enough to acquire focus on its own at night.
That means that you need to take control of focusing and manually focus the lens to get the sharpest focus in your photos of the night sky.
I've explored manual focusing in detail in this post, but as a quick guideline, you simply need to do the following:
This method might seem a little laborious, but the sharpness of the images you take certainly make all the effort worth it.
Besides, the more you practice, the faster you'll become at performing each step.
Check out a quick and simple overview of manually focusing your lens for astrophotography in the video above by Michael Coustier.
Refining Manual Focus for a Sharp Picture
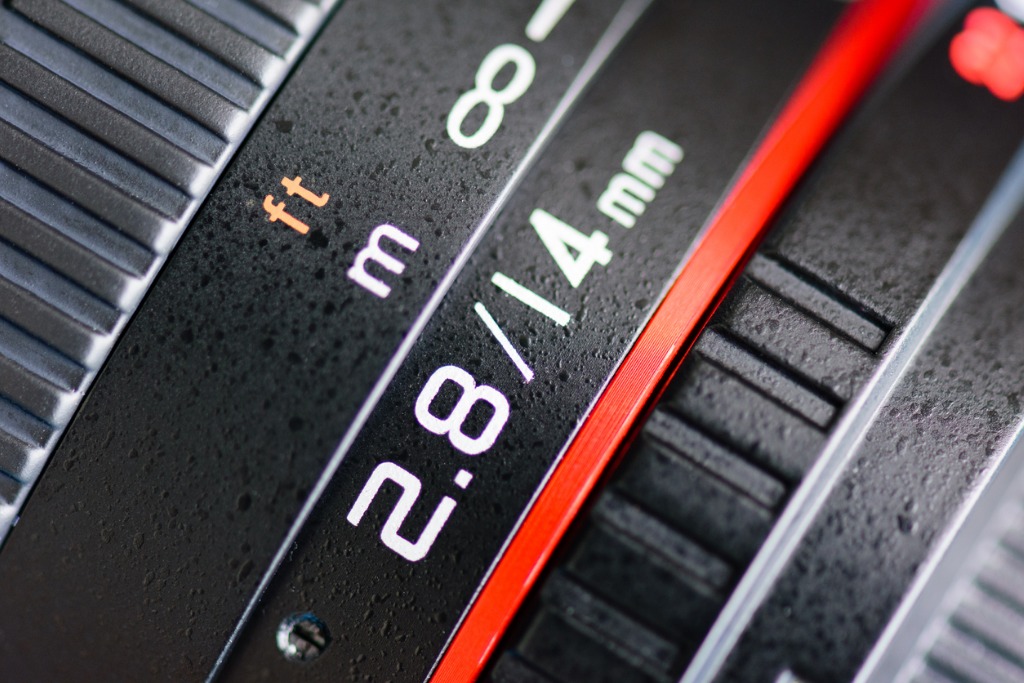
As noted above, a good place to start with manual focusing is to set your lens at the infinity mark.
But there's a catch...
You can't just use the infinity mark on your lens because the marks on your cameras lens are seldom perfectly accurate.
That means you need to fine-tune the focus to get optimal results.

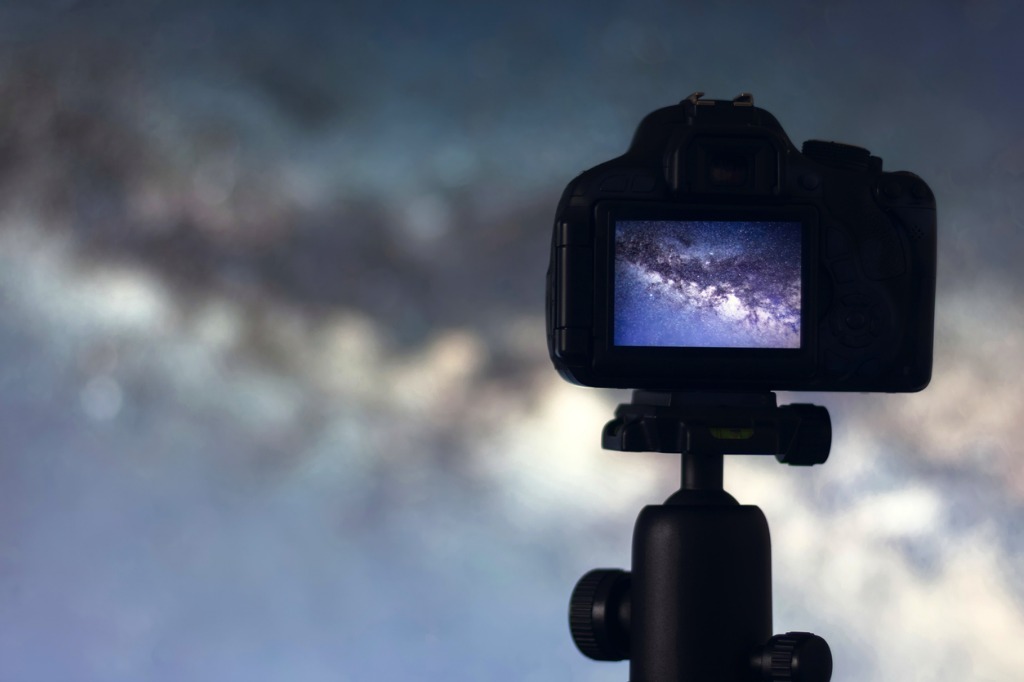
Zooming in using live view as described above is one way to get sharper focus.
Since you can't zoom in using the viewfinder, relying on the LCD panel on the back of your camera to get as close as possible to the target subject will help you zero in the focus with much better accuracy.
But there's another way to get a sharp picture at night...
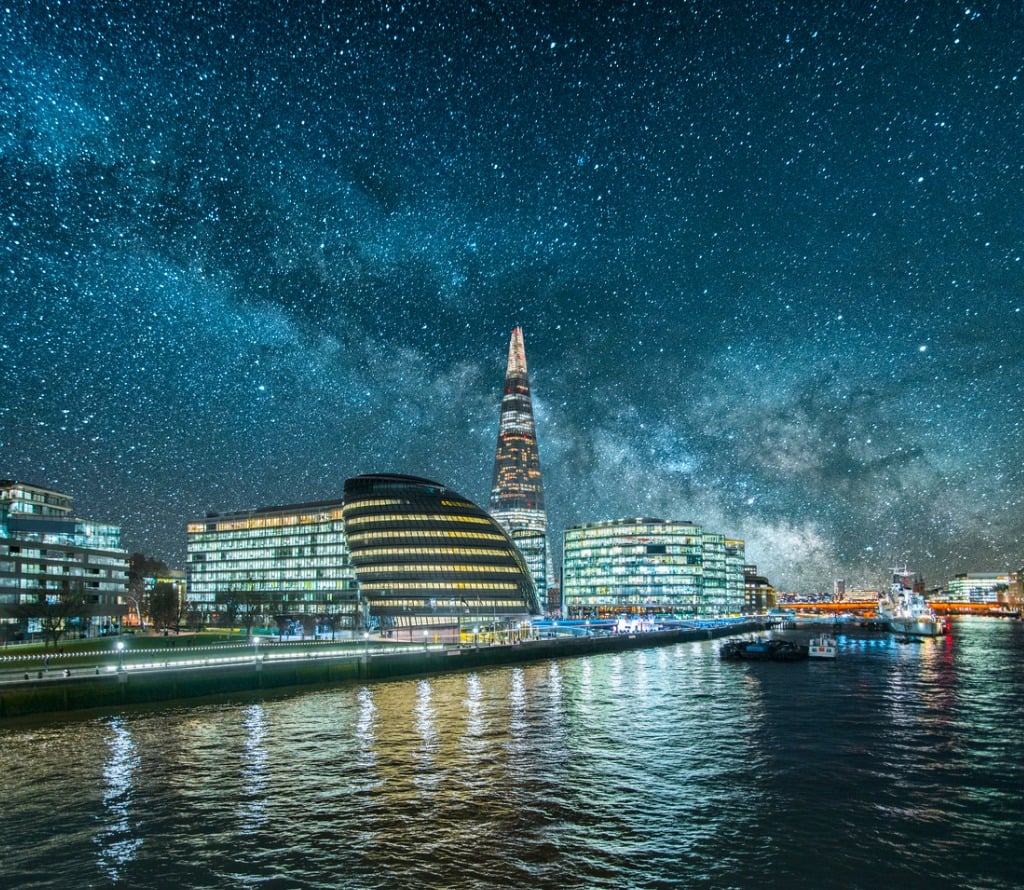
If you can't seem to acquire focus on a star or other celestial body, you can often use a bright object that's much closer to get the focus right in your shots.
Whether that's the light emanating from a town far away, the lights on a building in the distance or something else of the sort, as long as it's far enough away (at least 100 feet) for your camera to focus at infinity, it will help you get the stars in the sky above in sharp focus, too.
Learn More:
Taking Photos in Low Light: How to Tell if Your Camera is Focused
When zooming in using live view and manually adjusting the focus ring, it can still be a little tough to tell if your focus is spot on.
Perhaps the easiest way to get a sharp picture is to inspect the size of the object on which you've focused.
If you're focusing on the brightest star in the sky, it should look like the head of a pin - like a clear, crisp dot that is virtually perfectly white.
If the star isn't in focus, you can tell by its color because it will appear green if the focus is in too far and magenta if it isn't focused enough.
This change in the color of the stars as they go in and out of focus is due to spherical aberration that's common in lenses with very large apertures.
This aberration is called spherochromatism, which causes the colors shifts I mentioned above in very high-contrast highlights that are out-of-focus.
When using live view to zoom in and check focus, simply check for these color changes and use them as a guide to hone the focus of the shot.
If you see green, focus in more. If you see magenta, bring the focus back. If you see bright white, you've got it, and should see better results when taking photos in low light.
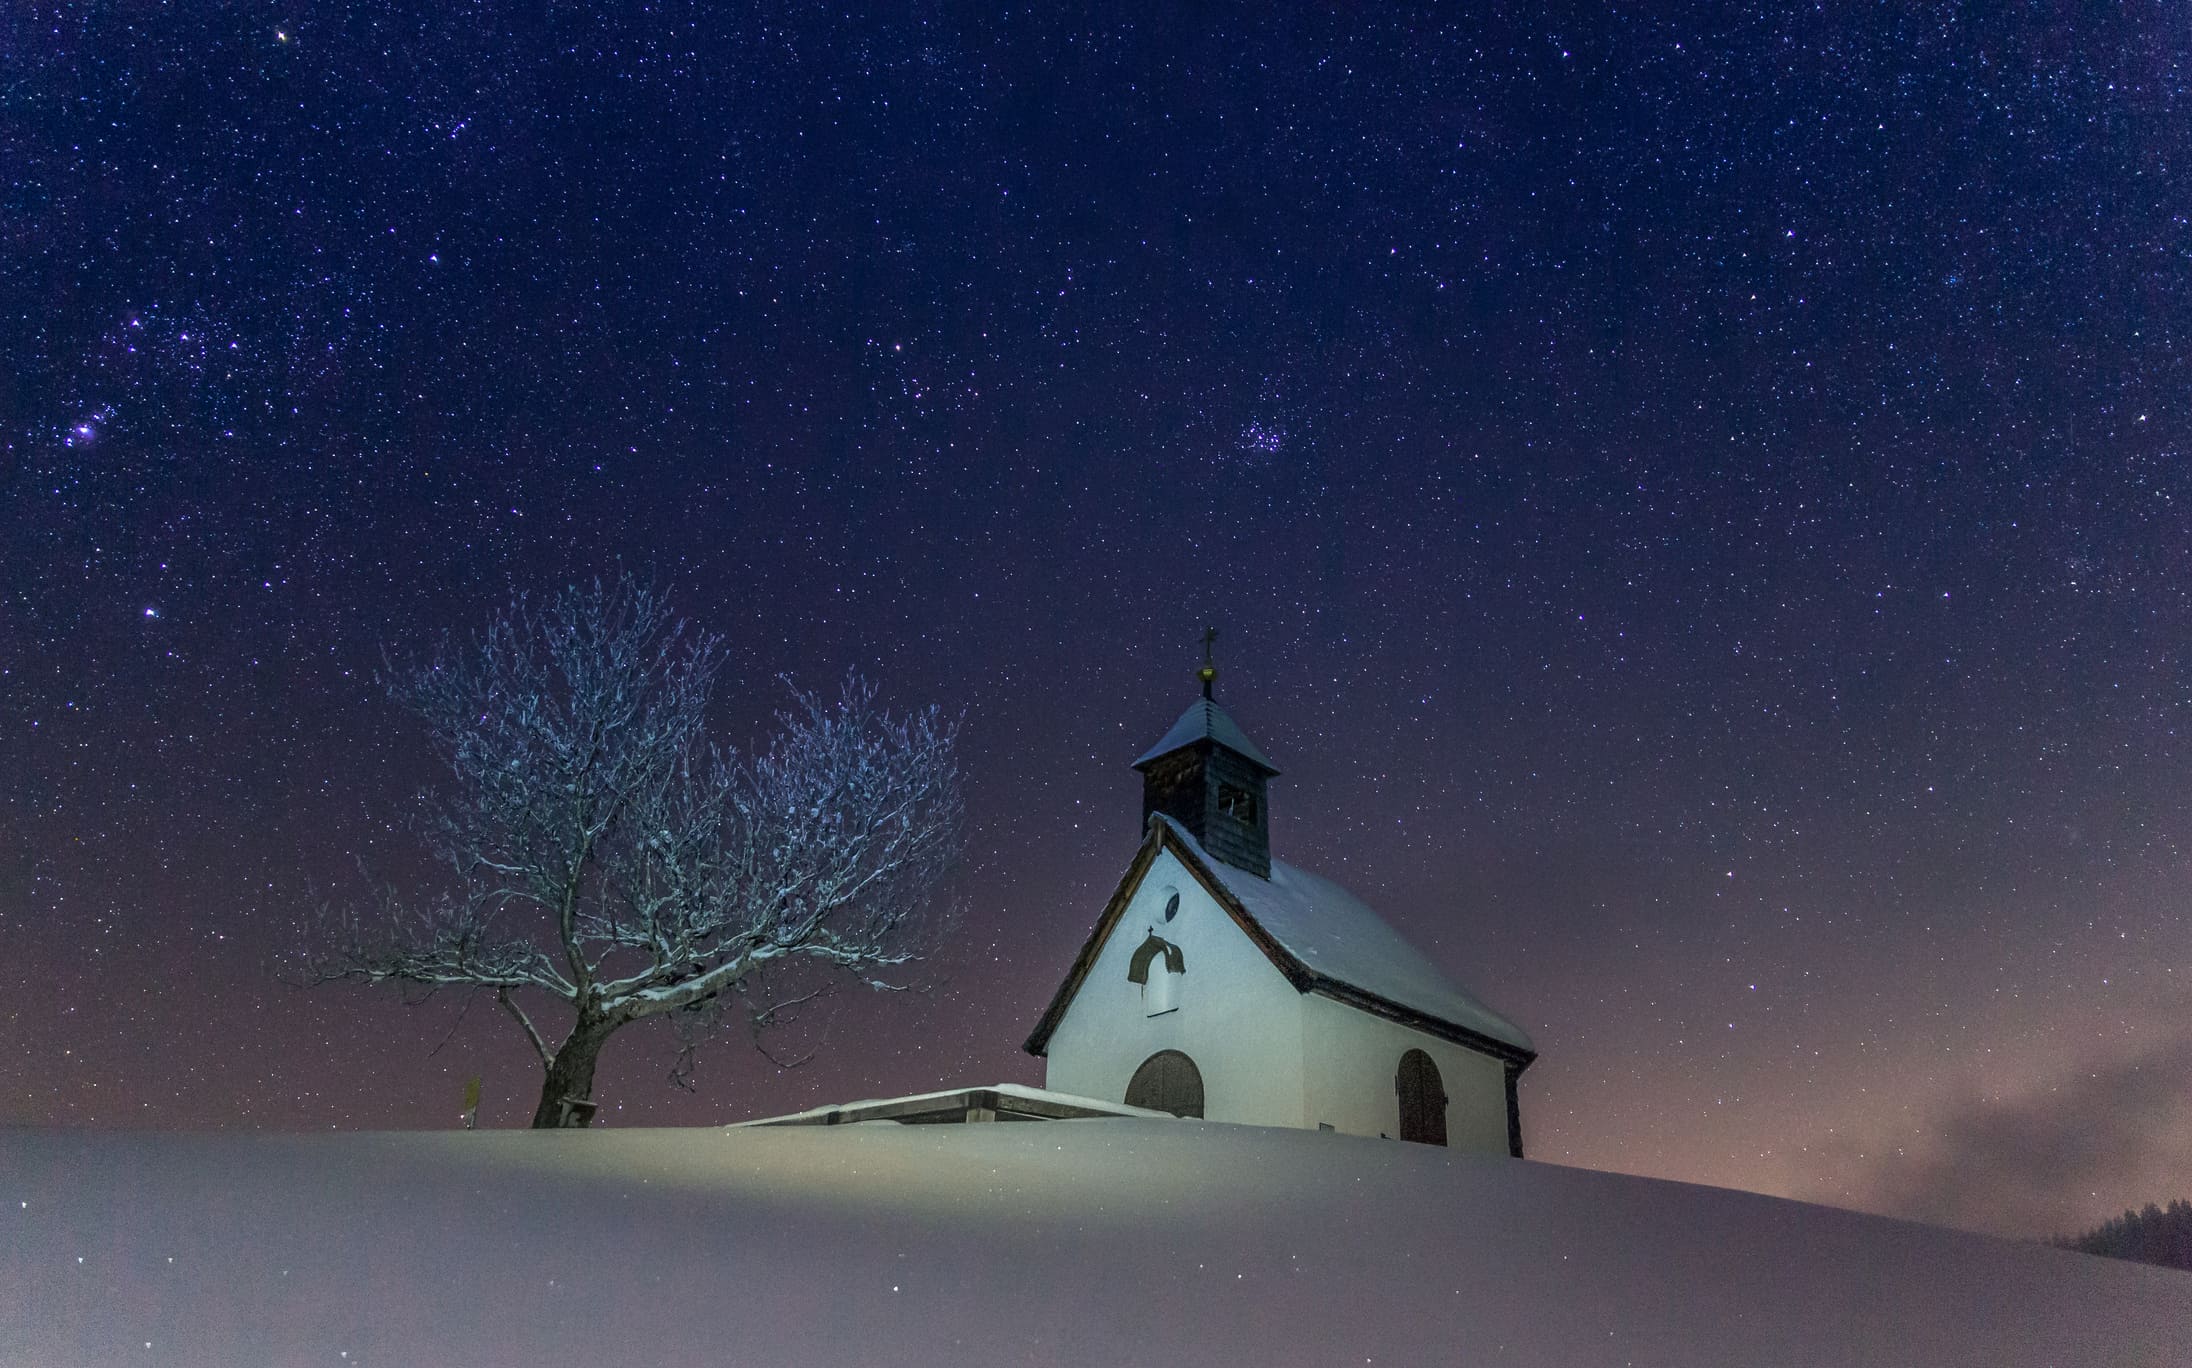
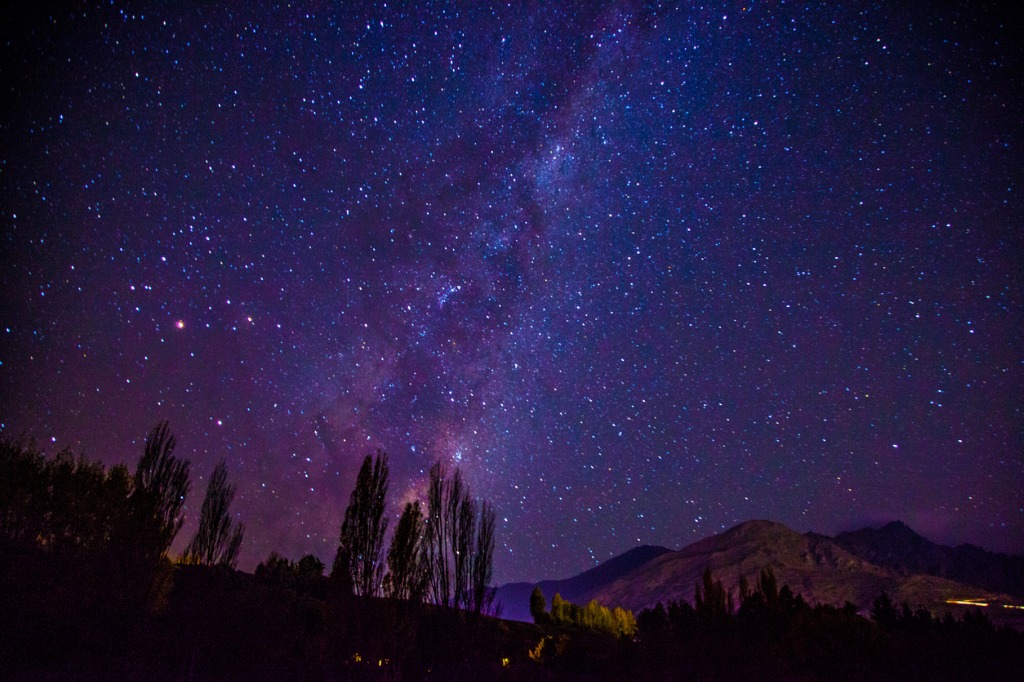
Bonus Tip: How to Get Pinpoint Stars
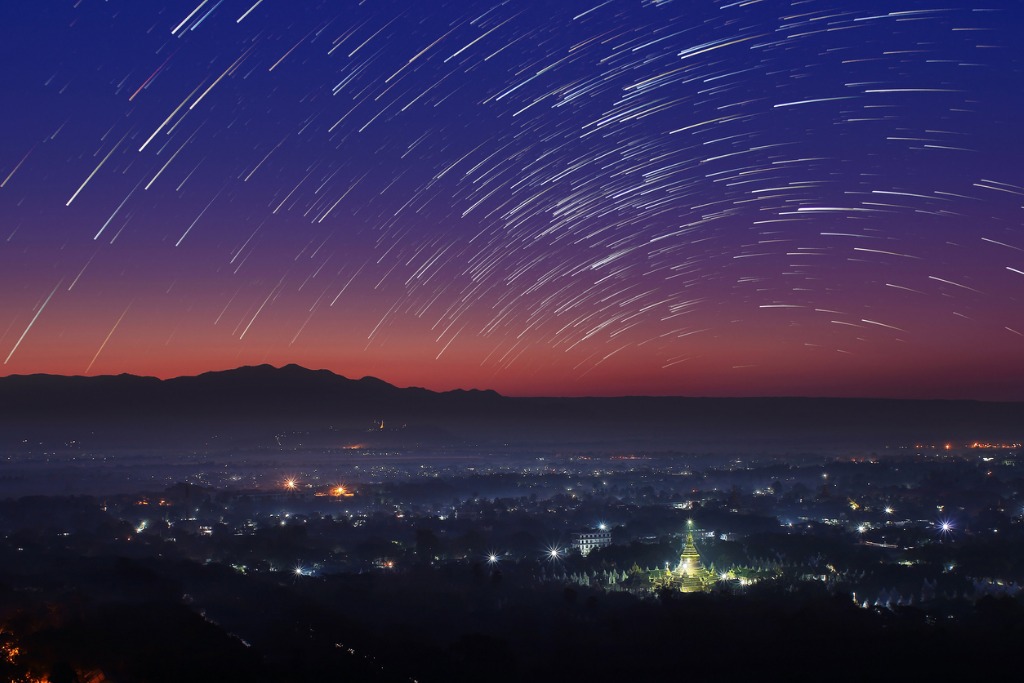
Though images like the one above can be beautiful, when you want to avoid the movement of the stars and photograph them as sharp pinpoints, using a star tracking mount is the way to go.
These mounts, like the Vixen Polarie shown below, make it easy for anyone to photograph the night sky.
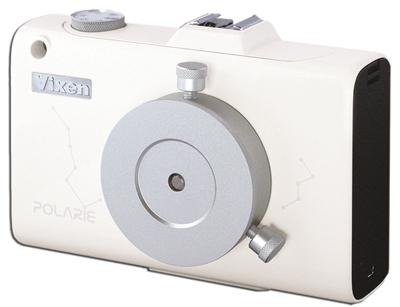
Just attach the mount to a standard tripod, attach your camera to the mount, and orient the mount to face north.
Once the Polarie is set, it will track the movement of the stars for you, and eliminate star trails.
The resulting images will show the night sky just as you see it - with gorgeous, bright stars that are sharply in focus.
The Polarie is easy to setup, easy to use, and can be used with any camera that weighs up to seven pounds. You can even use it with your smartphone!