Basic Portrait Lighting Principles
- Short lighting involves casting a delicate shadow on the side of the model’s face nearest the camera by having the model look toward the light source.
- Broad lighting involves casting a delicate shadow on the side of the model’s face away from the camera by having the model look away from the light source.
- Butterfly lighting is created when the light source is in front of the model and above their eye level, which creates a butterfly-shaped shadow under their nose.
- Split lighting divides the model’s face into two equal sides - one that’s illuminated and one that’s in shadow - by placing the light source 90-degrees to one side of the model.
- Loop lighting creates gentle shadows while keeping most of their face in light by positioning the light source just above eye level at about a 45-degree angle from the camera.
- Rembrandt lighting results in a similar pattern as split lighting, with one side of the model’s face in light and the other in shadow. However, this lighting pattern creates a triangle-shaped area of light on the shadowed side of the face by positioning the light above eye level and casting the nose’s shadow onto the far cheek.
- 5 Photography Tips That Will Make You a Better Photographer
- Quick and Simple Portrait Photography Tips

photo by silverkblack via iStock
One of the most important skills to have as a photographer of any kind is the ability to understand the different attributes of light.
From the direction of light to the quality of its tone, the color of light to its luminosity, there are many factors to consider when framing up your shots.
These factors are especially important when creating portraits, as they can quite literally make or break the shot.
With that in mind, let's have a look at a few basic portrait lighting principles you need to understand in order to make better portraits.
Learn to Work With Harsh Lighting

photo by skyNext via iStock
One look at outdoor portraits on Instagram or Flickr will reveal millions of portraits taken at golden hour.
Golden hour is a great time for portraits because light is soft, warm, and falls evenly across the scene, which gives portraits an elegant look.
But it’s not always possible to shoot portraits during golden hour, so learning to work with harsh lighting that you find throughout the day is a must.

photo by skyNext via iStock
The difference between soft and harsh lighting is simple - soft light has soft shadows and a gentle transition from shadowed areas to highlighted areas, like in the first image above. Harsh lighting, however, has an abrupt transition with very hard lines of shadow, as shown in the image immediately above.
You don’t have to be outside to make use of harsh lighting, either.
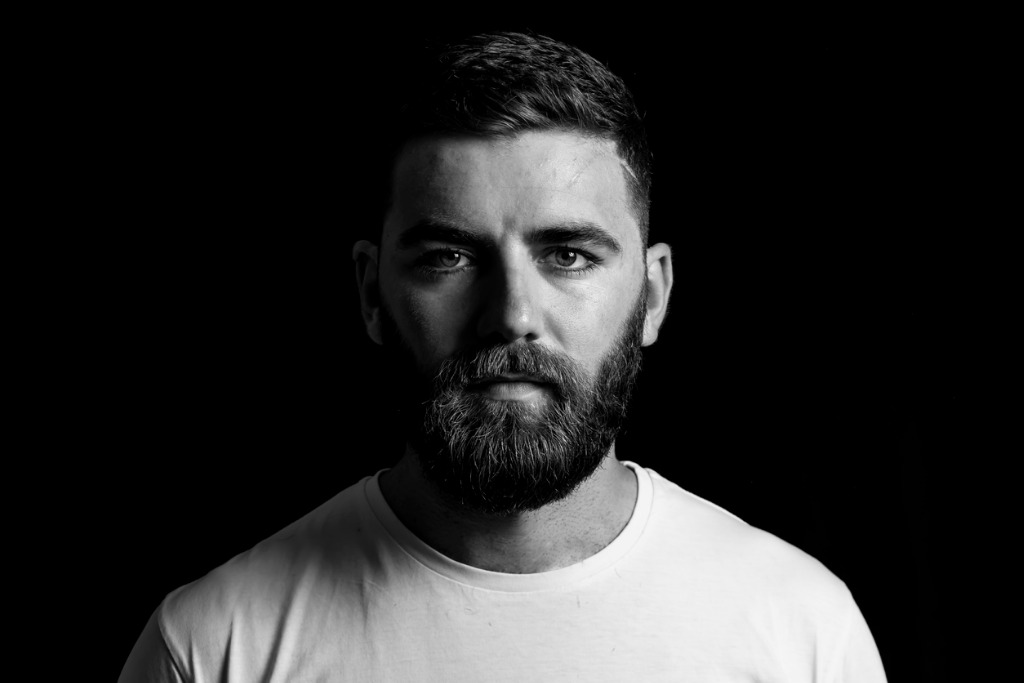
Photo by ViewFramer via iStock
In this example, a single, bright light is used to create extremes of brightness and shadow to create a more compelling black and white portrait.
Since black and white images rely on things like contrast for visual interest in the absence of color, using harsh light to create black and white images is a great option.
Learn More:
Learn How to Use Artificial Lighting

When some people read the term “artificial lighting,” they might shudder with thoughts of buying expensive lights, light stands, diffusers, softboxes, and other bulky photography lighting gear.
And while that’s certainly an option, if you aren’t a professional portrait photographer, you don’t need all that gear, nor do you need to spend that much money.
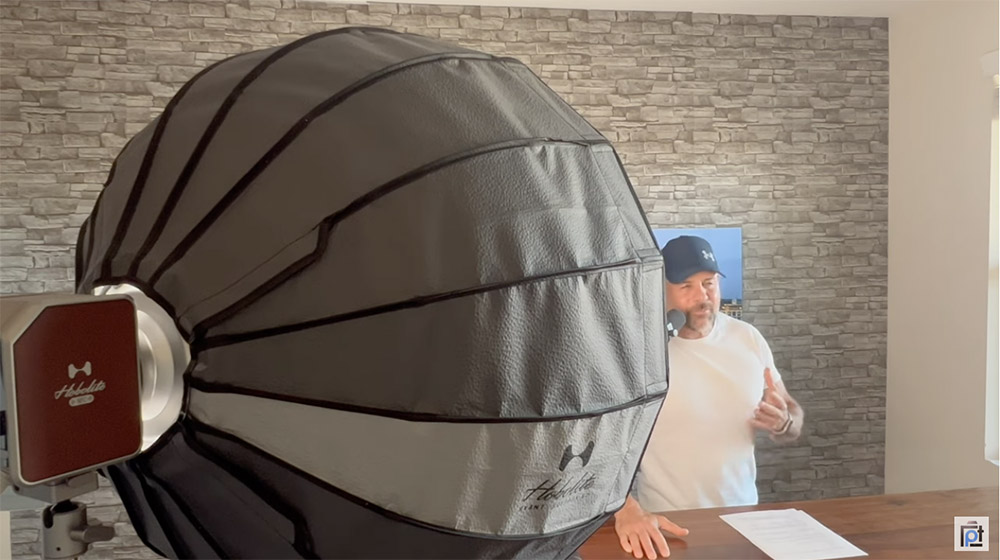
There are a ton of small, easy-to-use lights for photography that allow you to sculpt and shape light for portraits.
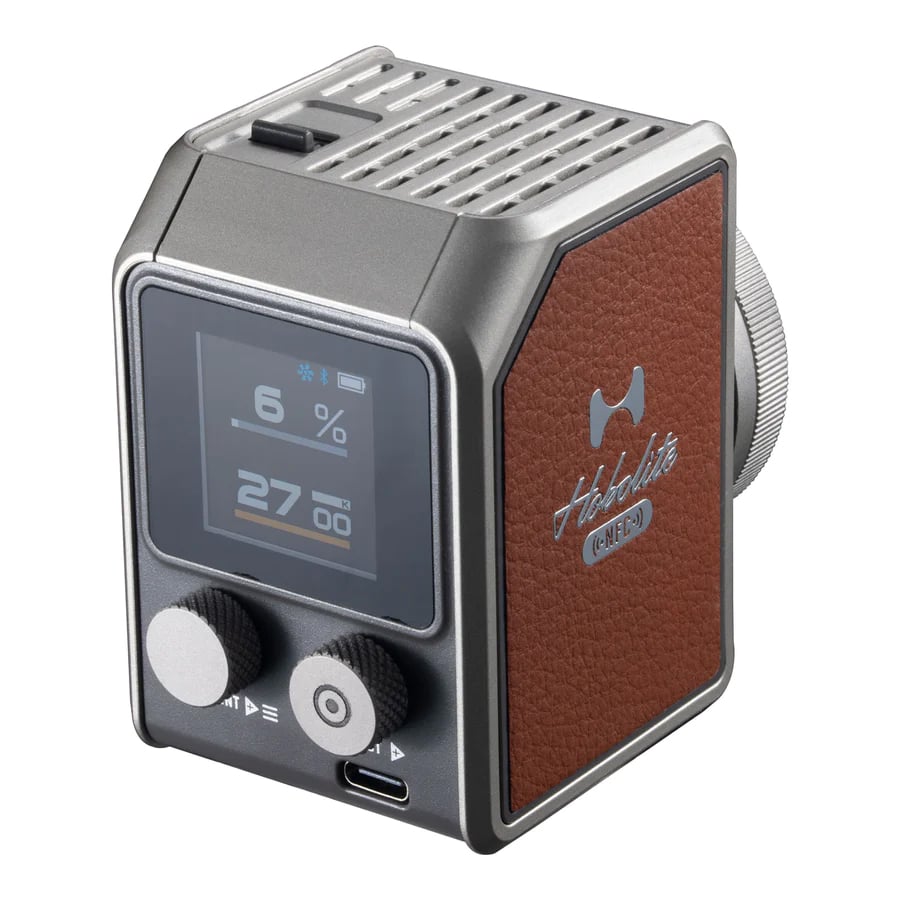
Take the Hakutatz RGB+AW LED Light shown above and below as a great example.
Editor's Note: The Hakutatz Kickstarter campaign was a huge success! Their Amazon store will be open and ready for orders in early December.
This light is small enough to fit in your pocket, yet allows you to get ultra creative with the way you light portraits.
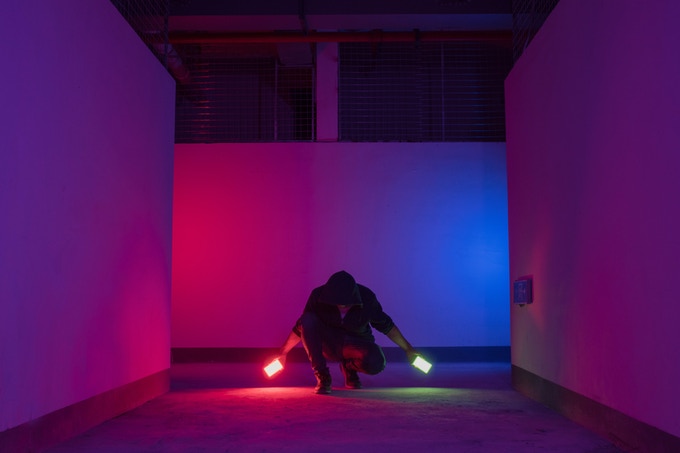
For example, you can add colored light to the portrait using the light’s array of RGB LEDs.
If you want to warm up a portrait, you can use the amber LEDs to wash the subject is beautiful amber-toned light. There’s even white LEDs if you want that harder, edgier feel discussed earlier.

What’s more, lights like this can be used as a fill light (to soften shadows in the presence of harsh lighting), as a backlight to help separate the subject from the background, or even as a key light, which is the primary light used to illuminate the subject and highlight their form.
There are many ways you can use a single light to create a compelling portrait, too.

But the advantage of having a light like the Hakutatz RGB+AW LED is that you can use multiple lights at the same time to create more complex lighting scenarios.
With the accompanying smartphone app, you can control one or more lights and dial in the precise color temperature, RGB color, and even special effects you might like to use.
In other words, learning how to use smart lights like this enables you to craft the precise look you want in your portraits and unleash your full creativity at the same time.
What’s not to like about that?!
See the possibilities you can create for portrait lighting with the Hakutatz RGB+AW LED Light.
Learn Common Lighting Setups

photo by FilippoBacci via iStock
If you really want to step up your portrait photography game, it’s important that you learn the basic lighting setups used in portrait photography.
These setups go beyond simply having a single key light or using an LED light like the Hakutatz discussed above to separate the subject from the background.
Instead, the lighting setups shown above (and outlined below) enable you to create different looks in your portraits by manipulating how the light interacts with the model’s face.

You can learn more about common lighting setups in this detailed tutorial.

photo by utkamandarinka via iStock
Whether you adapt your portraits to harsh lighting, learn to use artificial lighting, or incorporate classic lighting setups, you’ll find that your ability to create beautiful portraits will be much-improved.
Give each of these methods a try and see what works best for your workflow. Even better, practice each one and then incorporate them all into how you take portraits. I think you’ll be pleased with the results!
Learn More