Hey guys, Alex here! I’m going to walk through this ‘how to’ with you.
First things first: there’s so many different reasons to upload a photo to a forum post. Whether it’s to illustrate a point, inspire others, get critique or simply share an image. Sometimes a photo really does speak a thousand words.
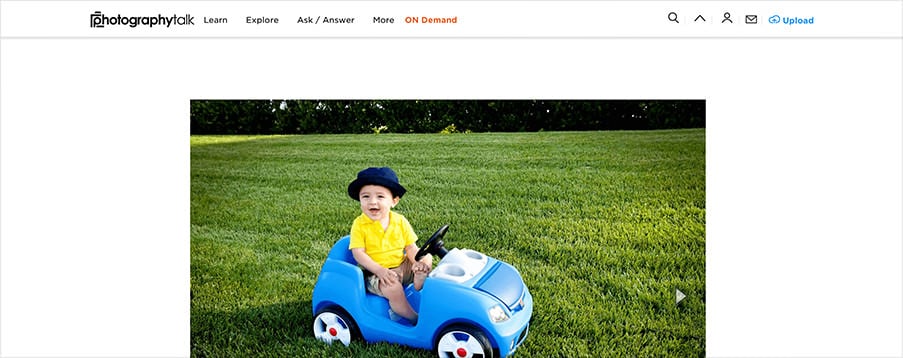
For this tip, i’ll show how I’d share a photo of my son to a forum post.
Adding a photo to a forum thread
To add/insert a photo to a post you are making in the forum, do this:
1. Select the section of the forum where you want to post the image. (This includes those looking to respond to an existing thread topic with an image).
(In this example, I want to post my photo in the people category)
2. Click on the green "New Topic" button
3. Enter the text portion of the thread or response you’re including with the photo
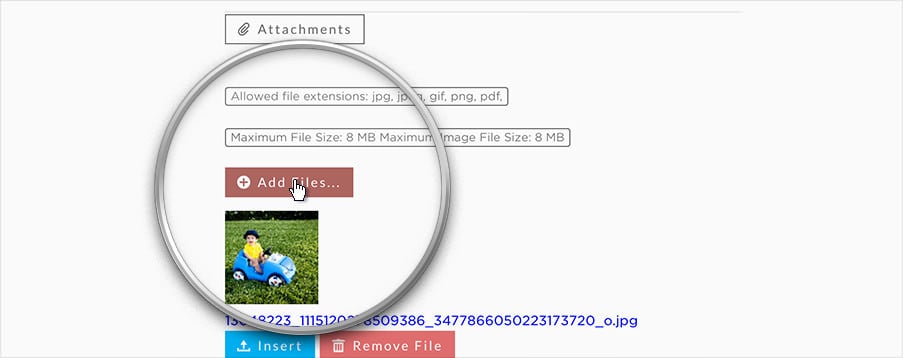
4. Click on the "Select Attachments" button
5. Click on "Add files" and select the photo you want to insert
6. Click on the "Insert" button to insert the photo directly into the forum post or thread
7. Scroll above to your post and position your mouse where you want the photo embedded > THEN, scroll back down and click on the green "In Message" button.
8. Lastly, click on the "Submit" button from the bottom to make the post live
There you go! Now you’ve got an awesome photo post on the forum.
The ‘oops’ moment - Editing the post
Need to edit? Easy.
From the published post:
Scroll to the bottom of the post > Click the arrow on the ‘Reply’ button
Click the "Edit" feature
Make your changes and "Save"
PhotographyTalk’s photo upload tool lets you showcase your photography on your profile and put your best shots at the eyes of millions of photographers in just a few clicks.
To help you get started, here’s a step-by-step guide to uploading your first picture with PhotographyTalk.
Getting to the Upload screen
Once you are logged into PhotographyTalk, there are the (3) main places where you can quickly upload your photos.
Any of these 2 places will take you to the ‘Upload’ screen:
1. If you are on the home page click on "Your Account", then the "Upload Photos" button
2. If you are on any other page on the site the blue ‘Upload’ photo icon quickly redirects you to the upload screen
Uploading Your Pictures
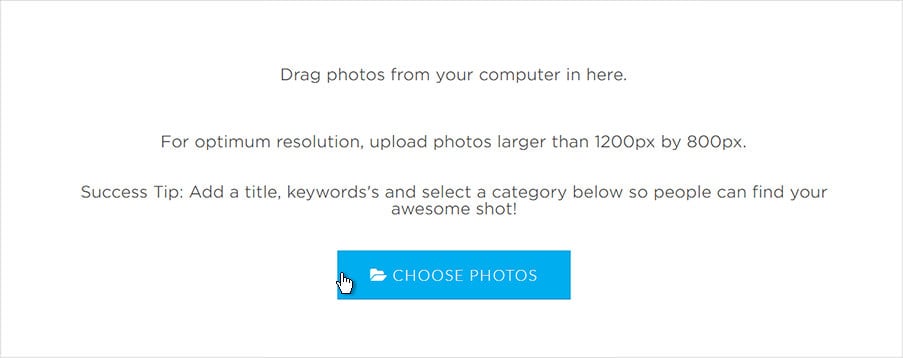
Once you’re at the upload screen, here’s what it will look like:
To get your photos on the site, you can either drag your photo(s) onto the screen or select the blue "Choose Photos" button to manually upload photos from your computer.
Select your photo(s). Before you upload, you’ll see a sidebar asking you for more information about your photo that you’ll want to fill out.
Your Photo’s Info: Telling the world about your shot
A key to success on PhotographyTalk is having plenty of information about your photo(s) available.
Complete each section so that others can find, love and share your photos easily.
1. Give your photo a title - what’s the picture of? Every great photographer knows how a photo title shapes a picture, so make yours one that stands out.
2. Upload additional photos - if you have other photos that go along with this one, add them to your set!
3. Select the category that this photo belongs to - is it landscape, macro, infant? Our ‘category’ tags sorts your photo into the right place
4. Select the keywords that best describe your photo - tags help users find it easily (tip: use popular tags to get more eyes on your photo)
5. Adult content? If the photo is appropriate for adults only, click ‘yes’, to filter the audience to 18+
6. Select an existing album or set up a new album for this image - all your photos will be added to your albums on PhotographyTalk
7. Write a description for each photo - be creative! Tell us about your shot.
8. Add a location - geotag the location of where the photo was taken (tip: always do this if it’s a landscape shot to share the location)
Finally, click ‘Upload’ to make your photos public.
There you go... photos uploaded! We can’t wait to take a look at it.
Is there something we didn’t cover on this page? Let us know.
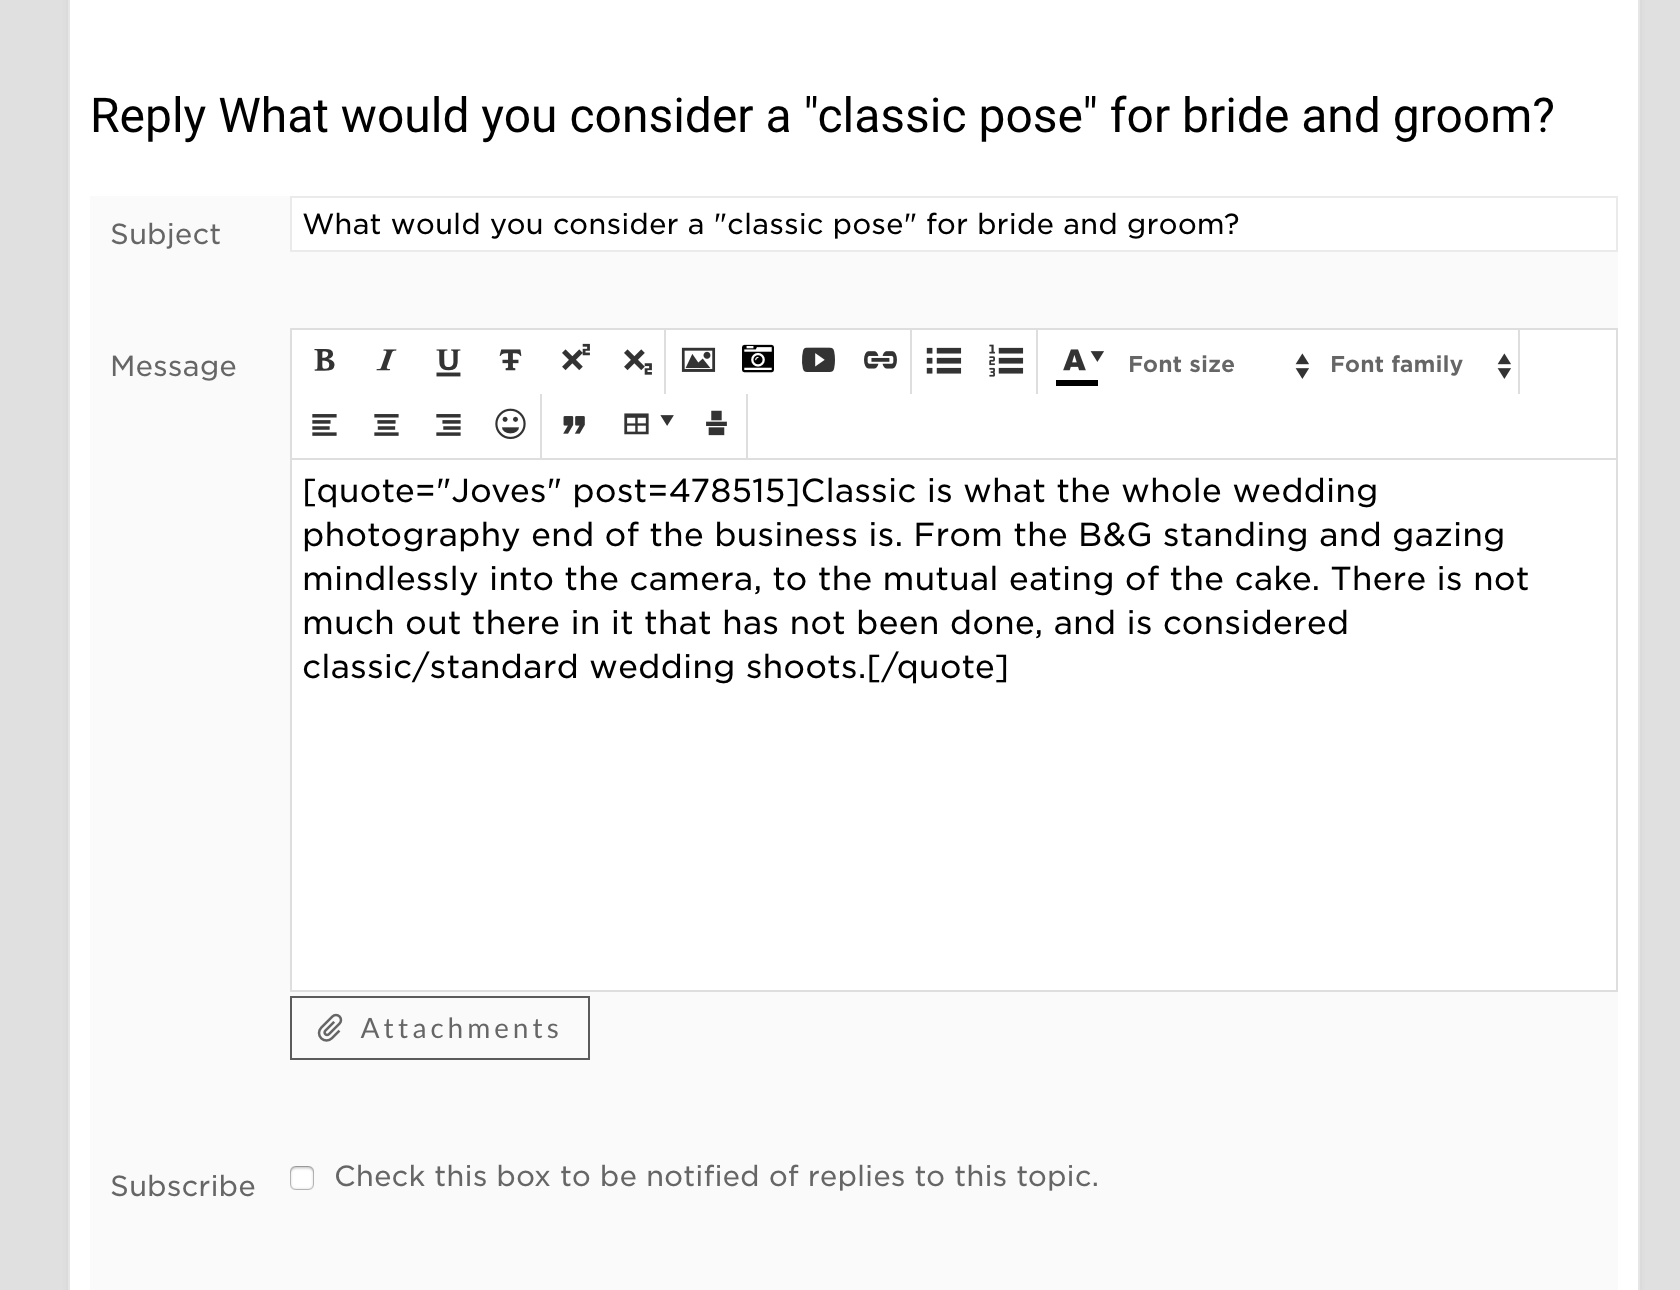
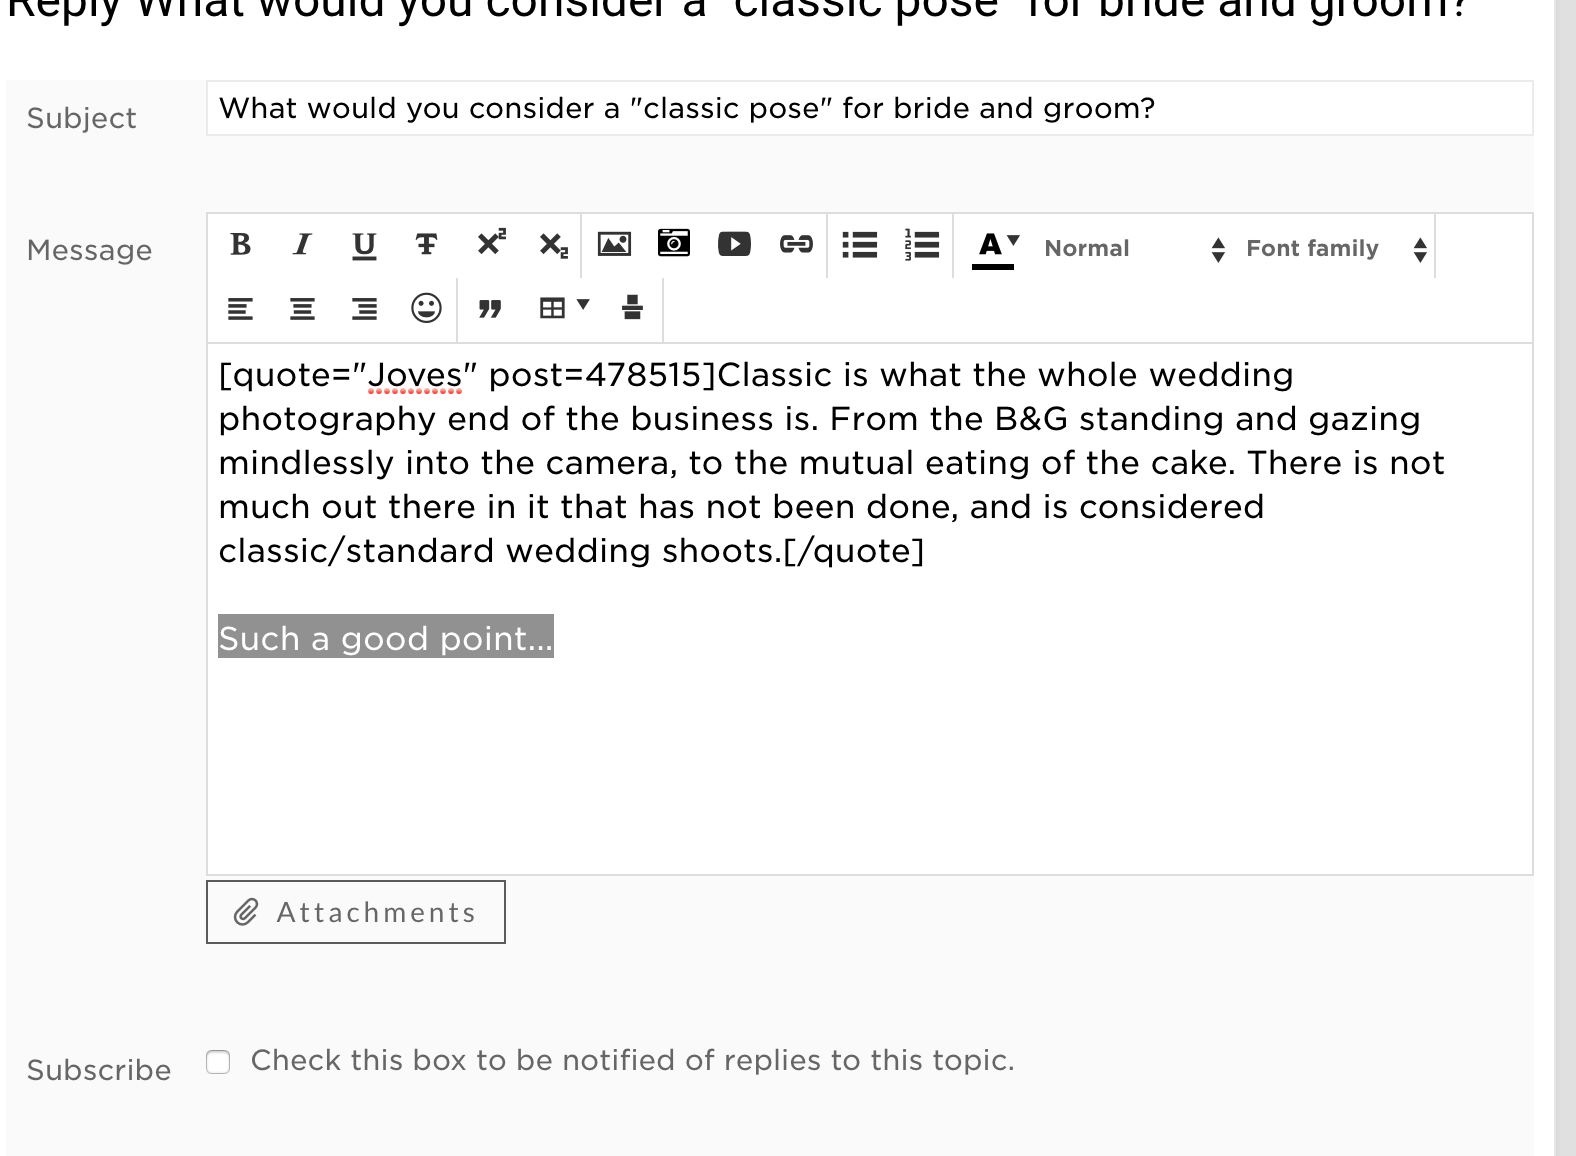
Lots of great conversations happen in the forum, and the easiest way to reply to a specific comment or note a thought is to use the ‘quote’ function on any thread. Here’s how to do it:
Quoting a comment in a thread
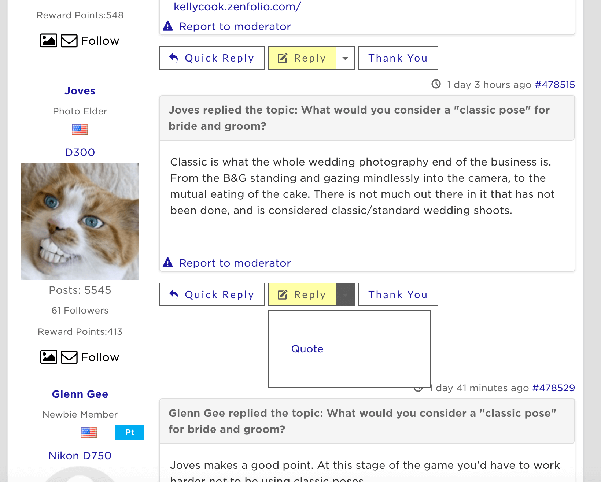
1. Find the comment you want to quote.
2. Under the comment, you’ll see the reply button. Whenever you click the small arrow right next to it, a menu will pop up of actions you can take.
3. Select ‘quote’ from the menu
4. The comment will then appear bracketed in quotation marks [see picture for reference]
5. From here, you can type your message below the quoted section
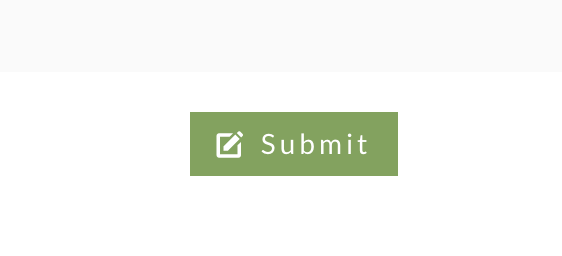
6. Click the green ‘submit’ button when you’re done to post it
You’re done! Keep those conversations flowing. If you ever run into any issues, just message us here.
There’s always a great conversation happening in the PT Ask/Answer forum. It’s where the community talks everything from the latest gear to critiquing their best shots. It’s easy to be part of the conversation - here’s how to comment on any thread in the forum with just a few clicks.
Posting Your Comment
1. Enter the thread you want to post in
2. Click any of the yellow "reply" buttons in the thread
2. Type your comment
4. When you're done just click the green "Submit" button to post
There you go! Keep the conversation going.
Made a Mistake?
Need to edit a comment? Head here to find out how.
Any information you make about your photos can be edited easily. Here’s how to go back and make those changes or add more information.
Edit a photo’s info:
From your logged in PT account:
Click on the photo you want to edit
Scroll down below the image
Any section with the dotted lines can be edited > to make edits, place your mouse on the desired section
Delete or add more information to the section
Click save
That’s it!
Note: your edited information may take a few moments to show up on the site.
Getting Started
Looking for something on PhotographyTalk?
Here’s how you’ll find it: the magnifying glass at the top of every page lets you search PhotographyTalk from top to bottom for a certain keyword or phrase.
Our search tool organizes the results for you in 4 categories, so it’s easier to find what you want. You can search across articles, photos and members at the same time.
From top to bottom, here’s how your search will turn up:
Articles with the keyword or phrase you enter
Photos with the keyword or phrase in their description or ‘tags’
Members on our site with the keyword or phrase in their profile (hint: use this to add other photographers who shoot your favorite type of photos)
Group Pages that have the keyword or phrase contained in them
Go find what you’re looking for!
Signing up for PhotographyTalk is quick and easy. Here’s how in just a few steps:
Get your account up and running: you can sign up from pretty much any page on the site, just click “start your free trial” on our homepage or the blue sign up link.
Set up your PT profile in 60 seconds: just enter your first name and your email, then make up a username and chose your password. Or sign up with your Facebook, Twitter or G+ account.
Select a plan that matches your photography goals: we have three membership plans to get you there. So how do you know which one is right for you?
If you’re serious about becoming a better photographer, grab a premium account over a free account (you’ll get a 7 day free trial to see if you love it, anyway).
Here’s a glance at our membership plans:
FREE
is a great way to be a part of Photography Talk and ask questions, upload your photos and connect to 3 million photographers worldwide without ever paying a cent.
PT+
is our most popular membership, if you’re a beginner or even a professional, this is where you’ll learn to really work your way around a camera. This plan is an awesome way to dip your toes into photography and get over 600+ world-class lessons, be in the room with successful photographers and connect to 3 million photographers for just [$5.92/mo].
PT+ Pro
is the best membership you can get with us for a few reasons. You’ll get all the benefits of PT+ with access to hundreds of the best photography resources on the internet - from over-the-shoulder videos to downloadable articles. You’ll also get access to our accelerated courses like the 8-Week Photography Business Builder course where you’ll learn how to make money doing what you love.
When you’re signing up, go ahead and pick up a premium plan: you’ll get a 7 Day FREE trial on us. If you want to cancel within the next 90 days, you won’t pay a cent thanks to our “If You’re Not a Better Photographer In 90 Days, We’ll Refund You” Guarantee.
We can’t wait to see you on PhotographyTalk!
Now, we get hundreds of questions about PT memberships.
Go here to read our most Frequently Asked Questions.
Got a question? You’re in the right place if you’re looking for answers on everything photography related from some of the best photographers around.
Our Ask/Answer forum has hundreds of topics to browse from, and thousands of answers to explore!
Here’s how to ask yours:
You have to be logged in to post a question.
Once you’re logged in, scroll the top menu bar to find the ‘Ask/Answer’ menu.
The menu should open when you hover over it. Place your mouse over the menu and click “Start new post”.
Now, a new screen should open up.
Just select a category that relates to your question, so it’s itemized. Then, type the title of your question. In the body, give details about your question and be as specific as you can.
When you’re done, just hit the “SUBMIT” button to post it directly to PhotographyTalk!
You'll want to share your profile page with friends, family and colleagues. We have made it super easy for you to change your standard photographytalk.com/profile URL to something unique to you.
1. You'll need to be on your profile page. To get there, log into the site and click on the 'User' icon from the top right of any page on the website and then select "My Profile".
2. Then click on the "Edit Profile" button from top right of your main profile image as shown here:
3. Click on the "Change Vanity URL" from the options:
4. A pop-up will show with the option to fill in what you want your vanity URL to look like.
5. Once you have your vanity URL filled in, simply click on 'Update' button to complete the process.