Fill the Frame: An Easy Photography Technique With Lots of Impact
- What Does It Mean to Fill the Frame?
- Benefits of Filling the Frame
- Examples of Fill the Frame Photography
- Fill the Frame With These Techniques
- Choose a Medium With Impact for Close-Up Shots
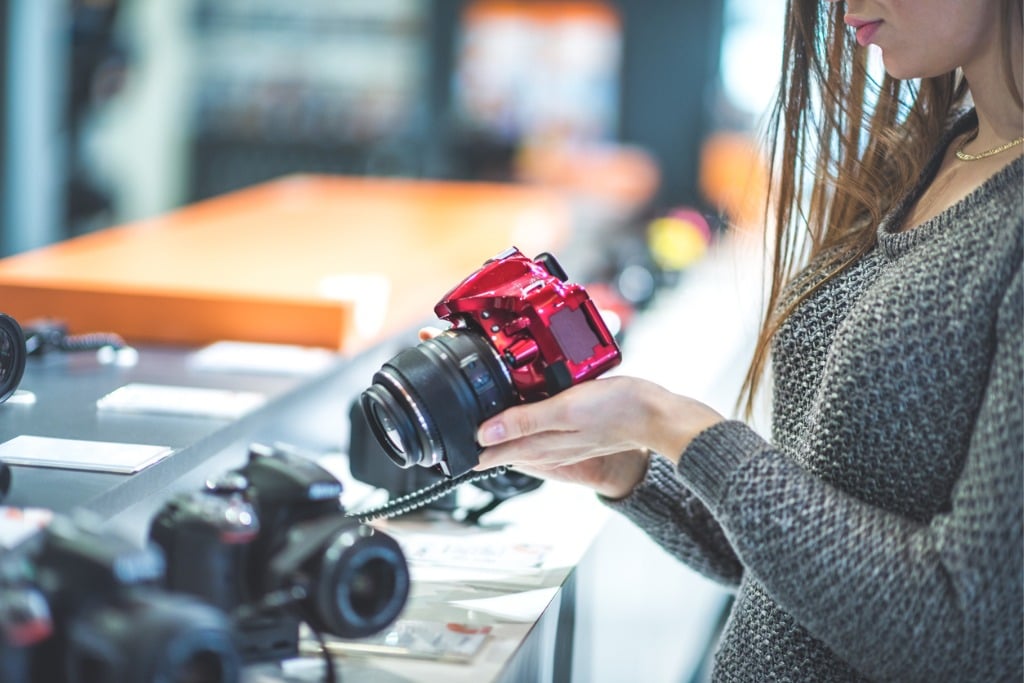
- Recommended Photography Gear

Photo by Oleksandr Antonov via Shutterstock
Many fantastic photography techniques can help you take impactful photos, but one of the easiest is filling the frame. In this article, we’ll teach you everything there is to know about it so you can level up your photos.
First, we’ll explain what it means to “fill the frame.” Then, we’ll discuss the benefits of filling the frame, share examples that showcase how to use it to create more visually attractive images, and provide some tips on how to fill the frame. Additionally, we’ll recommend a favorite printing medium for close-up shots.
With that in mind, keep reading to learn more about this easy photography technique that has a lot of impact!
Check out the video above by ExpertPhotography for a quick tutorial on how to fill the frame in photography.
Table of Contents
What Does It Mean to Fill the Frame?

Photo by mimagephotography via Shutterstock
So, what exactly do we mean when we say “fill the frame?” It’s an impactful (and simple!) technique where your primary subject occupies the majority of the frame. Technically speaking, any photo where the subject takes up over 50% of the scene fills the frame, but the more space it occupies, the better.
Filling the frame aims to attract the viewer's attention, place added emphasis on the subject, and reduce distractions. At a larger level, its goal is to simplify the scene and make it easier for people to understand. This is in direct contrast to our daily lives, where we are constantly overwhelmed with information and stimuli.
You can fill the frame in all genres of photography. Whether you like shooting people, animals, architecture, objects, food, etc., you can use it to deliver unique, interesting pictures that will stand out from all the others. Macro photography, in particular, is all about filling the frame!
Benefits of Filling the Frame

Photo by mathias facello via Shutterstock
Filling the frame has four main benefits: capturing attention, highlighting your subject, eliminating distractions, and more attention to detail. Let’s look closer at how each one impacts your images.
When it comes to capturing attention, filling the frame works wonders because your main subject will immediately jump out and yell, “Look at me!” In comparison, if your subject is small and hidden in the background, viewers might pass over the photo at first glance.
Similarly, the bigger your subject is, the more emphasis is placed on it. Whether it’s a mountain, flower, or person, the more you fill the frame, the more people will recognize its importance and the story you are trying to tell with your photos. At the same time, people are less likely to notice distracting background noise.
Finally, filling the frame includes more detail. For example, if you take a close-up of a person’s face, details like eye color, dimples, wrinkles, etc., will be much more noticeable. Just be warned, depending on the situation, all that extra detail may or may not be wanted (i.e., fashion photography).
Learn More:
Examples of Fill the Frame Photography

Photo by Gorodenkoff via Shutterstock
In this section, we’ll examine how to use fill-the-frame photography in different types of photography to achieve impactful results. Above, the portrait of the man is a perfect example of how to fill the frame in portrait photography. Below, we’ll see examples of how to fill the frame in landscape, wildlife, macro, and sports photography.

Photo by Aleh Alisevich via Shutterstock
This photo of the snow-capped mountains shows how you can zoom in on a specific part of a landscape to fill the frame.

Photo by Thomas Retterath via Shutterstock
This photo of a lioness and her cub demonstrates how you can fill the frame with more than one subject.

Photo by Triff via Shutterstock
This close-up image of a flower shows how you can fill 100% of the frame using macro photography.

Photo by Lucky Business via Shutterstock
This picture of a tennis player getting ready to serve is a great example of filling the frame to highlight small subjects and scenes. This technique also works well for product and food photography.
Fill the Frame With These Techniques

Photo by Caterina Belova via Shutterstock
Using the right photography equipment is the easiest way to fill the frame. We recommend using an interchangeable-lens camera and a telephoto or macro lens for the best results. Telephoto lenses are ideal for far-away subjects such as landscapes, architecture, large wildlife, and sports. Alternatively, macro lenses are good for small subjects like flowers, plants, and insects.
Another technique for filling the frame is getting physically close to the subject. For this, it’s best to use a macro photography lens and shoot static subjects. Otherwise, you have to use your lens's zoom capabilities.
If you can’t do either, another way to fill the frame is to crop your image in post-production. However, you want to be aware that cropping and zooming while editing can lead to unwanted image noise.
Choose a Medium With Impact for Close-Up Shots

One more of our top photography tips is to select the right printing medium for fill-the-frame photography. Durable metal prints are our go-to choice for close-up shots.
Metal prints pair perfectly with these kinds of photos because they add vibrancy and contrast, further enhancing their impact. That said, one of our favorite places to order metal prints is Shiny Prints.
Shiny Prints is an innovative online printing company specializing in luxury, high-definition metal prints. Their prints are high-quality, affordable, and can be shipped nationwide. Moreover, they offer special outdoor metal prints and tons of customization options, including surface options, sizes, and mounts.
In other words, Shiny Prints is a fantastic partner for getting a custom metal print of your work. And while you might think only professionals print their images, you’d be wrong! This is a great way for beginners like you to improve your skills.
Why? Well, it’s simple - seeing your images in a physical print is a different experience than seeing them on a computer screen. You can take in the details, your successes, and maybe even some things you’d like to change about your work to make the next photo all the better. So, grab your favorite image, get it printed, and use it as a springboard to make the next print even more beautiful!