Tips for a Successful Portrait Studio
If you've been in the photography business for any amount of time, you know just how much work is involved in making your business a success.
There's all the marketing to be done to get your name out there and get people through your door.
You have to get setup with the appropriate gear such that your studio space has all the things you require to take top-notch photos.
Aligning yourself with good help - from an accountant to an office assistant - can make or break your business too.
Something that seems to escape some photographers, however, is the work that needs to be put in that makes your studio space one that is productive, organized, and safe for you, your clients, and your gear.
I'm sure you've experienced this as a photography customer at some point - you walk into a studio and find a mess of cords and equipment everywhere that makes it less of a studio and more of an obstacle course.
There's no doubt that having a solid business plan, creating gorgeous photos, and getting referrals for new clients are essential to the success of your photography business, but so too is making sure your studio space is conducive to a good workflow.
I have a few tips to share that will help you achieve that very goal.
Keep Those Cables Organized
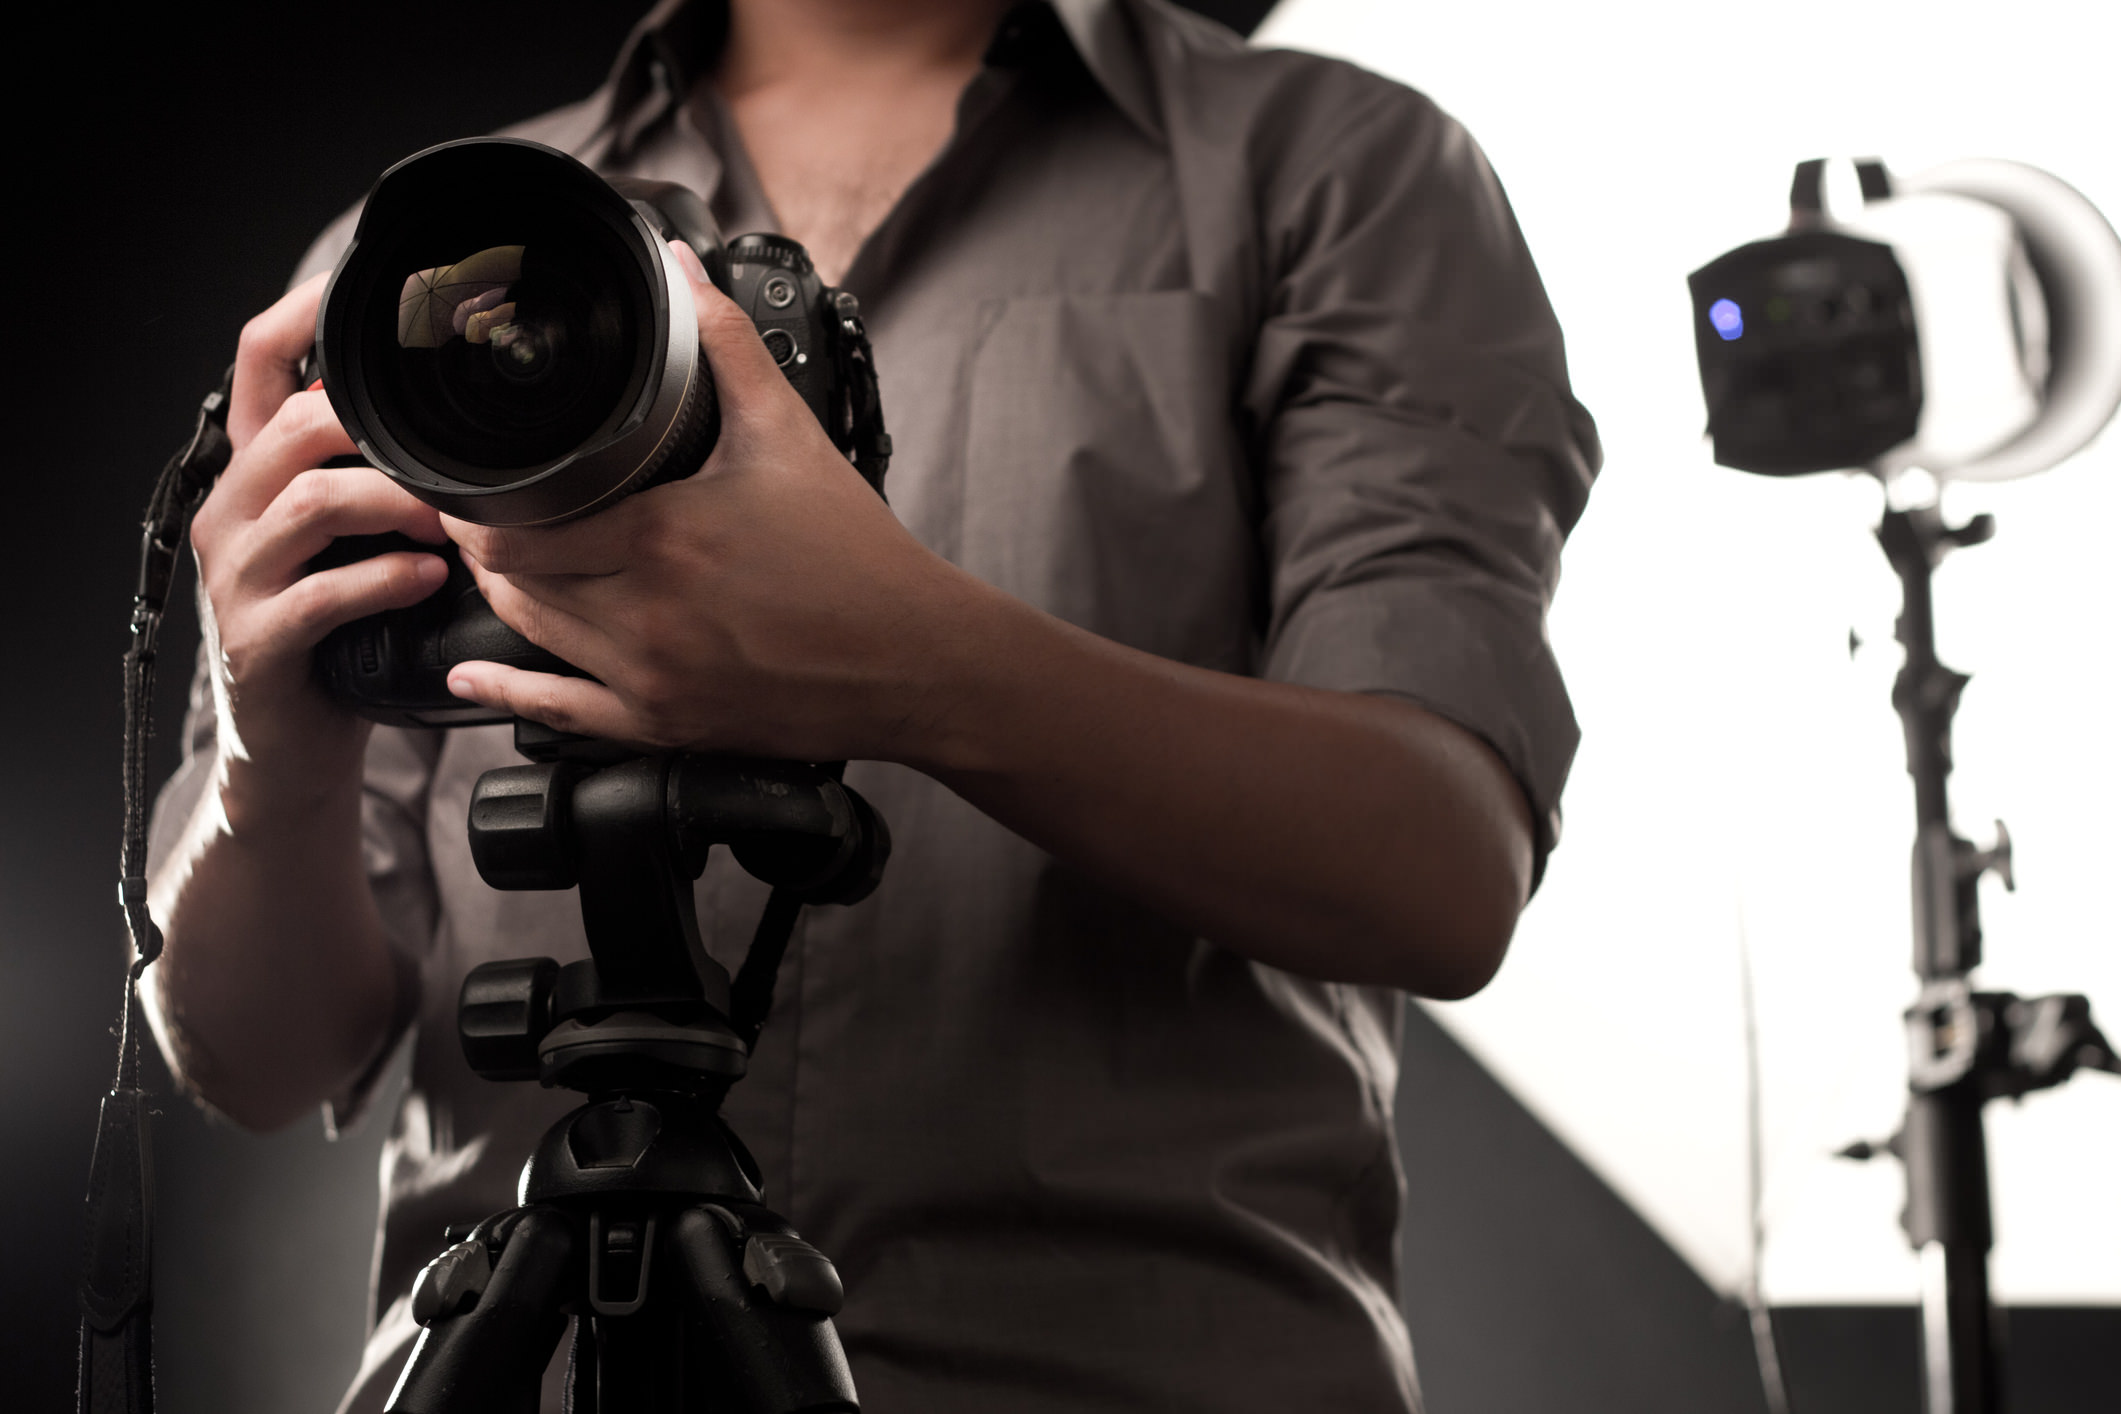
I can't begin to tell you how many horror stories I've heard from photographers that, when shooting tethered, snag a cable on something and rip it clean out of their camera.
Not only is that detrimental to the performance of the cable, but doing so runs the risk of damaging the all-too-delicate port on the camera as well.
Beyond that, just imagine the embarrassment of shooting tethered and suffering the calamity above in front of your clients. You sheepishly stop working to get everything connected again - if the cable and camera port even work - and try to get over the frustration of the work stoppage to get back into a creative space.
That very incident happened to photographer David Blattel, and he vowed to come up with a solution for other photographers that would make such an eventuality a thing of the past.
His solution is called TetherBLOCK.
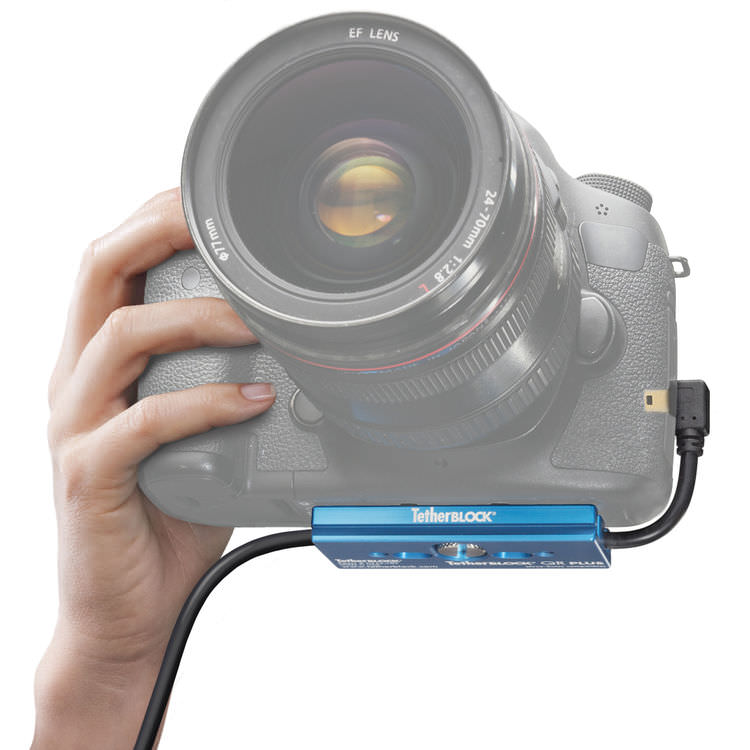
Pictured above is the TetherBLOCK QRPlus, and it's compatible with Arca-Swiss tripod heads. That means you can shoot with your camera and TetherBLOCK mounted to a tripod for one shot, then shoot handheld with your camera and TetherBLOCK for the next shot, all without having to worry about errant cables getting ripped out of your camera.
To use it, you simply attach TetherBLOCK to your camera, thread your FireWire, USB, or HDMI cables through the S-channel, and plug the cable into your camera and computer. Check out the video above to see just how simple it is to use.
The QRPlus has 1/4-inch tripod threads and works great with any standard tripod head. Made from high-grade aircraft aluminum, the QRPlus is lightweight yet will stand up to the bumps and bruises of long days shooting photos.
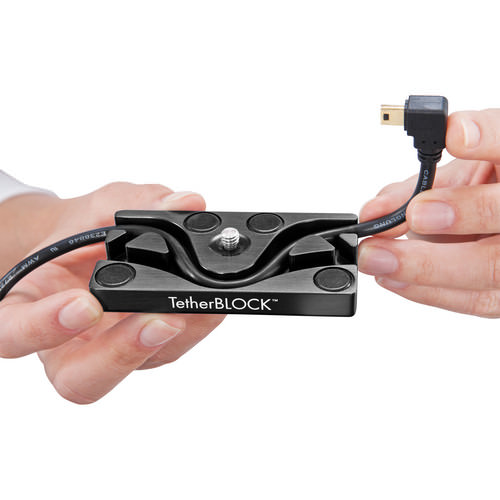
Another model, the TetherBLOCK MC (shown above), has 1/4-inch and 3/8-inch tripod threads so you can attach it to a tripod or a quick-release plate. What's more, the MC has two 1/4-20 threads so you can add video accessories or rigging to your camera.
Either way, it takes just a few seconds to keep your cables organized and to protect your camera from damage. That makes TetherBLOCK one of the simplest and most effective ways that you can keep your studio space organized and safe.
Use a Rolling Cart
Speaking of shooting when tethered...
A rolling cart is an ideal complement to the TetherBLOCK because it further allows you to keep your space neatly organized with everything right there within reach.
Having a rolling cart presents all sorts of advantages. It's mobile, so as you need to move, you can bring the cart right along with you. That's not to mention that larger carts have plenty of space to place a large monitor for inspecting your shots.
If you get a cart with storage underneath, you can keep your essentials nice and tidy, hidden away in drawers. No more sifting through a pile of acrylic ice cubes or hunting around for your gaffer's tape - you can have it all right there, out of the way, and stored securely.
If that sounds like a magical idea, check out the video above for even more excellent insights into studio organization from Tony Roslund. He's got some practical and effective ideas for making your studio safe and successful.
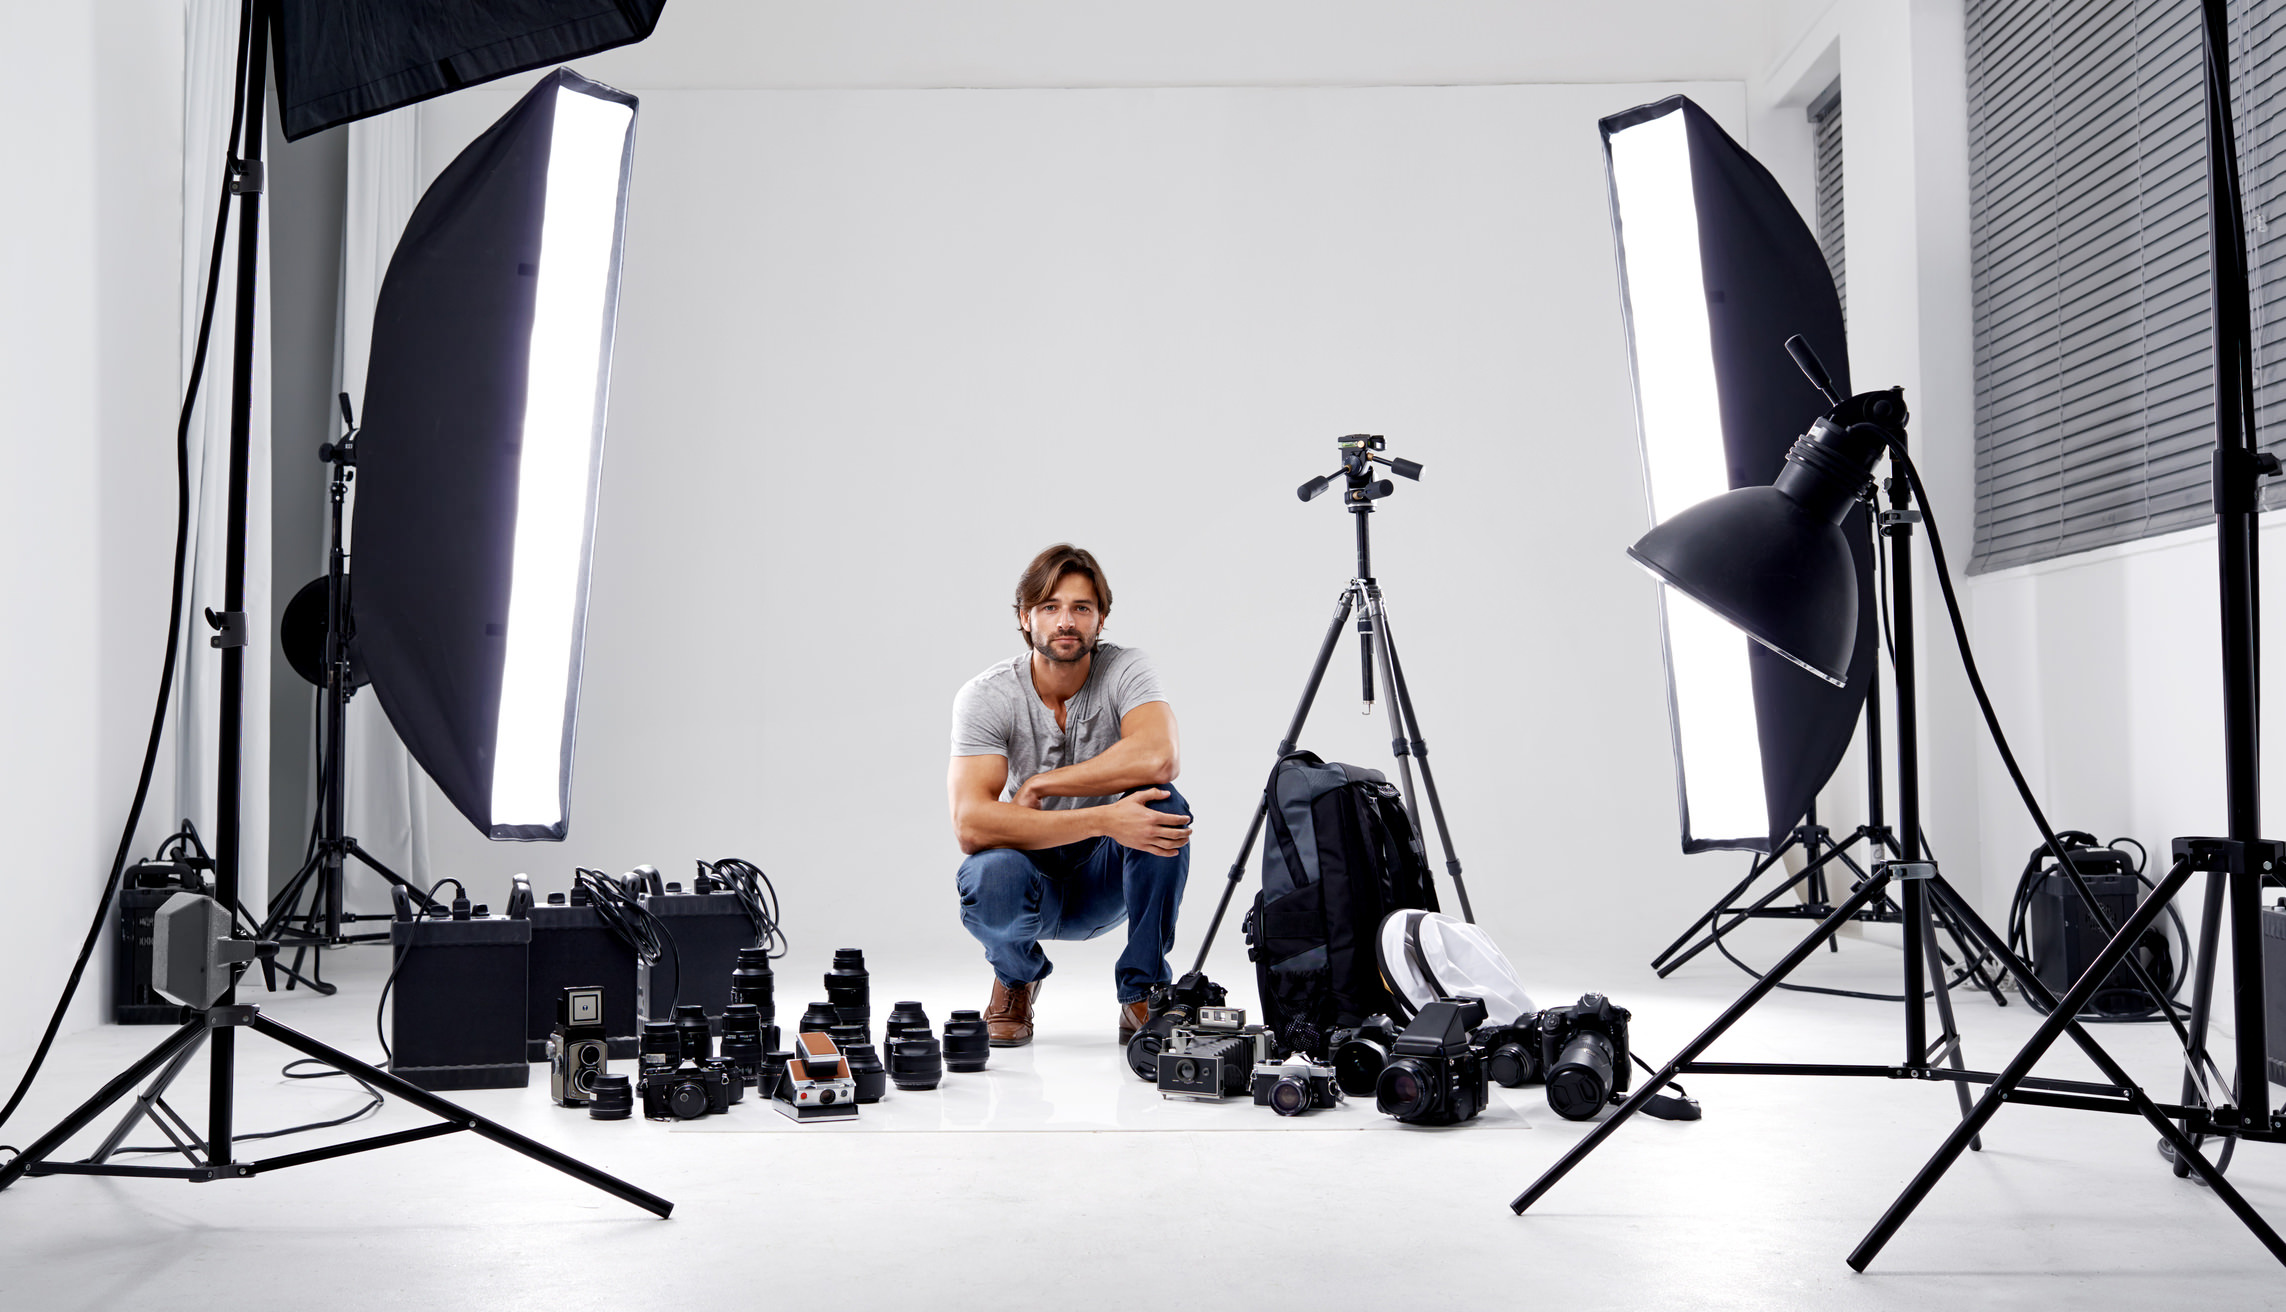
Create a Storage and Staging Area for Your Gear
For most studio photographers, space is at a premium. That means that smart storage solutions for your gear not only helps you maximize the space you have but also helps you keep the space neat and tidy so you and your clients have the best working experience possible.
There are plenty of pre-made options for storing gear, but this is a project that you can easily DIY on the weekend. That makes it both functional and inexpensive!
In the video above, Joshua Klinkenberger gives us a walk-through of his staging area and offers some insights into how to create a nicely organized staging area for yourself.
First, you need a dedicated space to keep your gear. Joshua uses a closet, but if you don't have one available, the same principles can apply by creating storage spaces along a wall or in a corner of the studio.
After measuring the space to get a feel for how much room you have, it's a good idea to lay all your gear out. Once you have eyes on all your gear, you can set about designing the staging area for your most used equipment.
As you see in the video above, Joshua creates a custom shelving unit to store his gear. However, you can find inexpensive shelving at your local home store that could be used in lieu of building something from scratch.
Have a look at Joshua's video and see him build his staging area from the ground up. I think you'll agree that the final result is pretty amazing in terms of how organized his gear is, and how much gear he's able to fit in such a small space.
In the end, these solutions aren't just for making your space more organized and safe; they're about helping you improve your workflow such that you can approach each photo shoot with the utmost confidence and professionalism.
They say a dirty desk is a sign of genius. That might be true but just think of the impression you give your clients when you have to hunt around for the gear you need or you accidentally untether your camera, ruining its port in the process.
If you want to be successful, incorporate these organization ideas into your studio. It will help you protect your gear from damage, and I think you'll find that you create better photos and that your clients have a better experience as well.