4 Tips for Editing Real Estate Photos

photo by jacoblund via iStock
Editing real estate photos is one of the key elements that will set you and your images apart from the competition.
There is a lot going on before, during, and after any real estate photoshoot. Some of the decisions you make before and during the photoshoot will have a major impact on your post-processing workflow and how to edit real estate photos.
Here are some real estate photography tips and real estate photography post-processing tips that help ease your workflow and will also result in better images to deliver to your clients.
Capture RAW Files
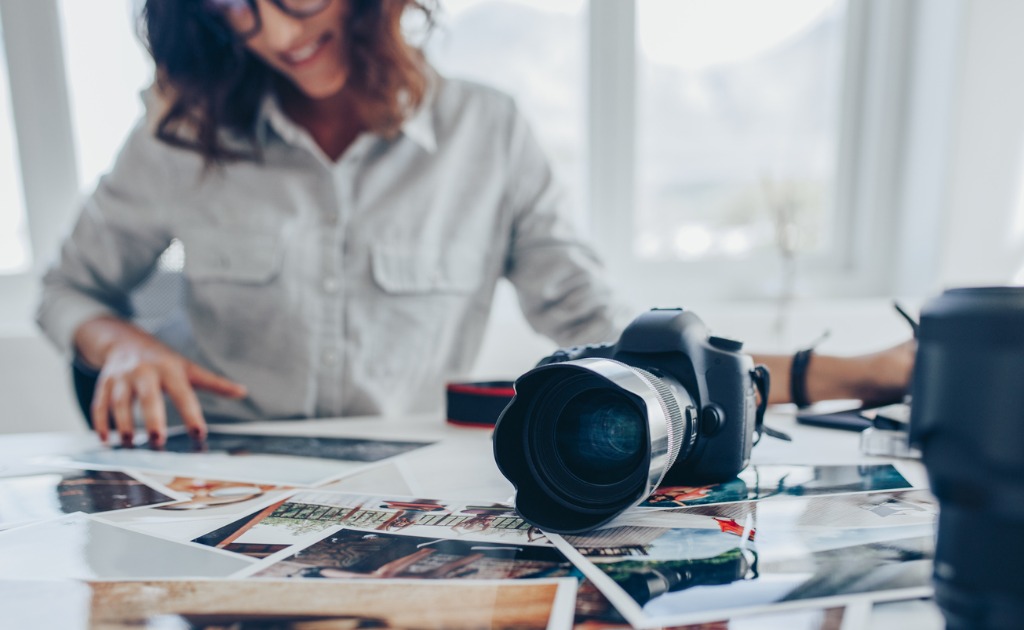
photo by jacoblund via iStock
To begin our real estate photography editing tips, we have to start with our earlier decisions such as what file type to capture and what method of post-processing we’re going to use.
Unless you have to hand off your memory card straight out of the camera right to the hands of the person who hired you, RAW is a preferred file format to use for professional photography. JPEGs are readable by almost any device in existence that uses photos, but they are a compressed file format that loses information as it’s written.
RAW camera files require at least some minimum of processing and are often converted to a JPEG for delivery, but you get to choose how much information is used and how it’s used. Plus, you can make large JPEG files from your RAW captures by choosing to minimally compress or smaller files with more compression.
The color profile or white balance of a RAW file can be assigned after the fact, with a JPEG you will need to decide on a setting (or let the camera choose) that shows the colors of the scene correctly for whatever the lighting conditions are.
Besides all the issues about information compression, RAW files also allow for more leeway in processing for shadow, midrange, and highlights within the image. Plus, if you’re shooting for the bracket and merge HDR technique, the merging part of the operation works better with RAW files.
Bracket and Merge

photo by AndreyPopov via iStock
Bracket and merge HDR is one of the preferred methods for capturing and editing real estate photos. This technique takes full advantage of the digital format by using several image files blended into one.
You find the basic exposure for the scene. An average value that captures the midrange values. Then, you make several other exposures at different settings. Have some exposures optimized for capturing shadow detail and some more for the highlights.
In post-processing for editing real estate photos, adjust the settings of the merging or blending program in order to be able to see detail in the deep shadows, the brightest highlights, and everything in between. Usually, 5 exposures bracketed 2 stops apart will work just fine, but some situations may look better with 7 or 9 exposures 1 stop apart.
At first, it may seem as though we’re adding to our workflow by shooting all the extra images and then merging them together in post-processing, but it actually saves time. It saves us time by not requiring us to set up lights and reflectors, spot metering and deciding what detail to let slide, shadow, highlights, or a little of each, and not dodging and burning each image in post.
A lot of the operation of a bracket and merge program can be done in batches, which also eases the workflow. If your computer speed and memory are good enough, you may not see too much time difference in processing the images and batches.
Here is an excellent YouTube video tutorial that helps explain this method of taking and editing real estate photos.
Learn More:
Calibrate Your Monitor
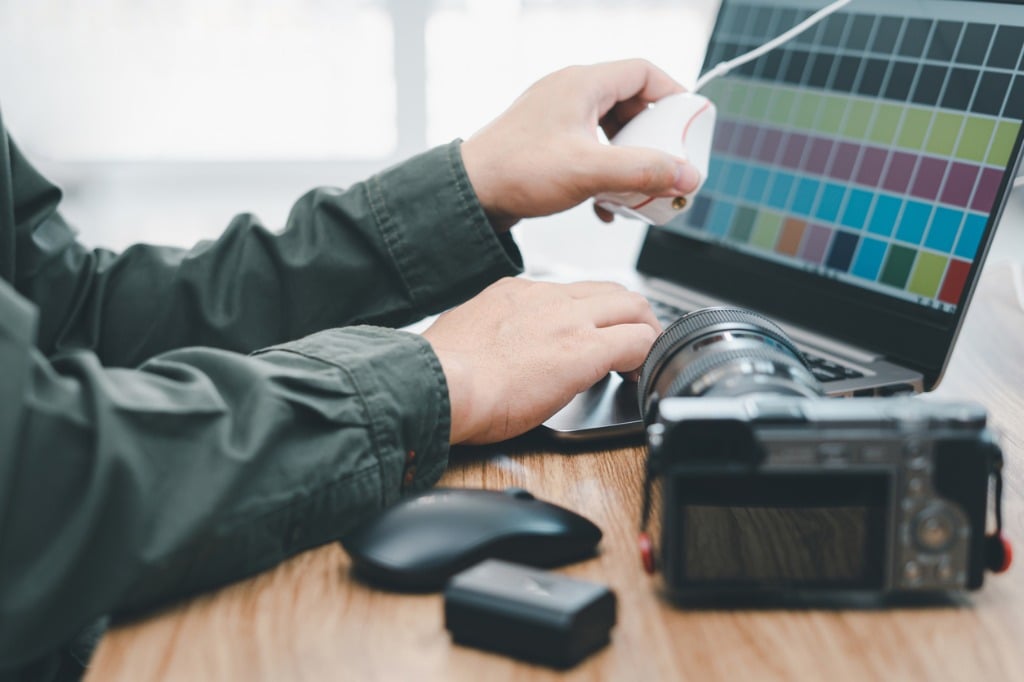
photo by NongAsimo via iStock
Using an external monitor (or two) for our editing studio is a nice way to really see what we’re doing with our image file, regardless of what type of photography we’re doing. The larger size makes it easier to see and the sharpness and color fidelity of newer monitors are additional reasons to use external monitors instead of or in addition to our laptop’s screen.
However, if these monitors aren’t properly calibrated for color and for brightness, we could actually lose time and end up with subpar results. Many top-tier monitors have sensitive controls allowing us to fine-tune them for displaying colors properly.
If we’re using our laptop’s monitor alone, we can also calibrate them to ensure our editing efforts aren’t wasted. There are several moderately priced calibration devices we can use for whatever monitor we may be using.
Save the RAW Files

photo by PashaIgnatov via iStock
Save the processed files, too. Backups are good practice in any of our photographic endeavors, but especially so in our paid, time-sensitive projects.
Making it a habit to save the unedited RAW files may save our butts when the inevitable ‘something wrong’ happens, though hopefully that happens only rarely in our work. There’s few things more time-consuming and reputation harming than calling the realtors and requesting a reshoot due to our error.
If it’s their error and we have a contract stating terms for them, I’ll schedule reshoots all day long. But it is a big hassle and might cost future business if we lose our image files somehow. More than once, I’ve been grateful I picked up the backup habit early on in my professional career.
These 4 tips for editing real estate photos in your own business should help you out with regard to workflow, delivering superior results, and developing or maintaining an excellent reputation. Tell us your favorite tips in our forum discussions, we’d love to hear them!