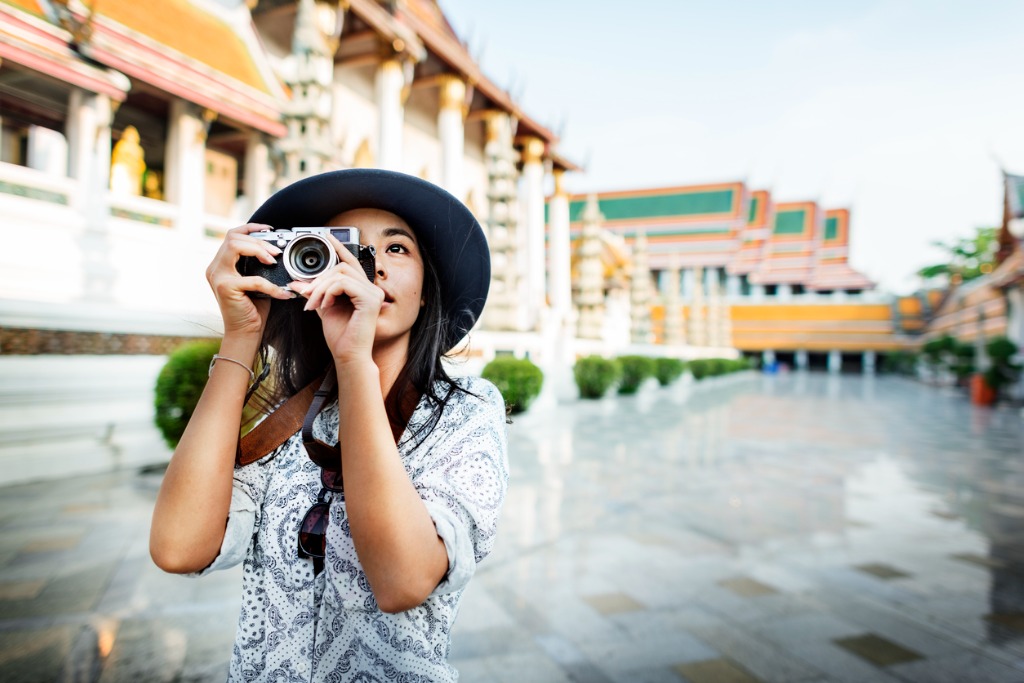
5 Photography Decisions That Can Make or Break How Your Image Looks
photo by DoctorEgg via iStock
We love doing photography. By “doing” it, I mean all of the photography decisions that go into creating a fantastic image for others to enjoy, and there can be a lot of steps. The end result, though, is someone viewing our photography, on a device, in an ad, or as photographic prints.
Certain photography decisions have a greater impact on the final image than others, so we’ll discuss some photography tips that will have you making photography decisions that result in consistently good images.
Image File Type

photo by Jae Young Ju via iStock
Among the first photography decisions we make that greatly impact our final image is the question of what file type to use for our images. The type of image file for digital photography decisions is directly relatable to what type of film to use in film based photography.
In film photography, we have to choose ahead of time whether to use black and white, color negative, or color slide film. Additionally, we would also need to pick what film speed (ISO) or sensitivity to use. If you learned photography on a film camera, think of the ISO and file type as your film choice.
If you learned photography on a digital camera, the file type determines to a greater or lesser degree what you can do with the image after you click the shutter. Some file types such as JPEG are processed and compressed in the camera with a manufacturer-determined algorithm. A camera RAW file is processed and compressed by YOU, the photographer, in a program such as Lightroom or DxO.
Use Best File Type for Best Images
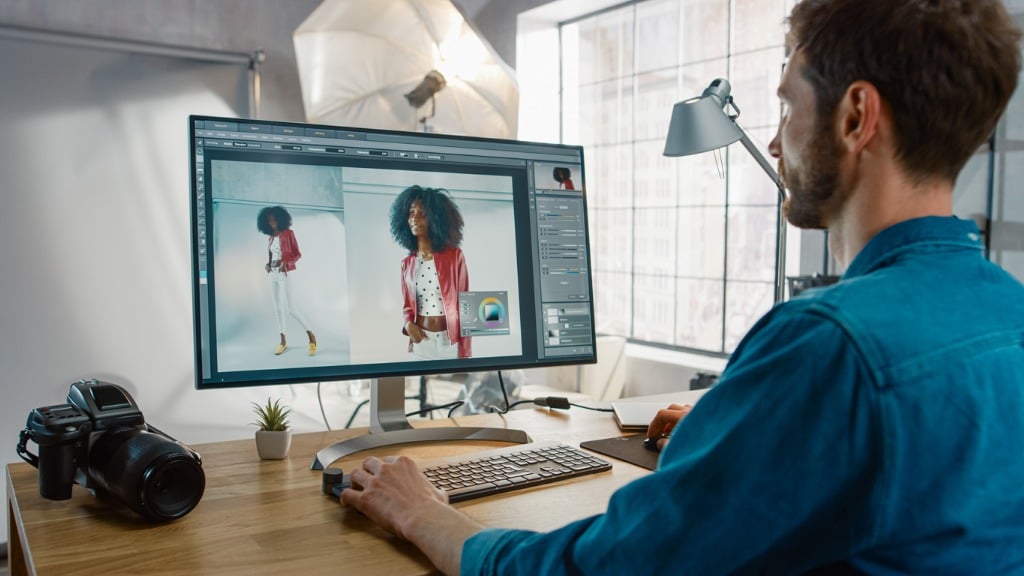
photo by gorodenkoff via iStock
Landscape photography tips are often geared towards achieving the highest quality end result possible. Using a lower ISO for less noise, and the best recording mode such as 12 or 14 bit uncompressed RAW, and choosing whether to use sRGB, Adobe RGB, or ProPhotoRGB color space.
A useful rule of thumb is to start with the most information possible and then trim it down as needed in your post processing. If your final destination is a web view or a discount printer, you’ll edit down to a JPEG with the standard sRGB color space. Saving as an uncompressed TIFF with Adobe RGB has more info in the file which means sharper and larger prints are able to be made from the right printer, whether your own or from a pro service.
These photography decisions will affect your computer workflow, too. As an example, a Nikon D850 has a full frame sensor of 45.7MP. Choosing full size uncompressed 14 bit RAW with Adobe RGB color space can yield RAW files of over 100MB. Converting to a processed TIFF for sending to a pro printer can result in a file well over 200MB.
That takes up processing time and computer memory. But the results are worth it if you want to make large size, high-quality physical photographic prints or if your paying client wants to use the images for other end uses such as billboards, TV broadcast, or advertising such as POS displays or magazine ads.
Learn More:
Composition and Framing
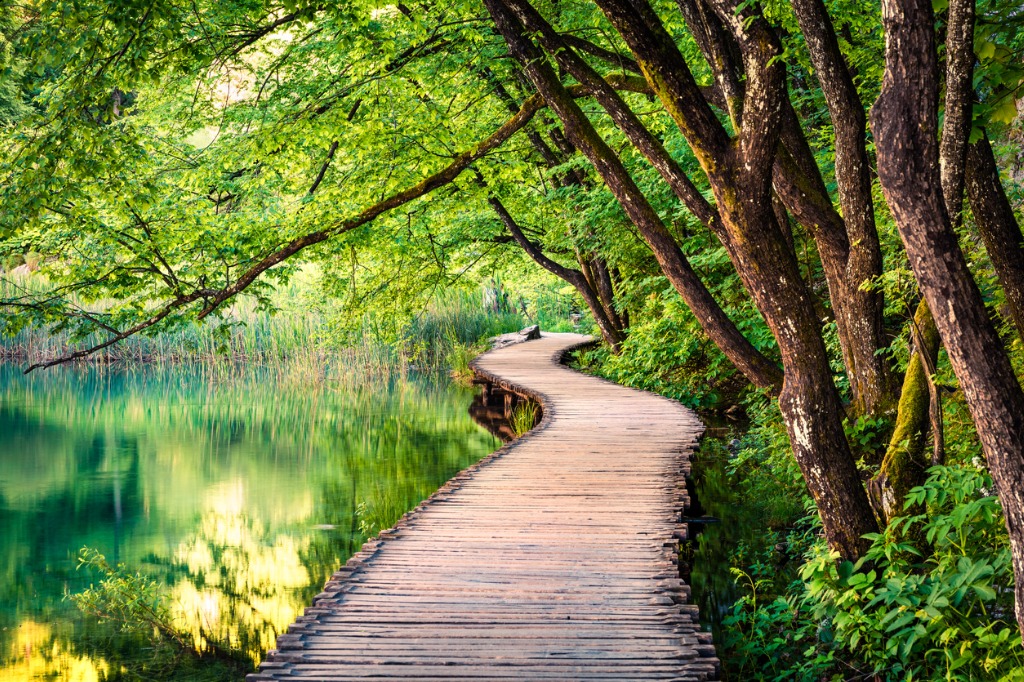
photo by Andrew_Mayovskyy via iStock
Photography decisions tip #2 is making the most out of your framing and composition. As a landscape photographer, or any other type of serious photographer, you are well aware of how photographic composition can enhance a great view and turn it into awesome photographic prints.
Framing is one of the photographic decisions that we sometimes minimize in our creative thoughts since we’re really concentrating on composition and exposure choices, but it can be every bit as vital. A related technique to photographic composition, framing can be adjusted by moving the camera position or by lens focal length changes.
Camera position movement is more than merely zooming in or out to frame a shot, but can be accomplished by getting a higher or lower perspective or moving from one side of a trail or beach to another side. Don’t wait until we crop in post processing to adjust image framing.
Distractions
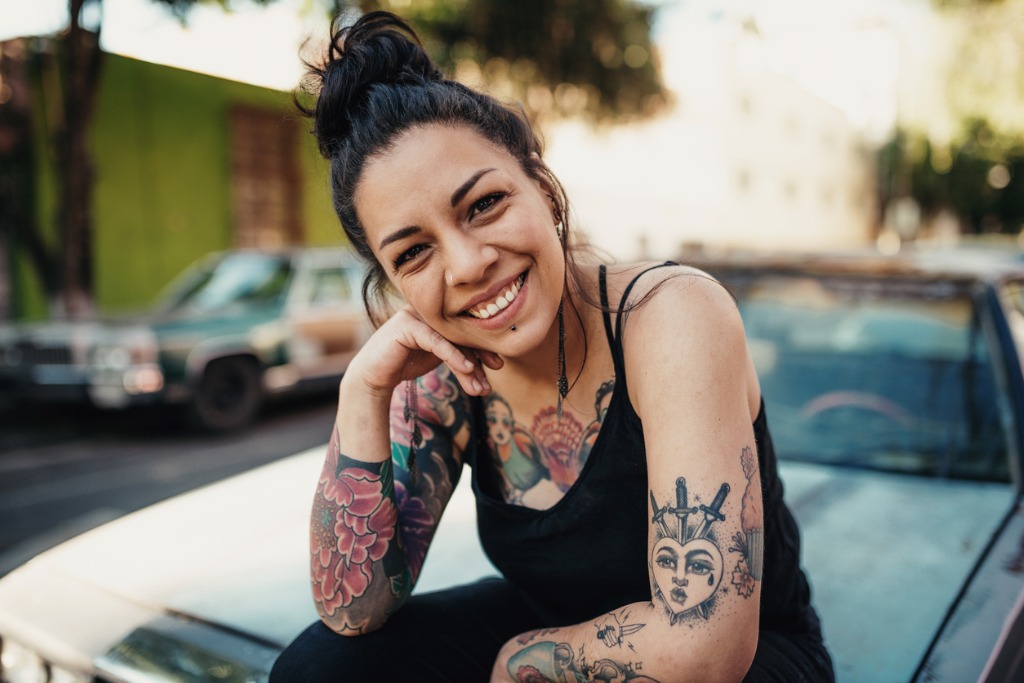
photo by Drazen_ via iStock
Since we are taking the time to fine tune our framing and composition, examine our scene in the viewfinder or on the viewscreen carefully. Again, as far as photographic decisions go, don’t wait until post processing to remove a distracting element from our image.
What type of image elements can be a distraction that breaks our images? Have you ever taken a portrait outside and when you look at your prints you see a tree branch or street light pole that appears to be growing from your friend’s head? That’s a distraction. Moving over our camera position by mere inches can eliminate a distraction like that.
Other distractions can show up in our landscape or cityscape images. For instance, if we come across a great view of a field of flowers and an old barn, but a new truck with shiny chrome bumper and a glaring windshield is in the way of our first view. Just walk or drive over a few more feet or yards until you can get the view you want.
The best method for eliminating distractions is to slow down your workflow just a bit to make sure you are noticing everything in the frame. If you have already streamlined your workflow with tips from some of our other articles, you’ll have the time to do so.
Exposure and Lighting
photo by Tashka via iStock
We won’t spend a lot of time on these photographic decisions since you already know tips, methods, and techniques and are constantly searching for more. (How do I know you’re always searching for more? You’re reading PhotographyTalk!)
Just as a reminder, the photographic decisions involved in lighting and exposure follow some very repeatable rules and you can control them with confidence.
Selecting the Right Printing Company
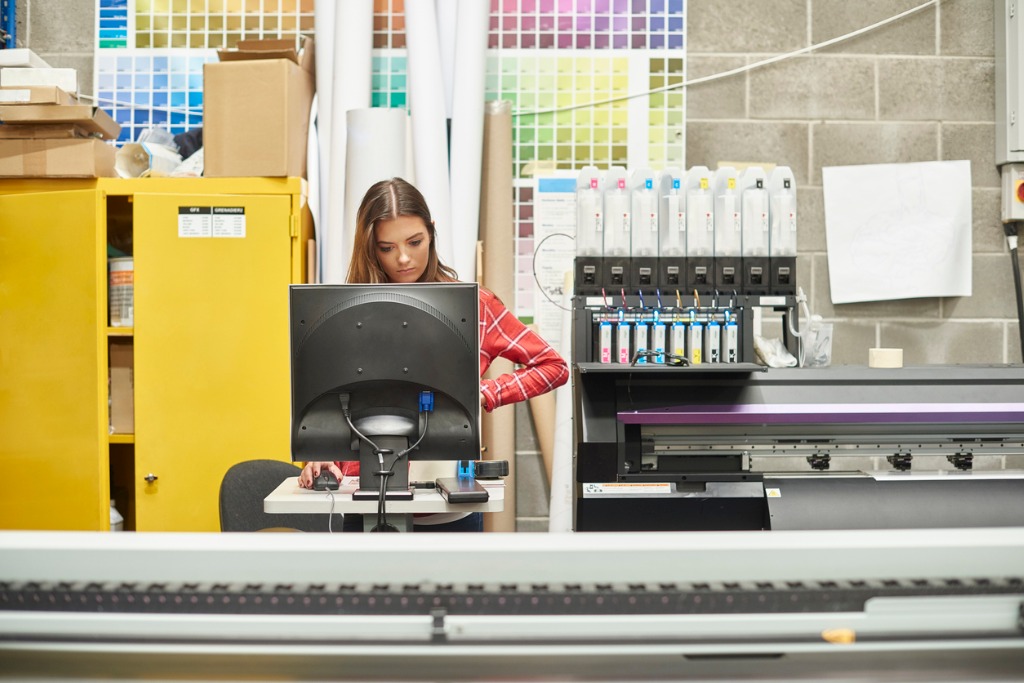
photo by sturti via iStock
Though we are living in a digital world and many of a pro’s paying clients buy online or digital images, there is still nothing like a large print to hang on a wall to add a touch of artful class to a room. One of the more important photography decisions in regards to printing options is who is going to make our photographic prints.
For your business or personal use, you have invested in a professional photographic printer. I have one and get to test others from time to time, and these are great tools for any serious photographer.
There are printing options I can’t do with my own printer, though, such as making metal or acrylic prints and I’m limited in maximum size to the size of my printer. So, choosing a professional print quality printing service is an important decision to make.
Artbeat Studios

For extremely high-quality prints in large sizes and on specialty materials, using Artbeat Studios is one of the better photography decisions for serious photographers. In addition to printing in many different sizes from regular enlargements all the way up to 40x60 inches, Artbeat Studios also offers printing services like canvas, metal, and acrylic prints in a variety of sizes.
Artbeat Studios was the winner of our 2020 $100 Secret Shopper Metal Print Shootout by supplying the highest quality, sharpest, and simply best looking metal photographic prints. Here are a couple of the fine metal prints I had made by them:


If you have a studio space or a home studio that you use for clients, invest in a couple of fine prints, metal, acrylic, canvas, or paper to hang on your wall for people to see. Offer your paying portrait clients these options for physical prints. Or, sell your own photographic fine art images in one of these styles.
Some of the reasons that make Artbeat Studios one of the best photography decisions for professional and other serious photographers are their excellent customer service, quick turnaround time, superb materials, and excellent craftsmanship.
You can upload your large digital files in JPEG or TIFF with Adobe RGB color space at any time via their online service and specify exactly what you want. So, we come back around to the first of our photography decisions that can make or break how our image looks.
You Are In Control
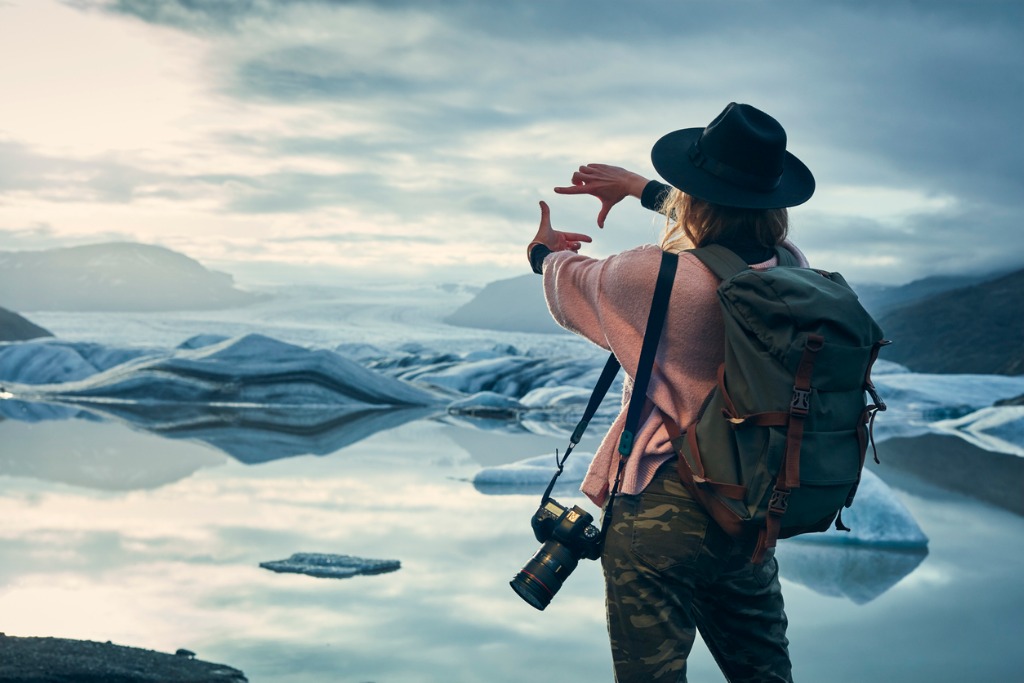
photo by janiecbros via iStock
With all of these photography decisions, a common denominator is that you as the photographer are in complete control. Sometimes all it takes is a little extra effort or knowledge to move your image from the break pile to the make category.
Every time we click our shutter, we can make choices in regards to the art and craft of our fantastic photographic journey. As photographers, we continuously have opportunities to improve our own skills and knowledge in order to create better and better images.
In our discussion forums, show us what you’ve done in regards to photography decisions to improve your already great images.