A Step-by-Step Guide for Creating a Photography Poster
- Choose the Image You Want to Transform Into a Photography Poster
- Find a High-Quality Printer Who Makes Photo Posters
- Select Your Photo Paper and Finish
- Choose the Size of Your Photography Poster
- Customize Your Design
- Proudly Display Your Photography Poster
- Final Thoughts on Creating a Photography Poster
- Recommended Photography Gear
- Unique Photo Products That Make Your Images Shine
- Make Photography Exciting With These Fun Photography Ideas
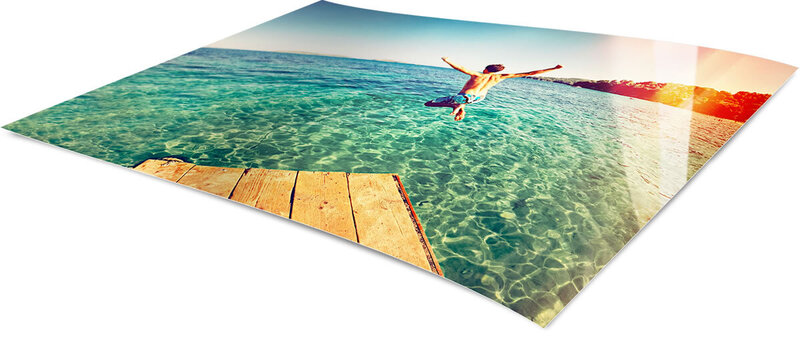
- Glossy
- Matte
- Silk
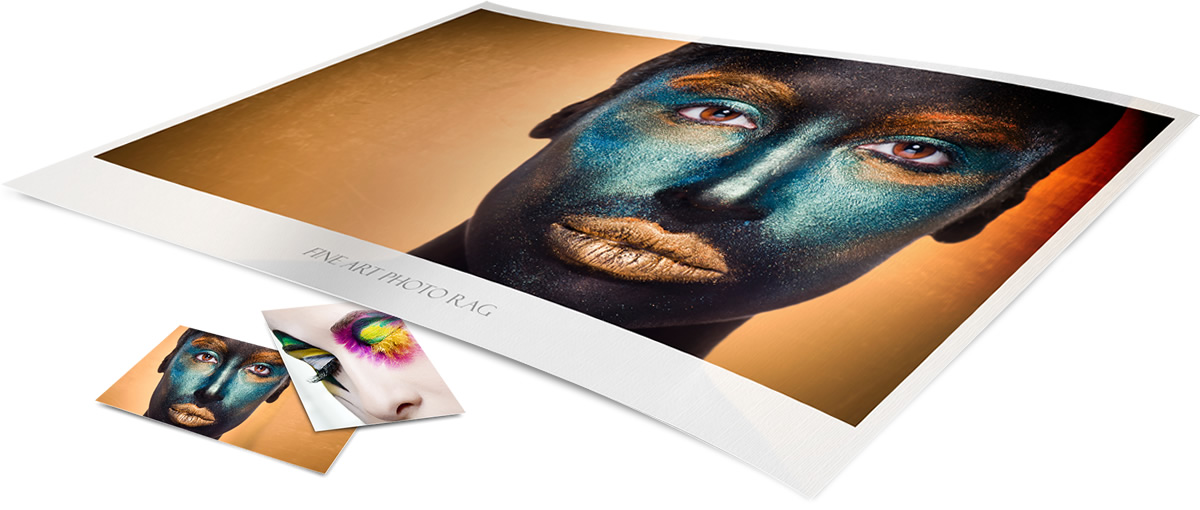
- Hahnemuhle Photo Rag
- Hahnemuhle Baryta
- Hahnemuhle Bamboo Natural Line
- Hahnemuhle Hemp Natural Line
- Hahnemuhle Museum Etching
- 5 Tips for the Perfect Wall Decor Photography
- 3 Tips for Turning Your Photos Into Beautiful Wall Art
Photography posters are a fantastic way to display your favorite photos and add personality and color to your home or workplace. Additionally, they make excellent gifts for family and friends. However, we understand that creating a photography poster can be daunting, especially if you're new to photography or graphic design.
That’s why we built this step-by-step guide for creating a photography poster. To teach you the exact steps you need to follow to start making polished and professional-looking posters like the pros!
We’ll cover everything from picking a photo and printer to displaying your poster and everything in between. So, regardless of your photography and design experience, this guide will help you on your journey to create stunning posters.
Ok, what are we waiting for? Let’s dive in and discover the six key steps to creating a photography poster!
Table of Contents
Choose the Image You Want to Transform Into a Photography Poster
First, before you can start to worry about the poster itself, you have to decide which image you want to turn into a photography poster. While we know it sounds simple, you need to consider a few important things when choosing an image. For example, what type of file is it, and how many megapixels does it contain?
If you want your image to remain sharp when enlarged for a poster, we highly recommend shooting with a camera that has at least 24 megapixels (the more MPs, the better!). Additionally, picking RAW files over JPEGs will provide more detail and give you better flexibility when editing and touching up your images.
Find a High-Quality Printer Who Makes Photo Posters
The next step is locating a trustworthy and reliable printing service to help you design and print your photography poster. I wish I could tell you every printer produces quality products, but sadly that’s not the case. However, Saal Digital is one printing lab we have partnered with countless times that has always delivered amazing posters.
They are an innovative online printing company known for its high-quality products, professional support staff, and incredibly low prices. Furthermore, Saal Digital’s state-of-the-art design software is user-friendly and easy to use. They also have a free downloadable program for creating and editing projects offline and a mobile app for both Apple and Android devices.
Learn More:
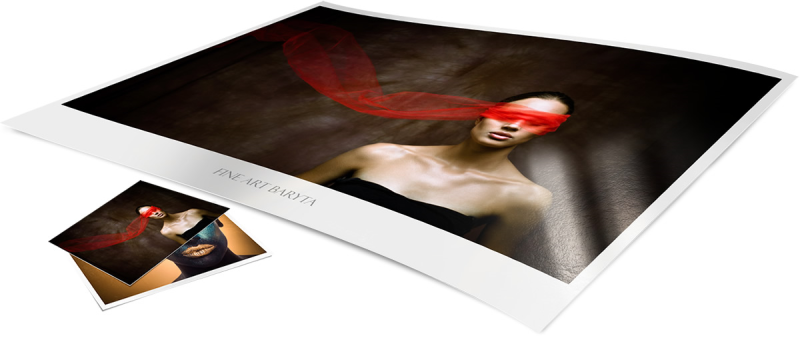
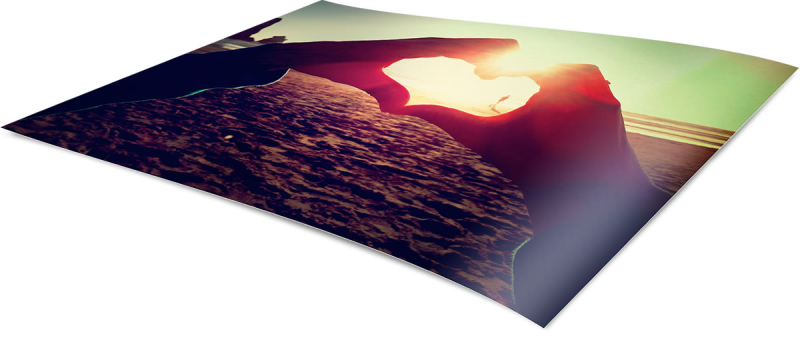
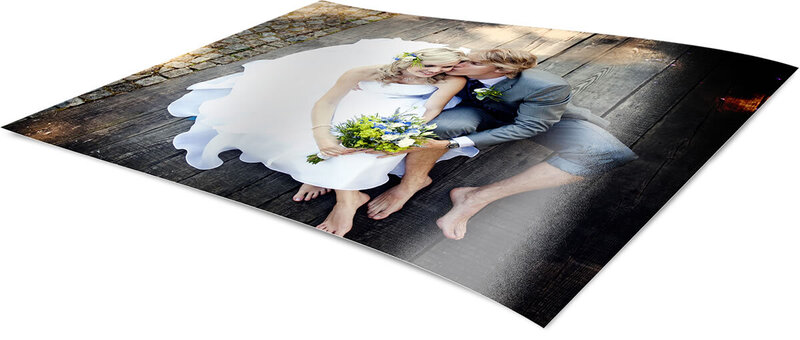
Select Your Photo Paper and Finish
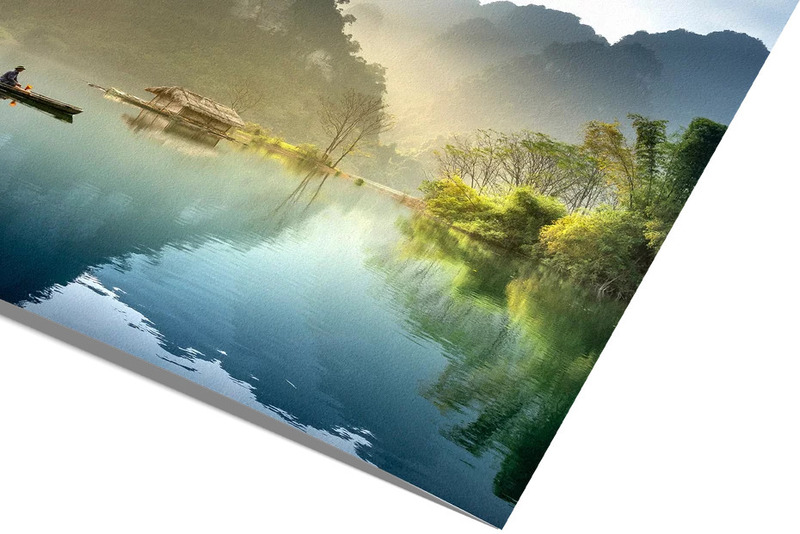
After that, it’s time to choose the paper you want to use for your photography poster. While most printers only give you one or two paper options, Saal Digital has eight! They are:
Each unique paper has different qualities, strengths/weaknesses, and matches better with specific genres of photography. So, you should definitely devote some quality time to researching them all and comparing and contrasting them before making a final decision.
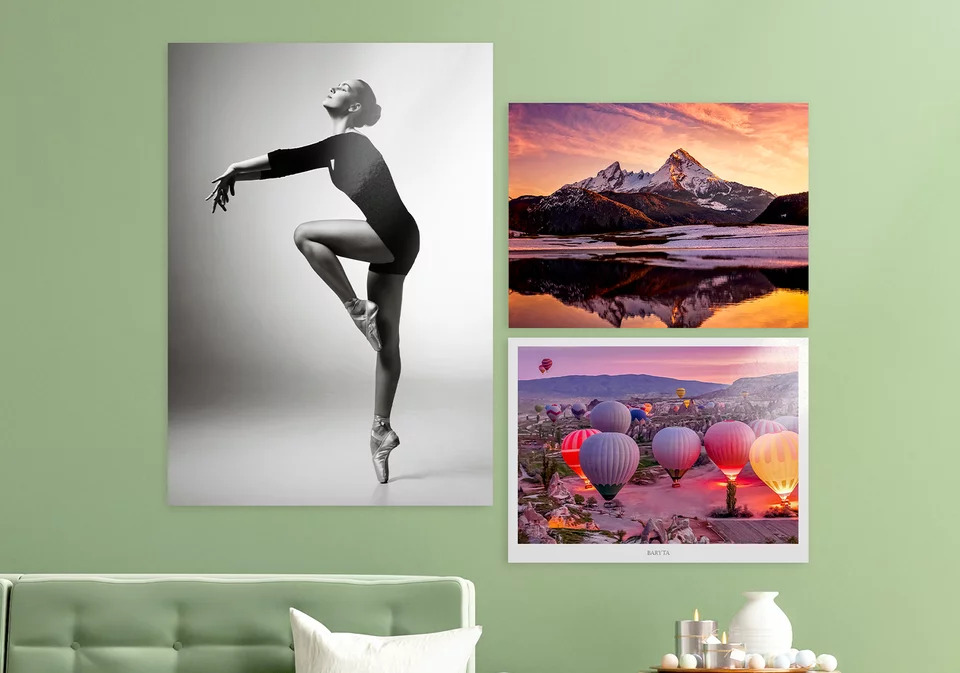
Choose the Size of Your Photography Poster
Now that you have your paper figured out, you must decide what size you want your photography poster to be. Different things to consider when choosing a size are where you plan to hang it, how much wall space you have, and the price. Once you have a clear idea of those three factors, you can select the ideal size for your needs and budget.
Standard poster sizes range anywhere from 7.9 x 15.7 inches up to 27.5 x 70.8 inches. If you want to go bigger or smaller than that, you can, but you will need to speak directly with your printer.
Customize Your Design
Now you can start to customize and add the final touches to your photography poster. This step is where you can crop your image and insert things like backgrounds, borders, words, clipart, etc.
Furthermore, many printers offer professional services like image enhancement, bulk orders, or framing your posters. Whatever your final vision is for your poster, this is where you make it happen!
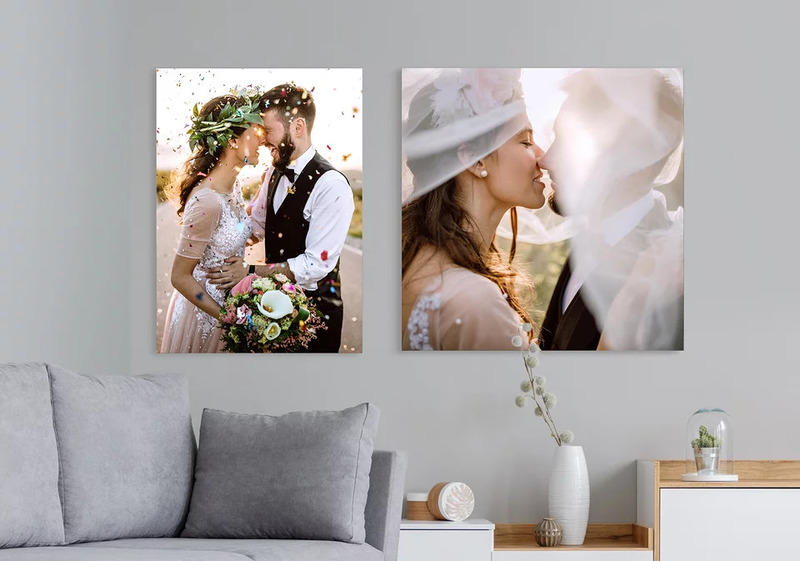
Proudly Display Your Photography Poster
Last but not least, once you have your hands on your gorgeous photography poster, it’s time to show it off to the world! All the time and hard work you put into designing and creating your poster deserve to be acknowledged, so hang it proudly in your home, office, or wherever else you have in mind.
After that, it’s rinse and repeat, and you can start creating your next poster!
Final Thoughts on Creating a Photography Poster
Now that you know exactly the steps you need to take to create a beautiful photography poster, what’s holding you back? Select a photo and head over to Saal Digital to start designing your first poster today!
Are you interested in other popular types of photography prints as well? Check out the list below of other high-quality prints and wall art you can customize and order online in minutes on the Saal Digital website: