Basic Real Estate Photography Tips for Absolute Beginners
- A How-To Guide for Photographing Bathrooms
- Professional Real Estate Photography Kit: What’s in the Bag?
- Building a Real Estate Photography Business: Making a Business Plan and Selecting a Business Structure
- Basic Business Tips for Real Estate Photographers

photo by Eder Maioli via iStock
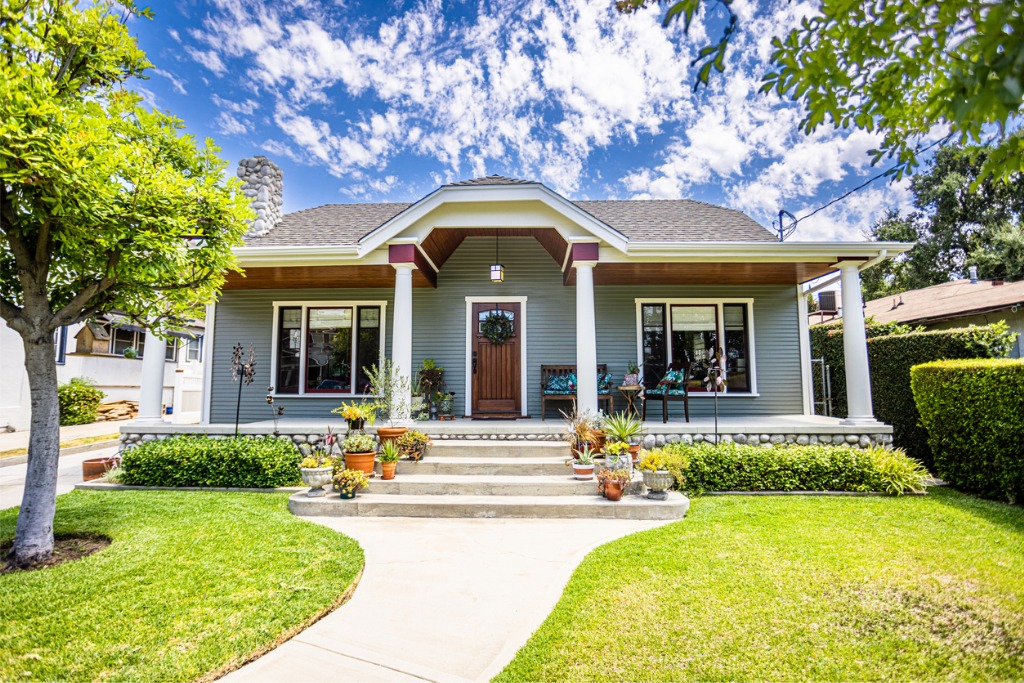
Real estate photography is an interesting animal because on the one hand, you will generally be capturing similar types of shots from one property to the next.
There’s the typical shot of the front of the property, images that highlight living spaces and bedrooms, photos that reveal what the backyard looks like, and so forth.
Yet, just like people, each property you photograph is very different and requires you to approach photographing it with a keen eye.
Here are some beginner real estate photography tips to get you started if you’ve never photographed real estate before.
Beginner Real Estate Photography Tips: Invest in The Right Equipment

Photo by Nikolai Chernichenko on Unsplash
This one goes without saying, but you’ll need to buy the right equipment if you’re going to do a good job. Primarily, you will need a good tripod, a wide-angle lens, and a solid image editing program.
On the lens front, a good wide-angle zoom is advantageous because it gives you the option of adjusting the focal length with a simple twist of the lens barrel.
Lenses in the 15-50mm range are good choices as they offer wide-angle views for smaller rooms but also allow you to zoom in to compose more tightly framed shots when needed.
Note that you don’t need to opt for a lens with a huge maximum aperture, like f/1.2, either.

photo by Pollyana Ventura via iStock
On the one hand, these lenses are quite expensive. On the other hand, they simply aren’t needed for real estate photography.
To maximize depth of field and sharpness, its recommended to shoot with an aperture of around f/8. That being the case, a lens with an aperture of f/4 or f/3.5-5.6 will work just fine.
In our detailed tutorial on lenses for real estate photography, we enumerate a variety of lenses that are well-suited for photographing properties.

photo by NoSystem images via iStock
As for your tripod, I’m generally of the belief that any cheap tripod will do for beginners.
A lot of other beginner real estate photography tips lists try to sell you on equipment you don’t need just to get started. You can always invest in a good quality tripod later on, after your business is making income.
As long as your tripod offers a solid base for your camera, it’ll do just fine.

photo by jacoblund via iStock
Lastly, you need the right editing program to bring your images to life.
Many photographers use Lightroom or Photoshop, and both are solid choices. I would add to that the need for HDR software as well.
Creating HDR images of properties means you can avoid having to use (or buy) artificial lighting equipment. Besides, you get more natural-looking results anyway!
By bracketing your exposures and then merging them in HDR software, you ensure the images are perfectly aligned, sharp, straight, and have good color and contrast. What’s not to like about that?
Learn More:
Beginner Real Estate Photography Tips: Don’t Rely on Post-Processing to Fix Mistakes

Photo by Domenico Loia on Unsplash
I’ll be the first to say that post-processing programs are invaluable to photographers for creating the most impactful images.
But to think of Photoshop or similar programs as being a failsafe that will enable you to fix any and all errors is a big mistake.
Instead, strive to get your images right in-camera.
Take your time to compose the shot. Ensure the camera is level so you don’t have to straighten every image in post-processing. Use the bracket and merge technique mentioned earlier so you have good shadows, midtones, and highlights with details throughout.
Yes, you’ll need to use post-processing to perfect colors, get the white balance just right, crop, and so forth, but try your best to get things right when you take the images, and you’ll spend much less time trying to correct mistakes after the fact.
Beginner Real Estate Photography Tips: Include the Real Estate Agent

photo by kate_sept2004 via iStock
Please, communicate with the real estate agent! You’ll never learn how to take real estate photos if you get fired from your first job for not understanding the types and amounts of photos the agent wanted.
The Realtor is also one of your best resources. They know the property well and can help you devise a shot list so you highlight all the special details of the property.
In many cases, Realtors are also charged with ensuring the house is clean, staged, and ready for photos.
Articles on real estate photography tips for beginners rarely touch on this point, so be sure you reach out to the real estate agent and make them an integral component of your workflow. Your images will be the better for it!
Beginner Real Estate Photography Tips: Know What Is Expected of You

photo by Bombaert via iStock
Know your deliverables. Do you need 25 RAW files? Or is your client expecting JPG files? How large should the photos be? Are they high-res because they are being sent directly to prospective home buyers, or do they need to be smaller for a website?
What about videos? Do they want walk-through videos of the home?
Did you capture every feature of the home the client asked you to?
Before you head out on your first real estate photography job, make sure you have a list of exactly what you need, and then keep that list in front of you every time you’re working on that project.
Just like you need to do a walkthrough of the property before you photograph it, you need to be sure you understand precisely what’s expected of you when the process is all said and done.
Learn More: