Basic Tips for Photographing Real Estate Interiors
- 5 Things You Can Do to Improve Your Real Estate Photography Business During the Pandemic
- The Importance of Quality Real Estate Photos
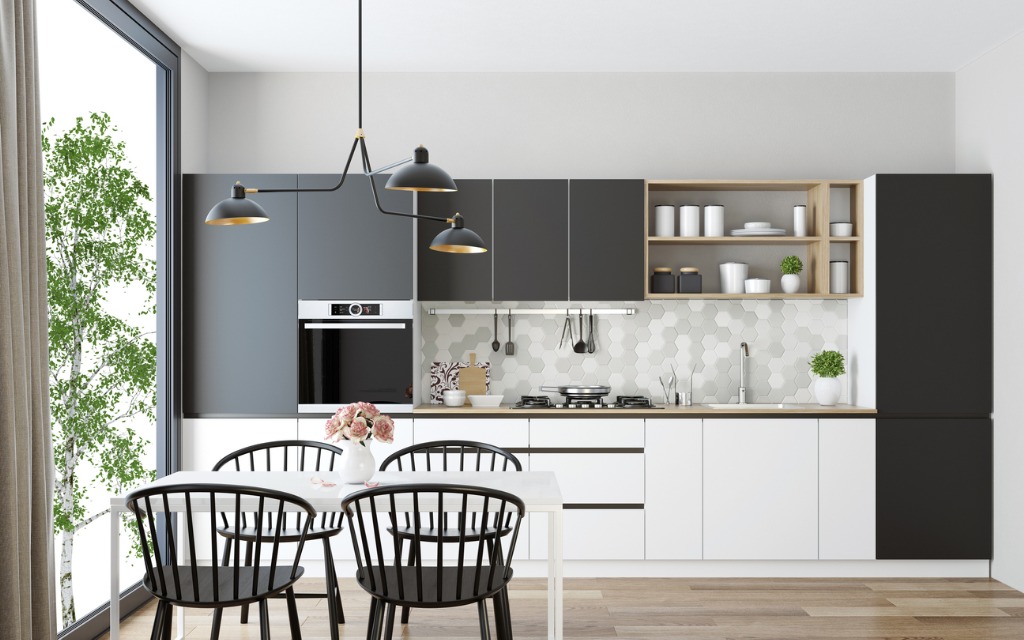
photo by tulcarion via iStock
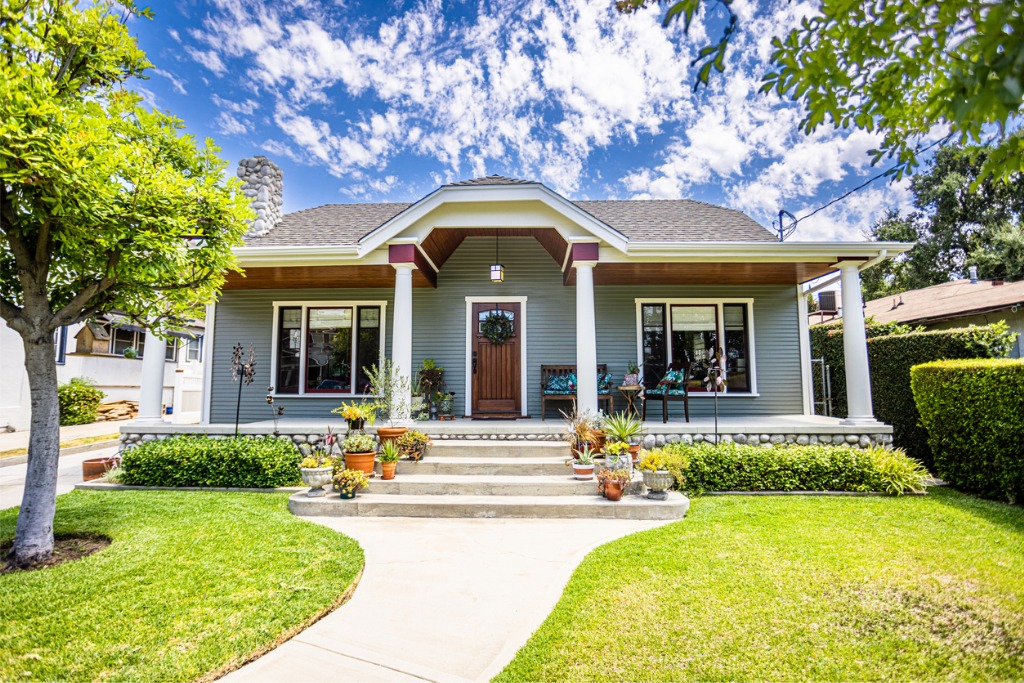
Photographing real estate interiors can be relatively easy, but it can also be daunting if you’re a new photographer who hasn’t read many tips for beginner real estate photographers.
Photographing real estate interiors is also a bit different than photographing real estate exteriors.
Whether you are photographing real estate interiors for realtors, designers, or contractors, this list of simple real estate photography tips will make your experience a whole lot easier.
How to Photograph Interiors for Real Estate: Use Depth of Field to Your Advantage
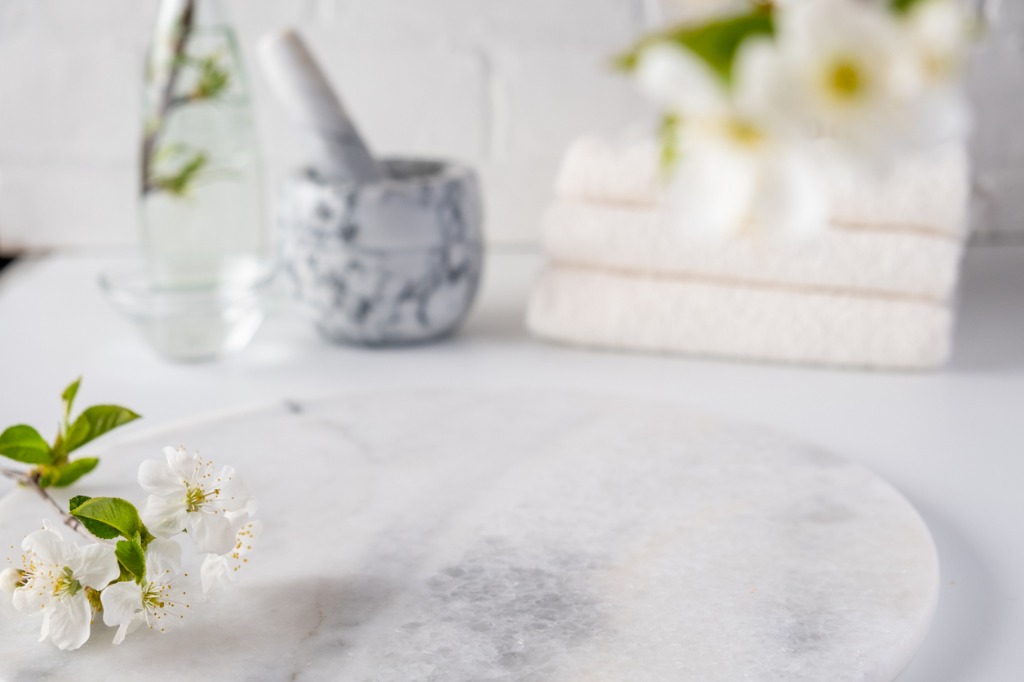
photo by Iryna Kaliukina via iStock
Basic real estate photography tips often suggest maximizing the depth of field in your images, that way everything in the shot from foreground to background is in sharp focus.
But you should not be afraid to minimize the depth of field, either. Creating a blurry background in some of your images can make the viewer excited about a home’s features. This works well for things like interesting hardware on the kitchen cabinets or detail shots of fixtures like the faucets in the main bath. It is almost as if you are slowly unwrapping a present. You don’t know what’s going to be in the next shot.
By mixing in some shallow depth of field shots, you add to the story of the home. Think of these images as the icing on the cake - that finishing touch that can make potential buyers think “WOW!”
Create Simple Shots By Using Clean Angles

photo by FollowTheFlow via iStock
Another tip for photographing real estate interiors is to create more simple shots. The simpler your interior photos are, the more likely the home is to shine in the shots.
Let’s say you’re photographing the living room. To create a simple shot, you can pick any piece of furniture in and shoot it head on, be it the couch, the coffee table, or a side chair.
Doing so showcases the space while allowing you to highlight how the space might be used. Staged photos are far more appealing, anyway, so clean and simple staged photos will go a long way in making a home more appealing.
You also need to ensure that all of the lines in each of your images are nice and straight. Vertical lines need to be vertical and horizontal lines need to be horizontal. If the lines in the shot are distorted, they will be a distraction and draw people’s attention away from the beauty of the space.
Learn More:
Don’t Be Afraid to Show Details
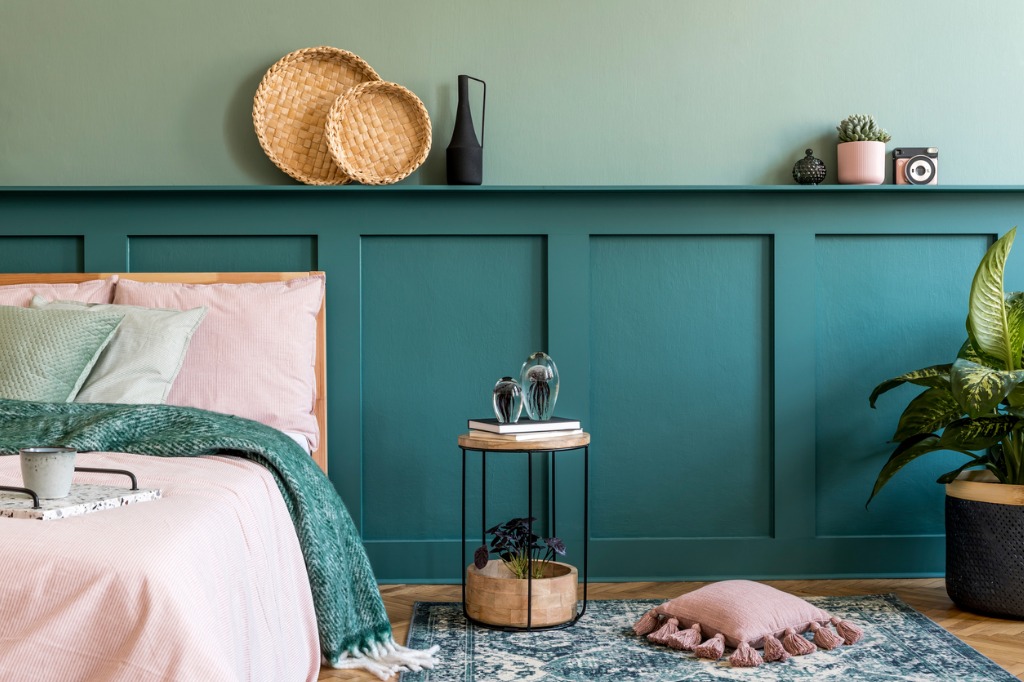
photo by FollowTheFlow via iStock
When I’m photographing real estate interiors, I feel like I get into this disagreement with realtors or owners around half the time. The realtors and owners want me to strictly stick to taking pictures of the actual house. So, full-on shots of each bedroom, the kitchen, and so forth. But, I recommend that they have me take close up shots of some of the finer details of the staging of the home.
It doesn’t make sense for an owner to spend thousands or tens of thousands of dollars on staging their home, if they don’t let me capture it. The staging is what draws people in. It’s what makes people want to come see it in person. Plus, in our digital age, more and more people are purchasing their homes online without seeing it in person. Of course, I would never do this, but I understand why investors do.
When you are photographing real estate interiors, make sure to capture all of the details of the way the home looks on the day you see it. Whatever catches your eye is likely to catch someone else’s as well.
Do Before and Afters
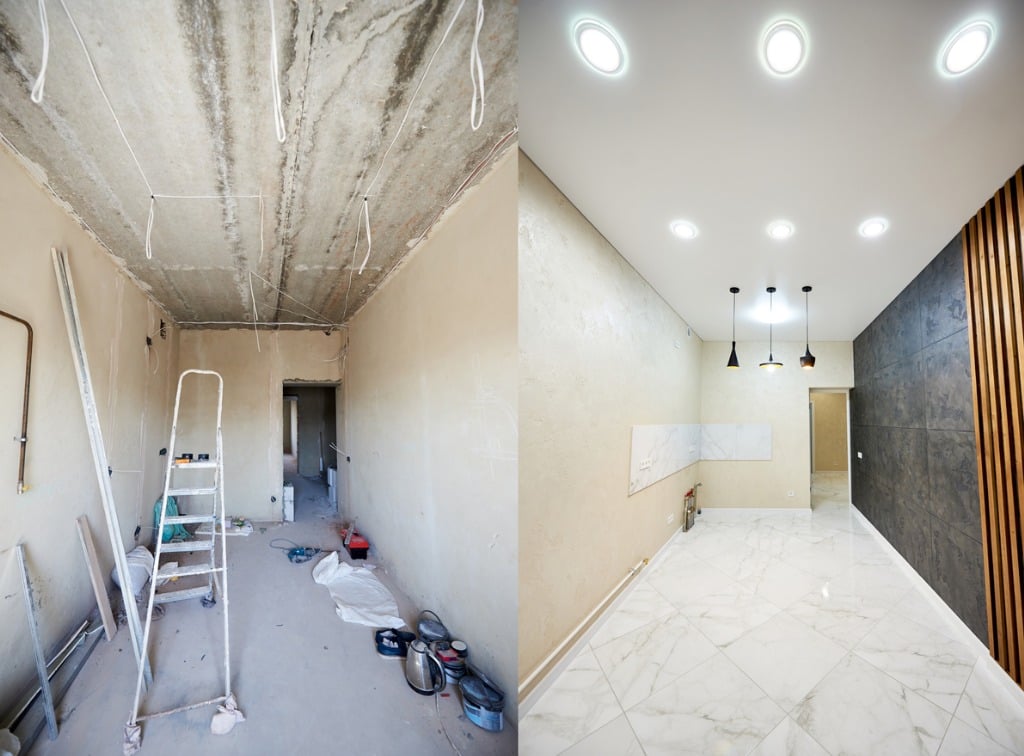
photo by anatoliy_gleb via iStock
This is another thing that typical real estate photography tips don’t cover: shooting before and after photos.
Depending upon who you’re working for, you likely didn’t have the opportunity to shoot any of the “before” shots, but that shouldn’t prevent you from asking for them. You can then go back and shoot the same shots after a remodel or even after staging.
This is not only a great thing for sellers and contractors, but it is also something to add to your portfolio.
You don’t even have to do before and after photos once a home is remodeled or staged. If the before shots were taken by an amateur photographer, the likelihood that the images of the interior spaces are well-exposed is fairly slim. That’s because photographing interior spaces often means dealing with a high dynamic range between very bright windows and much darker rooms.
Learning how to shoot a house with bright windows is easy if you take bracketed exposures. Doing so allows you to capture a series of images that are exactly the same except for their exposure level.
Then, as shown in the video above, you can merge the bracketed exposures together, which gets you a final composite image that retains the detail both in the bright windows and the darker areas of the room.
Using this technique alone will generate far better images that potential buyers will appreciate. It’s a simple before and after technique that will make the home shine!