4 Photography Gear Do’s and Don’ts for Beginners
I remember many years ago when I was just beginning my photography journey being completely and totally overwhelmed by it all.
I mean, aside from having to learn how to use my camera and all the modes, dials, and buttons, I also had to figure out all the compositional and artistic stuff too.
As if that wasn't enough, there was a mountain of gear that I felt like I needed.
It seemed like every article or book I read recommended some new accessory that I "absolutely needed" if I wanted to take the best pictures.
Well, I wanted to take the best pictures, so I ended up buying a ton of photography gear that, as time went on, I realized I didn't need at all.
I'm guessing that my experience might hit close to home...
If that's the case, this isn't one of those articles that will overwhelm you with gear recommendations that make your head spin and your pocketbook cringe.
Instead, I've got just four photography gear do's and don'ts that are based on my less-than-ideal experiences back in the day as a new photographer.
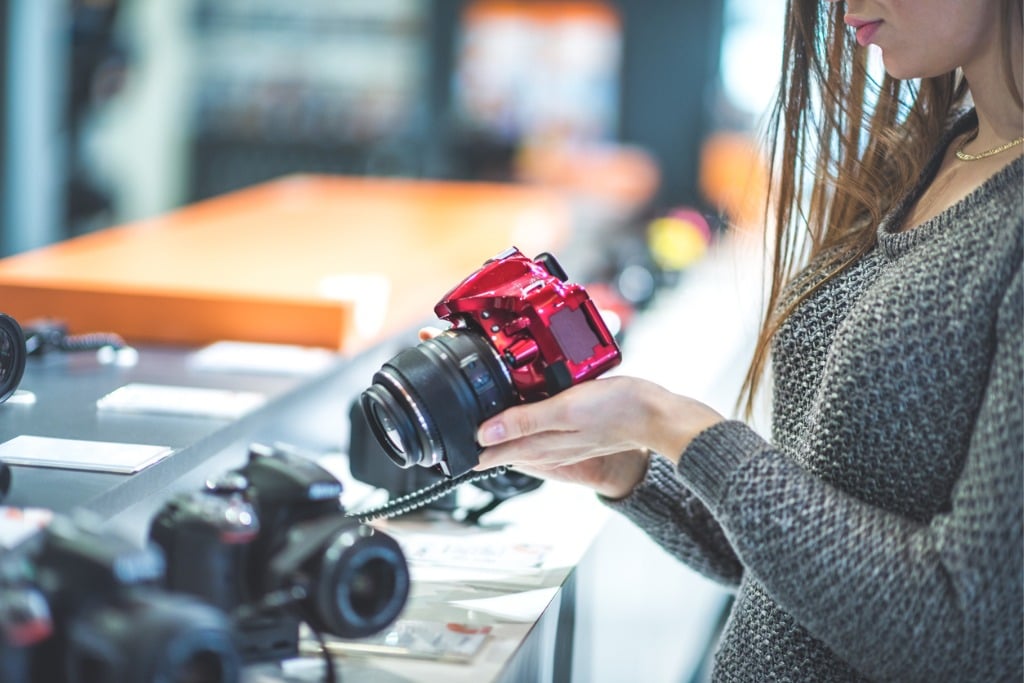
DON'T Buy the Most Expensive Camera You Can Find
Fortunately, I didn't make this mistake, mostly because I simply didn't have the budget to buy a top-end full frame camera.
And while an expensive full frame camera is certainly nice, for a beginner, it's not necessary, and it will likely just add to the confusion and frustration of figuring out how to use your gear.
Full frame cameras tend to be made for enthusiast and professional photographers, and as a result, they have more bells and whistles than consumer-level crop sensor DSLRs like the Canon EOS Rebel t5i.
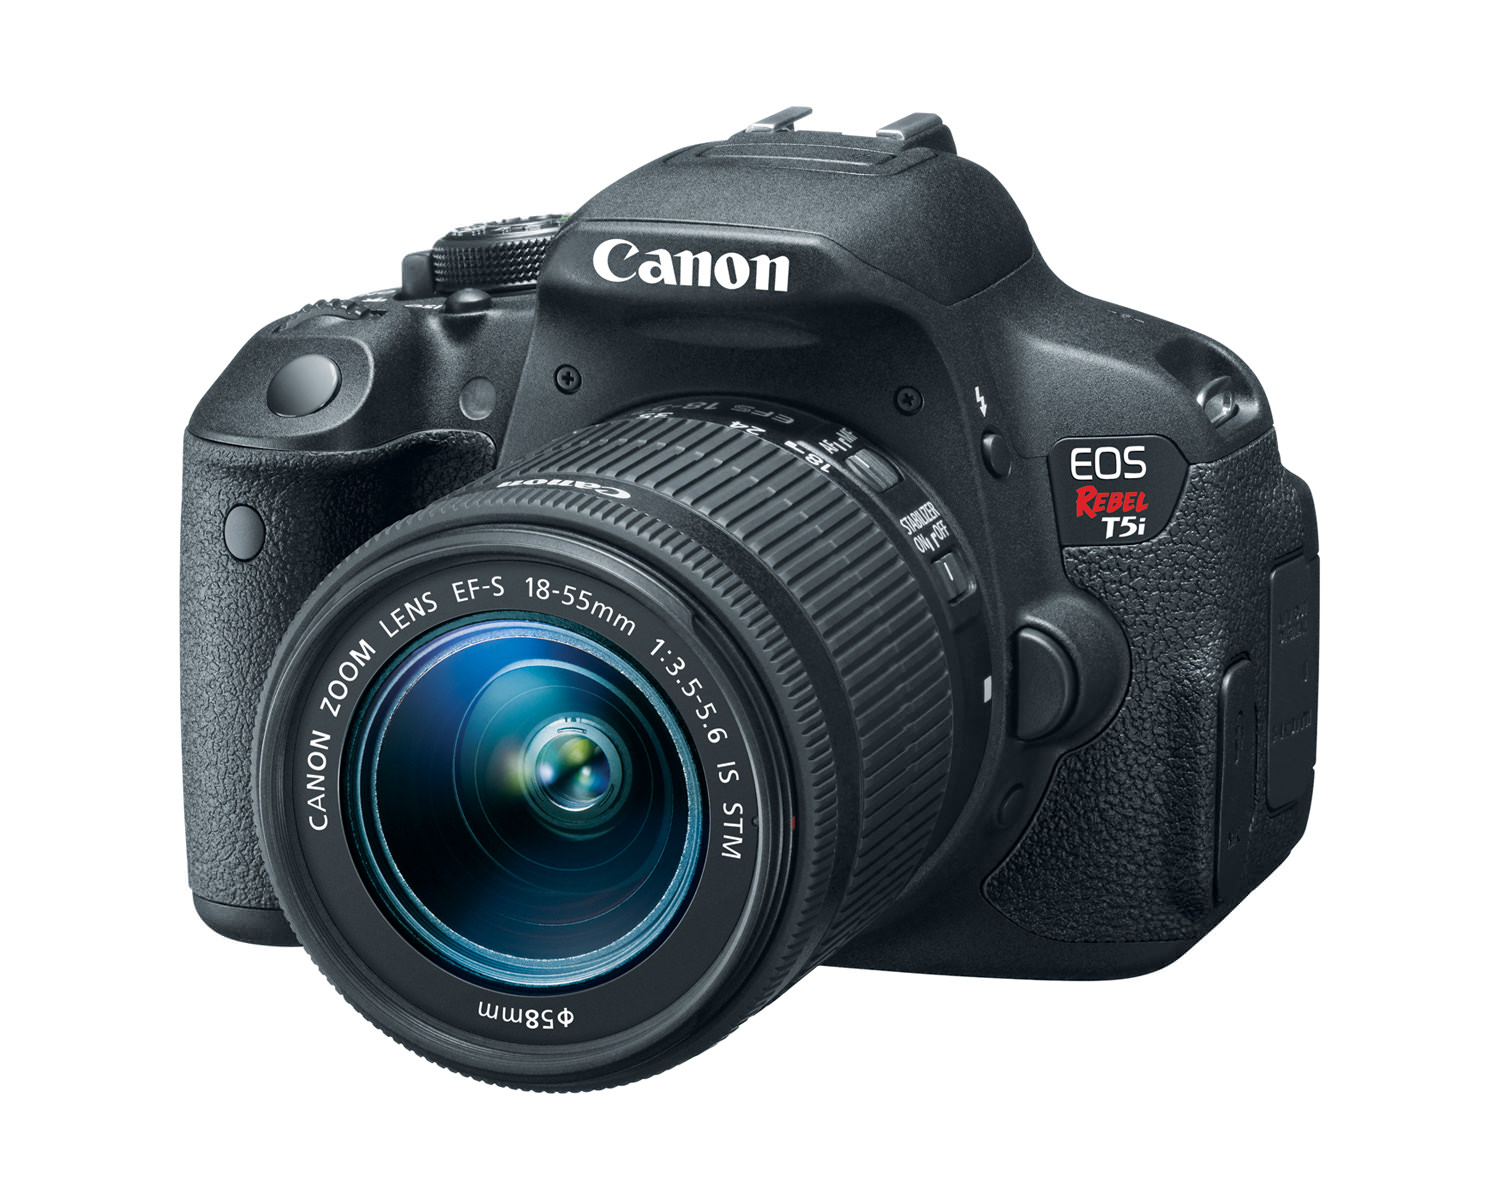
So, rather than blowing $3,000 on a full frame camera that will be too much for you as a beginner, do some research about beginner camera bodies and opt for something that's a crop sensor DSLR or a mirrorless, which can often be found with a kit lens for anywhere from $500-$1,000.
That's not to say that there aren't some crop sensor cameras that are much more expensive than that, but there are certainly many beginner models that will do the job of helping you learn the ropes and grow with you for years to come.
Besides, crop sensor cameras are smaller, lighter, and much easier to maneuver. Plus, there are a multitude of lenses for crop sensor bodies from Sony, Nikon, Canon, and other manufacturers.
The money you save by getting a beginner-level camera will come in handy for the next step...
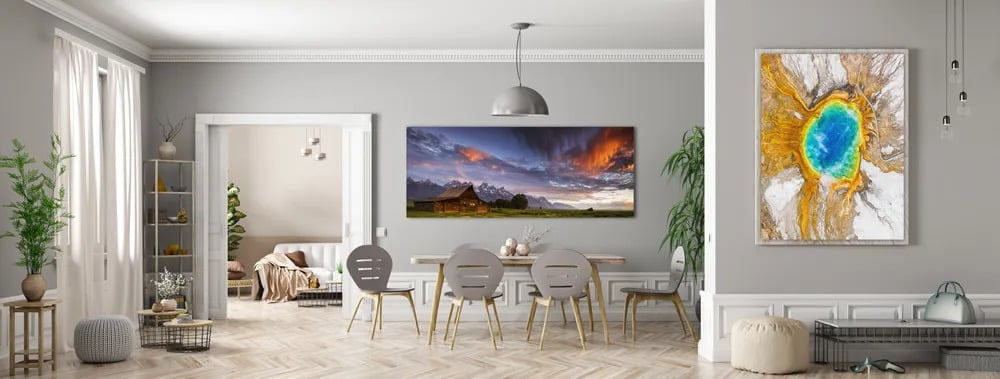
DO Buy a Better Lens
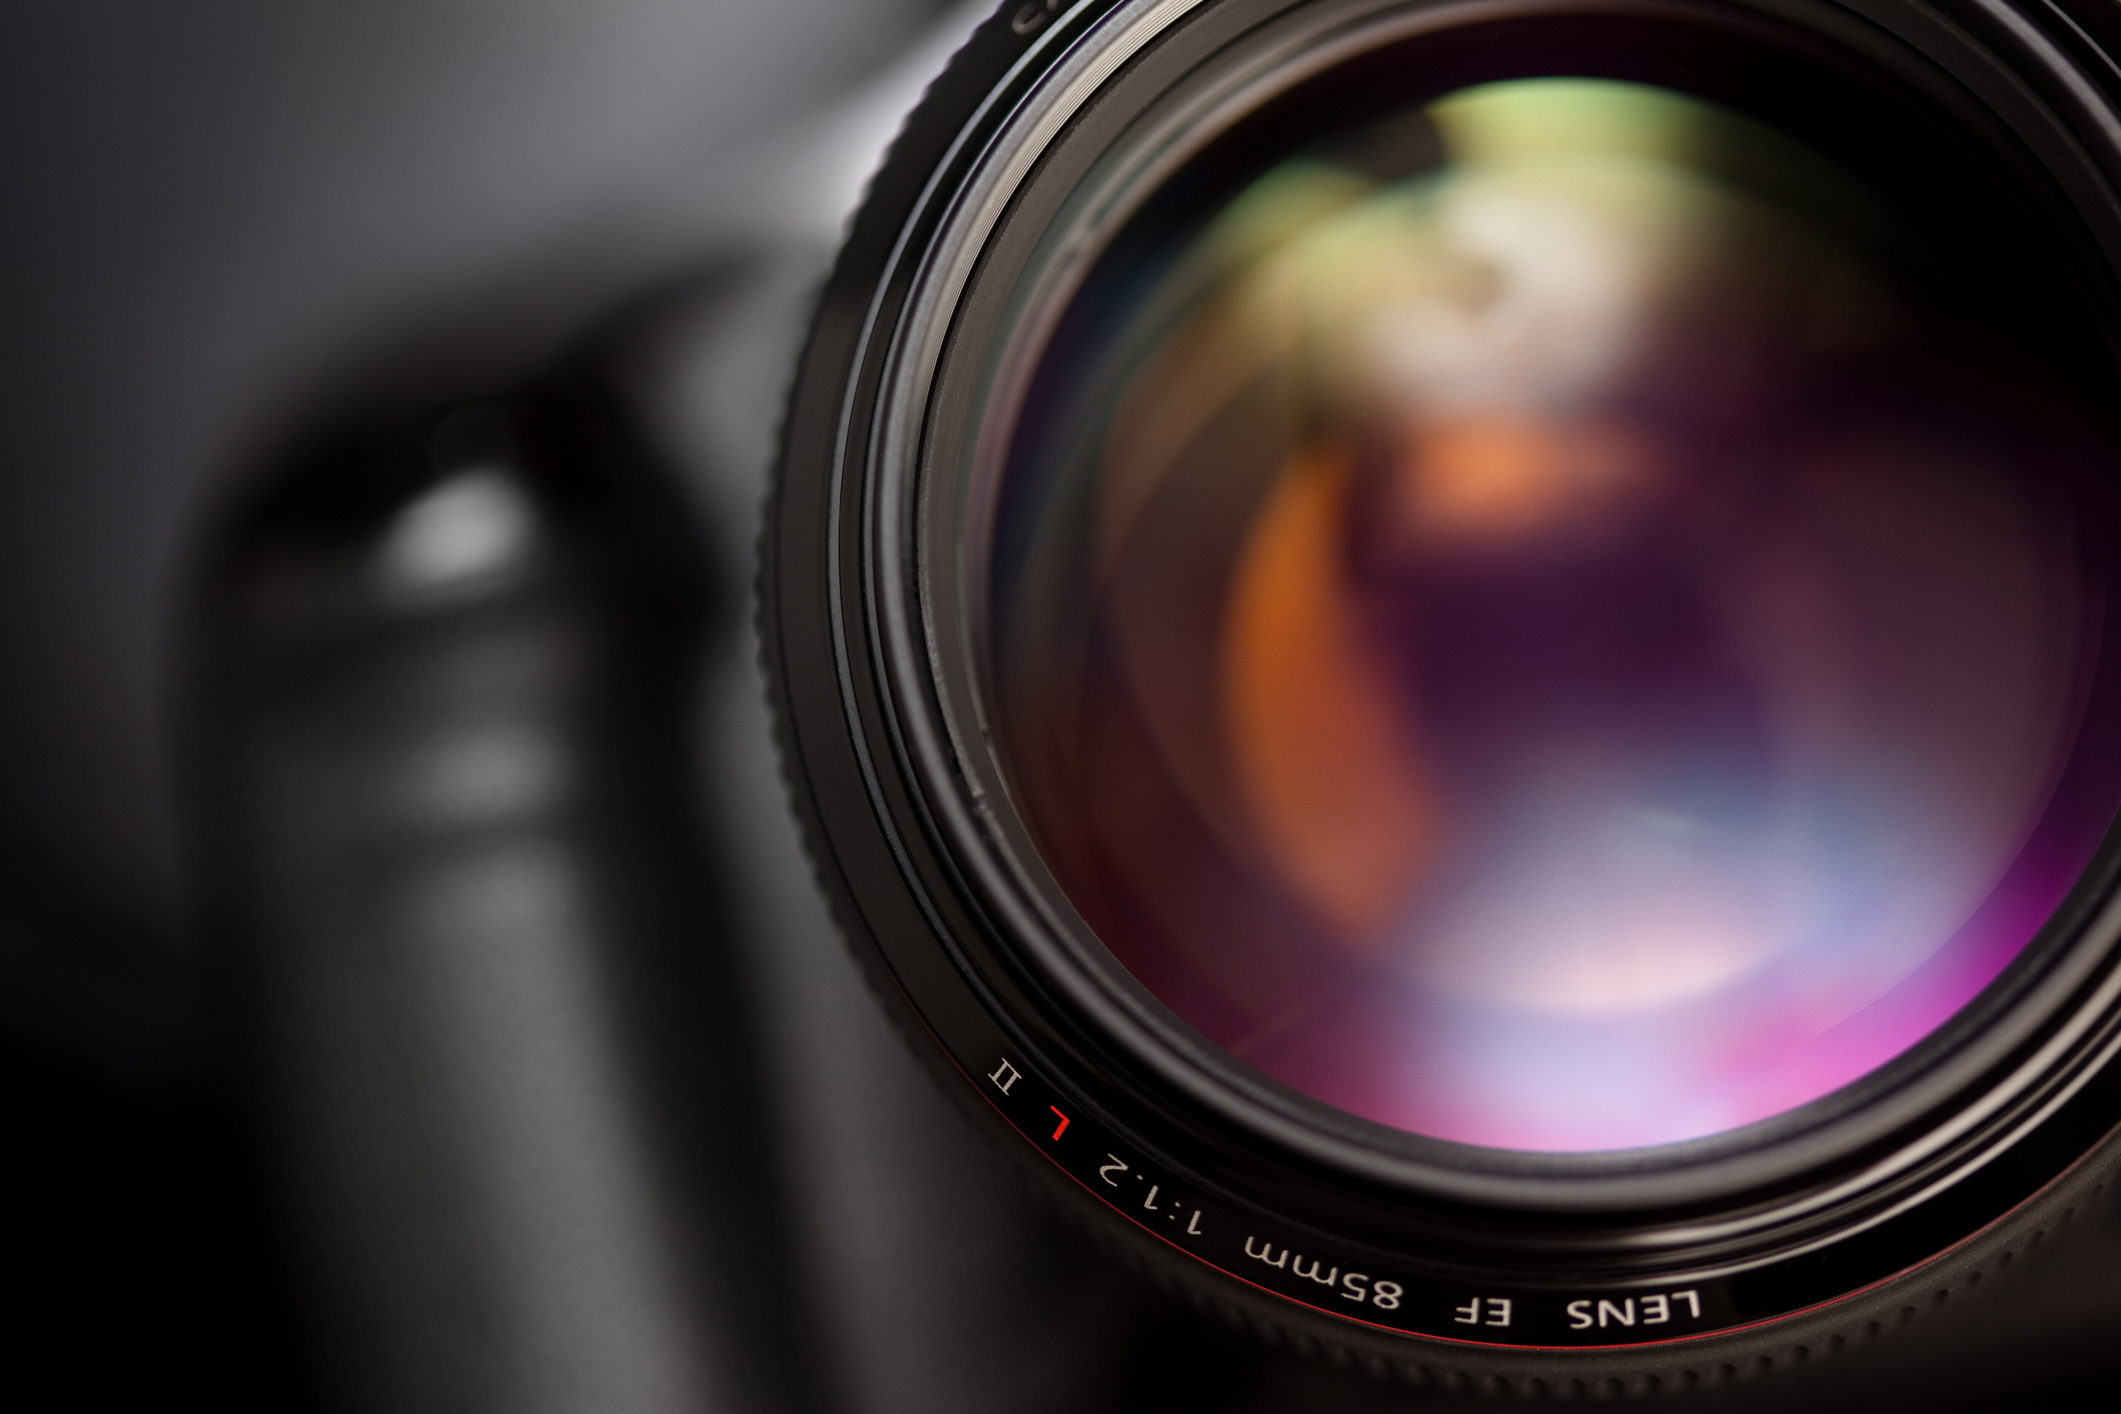
When it comes to allocating your hard-earned money for photography gear, your lens is what should be at the top of the budgetary list.
That's because the quality of the lens has the most impact on the quality of the images you take of any of the gear you use.
It's even more important than your camera.
Here's the reasoning: you will get a better photo with an old camera body and an upgraded lens than you will with a new camera body and an old lens.
The optic quality of the lens impacts everything from the sharpness of the image to the lighting conditions under which you can shoot to the appearance of things like chromatic aberration.
So, by spending money on an upgraded lens rather than an upgraded camera body, you lessen the chance that the lens will produce results that aren't up to snuff.
The best part is that you don't have to spend a ton of money to get a high-quality lens.
Many prime lenses can be found for a fraction of the cost of a full frame camera body, so you could conceivably pick up a couple of excellent prime lenses with the money you save by opting for a less expensive crop sensor camera.
In fact, the first lens I bought was a 50mm f/1.8 prime - a lens that I still have to this day and shoot with quite frequently. See why a 50mm prime is a great lens in the video above by Pete Leong.
I got that lens for about $125, and it was of the best photography purchases I made. It produces sharp images, has fantastic low-light performance, and on a crop sensor camera, it has an effective focal length of about 80mm, which is great for everything from portraits to landscapes to wildlife photography.
In short, buying that lens had a far more significant impact on my ability to get the shots that I wanted than an upgraded camera body could have had.
Take it from me - save your money in the camera department so you can upgrade your lens instead!
DON'T Change Your Lenses Unless You Have To
This might seem like a strange gear tip for a beginner, but I wish I'd had known it back in the day...
Though a camera with an interchangeable lens is great to have because you can swap different focal length lenses to create photos that look drastically different, the problem is that the more often you swap out your lenses, the more likely the inside of the camera is to get dirty.
And inside your camera are all sorts of delicate optics - the mirror in a DSLR and the sensor in all digital cameras - that don't mix well with things like dust, dirt, and other debris.
As an avid landscape photographer, I'm out in the elements to take photos, which only heightens the opportunity for debris to get into my camera.
When I was a beginner, I would swap out my lenses all day long, and then wonder why my images had specs of dust on them when I reviewed them in post-processing.
It's because each time I didn't have a lens on the camera, dust was able to get inside and find a home on my mirror and sensor.
Now, that's not to say that you still won't have to fight dust inside your camera even if you minimize your lens changes.
But the less you change your lenses, the less opportunity there will be for dust and other contaminants to get inside your camera body.
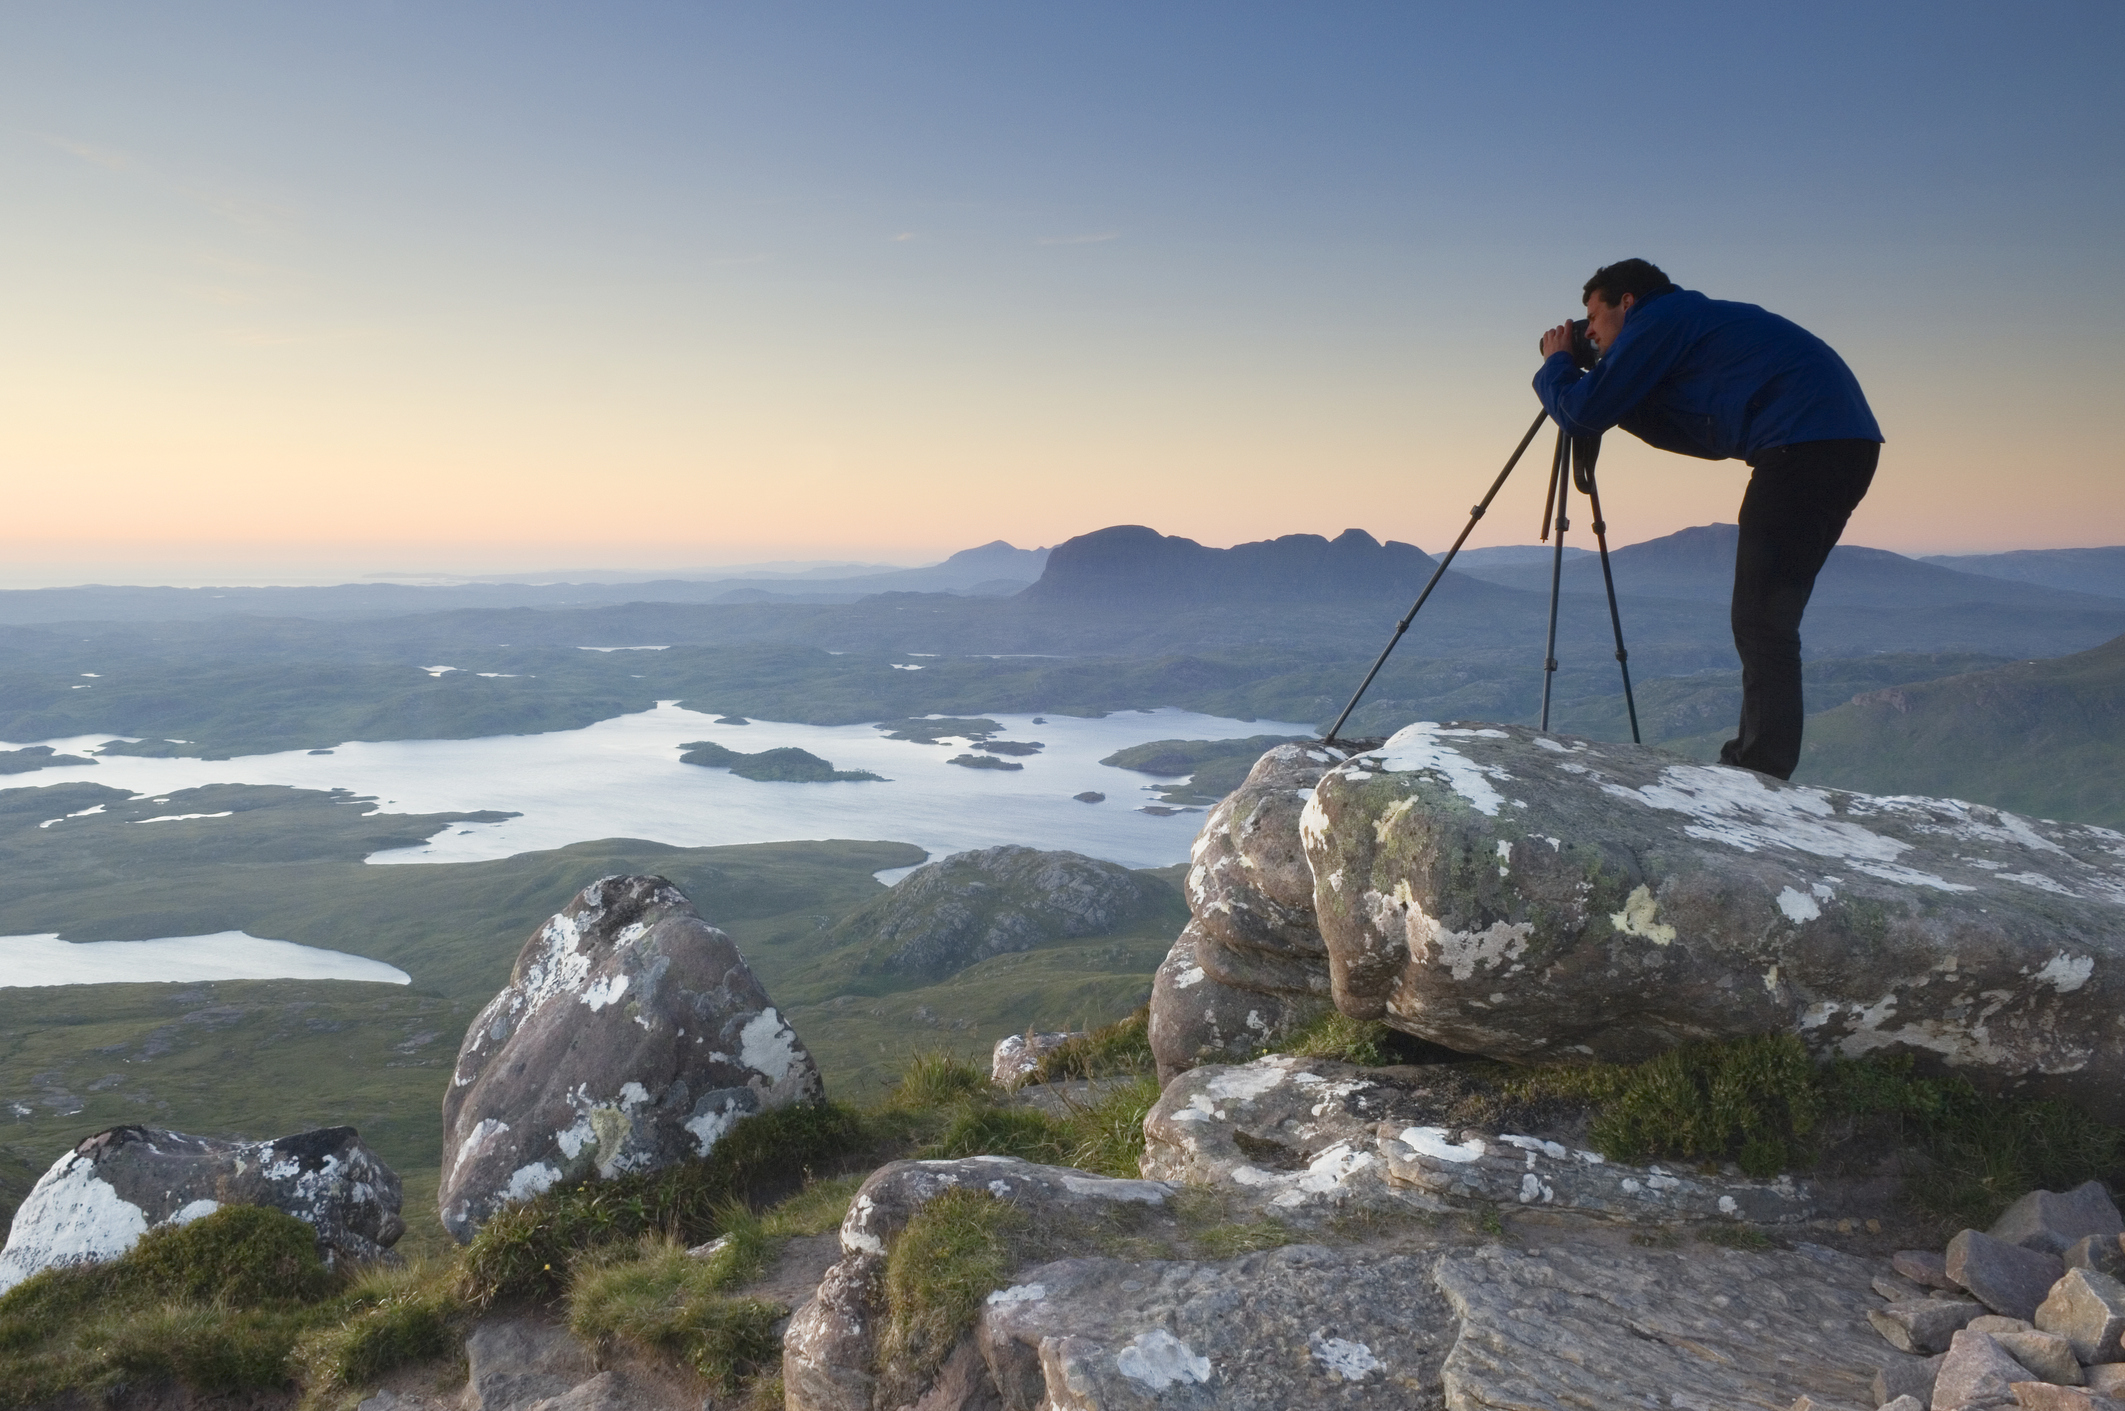
When you do need to change your lenses, practice common sense (something I didn't have when I was a beginner)...
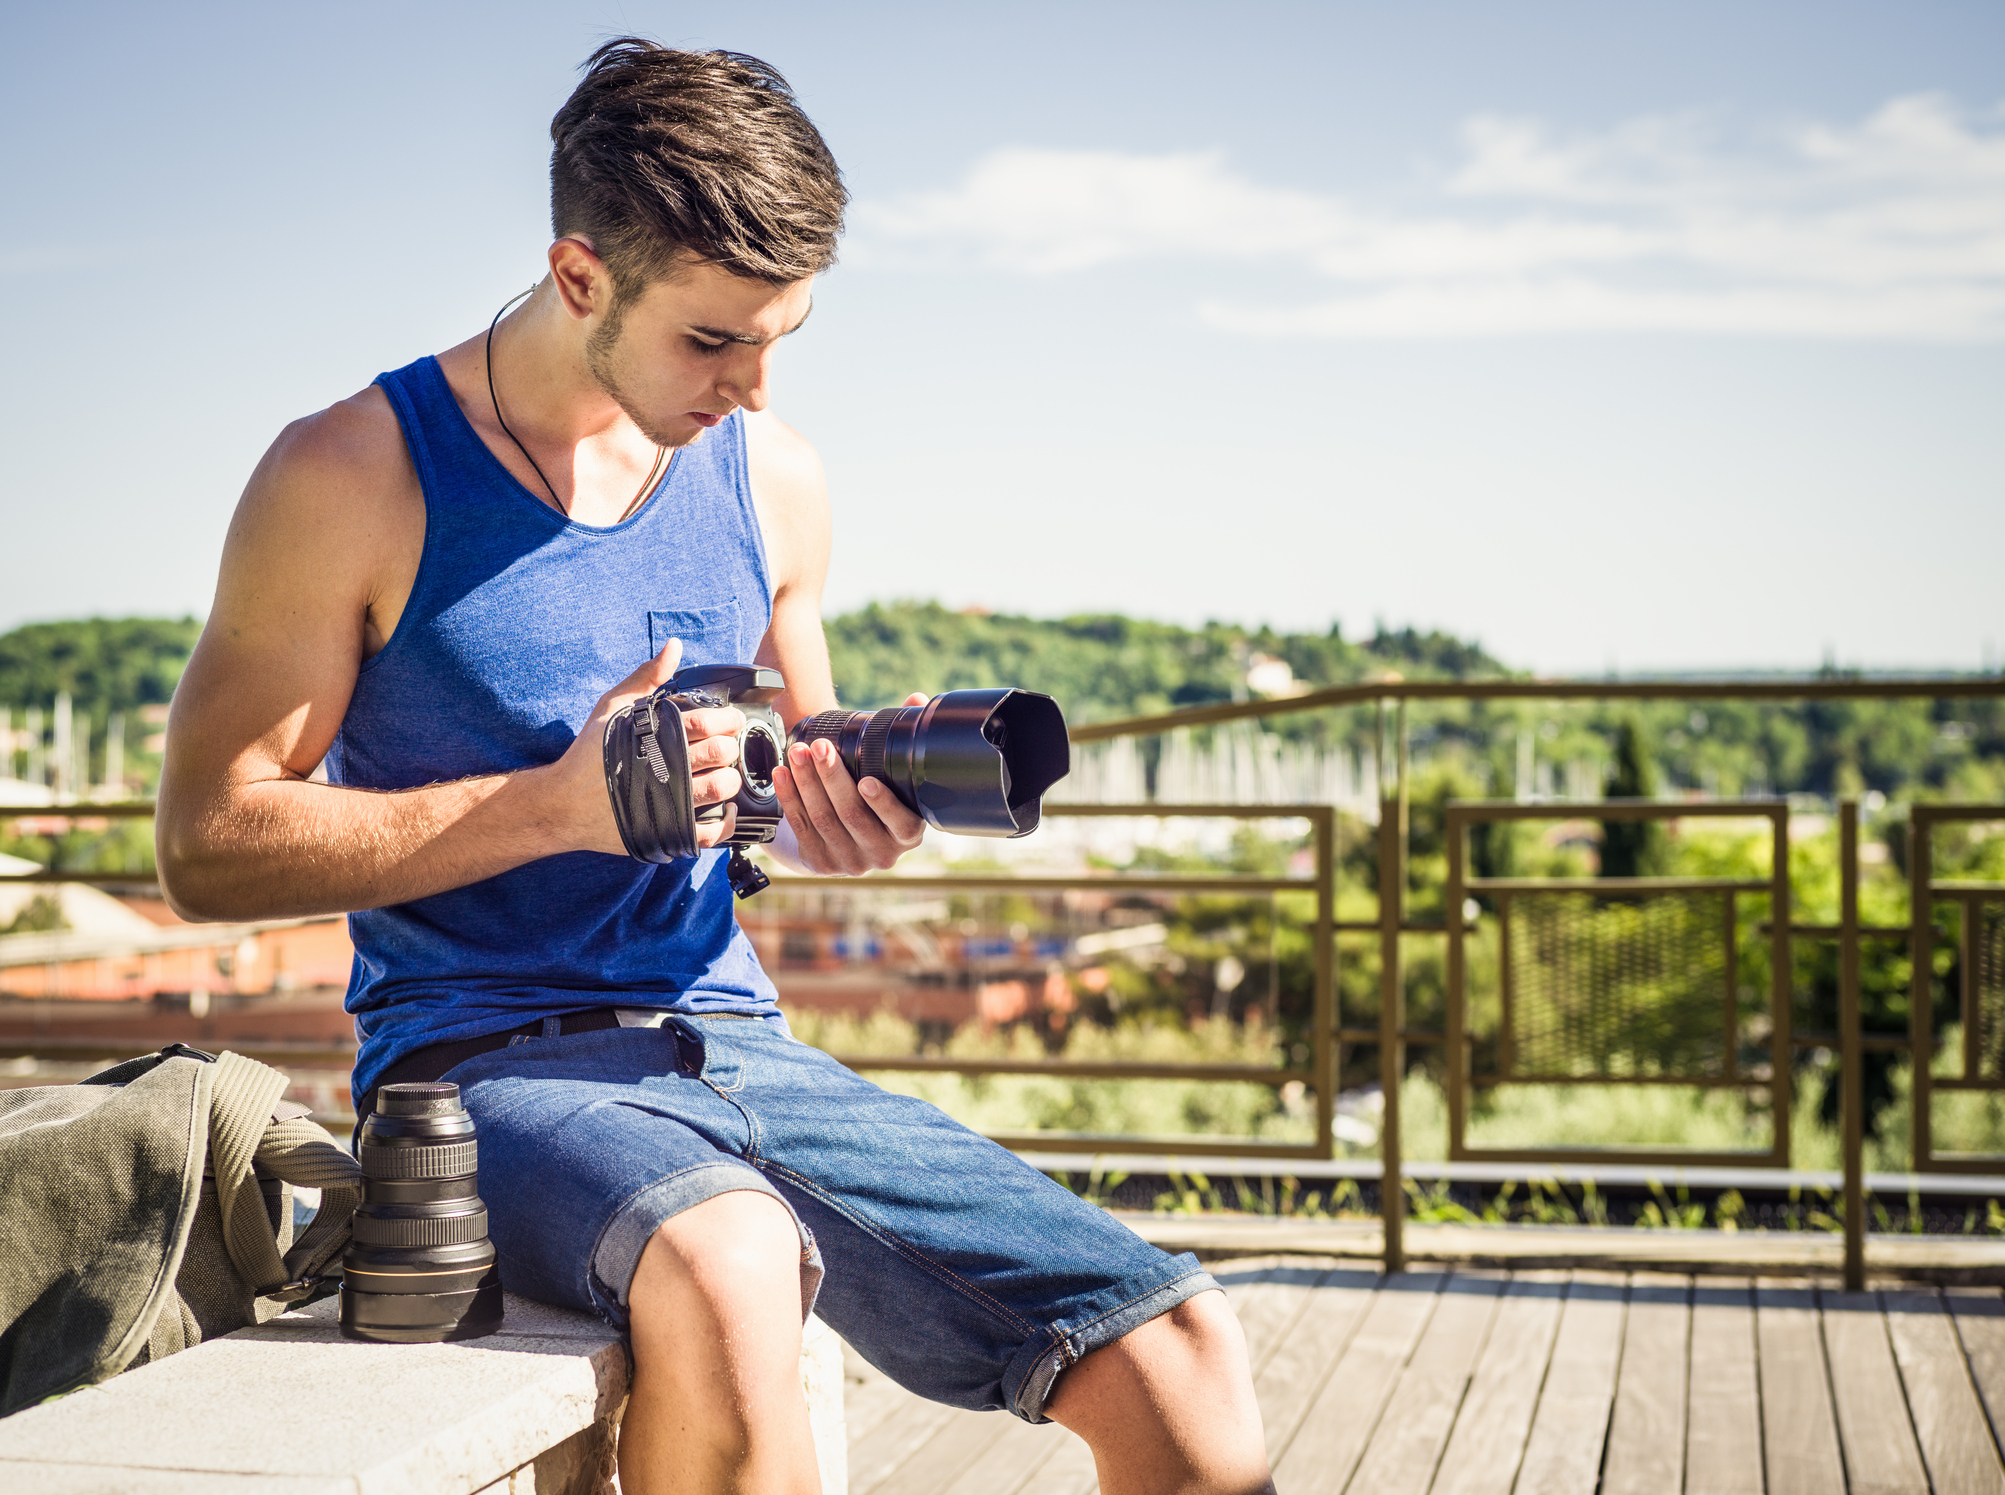
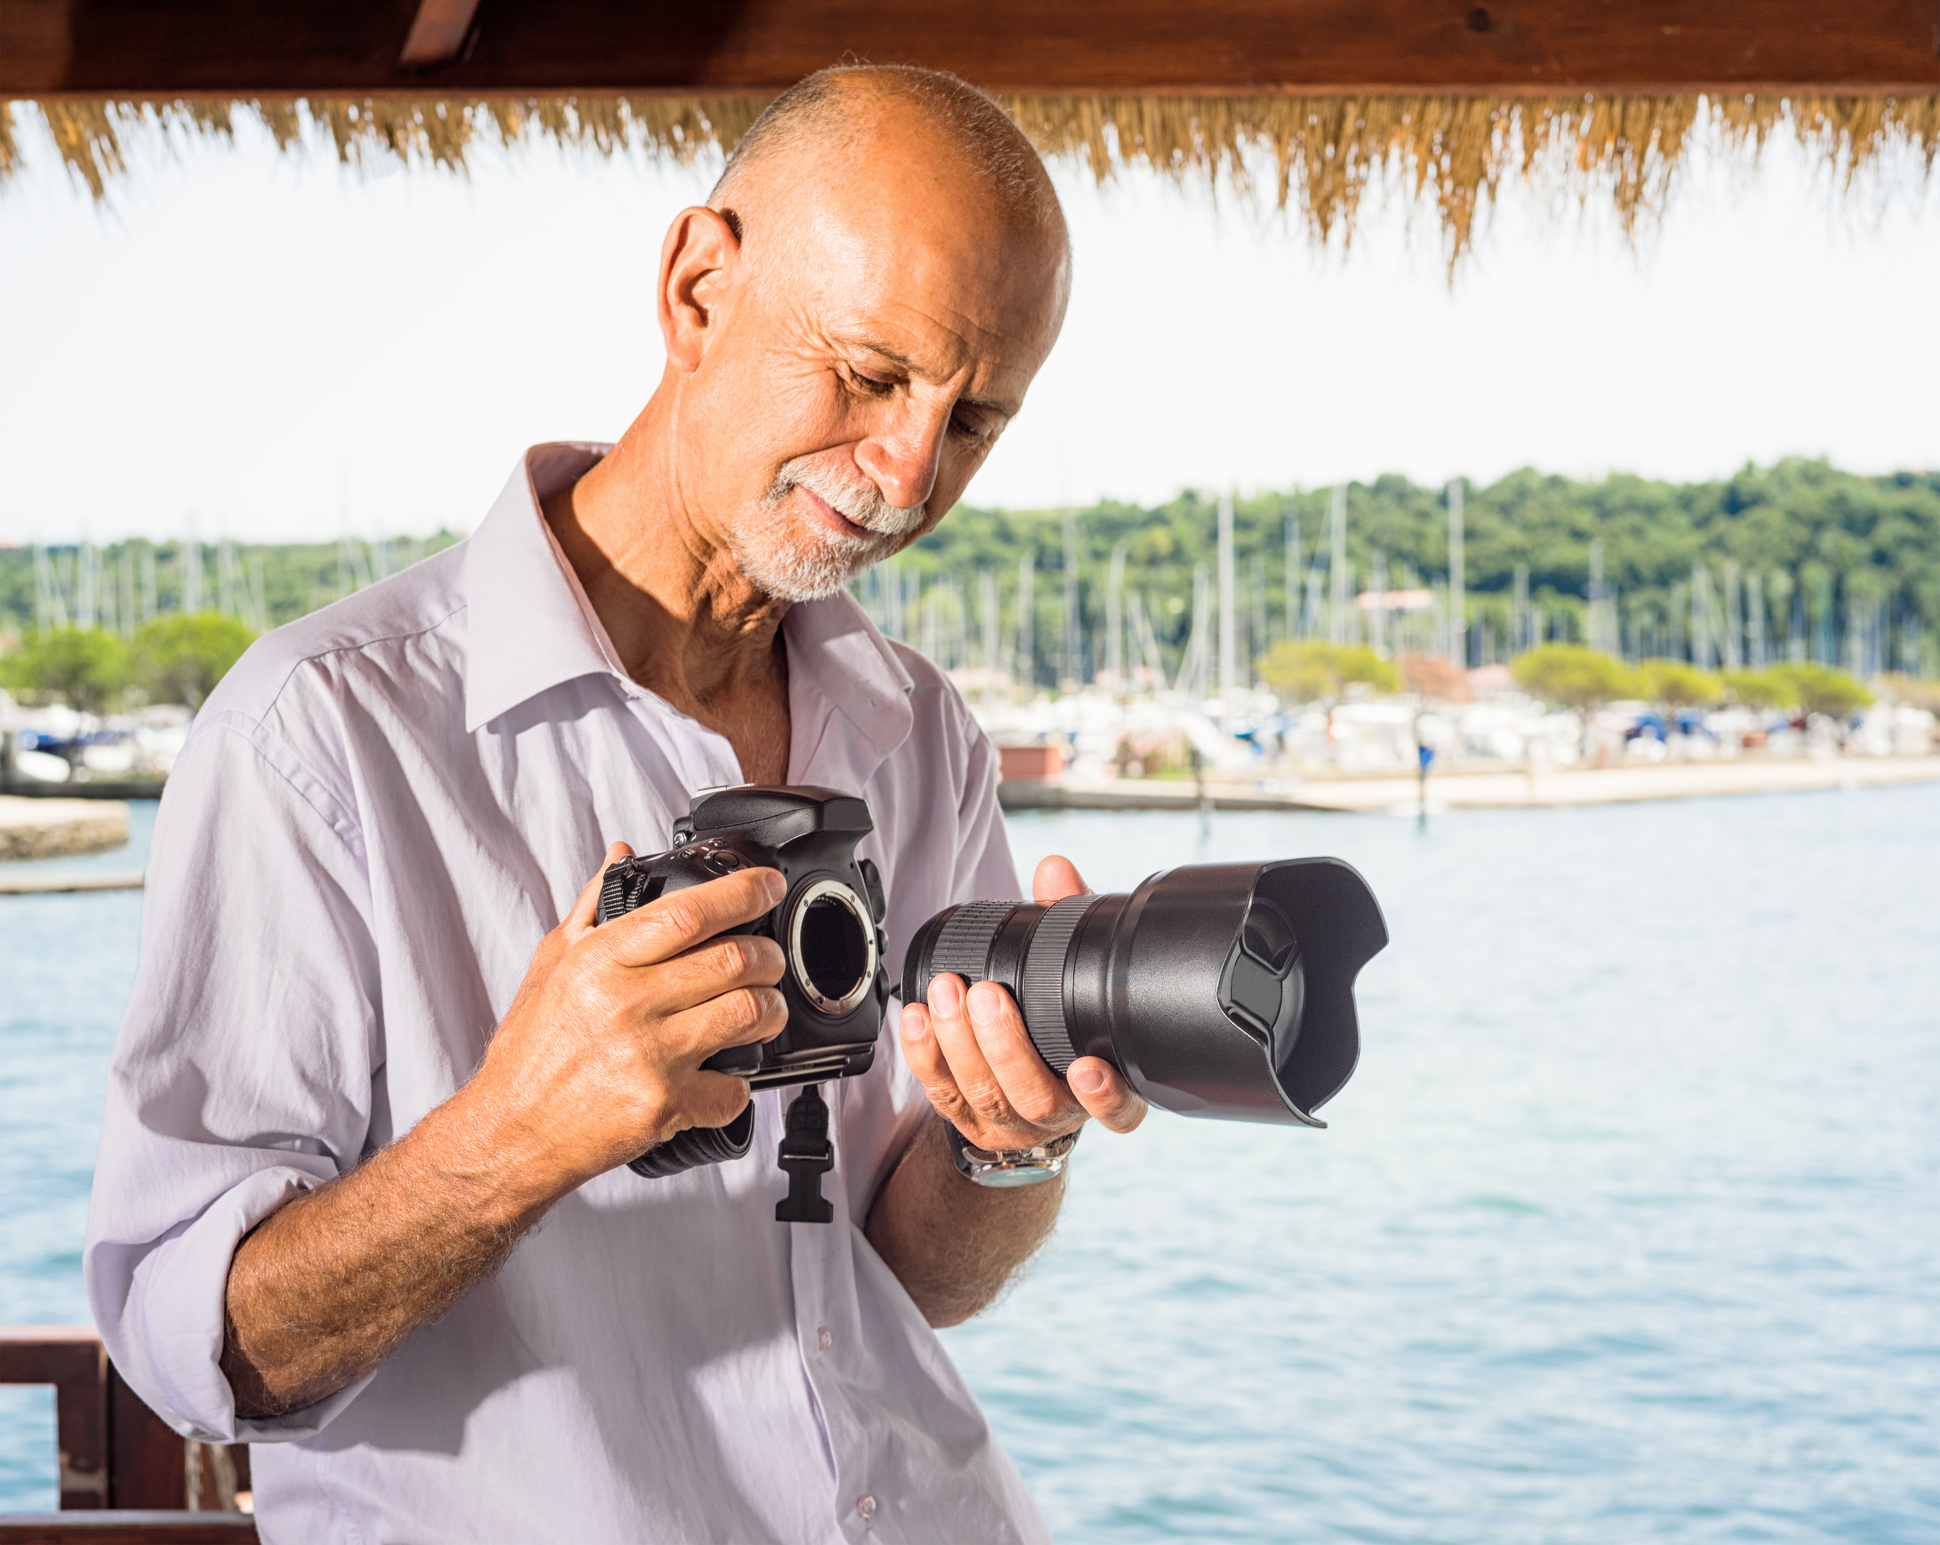
Never change lenses in a dusty environment like the beach or the desert, nor should you change lenses in a location that has salt in the air, again, like the beach.
If you're shooting at one such location, get as far away from the dust and salt as possible - even if that means walking all the way back to the car and changing lenses there. Don't change lenses near the water (like the man in the image above)
You can also invest in a lens changing tent that allows you to protect your gear in an enclosed space while you swap lenses.
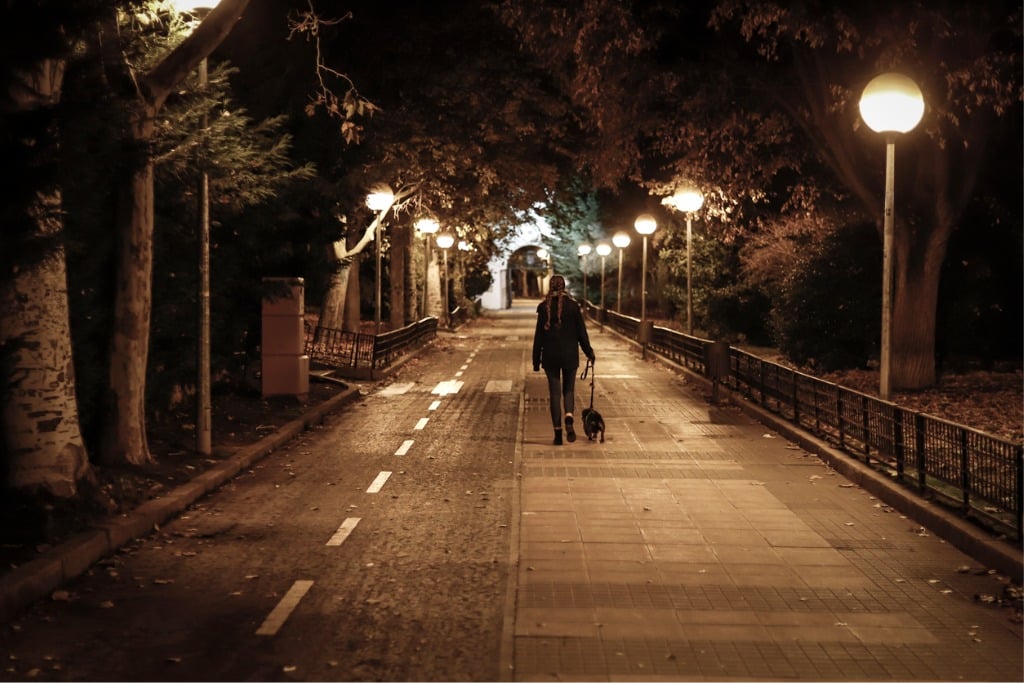
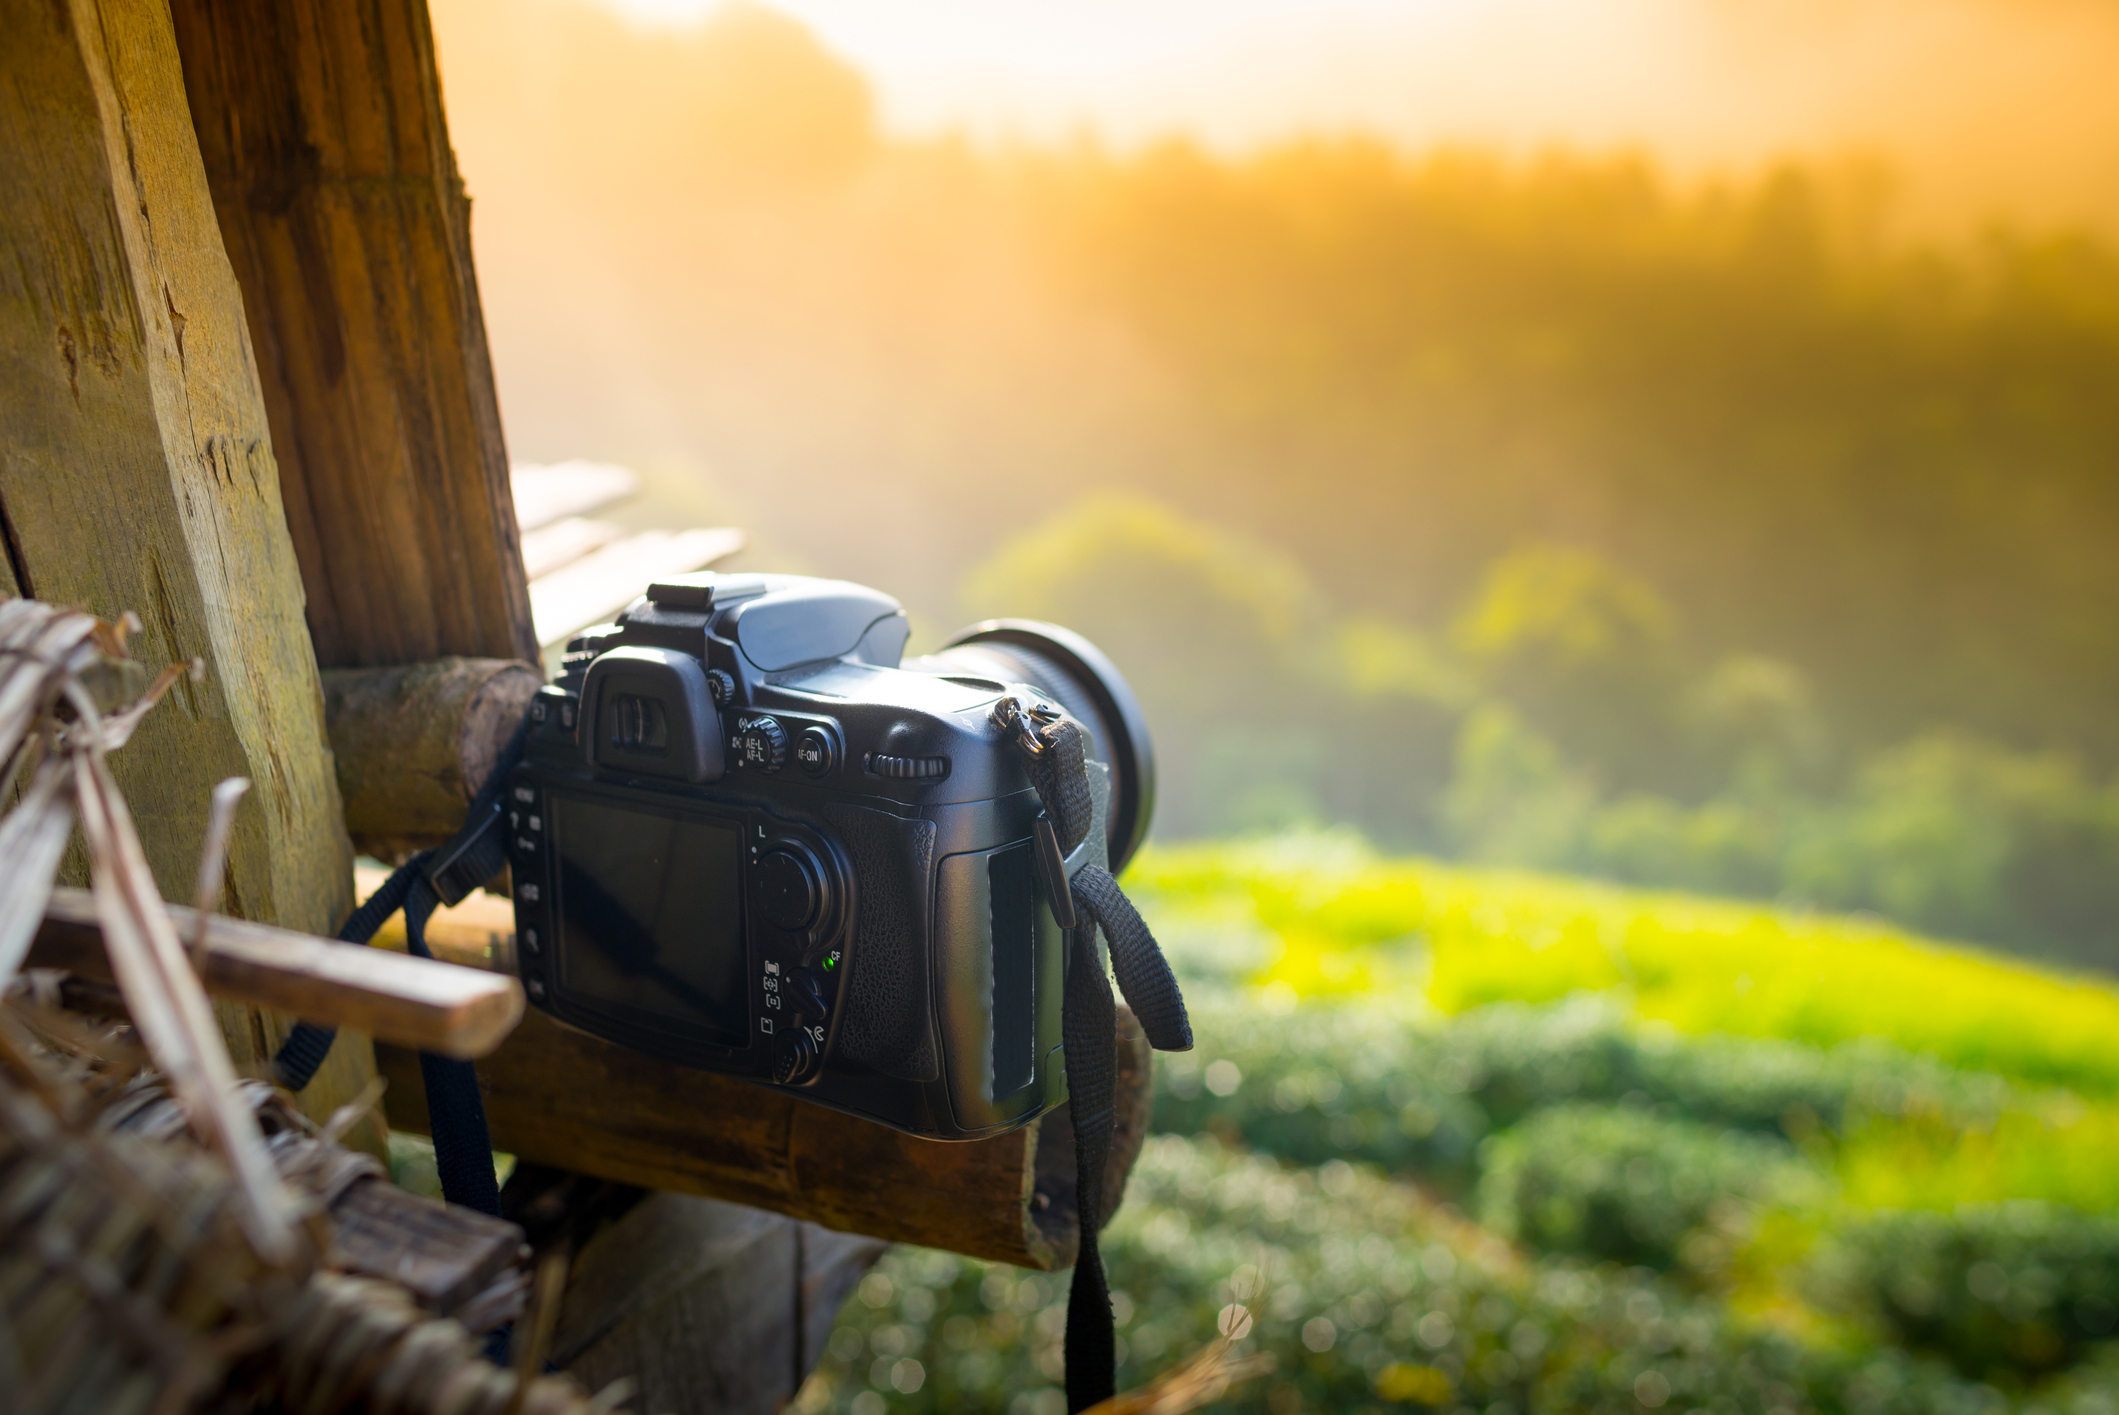
DO Upgrade Your Camera Strap
This is another tip I wish someone had told me back in the day...
I lugged my camera around using the shoulder strap that came with it for years.
If you're still doing that, you understand my pain!
A single shoulder strap (and a cheap one at that) puts all the strain of carrying your camera on a very small part of one shoulder.
That, in turn, leads to neck pain, shoulder pain, and back pain.
Plus, it's just not a secure way of carrying your camera.
Thieves can easily cut through the strap that comes with your camera. What's more, a single strap allows your camera to bounce around at your side while you walk, increasing the likelihood that it might hit something and cause damage to your camera, your lens, or both.
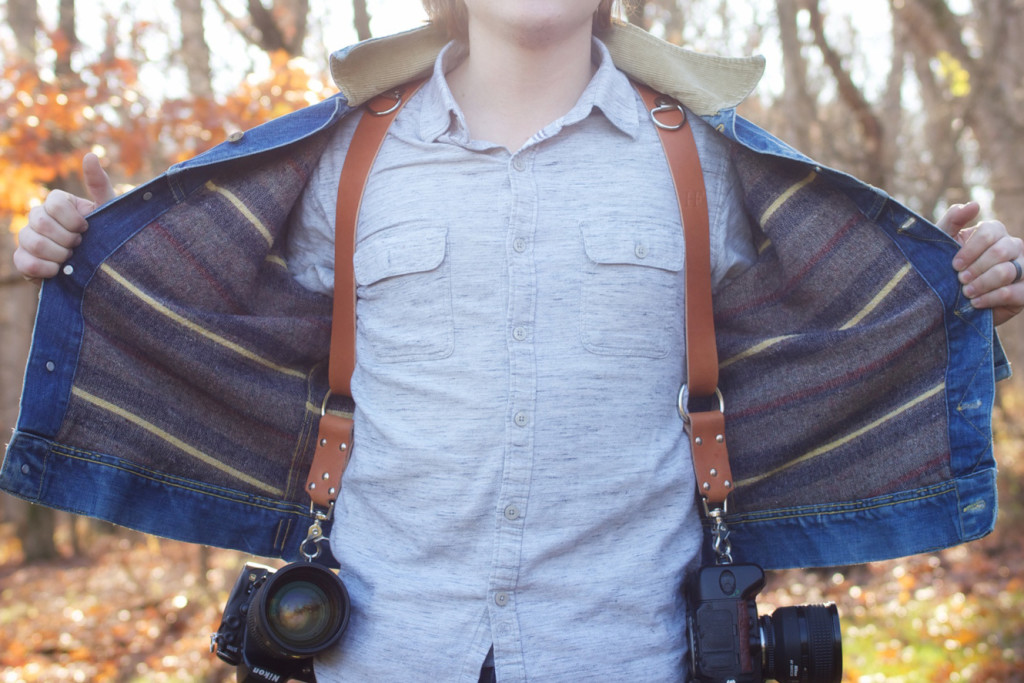
Upgrading to a multi-camera strap like the Holdfast MoneyMaker seen in the images above and below was one of the best decisions I ever made.
Unlike the cheap strap that came with my camera, my Holdfast MoneyMaker is handmade from water buffalo leather.
That means it's not only strong and durable, but over time, it has conformed to my body so it literally fits like a glove. That makes it the most comfortable way I've ever carried my gear.
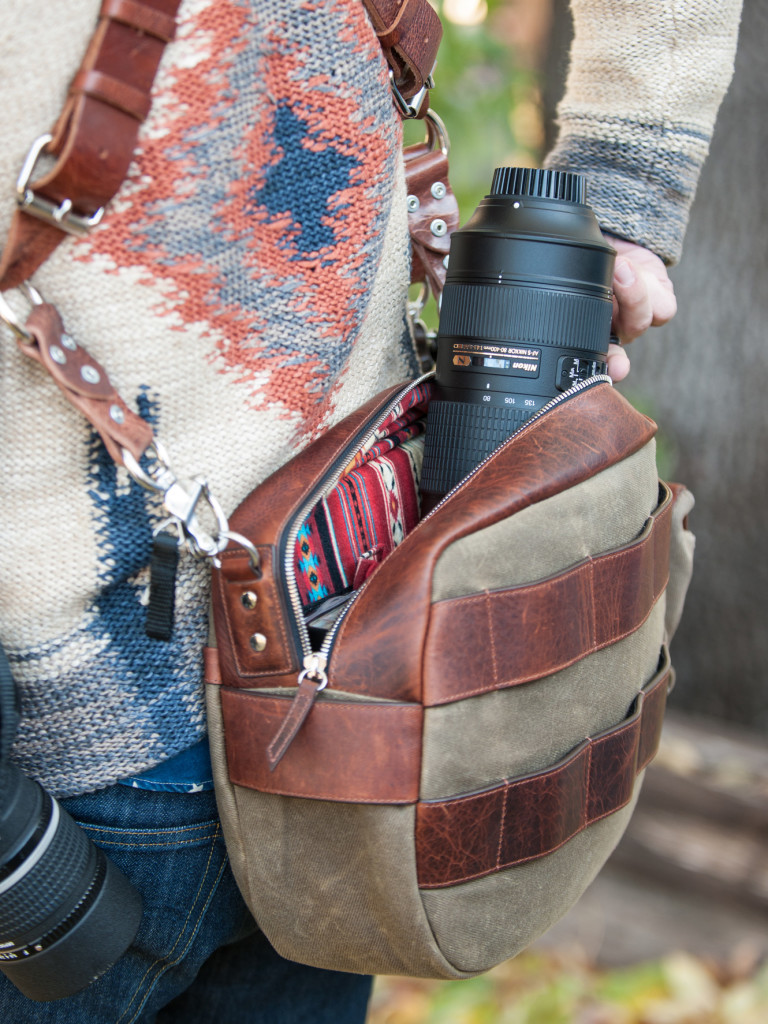
And speaking of my gear, the MoneyMaker allows me to carry more stuff without feeling like I'm a pack horse.
I can carry two camera bodies with lenses plus a small Holdfast bag and still feel light on my feet.
The MoneyMaker keeps it all right there at my fingertips so I can easily grab the camera and raise it to my eye for a quick shot, and I can also easily reach into my attached bag to grab a lens wipe, a different filter, or another accessory without missing a beat.
And for what it's worth, the MoneyMaker looks like a million bucks. I know that's not its most important feature, but I can't tell you how many people have complimented me on my Holdfast MoneyMaker over the years.
There are even different sizes and setups of MoneyMakers to meet your individual needs. See the Skinny MoneyMaker 3-camera setup in action in the video below from Holdfast:
Putting It All Together
In the end, the tips I've outlined above helped me up my photography game, and I think they'll have the same effect for you.
Do yourself a favor and save your money by investing in a less expensive camera, and using that savings to get a better lens and a better camera strap.
And once you do that, practice smart and safe lens changes to minimize the contaminants that can find their way into your camera.
These tips worked wonders for me once I was finally clued into them. I hope by sharing them that you can avoid some of the frustrations I experienced and get better photos more efficiently and in more comfort!