
DIY Real Estate Photography Tips for Realtors
- Let the Photos Speak For Themselves
- The Benefits of Hiring a Professional
- Understand the Basics
- The Business of Real Estate Photography: A Comprehensive Guide to Starting your own Real Estate Photography Business
- Photographing Real Estate Interiors and Architecture: A Comprehensive Guide to Equipment, Technique and Workflow for Real Estate Photography
- Critical Real Estate Photography Mistakes You Can’t Afford to Make
- Introductory Real Estate Photography Tips
- 5-6 photos of the outside of the home from different angles
- 3-4 photos of the backyard
- 2-3 photos of each bathroom
- 2 wide shots of each bedroom
- 2 wide shots of the kitchen
- 2 wide shots of the living room
- 1 photo each of any special features
- How to Set Your Real Estate Photography Pricing
- How to Market Yourself as a Real Estate Photographer
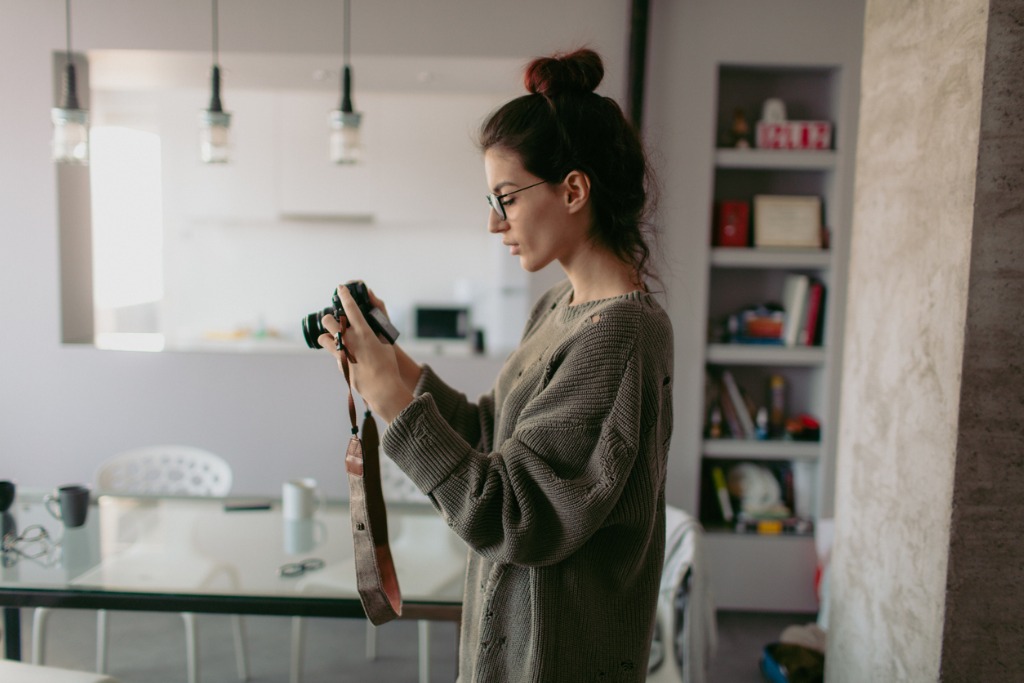
photo by AleksandarNakic via iStock
If you’ve been in the real estate business for very long, then you know the importance of incredible real estate photos.
People want to see their new potential houses before ever contacting you, especially with the rise of websites like Zillow. So, if the photos of their new potential houses are of poor quality, then they’ll probably immediately move on to the next potential house.
And, in a time like ours, you can’t be losing leads just because you didn’t use a great real estate photographer.
So, this DIY real estate photography list is for you.
Table of Contents
Let the Photos Speak For Themselves
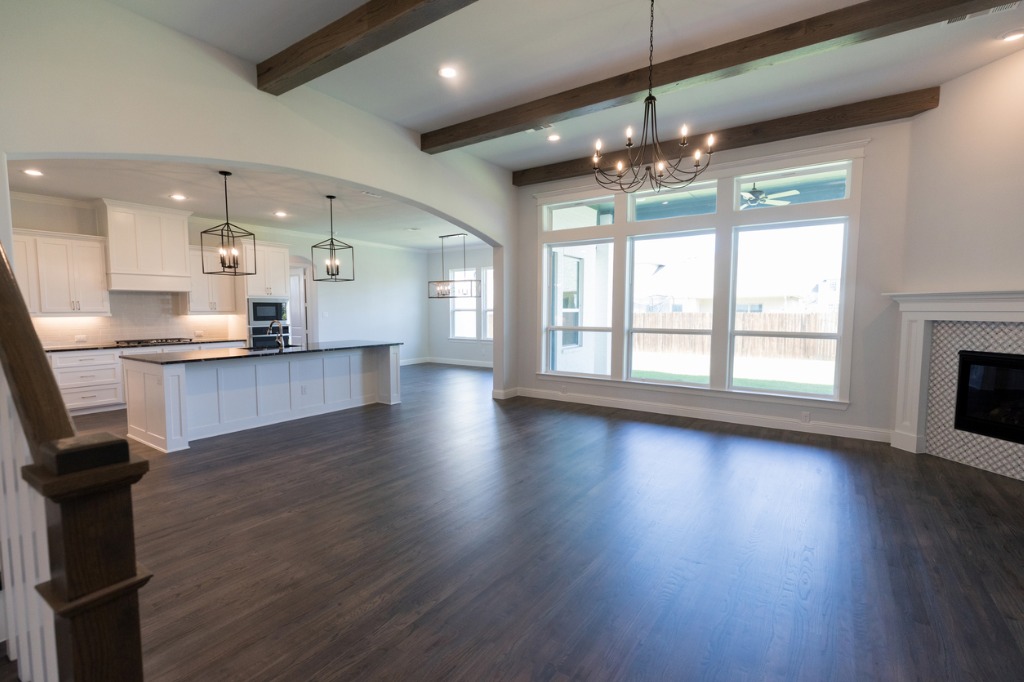
photo by SDI Productions via iStock
Visuals are 43% more persuasive than written words. Even before the advent of photography, marketers knew to create prettier type fonts if they were going to sell their products.
But, we have now come to expect a certain type of quality in our photography as consumers, thanks to rapidly increasing technology.
This is especially true of the real estate industry. A full 86% of homebuyers state that the listing photography is why they decide to come view a home. So, why do so few realtors choose to work with professional real estate photographers?
If you feel like you could use some help learning the best strategies for creating clean real estate photos, try Real Estate Photographer Pro.
Real Estate Photographer Pro was created by a real estate photographer who got fed up learning all of the tricks of the trade for himself, so he decided to create a course where he collected all of the tips he could.
The course includes video tutorials, a members-only Facebook page with live Q&A sessions held on a weekly basis, and hundreds of downloads of presets and templates.
In other words, not only does this course provide you with all the learning opportunities you need to grow your business, but it also has loads of support tools to help you along the way.
Recommended Real Estate Photography Reading:
The Benefits of Hiring a Professional
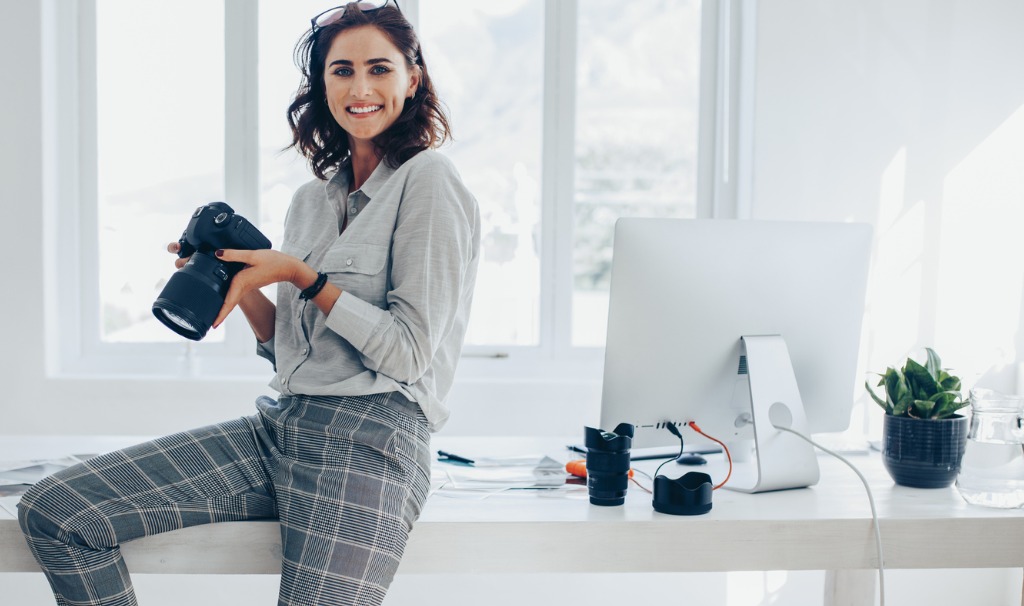
photo by jacoblund via iStock
DIY real estate photography can only get you so far, as can repeatedly Googling, “real estate photography tips.”
There are a ton of benefits of hiring a professional real estate photographer. Here are a few:
Properties with professionally-taken photos sell 32% faster
Real estate photographers know how to work with a small, cluttered property
You won’t need to purchase specialized photography equipment
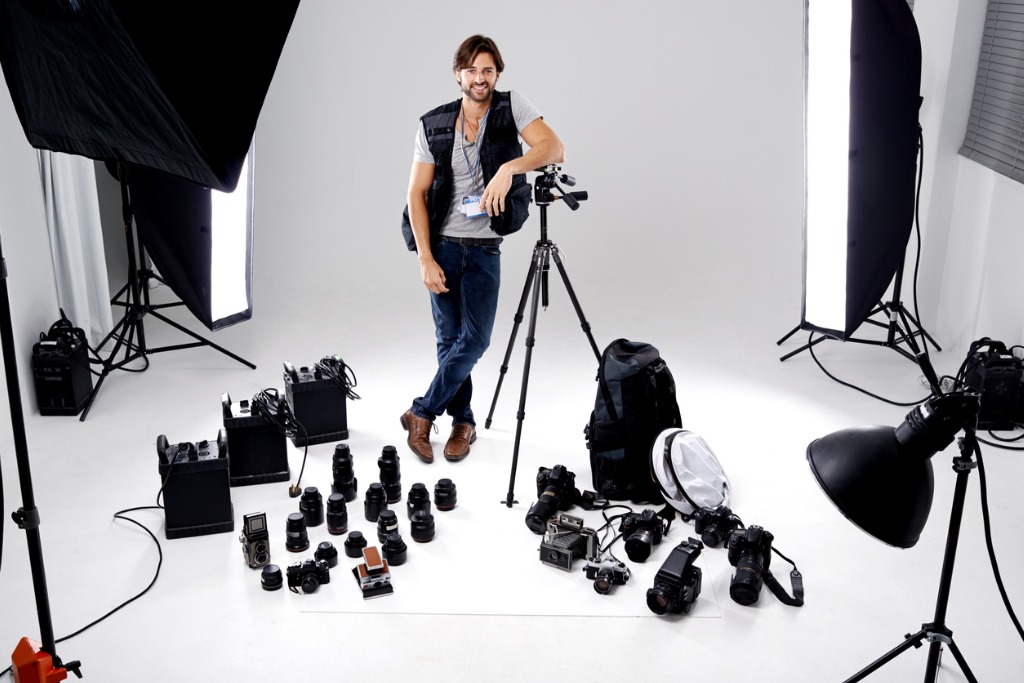
photo by PeopleImages via iStock
Of course, hiring a professional real estate photographer also means that the property will take longer to list. You’ll need to find a professional in your area that you trust and schedule them. Depending upon the market in your home city, it may take a few weeks.
Additionally, professional real estate photographers will run you anywhere from $100-$500, depending upon the specificity of your request and the background of the photographer you hire.
So, we’ll list some beginner real estate photography tips below if you do decide to do a DIY real estate photography shoot.
>
Learn More:
Understand the Basics
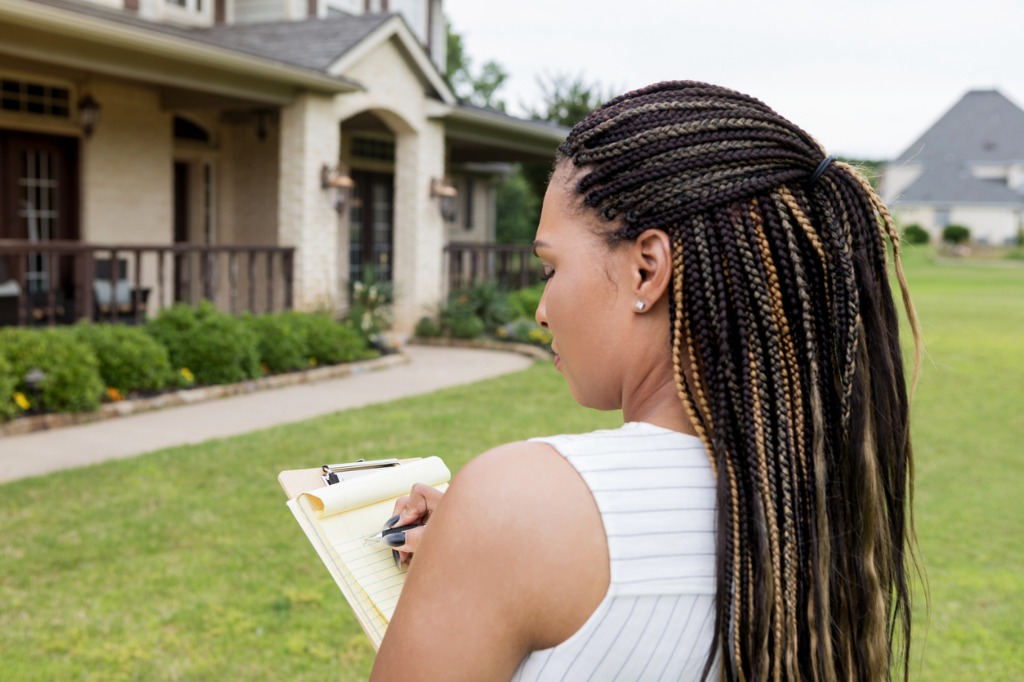
photo by SDI Productions via iStock
If you’re going to do a DIY real estate photography photoshoot, then you’ll need to have a basic understanding of photography tips for realtors.
Here’s a quick and dirty version for you.
DIY Real Estate Photography Tips
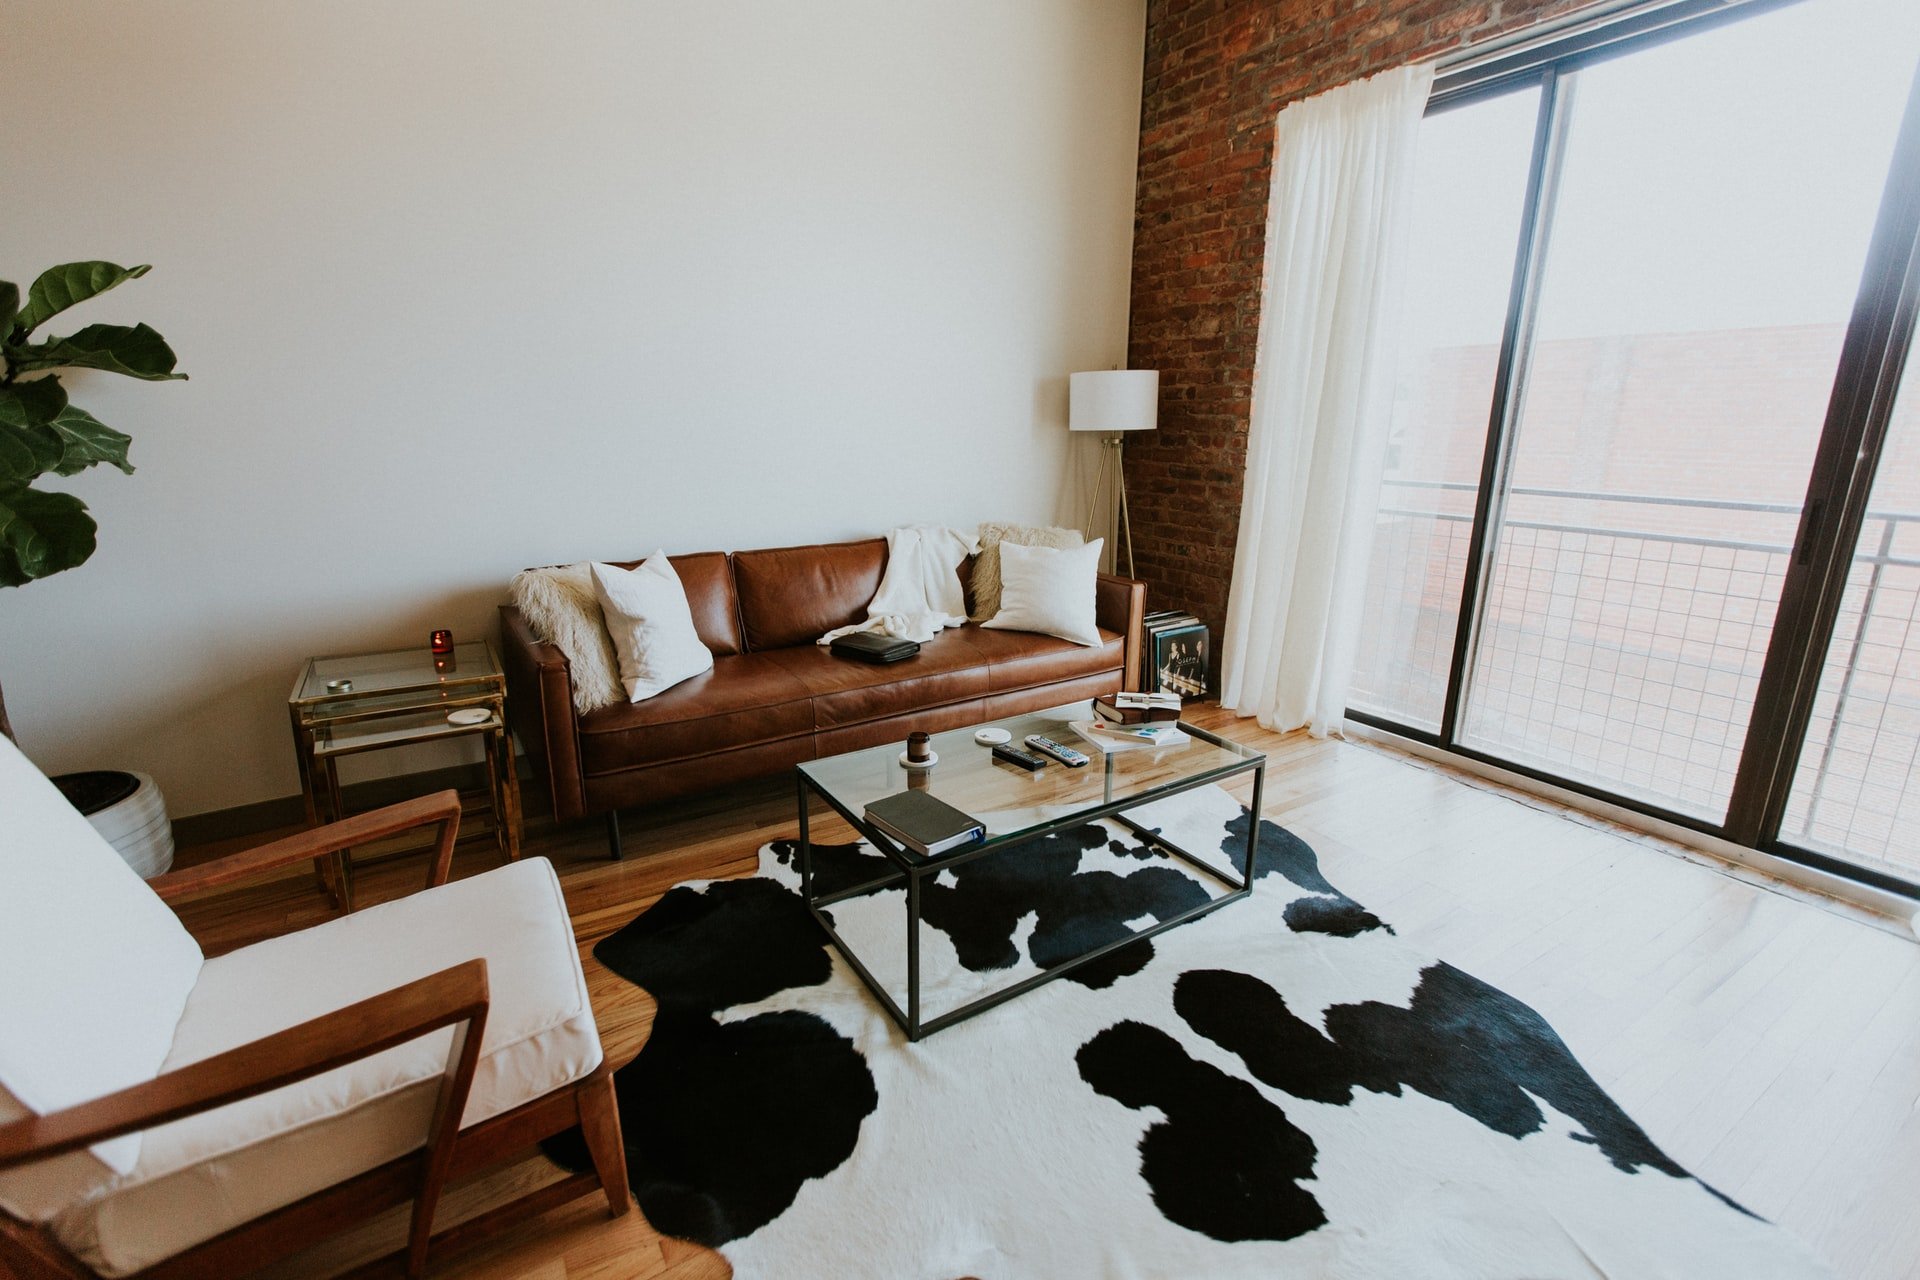
Photo by Hannah Busing on Unsplash
Declutter. Make sure personal items are removed from your shots, and the home is clean.
Use natural lighting. If possible, never use artificial lighting. Artificial lighting will throw off the color of the lighting in your shot and will require a ton of work in your editing software. A better option is to bracket your exposures and merge the images. This generates a composite image that is well-exposed throughout.
Take all your photos from eye level. This is the easiest way to ensure that the house is accurately represented in your photos.
How to Choose Your Shots

Photo by Humphrey Muleba on Unsplash
You’ll need to build your shot list before going to your property to photograph it.
Typical real estate photography shot lists include:
Just make sure to showcase anything special about the home. Custom millwork, fireplaces, the view...all are well worth a photo!
Staging 101
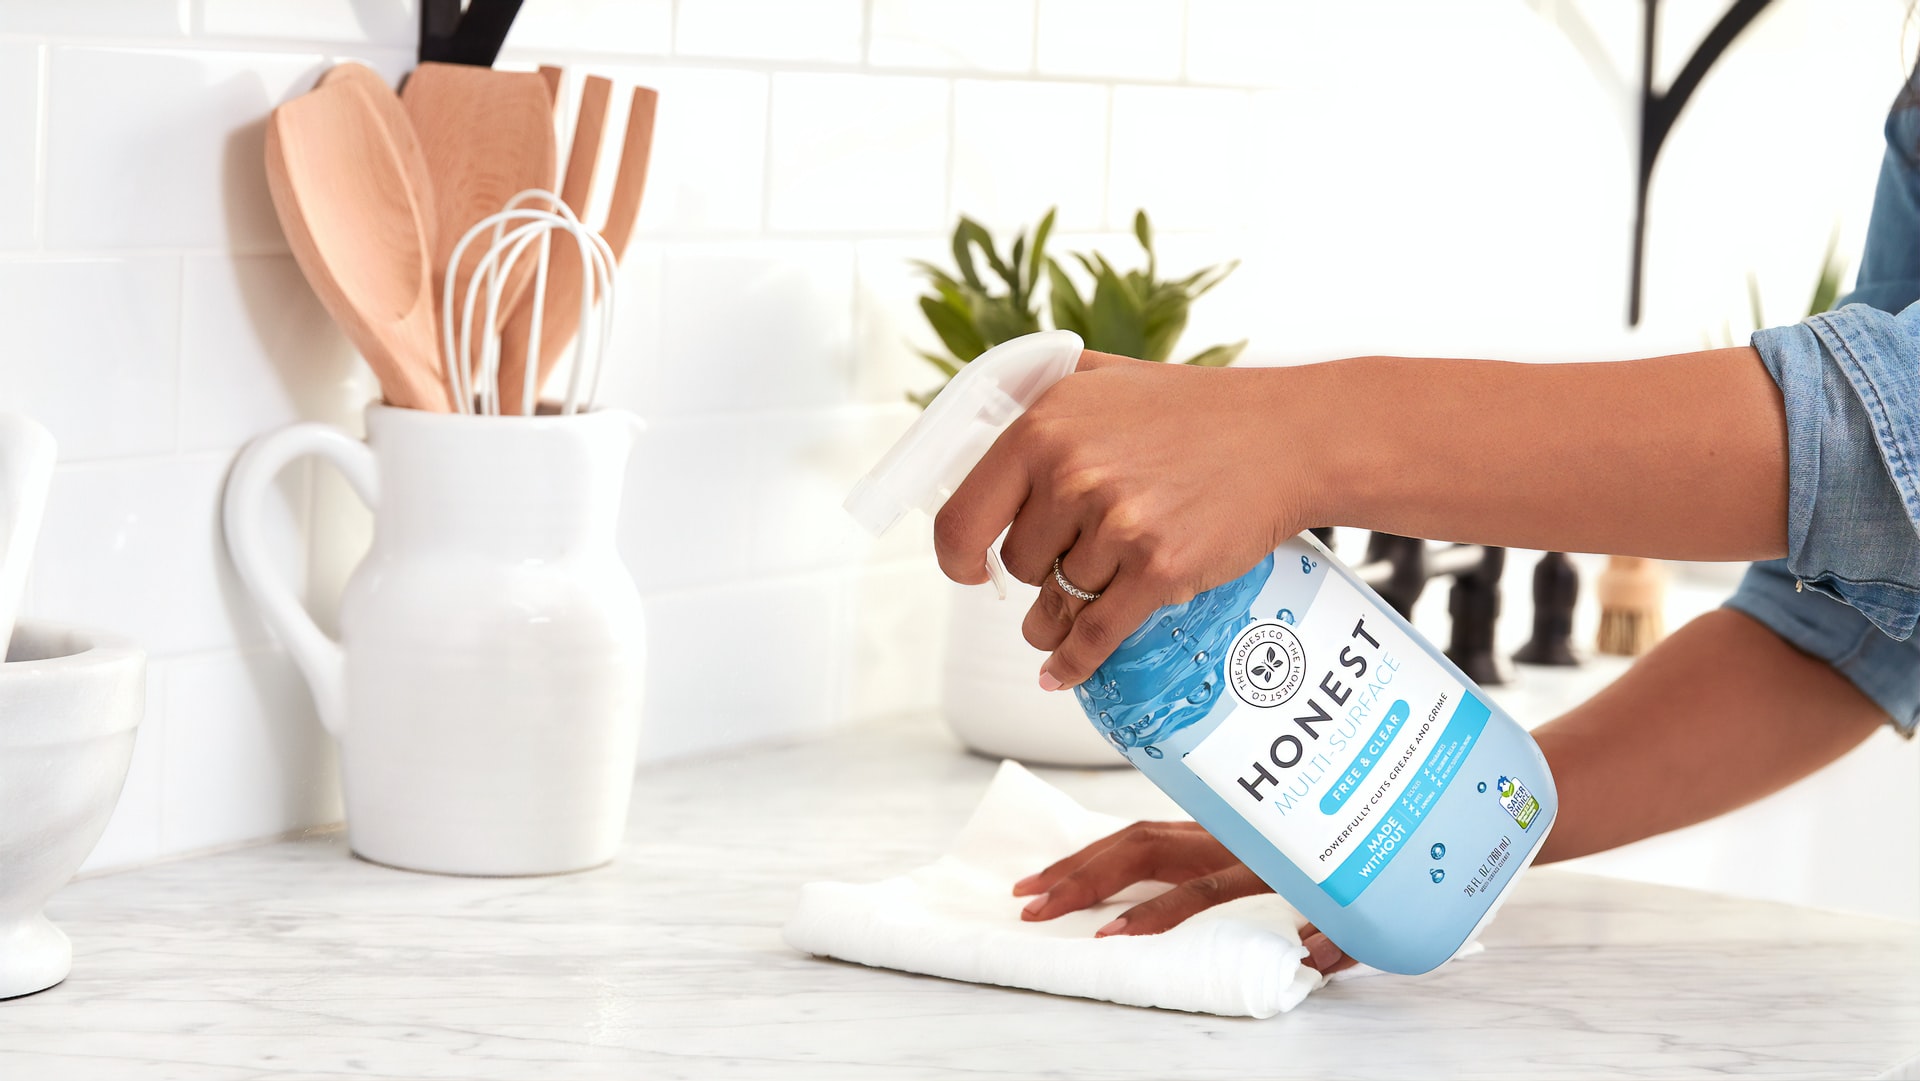
Photo by The Honest Company on Unsplash
You’ll want to get rid of all clutter, like we talked about earlier. You’ll also want to get rid of personal items (especially if they are political in nature). People want to see themselves in a home and they won’t if other people’s belongings are in the photos. That’s why staging is so important.
Also, make sure that you clean anything that could be considered a pet peeve. Make the beds and make sure the sheets aren’t wrinkled. Clean the windows thoroughly. Put the toilet seats down. These are super simple tasks that can have a profound impact on how your photos look.
How to Choose an Editing Software

Photo by Kevin Bhagat on Unsplash
I’d be joking if I said that choosing an editing software isn’t mostly about finding something in your price range.
Photoshop and Lightroom are both the most popular real estate photography editing softwares. However, Photoshop is around $250 while Lightroom is $120 a year. Both editing softwares require monthly or yearly memberships.
Instead, I’d recommend something tailored specifically to real estate like Photomatix Essentials RE. It’s $79, so you can save money over Photoshop and Lightroom, and it has special presets for real estate photography that can help speed up your workflow too.
Learn More:


