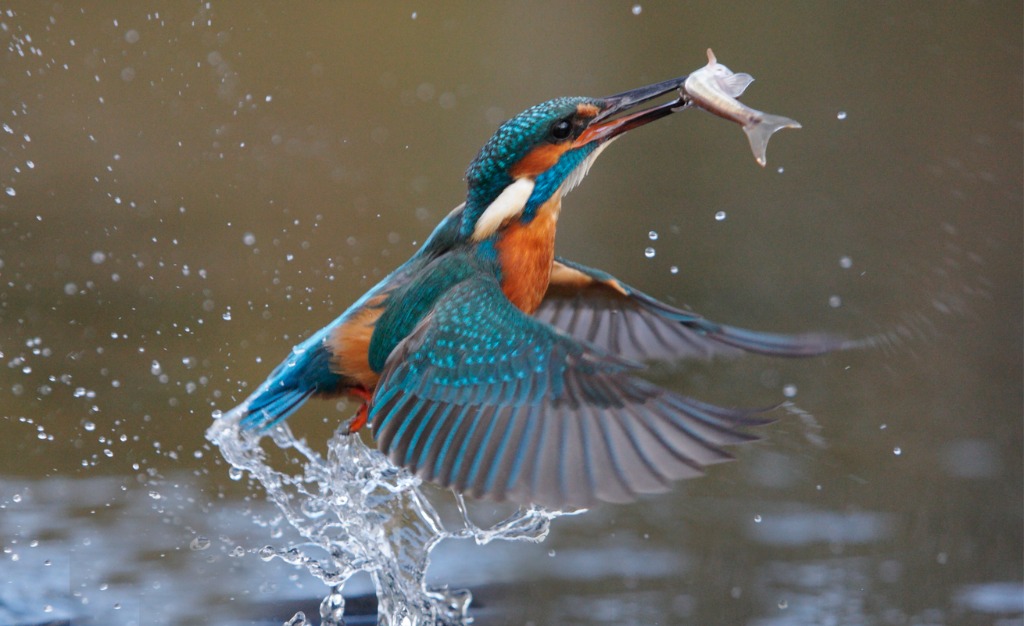
Drone Photography Tips for Absolute Beginners
photo by Naypong via iStock
Drone photography is one of those photography niches that is continuing to grow, even in spite of the pandemic, which has prompted a lot of photographers to start picking up some new drone photography gear.
Drone photography is also definitely lucrative, as long as you know how to keep your business operating legally, and a ton of fun for the geeks among us. What other job lets you play with flying robots all day?
While drone photography is growing in popularity in just about every industry, it is especially booming in commercial real estate and the travel industry. This happens to mean that if you get really good at drone photography, you could also visit some of the most beautiful places in the world and get paid to do it.
If any of this sounds like something you’d like to do, then read this article about beginner drone photography tips before you get started.
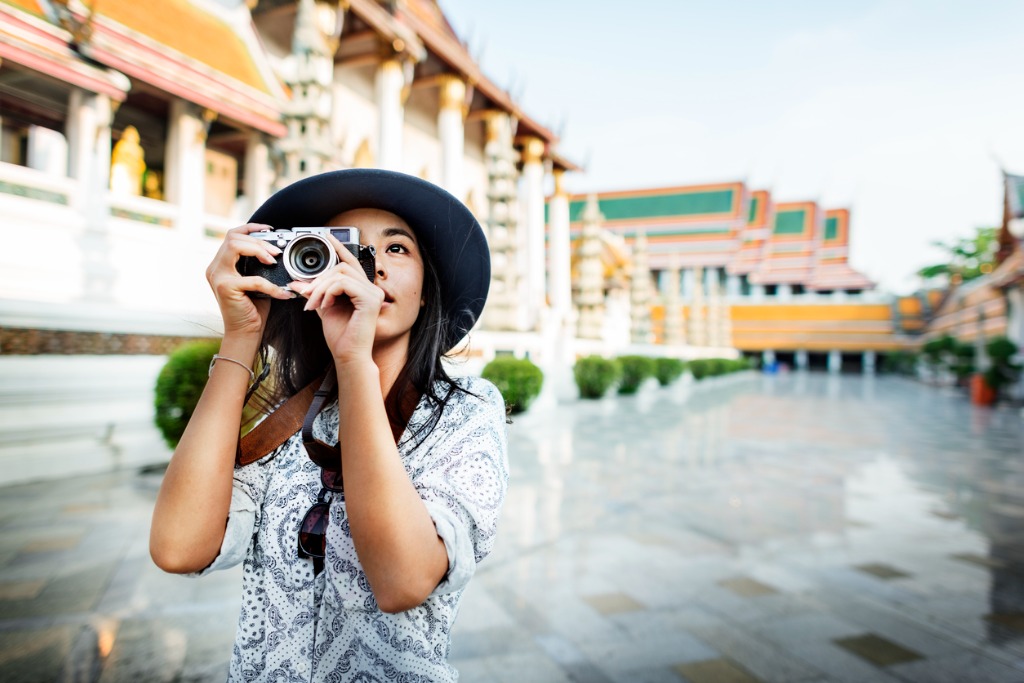
Pick Your Drone Carefully

photo by Pakhnyushchyy via iStock
I obviously do a little bit of research before I write an article on anything, and this article on drone photography is no different. I was a little upset to find that most articles about drone photography tips skip the selection process altogether and I didn’t want to leave you hanging.
The first thing you need to know in order to pick a drone is that there are two different types of drones. The first is one with a built-in camera. The second is one that allows you to attach a camera, such as a GoPro, that you already own.
The drones with a built-in camera are usually much larger (and more difficult to carry around). They’re also much more expensive if you get one with a high-end camera. For this reason, I suggest that people who are new to drone photography should purchase a drone that lets you strap in your own camera.
You also want to make sure that your drone is cheap if you suspect you may be in for a crash landing in the near future. Here’s a little hint: if you’ve never flown a drone before, you should expect a crash landing in the near future.
Once you get the hang of flying a drone, you can pick up a more expensive version.
Lastly, you need to know what your drone is capable of. Some good questions to ask are: “How far can this drone fly?” and “How long can it remain in the air for each flight?”
Read the Instruction Manual (or Better Yet, Watch Tutorials)
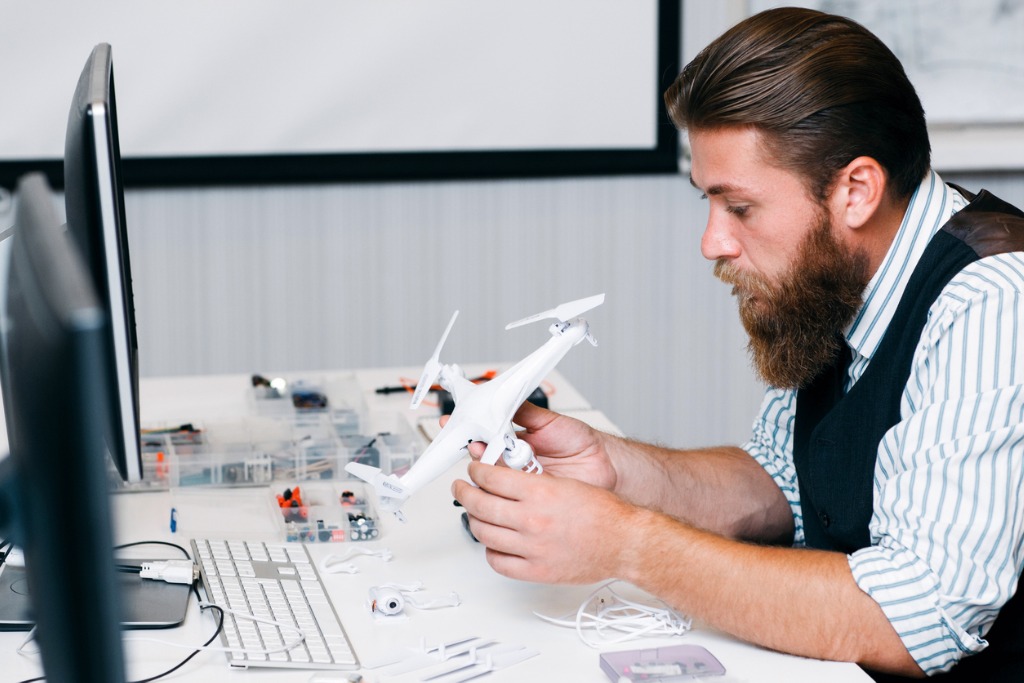
photo by golubovy via iStock
A lot of drone photography articles suggest you read the instruction manual for your drone. I have a problem with this advice because everyone knows they should read the instruction manual, but that doesn’t mean anyone is actually going to.
Instead, I think that you should look up tutorials for your specific model of drone on YouTube. This allows you to learn all of the different quirks of your drone without actually having to read anything.
Now, there is some really important information in the instruction manual, so I suggest you keep it in your car’s glove compartment, so the next time you’re stuck at a doctor’s office and your choices are a 2016 edition of Time or your drone’s instruction manual, you may be more likely to actually pick it up and learn something.
Learn More:
Understand Drone Laws Near You
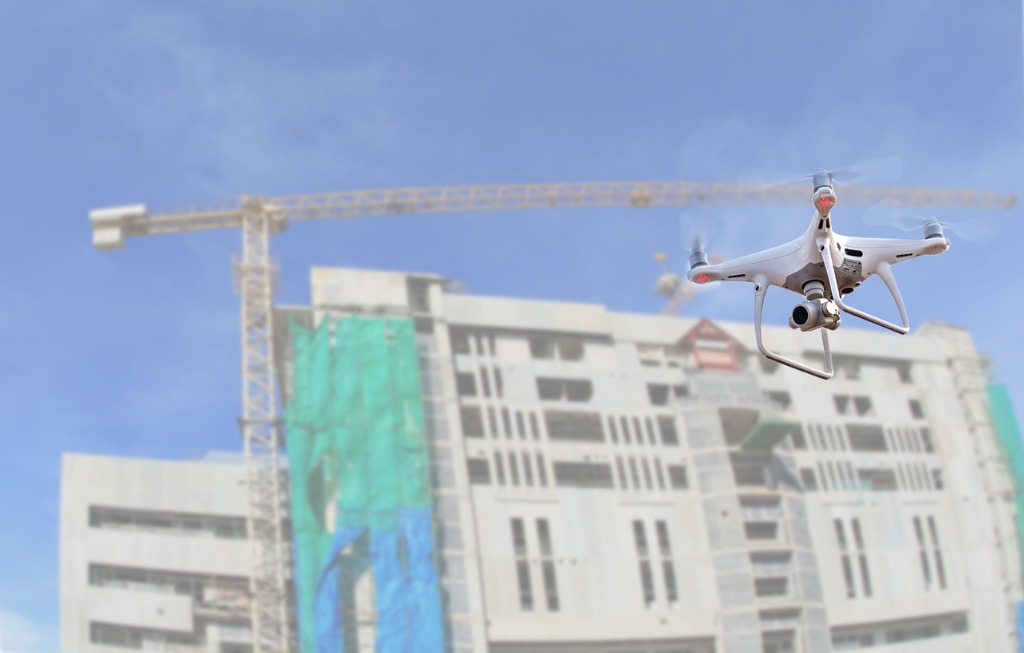
photo by kckate16 via iStock
Drone laws are actually quite extensive in certain municipalities, so it is highly important for you to learn the local laws. That is, unless you want to end up like this couple who was thrown in an Iranian prison for their drone photography.
Remember that drone laws exist on every level of government. So, before you think you’re in the clear because the federal government of your country doesn’t have any drone laws, make sure to check laws at the state and local level as well.
Keep a Pre-Flight Checklist
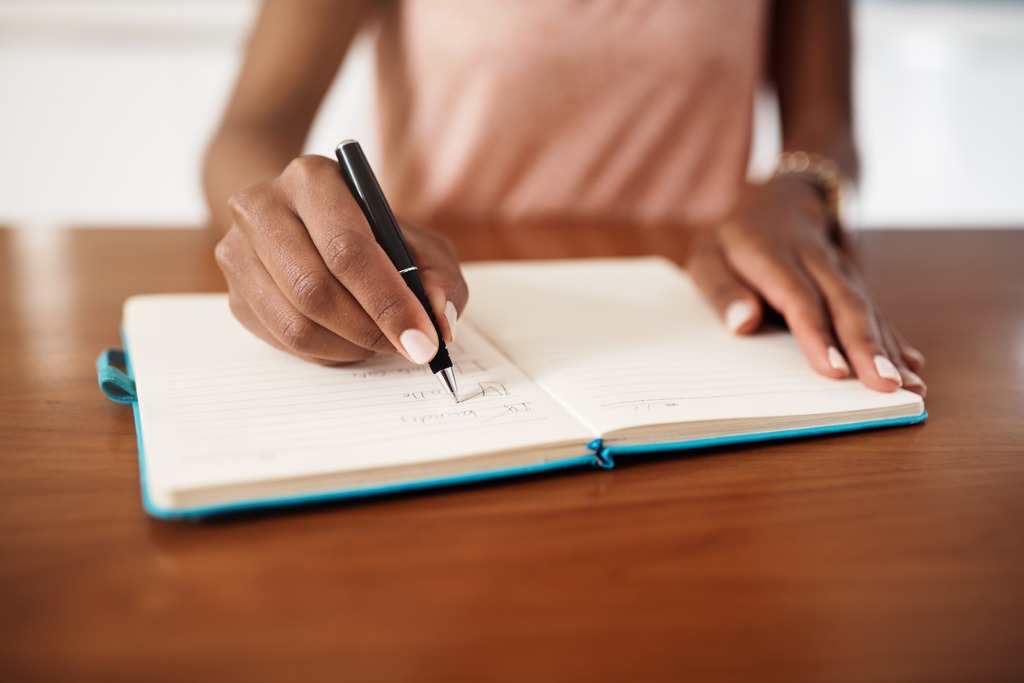
photo by PeopleImages via iStock
This is one of my favorite parts about drone photography, but if you aren’t a very organized person then it may be a challenge for you.
Drones can obviously only stay up in the air for so long before their batteries die and they need to be grounded. This proves a challenge for photographers who need to get a specified number of shots in one flight.
So, you need to create a pre-flight checklist that lists all of your shots and your plan to get all of them so that you can make sure you don’t miss anything while your drone is still up in the air.
Drone photography is definitely not for the disorganized.
Carry Your Drone Gear with Ease

Now that you’re pretty much prepared for your first flight, you’ll need to purchase some gear to make sure that every shoot is as much fun as the last.
After you purchase your first drone, you’ll quickly find out that the bag your kit comes with is pretty terrible, if it even comes with one at all.
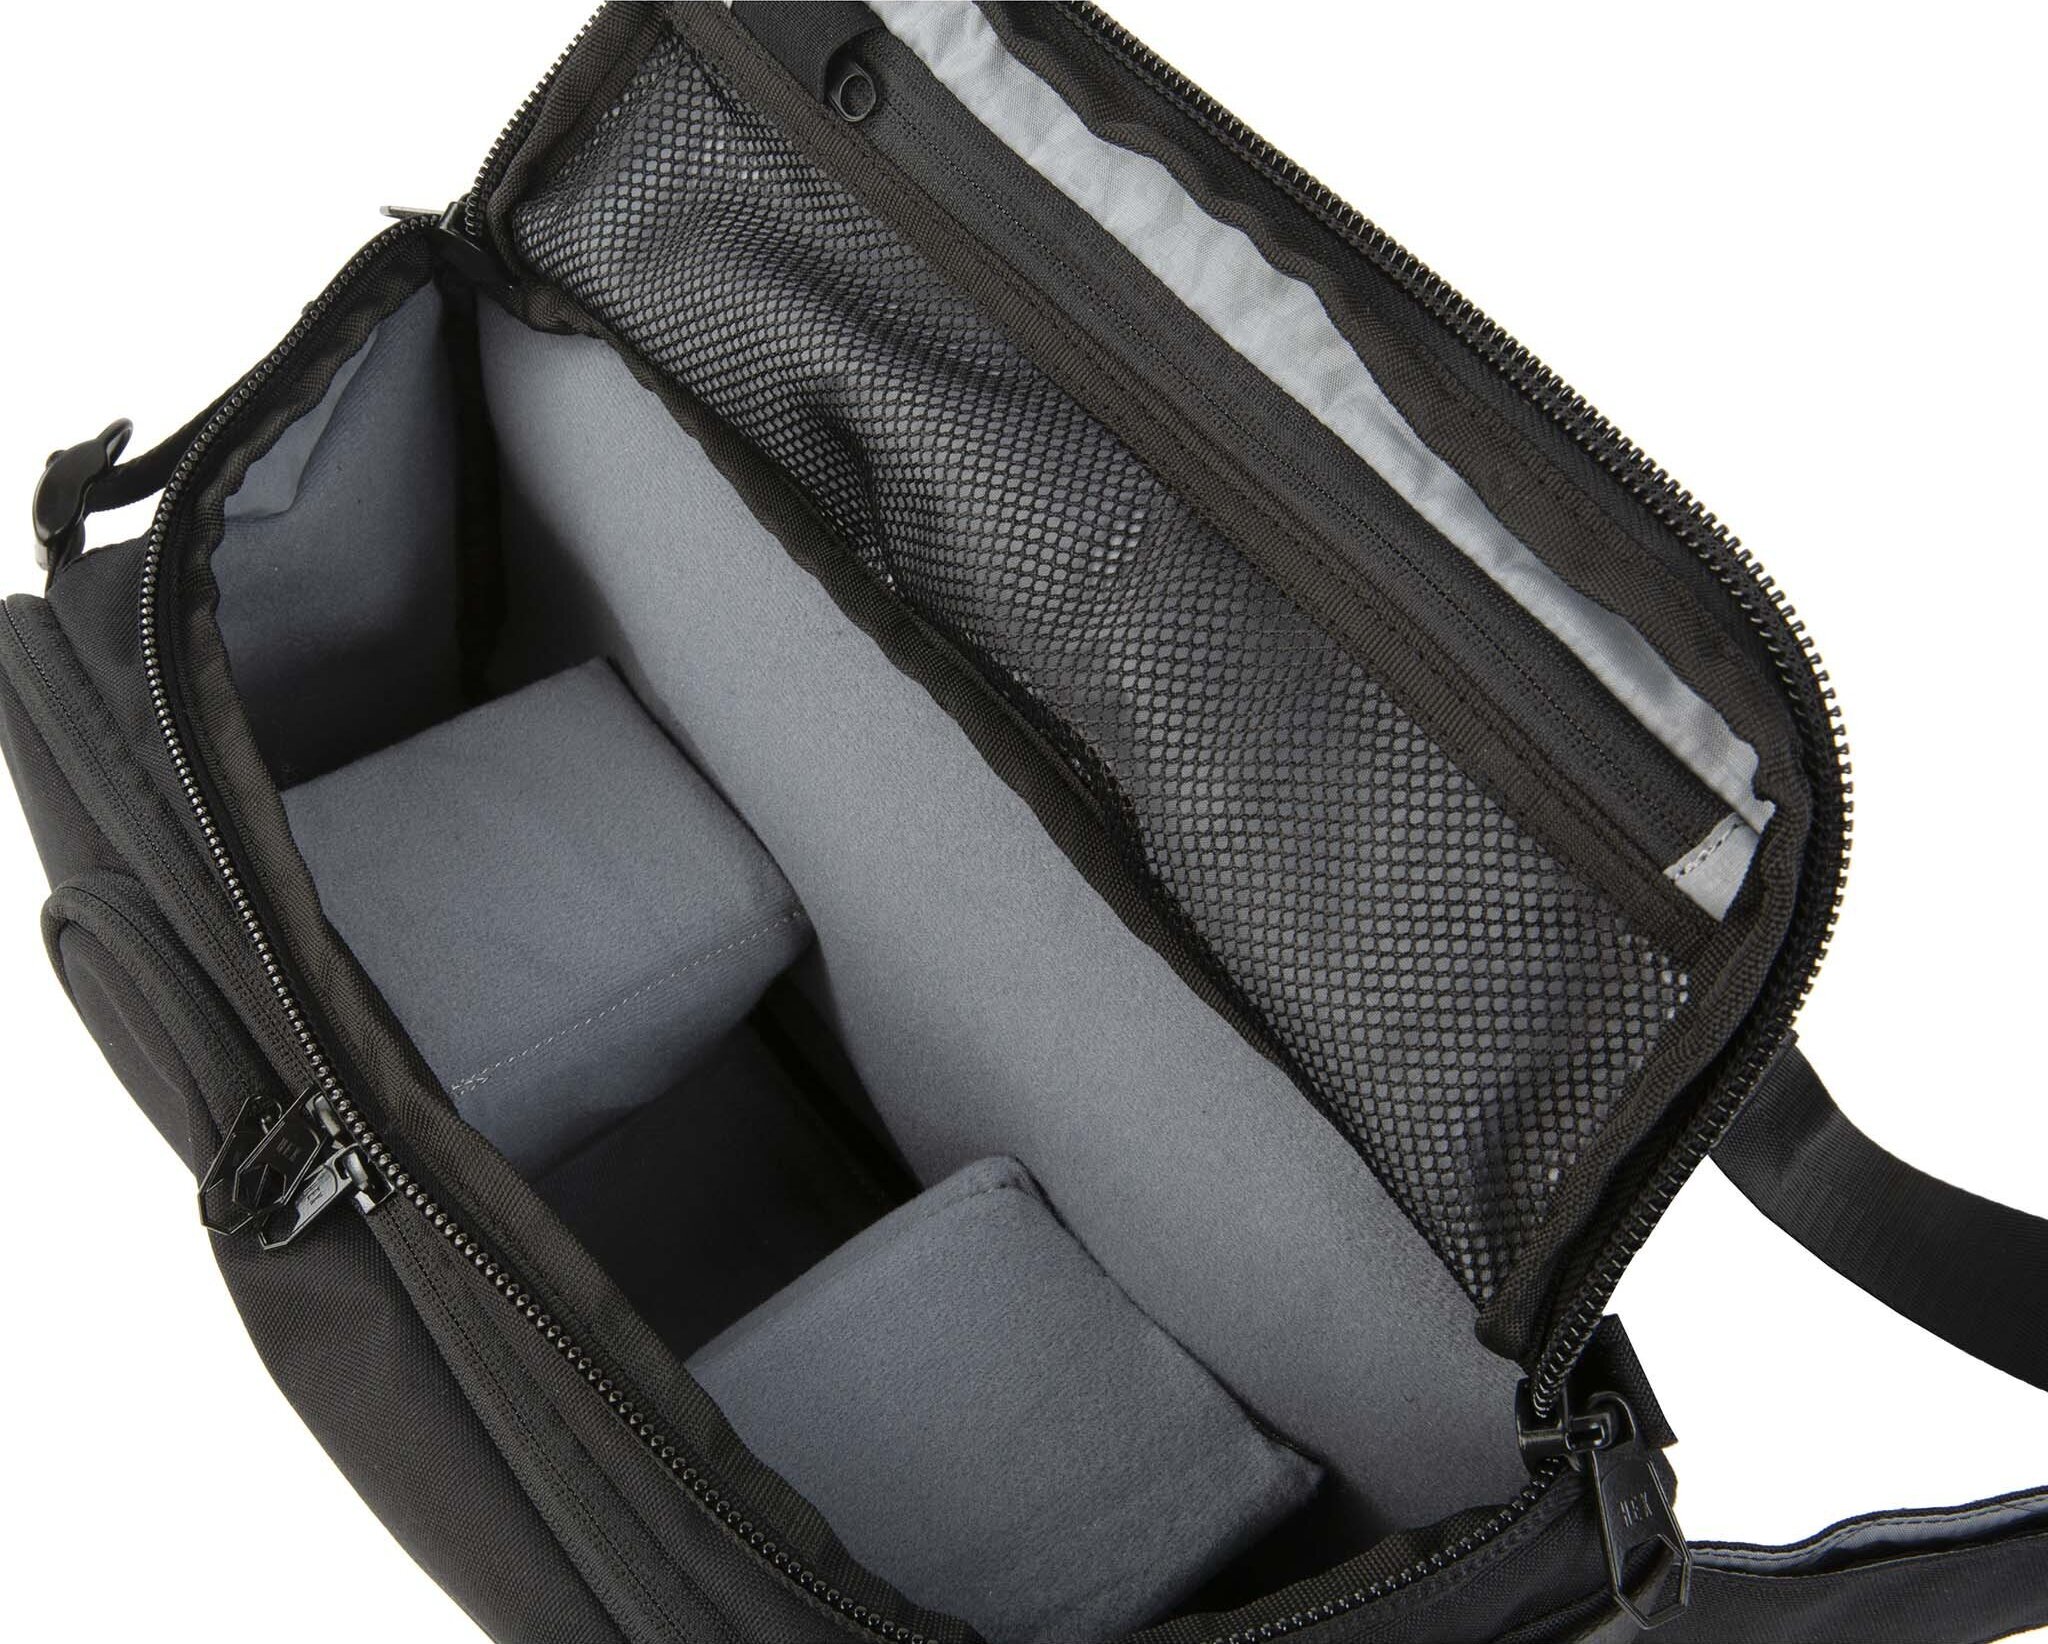
That’s why we recommend the Hex Ranger DSLR Sling. The sling comes in a variety of different colors and patterns, though I prefer the slick all-black version, and is made of Cordura to keep the elements at bay.
This bag is also light and is large enough to fit your drone or a DSLR kit, which means you can actually use it for different occasions.
This is the upgraded version of the sling, so it now comes with a hideaway rain fly and more padding for your shoulder, so you can carry heavy equipment all day without feeling it.
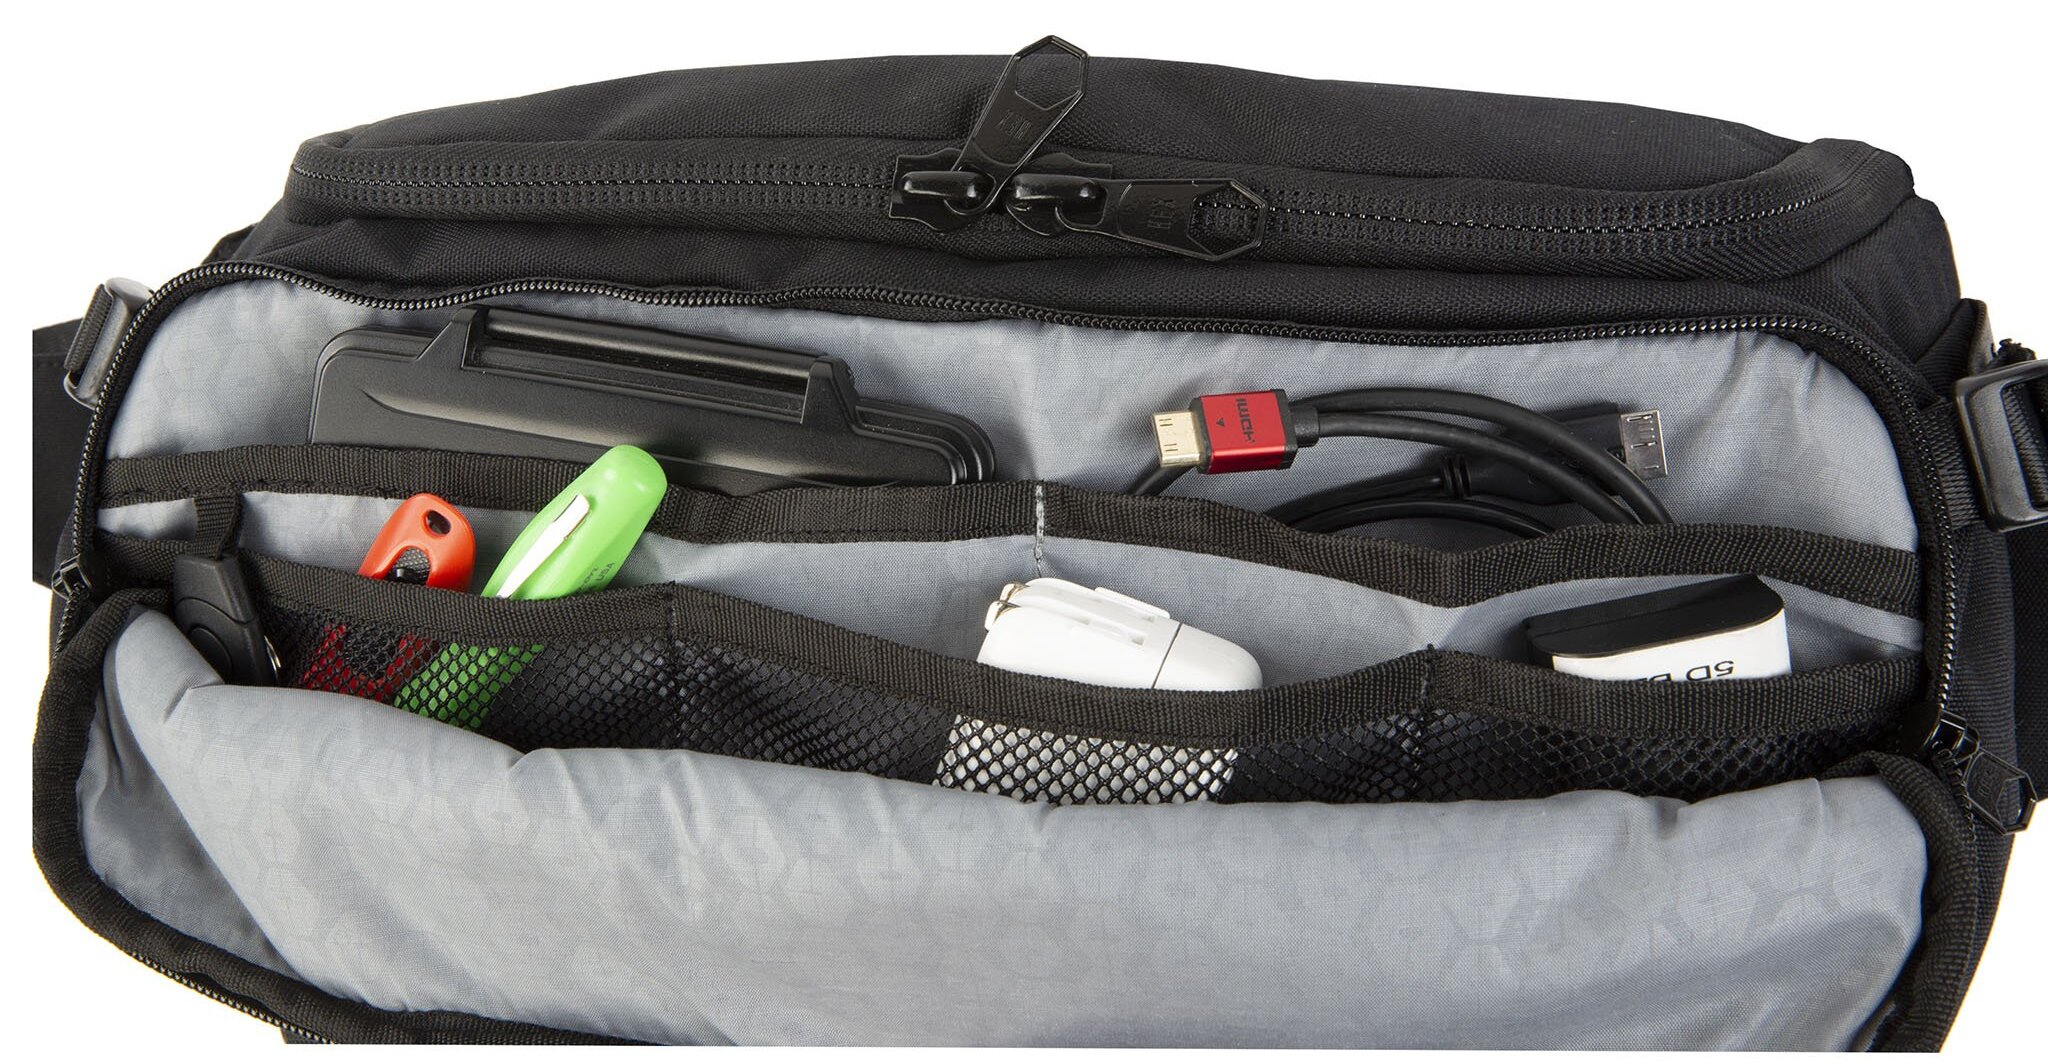
As you may have guessed by reading this article, I’m a big fan of organization and this bag helps me do it well. It comes with a variety of pockets to keep all of my drone accessories safe. The interior dividers are also collapsible so that the sling will truly fit whatever I’m taking with me on my next adventure.
You can also get the Ranger Sling (version 1) for just $100, so you have multiple, affordable options!