Fine Art Photography Tips
- What Types of Images Look Best on a Metal Print?
- How to Improve Black and White Fine Art Photography
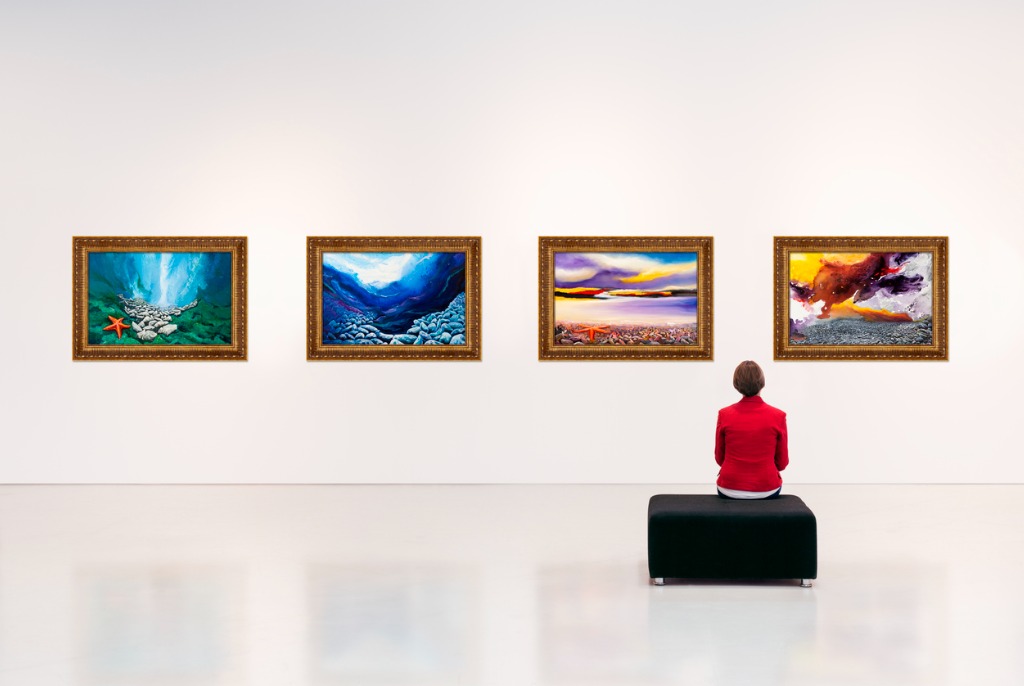
photo by syolacan via iStock
As we get better and better in our photography, we start becoming more confident about showing it to others.
Fine art photography is a term that can be applied to many genres of photography from landscapes to portraits, and is primarily differentiated from other photography by the creative vision of the artist/photographer.
Showing this art to others involves several fine art photography tips. We are going to briefly examine some fine art photography ideas and the types of fine art photography we might want to share with others.
Create a Plan

photo by fizkes via iStock
You hear me say this a lot in my general photography and fine art photography tips and it bears repeating. While we definitely can, at times, just fall into a great situation for capturing great images, planning out our artwork allows for more consistency and opens up more avenues for us to craft our images.
We may not need to go as far as creating an outline or a storyboard for our workflow like we do with videography, though it wouldn’t hurt if we did. Having a mental outline of the steps we should do in order to have that large fine art physical print hanging on a wall as a final result will usually work better for us.
We scout out locations for landscape or architectural images and talk to our portrait subjects in order to know what to do. We adjust our shooting workflow and think up a fine art photography processing plan. We also decide on how to best display our artwork, which may involve making some changes to our shooting and processing workflow.
What to Do While Shooting
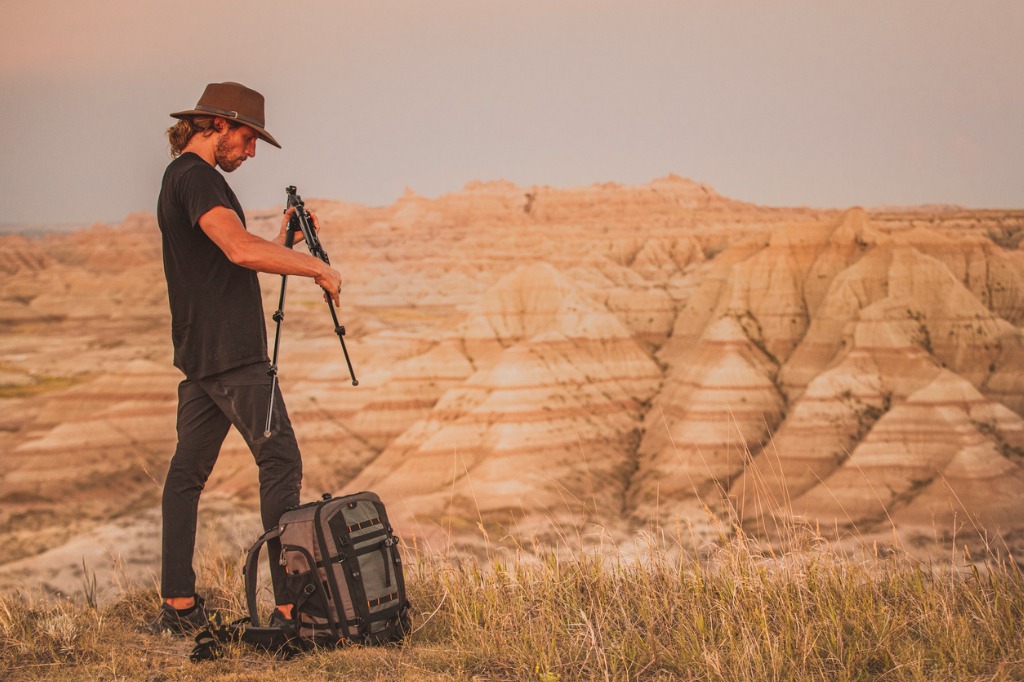
photo by lindsay_imagery via iStock
Since we have a plan or a mental outline of what we’re attempting to accomplish, we can now pick and choose our shooting options as fine art photography techniques. Shooting in RAW format is highly recommended in order for us to have an abundance of post-processing options.
What are our other shooting options? We may want selective focus or deep depth of field, so we would adjust exposure controls and other things like camera position to make that happen. This may also involve use of ND, GND, or C-POL filters in order to have the control settings required.
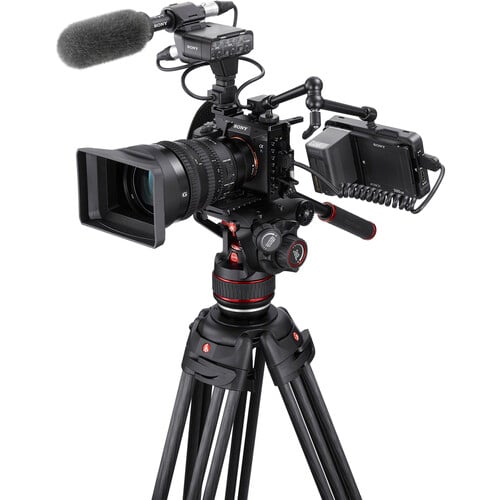
Using a tripod will increase our chances of capturing the sharpest image possible. We don’t want unintentional camera movement to negate our careful focusing and exposure setting choices.
Plus, using a tripod helps make our workflow more deliberate. Sometimes, it’s a good idea to slow down our shooting workflow. An unhurried approach often gives our creative ideas a chance to come forth, so it’s a good thing for fine art photography.
Learn More:
What to Do While Post-Processing
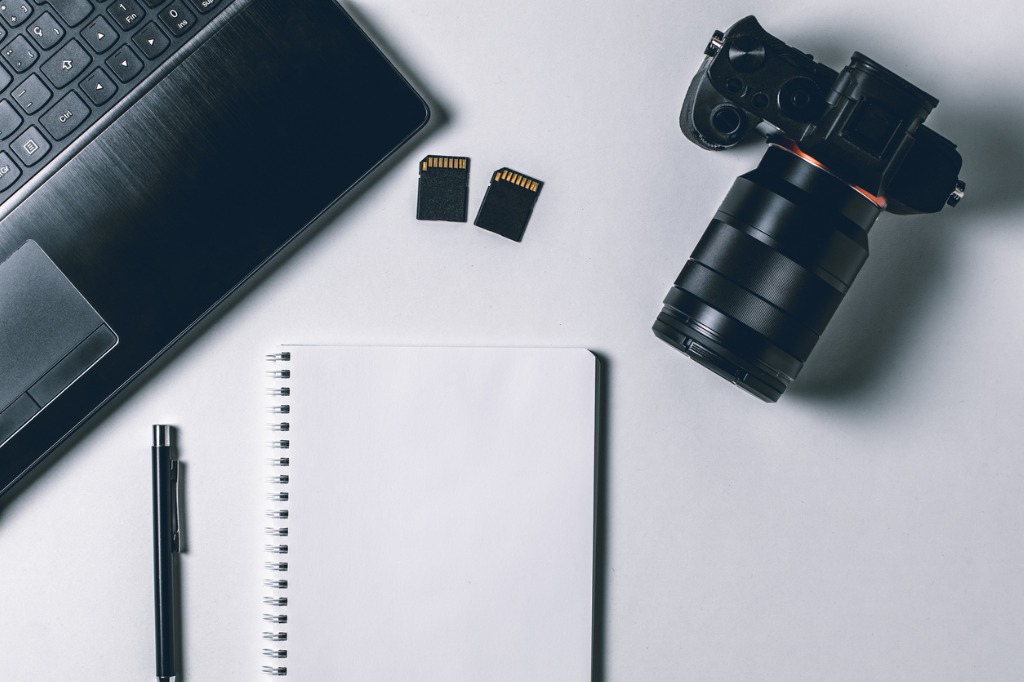
photo by Daniel Megias via iStock
Fine photography processing isn’t far removed from what we do for our general photography. Some of the basics are shooting in RAW allows more post-processing adjustments to color and exposure, removing noise, and minimal compression.
Adjustments to exposure and color are handled by most programs with specific sliders or wheels. On several programs, you can adjust exposure in separate steps. A general exposure adjustment can be applied or we can adjust highlights, midtones, and shadows separately.
Since we shot in RAW, opening up the shadow detail is easily accomplished by that control, without affecting too much of the other aspects. Highlights are actually the hardest to control in post-processing, so capturing good detail in the highlights during the shooting steps is crucial.
Shooting in HDR or with GND filters helps tame extreme dynamic range issues so that our options stay more fully open in the fine art photography processing phase of our workflow.
Post processing programs that use non-destructive editing are very user-friendly for fine art photography, otherwise you may need to save some large uncompressed files for the various operations. If the program we’re using doesn’t have non-destructive editing, saving as a TIFF for each step may be necessary, but that ends up using a huge amount of memory.
Removing digital noise is a good final step for our adjustments and then we can decide on how we want to output the final image file. Since fine art photographs are often printed, saving as a TIFF or a minimally compressed JPEG are good fine art photography tips.
How to Share It
The final piece of the puzzle for fine art photography tips is deciding how to share our artwork with others. Large physical prints are the most obvious choice, printing as canvas wraps and as metal or acrylic prints are wonderful options for fine art.
The best results for these large prints come from high-resolution image files, either TIFF or JPEG. Not all printers can use TIFF so saving minimally compressed JPEGs will work.
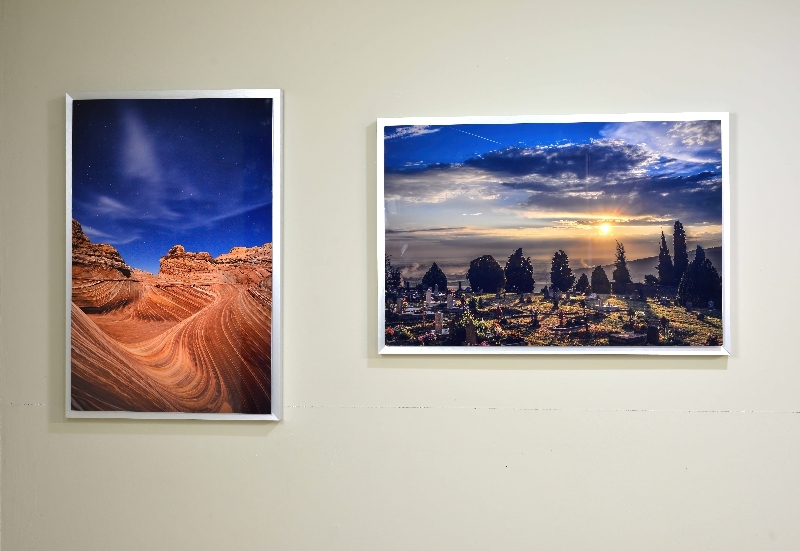
Metal prints, such as what Metal Mouth Prints provides, are wonderful for displaying our fine art photography since that medium really allows the image to speak out. Metal prints don’t need a frame at all or look great with a very small profile frame.
Having multiple metal prints is the last of our brief fine art photography tips, since it looks like an art show right inside our very own home or office. The éZi mount system from Metal Mouth Prints is an interesting method for being able to vary our presentation of our fine art photography.
Whatever display method we end up using, the whole reason for discussing fine art photography tips is to give us confidence for sharing our artwork with others. Whatever genre of photography we prefer, macro, still life, experimental, landscapes, architectural, and so on, crafting our images as fine art photography is within our reach.