
Food Photography Tips for Beginners
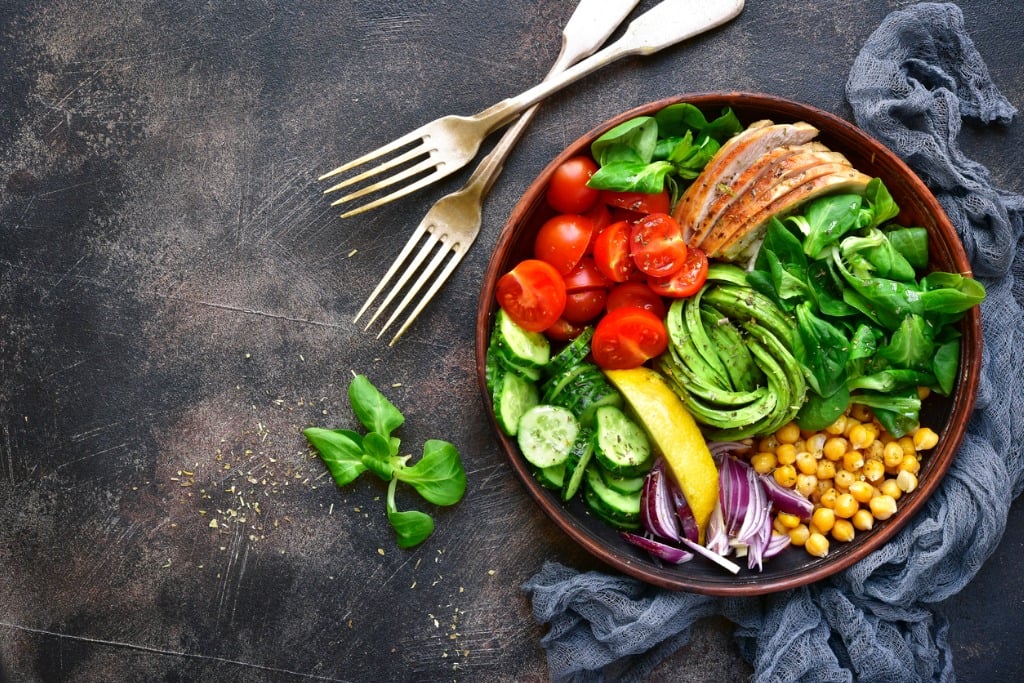
photo by Lilechka75 via iStock
Let’s discuss some food photography tips for beginners! Pictures of food are all over my social media and your friends probably add to the ever increasing volume of food pictures many of us see on a daily basis.
I’m all for that, because it shows that food images are in demand, that many people are interested in them. So, that means that exceedingly well done pictures of food should also be in demand, a market for us to tap.
The concern for photographers wishing to make some profit from their work isn’t about if people are interested in food images, but rather how do we make our images stand out so others can see the many advantages of hiring a pro for these pictures?
We have covered some basic food photography tips for beginners, including equipment choices, so now let’s go a little deeper into some of those basics.
Where to Find Clients for Food Photography
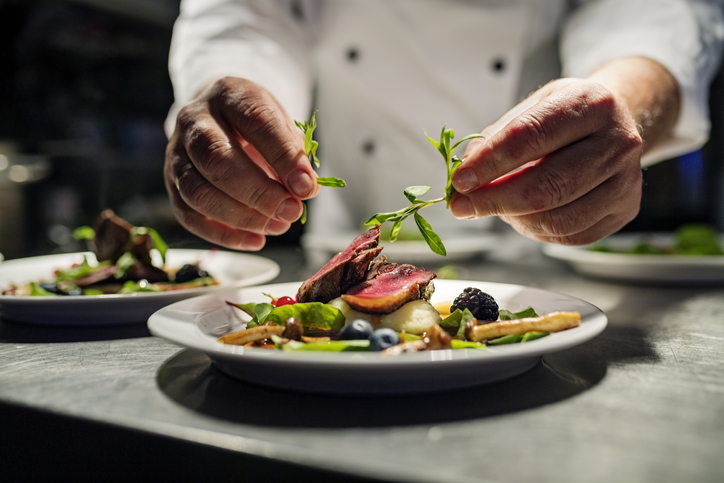
photo by ClarkandCompany via iStock
You’ve been practicing the basic food photography tips for beginners for a while and you’re getting pretty good at creating great images. What you want to know now is. “How do I get paid for this?”
What is needed is a client. Large chains aren’t the market for most of us. Those restaurants, stores, or wholesalers are likely to have in-house photography departments so they can carefully control every aspect of what they present to their desired audience.
The clientele for many of us, definitely if we’re looking at food photography tips for beginners, are going to be local interests or smaller businesses online. Many of these types of clients will be both in person and online.
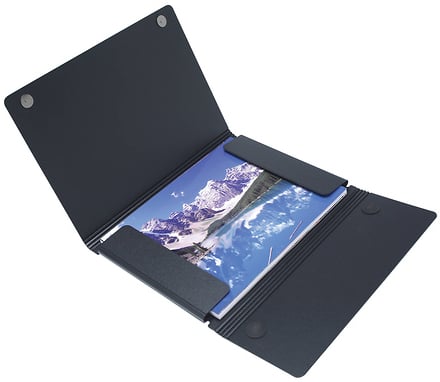
A portfolio, either physical prints or online, is an essential tool for showcasing our talent and our style of work to potential new customers. An in person visit may be in order, though phone, e-mail, and social media may be the initial method of contact.
Signing up for a service that matches artists with end users is another option that works for some. These sites and services charge for use, usually as a percentage of the amount paid, but it does open up a wider audience than we might be able to find for ourselves initially.
For those types of sites, pay close attention to their specific rules. Also, be aware that the fees paid to photographers by a service are often much lower than what you could probably negotiate for yourself.
Food Photography Tips for Beginners: Control the Mood
As food photography tips for beginners, we’ve already gone over some of the basics as previous articles in this series. Such as how to adjust the exposure, lighting, composition, and focus variables to create a high quality food photography image.
What I want to key in on now is the mood of our imagery. Exposure, lighting, focus, and composition are the tools available for us to create, alter, or enhance the mood or feel of the food images.
As I see it, there are three general moods we can attempt with our food photography tips for beginners. Realistic, hi-key, and low-key. We aren’t required to use only these three, and we can also adjust how much of any affectation we’re attempting.
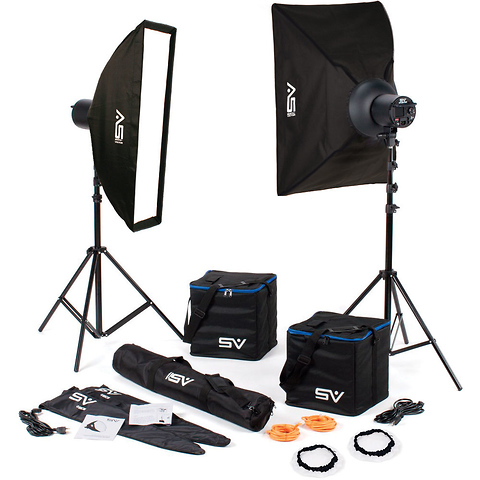
A realistic mood or setting is one where the pictures of food appear in pretty much the way they would be seen by a person enjoying the food. Umbrella or softbox LED lighting is a good choice that also works as general product photography tips in addition to food photography tips for beginners.
LED continuous lighting is the type of lighting I usually recommend when discussing product or food photography tips for beginners because of how versatile a setup like this is. LED lights can be used for still images and video, are adjustable for power levels and color temperature, and are incredibly simple to set up and use.

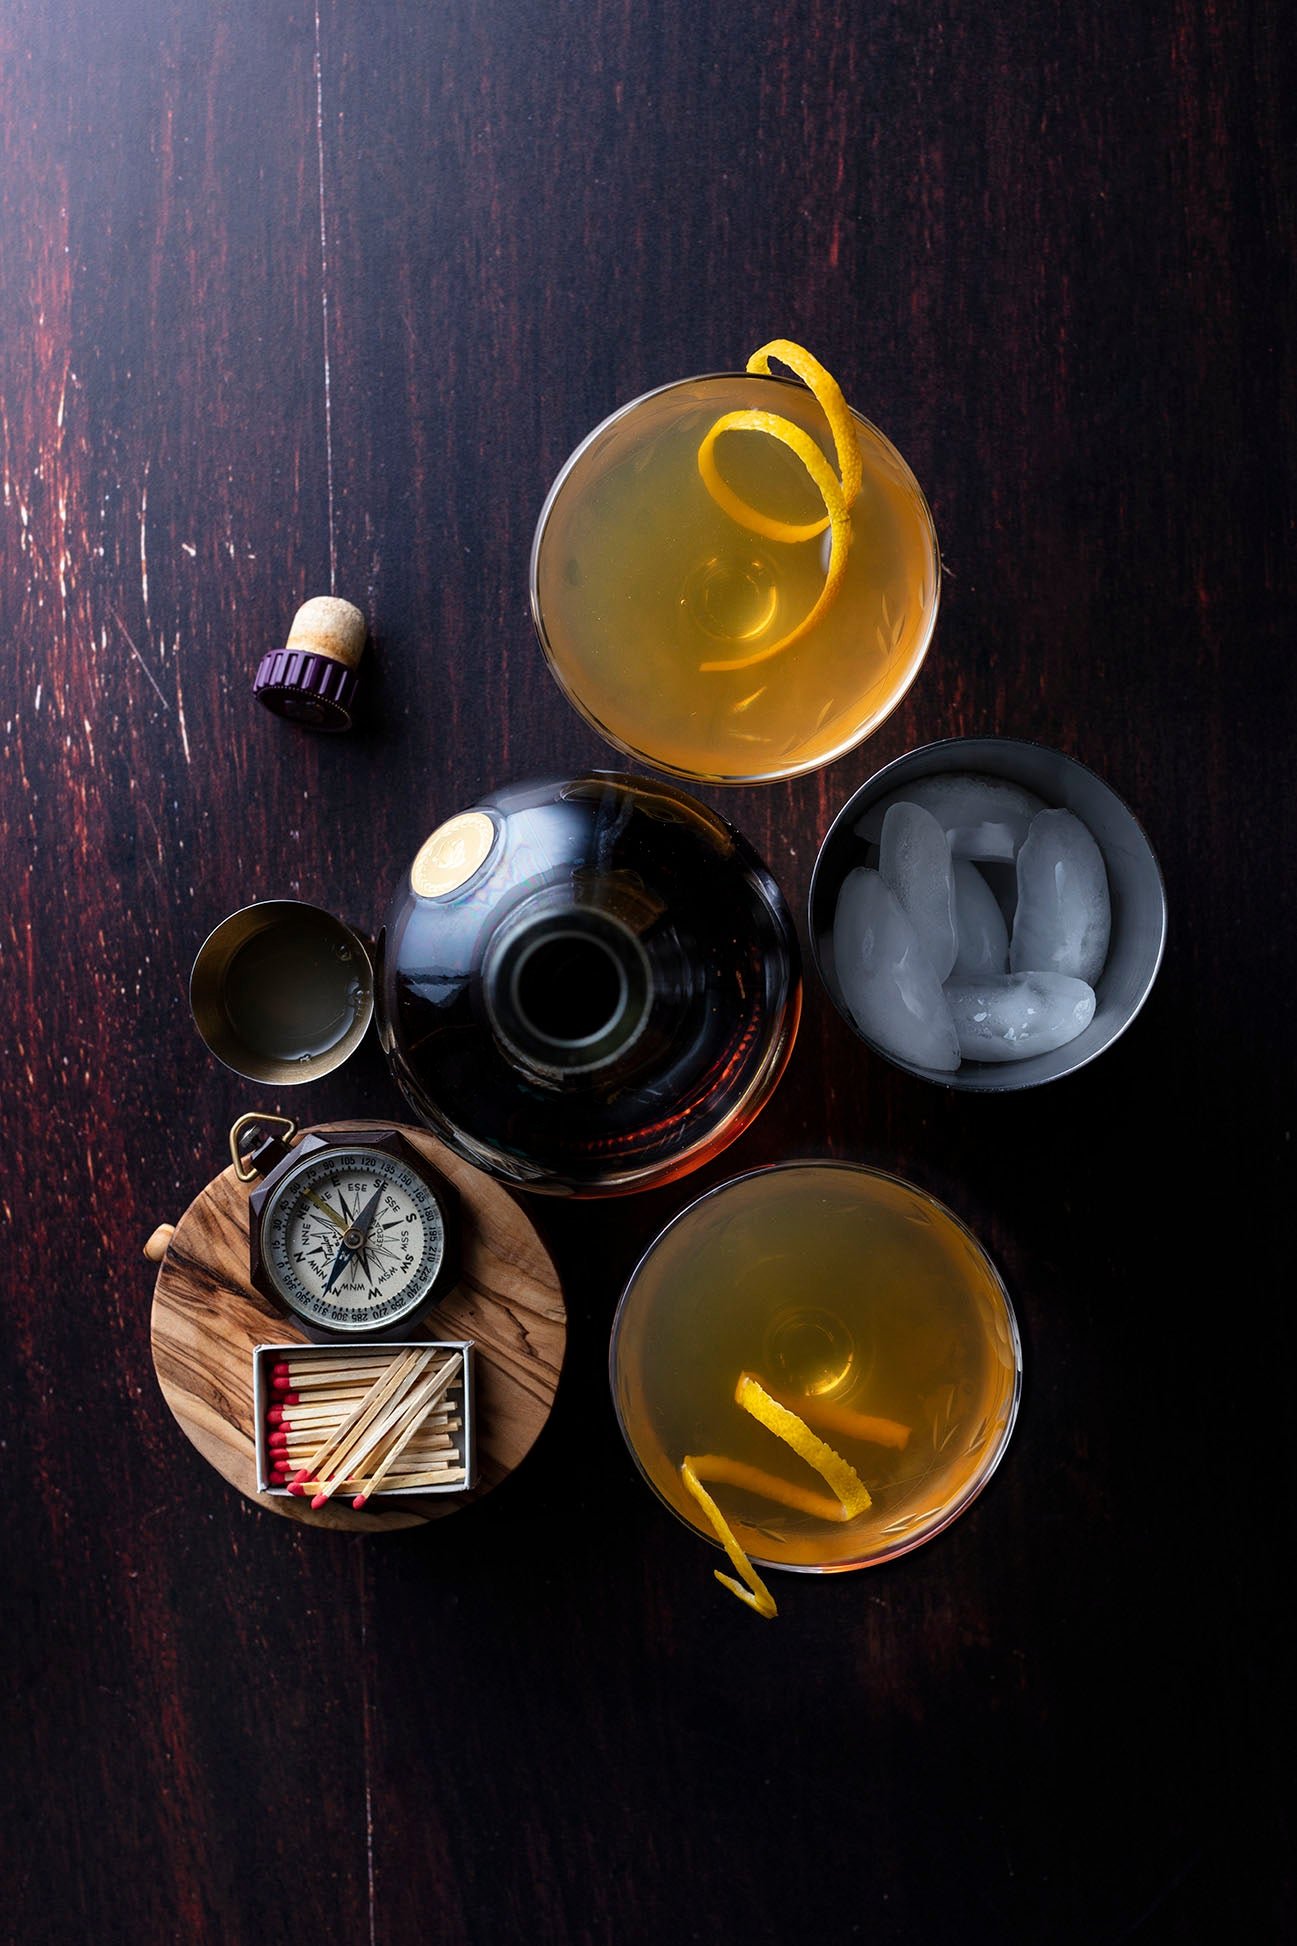
Low key lighting can make a setting seem more serious while high key often feels more airy or spontaneous. The LED lighting can be adjusted and fine tuned to create whatever level of mood we’re attempting.
High key and low key aren’t always referring to how light or dark an image is. An important point for food photography tips for beginners is that high key is lower contrast and low key is higher contrast.
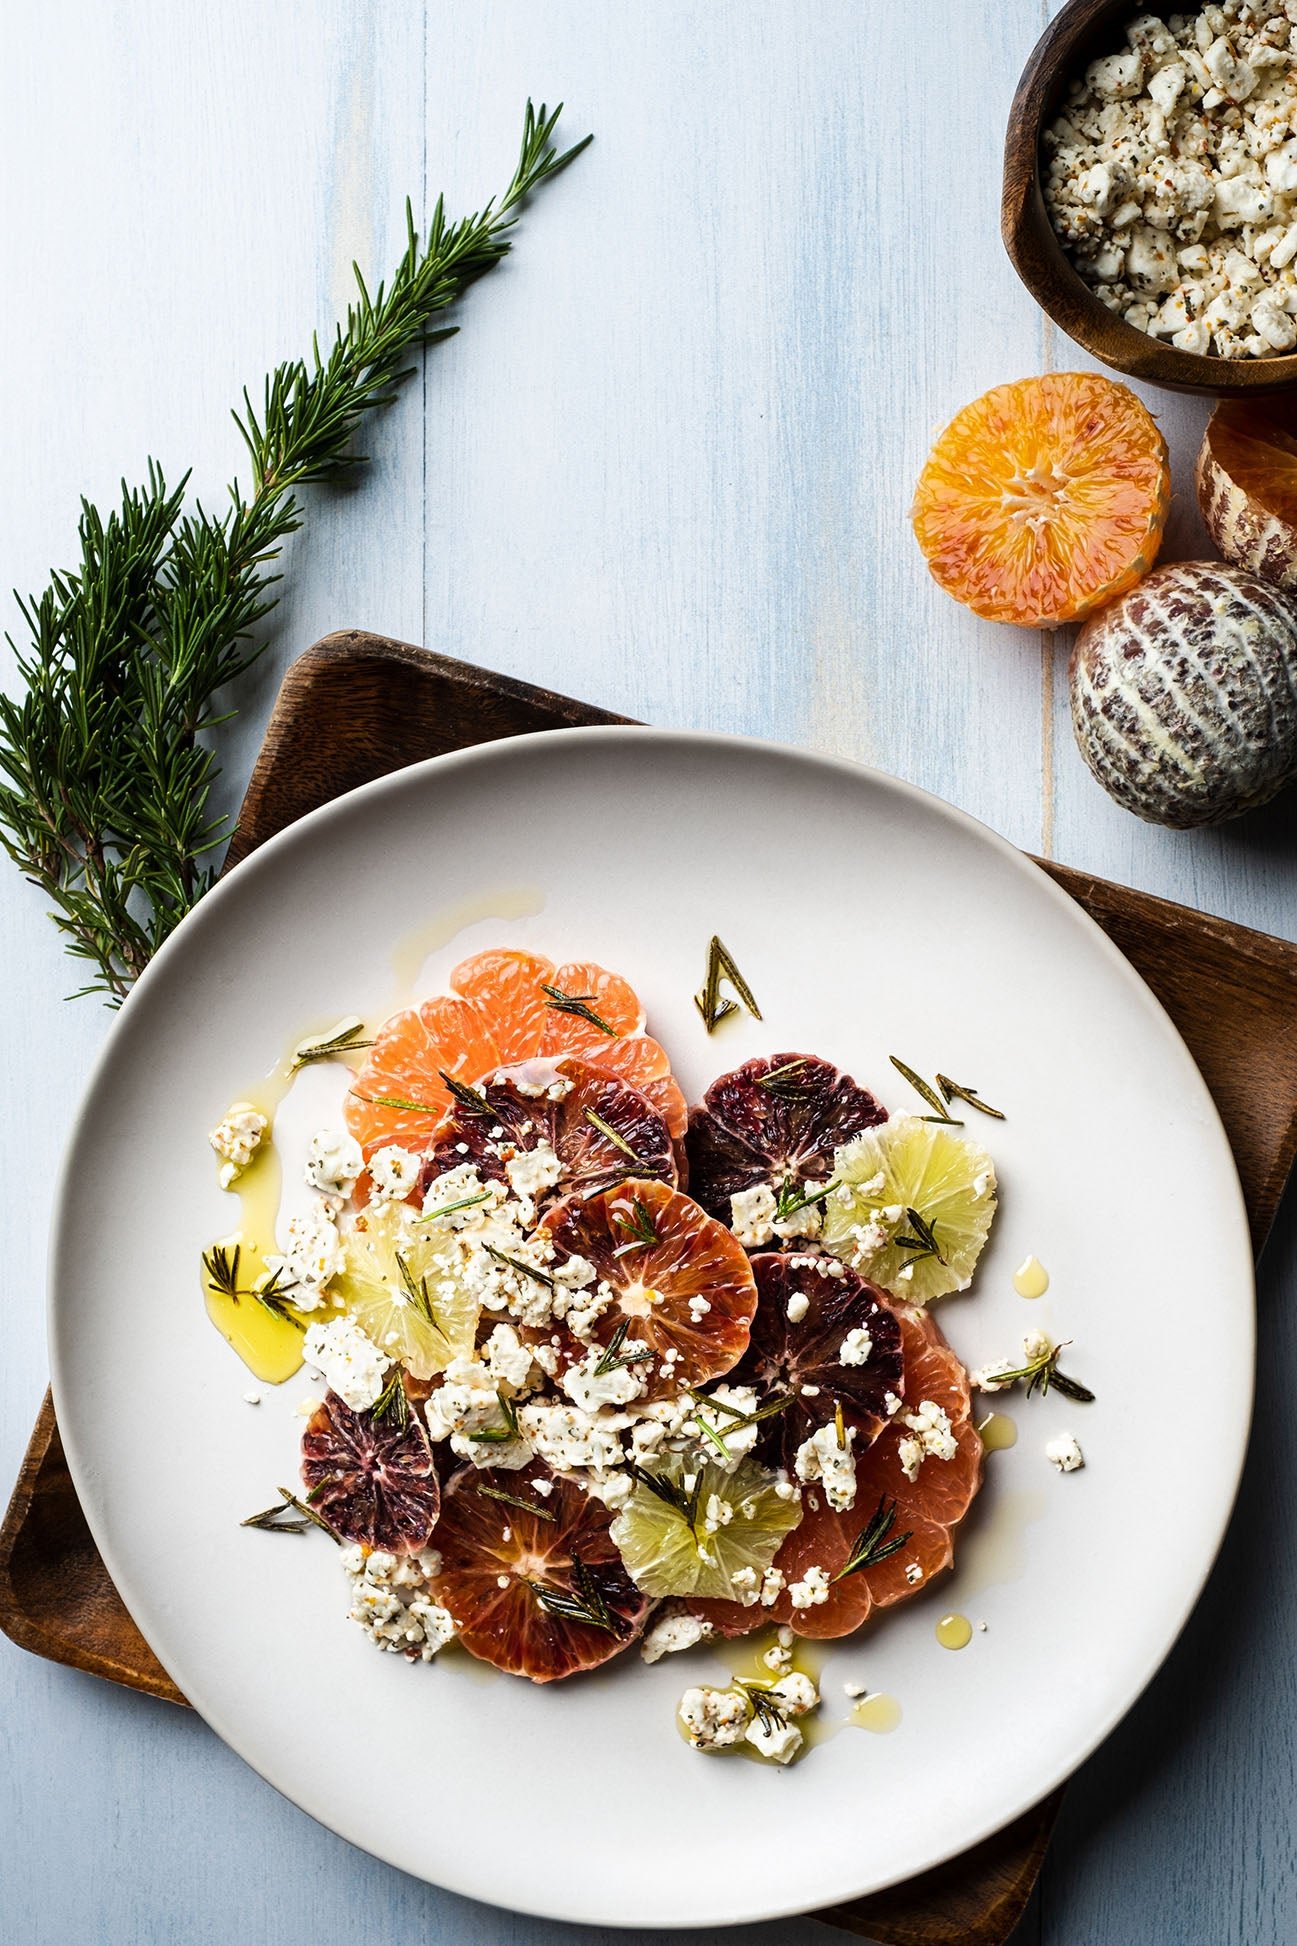
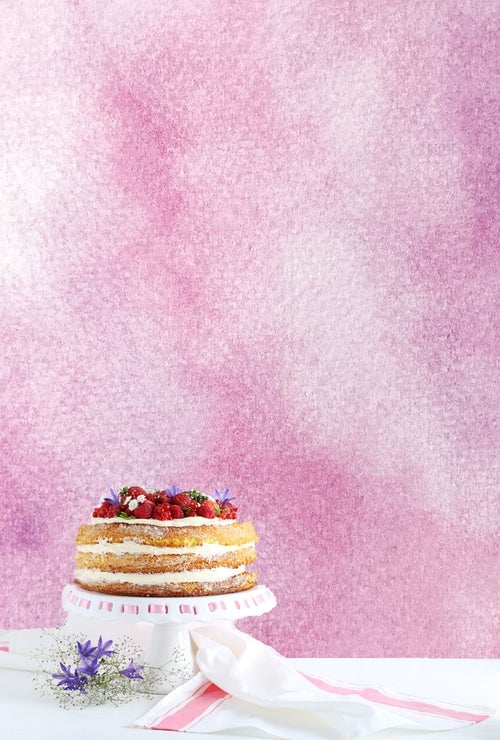
The backdrop we use can also affect the mood of our food photography setting. Some backdrops lend themselves to a high key image and some others fit seamlessly into a low key lighting configuration. A simple, light color can be seen as airy or informal, dark patterns might lend themselves to low key images.
A backdrop such as what can be found from Best Ever Backdrops is an excellent option and is part of my food photography tips for beginners because of how versatile and usable they are for all sorts of small product and food photography.
Their Mix and Match collections let you choose both options in one water resistant, semi rigid, 24X36 inch backdrop, one color or pattern on each side. For instance, the light color Skyler Burt Vesper on one side and the Skyler Burt Sidecar as a dark backdrop on the other side.
A good backdrop is a worthwhile investment and is something I consider as one of the more important initial food photography tips for beginners. Besides, you will find many uses for these high quality backdrops in your other small product photography endeavors, too.
Learn More:
Focus on the Food or the Setting?

photo by monkeybusinessimages via iStock
So, with these food photography tips for beginners discussing moods, lighting, and backdrops, the question comes up of whether to focus on the setting or the food itself. The answer depends on what the purpose is for the food pictures in the first place.
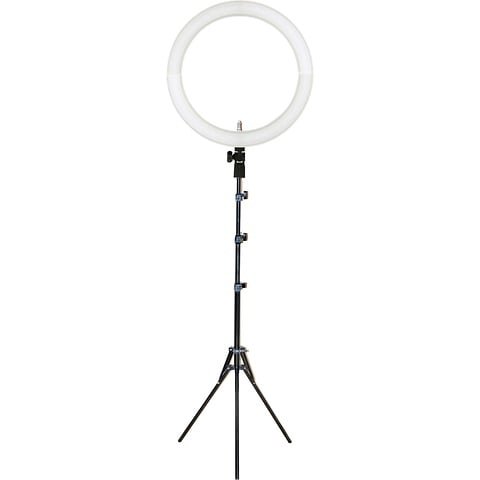
For creating pictures of food that are meant to clearly show what the food, drink, or specialty are will be focused on the food itself. A realistic lighting approach and shadowless lighting such as from a ring light will be beneficial for this concept.
Depending on the intent of the images, your client may be better served by images emphasizing the setting instead of specific food or drink items. A good approach and another of the essential food photography tips for beginners is to offer our clients various types of images, realistic or moody, focused on the food items or the settings so they have options for their use.
Delivery Options for Food Photography
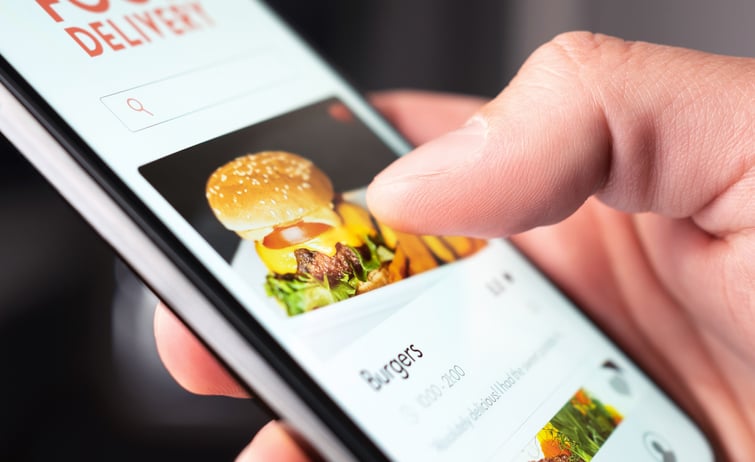
photo by Tero Vesalainen via iStock
The method of delivery will also need to be tailored to the needs of the clients. Many customers will actually prefer online digital delivery but providing options is another of the more relevant food photography tips for beginners.
Physical prints, especially giant enlargements or specialty prints such as metal prints and canvas wraps, look great on the walls in a cafe or a dining room.
Another option is to physically deliver digital images by means of a portable USB drive, also known as thumb drives and flash drives. If you think about it, you could use this style of delivery as a good way to advertise your brand, perhaps with a logo sticker on the flash drive.
Food Photography Tips for Beginners: Real or Fake?
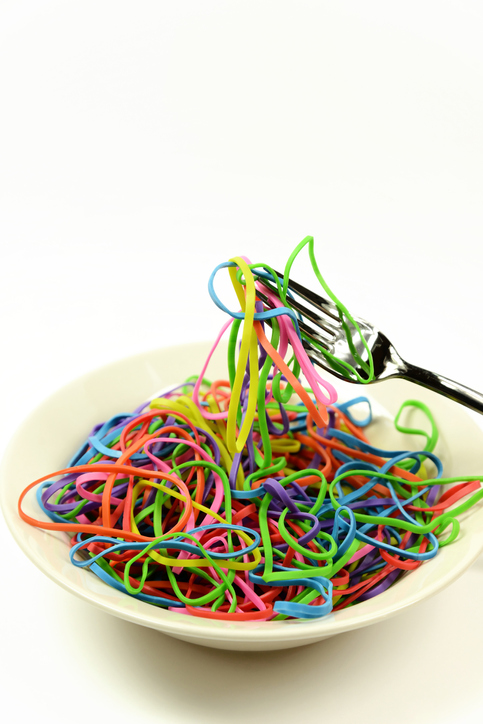
photo by Gangis_Khan via iStock
In your search for usable food photography tips for beginners, you may have come across some stories about how non food things are used for creating food images, such as glue for icing or plastic lettuce or something else fantastic and intriguing.
For the most part, we don’t need to worry about those things. Just create great images of food by using good camera gear, high quality backdrops, and essential imaging skills.
If you find something that works for you, go for it, but as the last of the food photography tips for beginners in this article just concentrate on making high quality for clients so they’ll come back to us.