Gimbals 101
- How to Shoot Video That Doesn't Suck: Advice to Make Any Amateur Look Like a Pro
- The DSLR Filmmaker's Handbook: Real-World Production Techniques
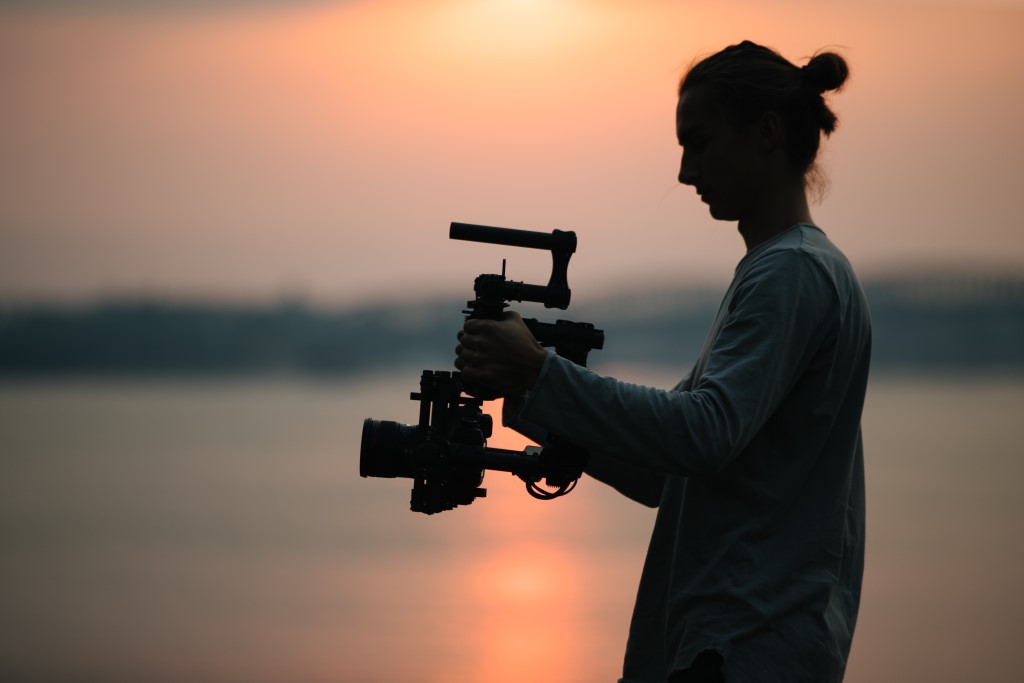
Photo by Avel Chuklanov on Unsplash
If I’m being honest, gimbals were the last tools I learned how to use for my photography business, primarily because I put buying one off for so long since I didn’t think I needed one.
But, once I bought one and learned how to use it, gimbals were my best friend. Now I use my gimbal on a daily basis.
In this Gimbals 101 article, I’m going to explain the science behind gimbals, how to use one properly, and give you some of my favorite gimbals for every budget.
What is a Gimbal?
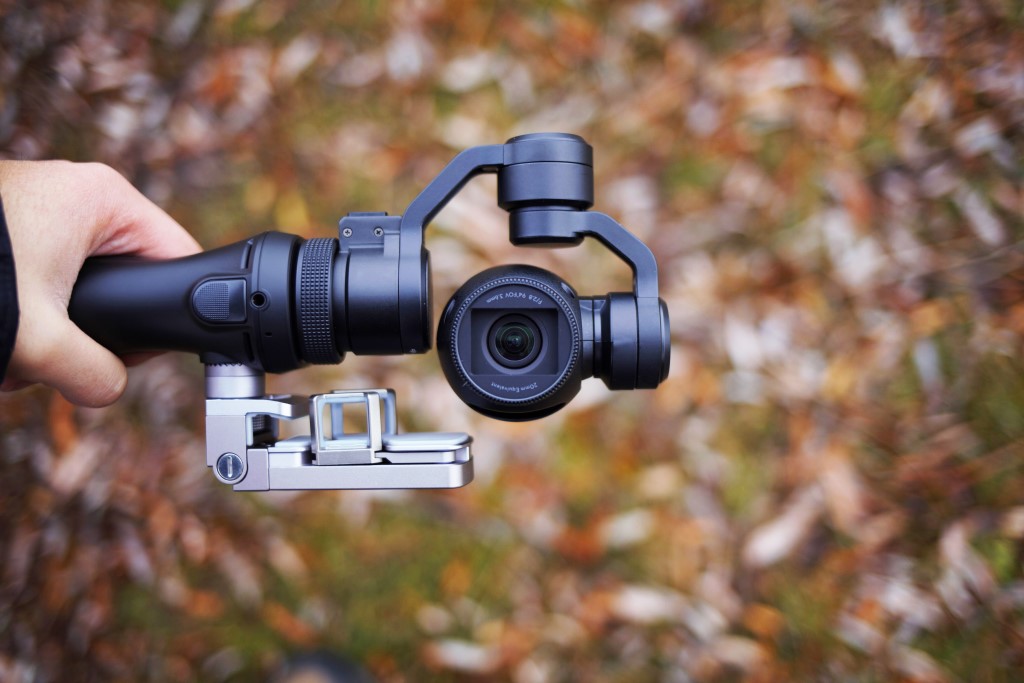
Photo by Frank Zhang on Unsplash
A gimbal is a type of stabilizer. It pivots to allow you to rotate your camera and do so independently from you.
Gimbals are used to stabilize your camera when it moves left or right, up and down, or pretty much any other direction you can think of, which is why videographers love them.
The traditional 3-axis gimbal, which is the type of gimbal I’m covering here, has the pitch axis (up and down movement), the yaw axis (left and right movement) and the roll axis (unleveled movements).
Techquickie explains all of the technology behind how a gimbal works in the video above.
Give it a watch, and you’ll come away with a much better understanding of the technology that makes gimbals so valuable.
Recommended Videography Books:
How to Use a Gimbal

photo by molchanovdmitry via iStock
The first thing you need to do before trying out your gimbal for the first time is balance your gimbal.
First, you will attach your camera to your gimbal. Then allow your camera to fall as it will in the gimbal. Does it fall forward? Does it fall backward?
Chances are it will fall forward because your lens is where most of your camera’s weight is. In order to adjust the tilt, move the tilt bracket up or down until your camera feels balanced.
Then, just to double check, point your camera straight up to see if it is truly balanced.
Learn More:
Tips for Shooting With a Gimbal
Aputure’s video on shooting with a gimbal is pretty awesome because they quickly cover every move you will need to know to get started.
But, you’ll also need to keep traditional rules of photography in mind while playing around with your gimbal.
For instance, keep objects in the foreground of your shots. Doing so will allow you to put emphasis on the way the camera is moving. It makes the scene much more dynamic!
Get Close to Your Subject
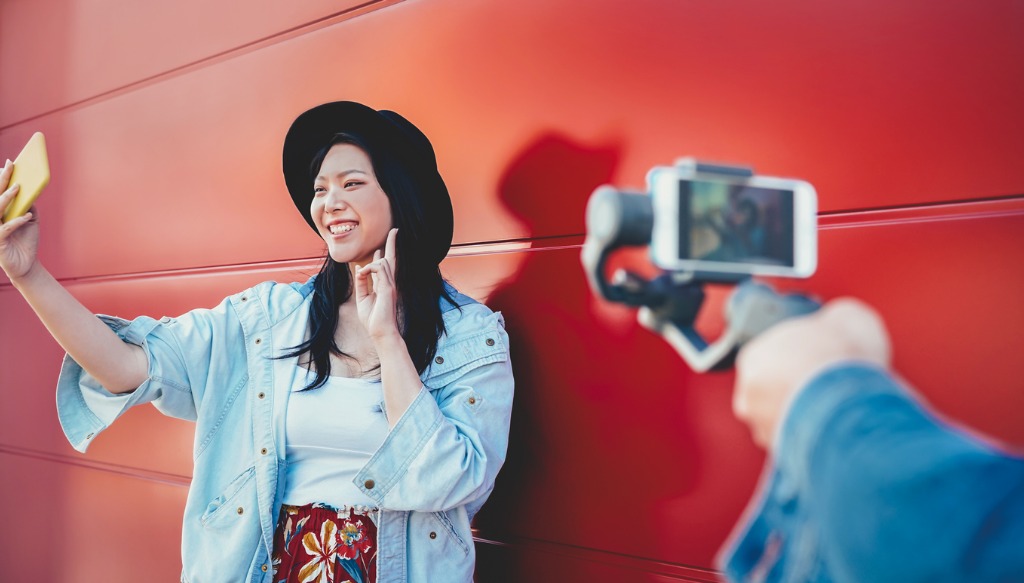
photo by Alessandro Biascioli via iStock
When you’re closer to your subject it’s also easier for you to show off the way your camera moves.
Plus, you can track subjects easier with this type of stabilization so you can follow a character from behind.
Another way to both keep something in the foreground and get close to your subject is to get close to the ground and track the subject from behind. This low-angle tracking view can be extremely visually interesting.
Plan Shots
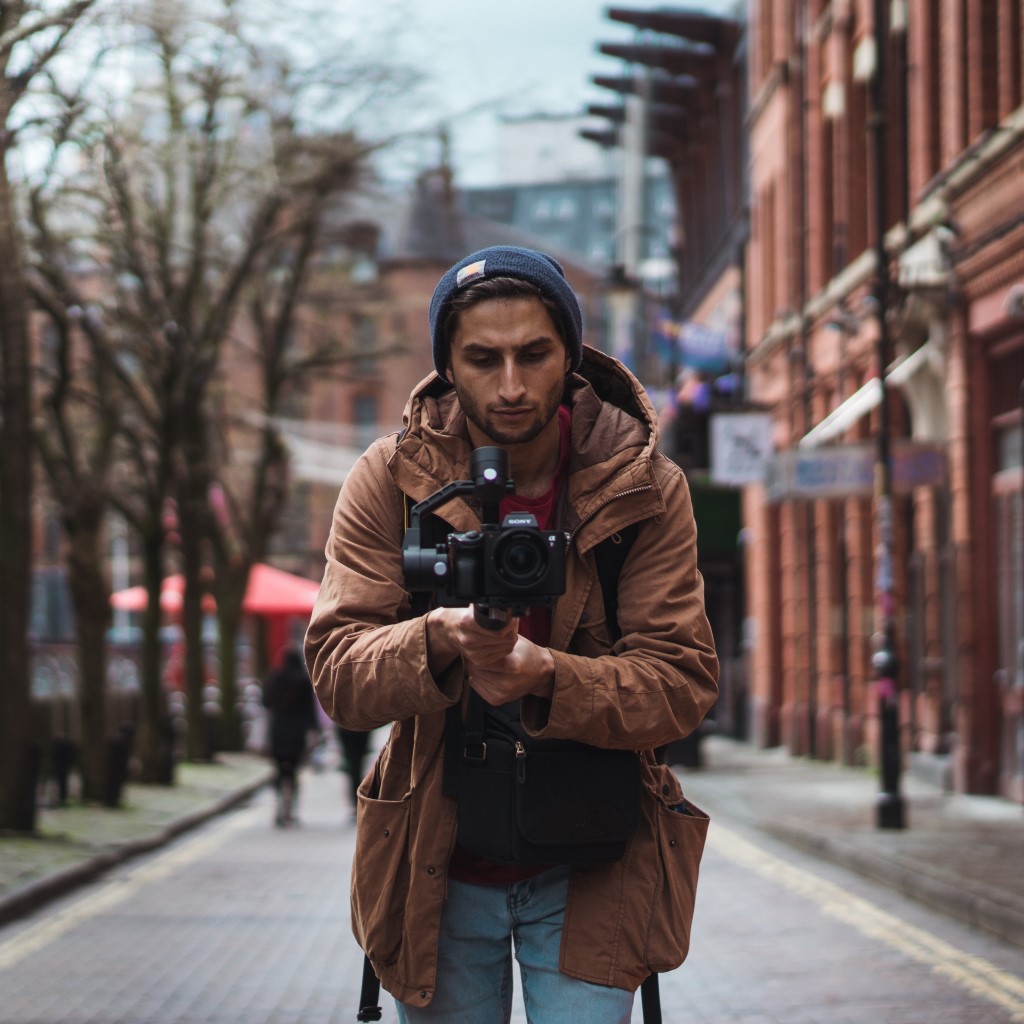
Photo by Warren Berchie on Unsplash
Planning your shots when using a gimbal is even more important than planning your shots with your typical equipment.
One way to do so is to shoot all of your gimbal shots together so you don’t waste time balancing your gimbal more times than you need to.
Plus, while you’re going through the process of planning your shots you can make sure that you’ve used the tips we’ve already mentioned like keeping objects in the foreground of your shots and getting close to your subjects.
Best Gimbals for All Budgets
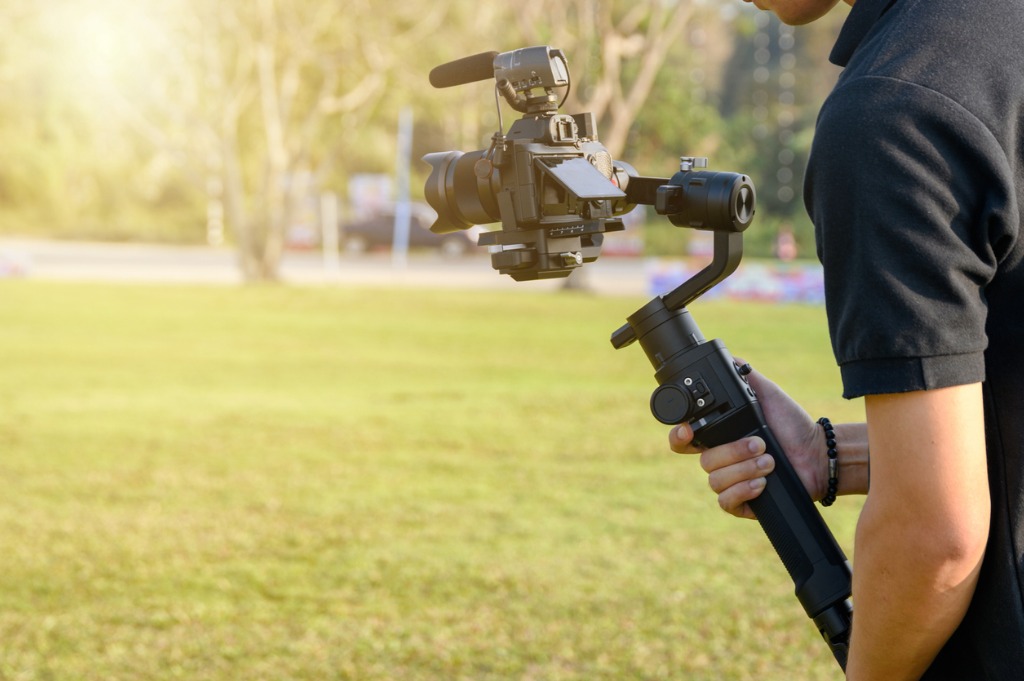
photo by Mumemories via iStock
You can have all the gimbal tips in the world, but if you don’t own one then there’s not much you can do.
Thankfully, like most camera technology, gimbals are being produced at cheaper and cheaper prices. So, I’ll start with the cheapest option and head on to the more expensive versions.
Zhiyun-Tech Smooth-4 Smartphone Gimbal (Best Smartphone Gimbal)

The Zhiyun-Tech Smooth-4 Smartphone Gimbal is just $100 and it works with every single smartphone.
This gimbal has a battery life of 12 hours, and if your phone doesn’t quite have a battery life that long (I’m looking at you, Apple lovers), your gimbal can charge your phone directly during shooting, which is the most fun quality about this gimbal.
This gimbal has a 300-degree pan angle, and a 240-degree tilt and roll angle, and weighs just over 1 lb at 19 oz.
It can hold a phone up to 7.4 oz, and since most smartphones weigh under 5 oz. there’s an incredibly good chance it will work perfectly for you.
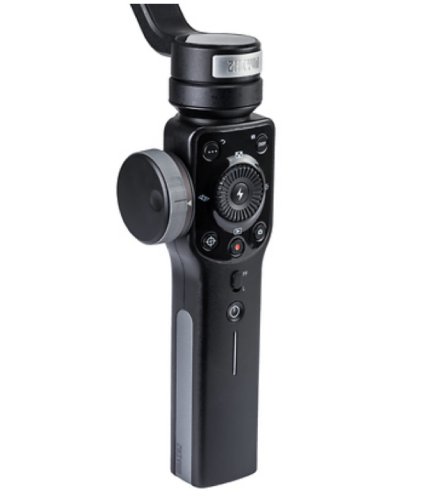
Ikan MS-Pro Beholder (Best Mid-Range Gimbal)
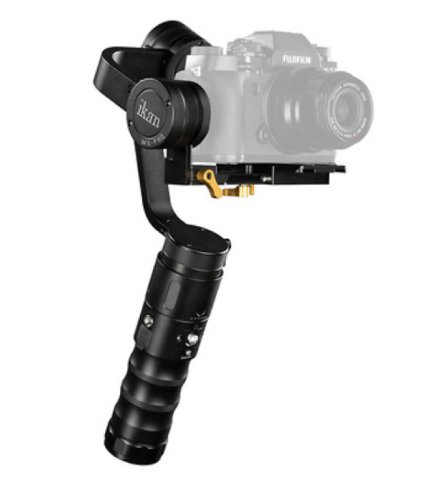
The Ikan MS-Pro Beholder is more expensive at $360, however for specs this great, the price is worth it.
The Ikan MS-Pro Beholder has a load capacity of 1.98 lbs, so it will work best with light DSLRs or mirrorless set ups, as well as smartphones and GoPros. It features a 360 degree pan angle, and a 355 tilt and roll angle.
The battery lasts anywhere from 8 to 10 hours of continuous shooting and it weighs just 2 lbs.
Think Media did a review of Ikan’s MS-Pro Beholder that shows you all of the features in action.
DJI Ronin-S (Best Expensive Gimbal)
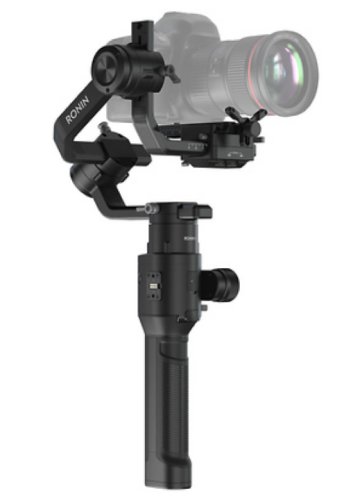
The DJI Ronin-S is not for the faint of heart given its price tag of $750, but if you need a gimbal that provides the most flexibility, this is it.
It features 360-degree pan, tilt and roll angles, can carry up to 8 pounds of equipment and lasts for 12 hours of continuous shooting.
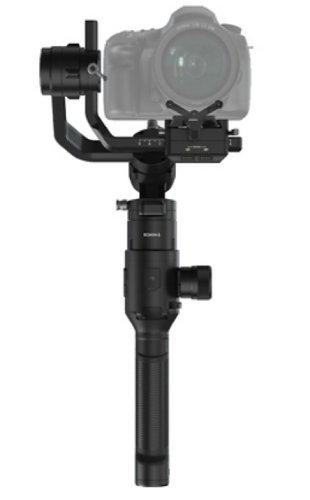
It weighs just over 4 lbs itself, and can act as a stabilized remote head when mounted to a jib. Plus, it can mount to an RC buggy to grab really low-angle shots.
So, no matter what your budget might be, there is a gimbal out there ready to help you get beautifully smooth video footage.
Check out the sample gimbals I’ve listed above, do some more research, and get the gimbal that best suits your needs.
Learn More: