Golden Hour Photo Tips
- What Time is Golden Hour?
- What is Golden Hour Light?
- The Light Quality of Golden Hour
- The Science Behind the Quality
- Golden Hour Photo Tips
- Golden Hour Camera Settings for Landscapes
- Golden Hour Portrait Photography Settings
- Golden Hour Cityscapes
- Use HDR During Golden Hour
- Golden Hour Leads to Blue Hour
- Golden Hour Photography Is Beautiful Photography
- 9 Spectacular Sunsets That Highlight the Beauty of Golden Hour
- Can’t Wait for Golden Hour? No Problem, Just Fake It!
- Landscape Photography Techniques You Need to Try
- Add Interest to Your Landscape Photography by Shooting During Blue Hour
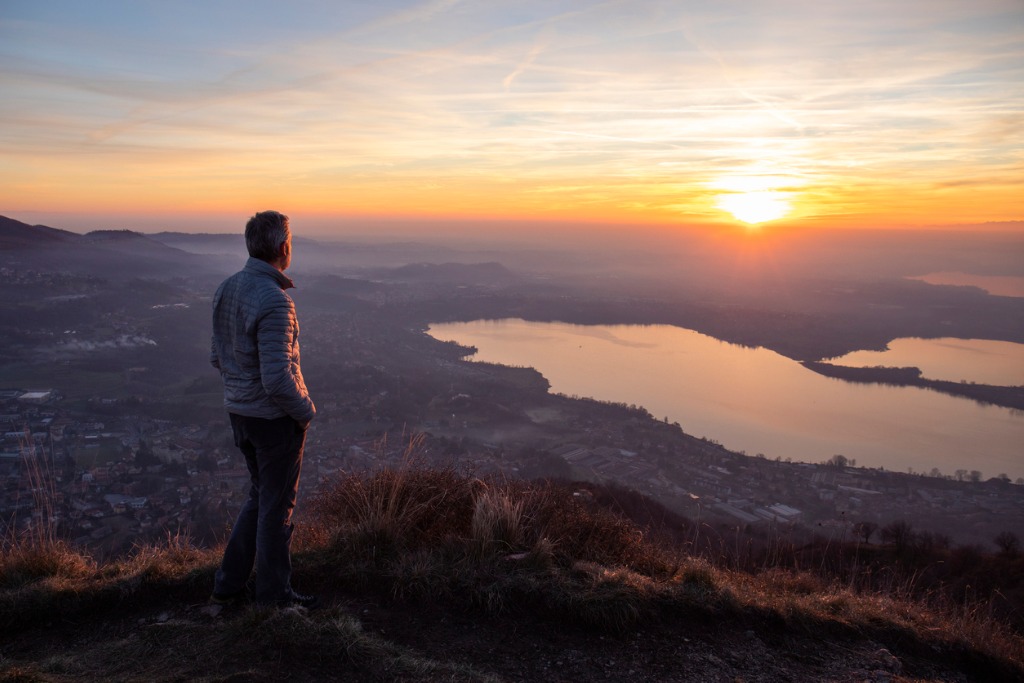
photo by deimagine via iStock
Ah, Golden Hour… One of the most revered times of day for photographers from the early days of glass plates, though the film era, and continuing on in this digital age.
Beginner photographers hear all sorts of terms about photography. Golden Hour, Blue Hour, Sunny 16 Rule, Rule of Thirds, Golden Triangle and S Curve in composition, the Exposure Triangle, Law of Reciprocity, and so on.
Each of these terms has an important meaning behind them. It is beneficial to understand them to have a better grasp of the actual processes of photography. You don’t have to memorize them, they aren’t hard and fast rules. More like guidelines. But knowing when and how to use them will improve your photography.
Table of Contents
What Time Is Golden Hour?
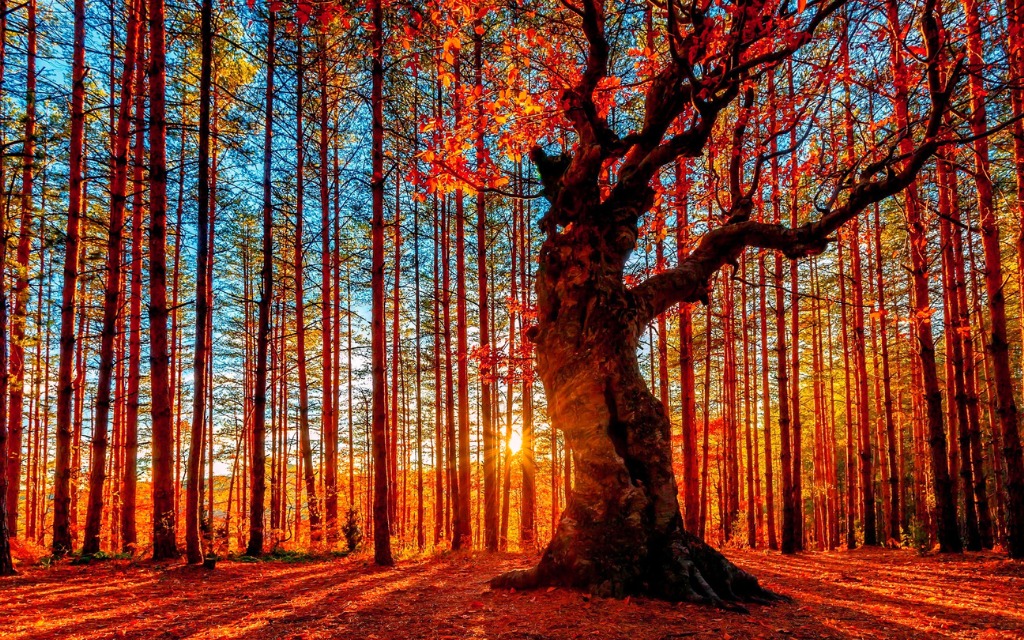
photo by corradobarattaphotos via iStock
Golden Hour refers to a time period in the day, but in reality it refers more to a quality of light during that time. The time of day is before sunset or just after sunrise, but not when the sunset or sunrise colors are prominent.
Depending on the season and the latitude of your location, Golden Hour can be from around 25 minutes or so to an hour and a half, so hour works as a good label. Sunlight takes on a specific quality during this time of day.
What Is Golden Hour Light?
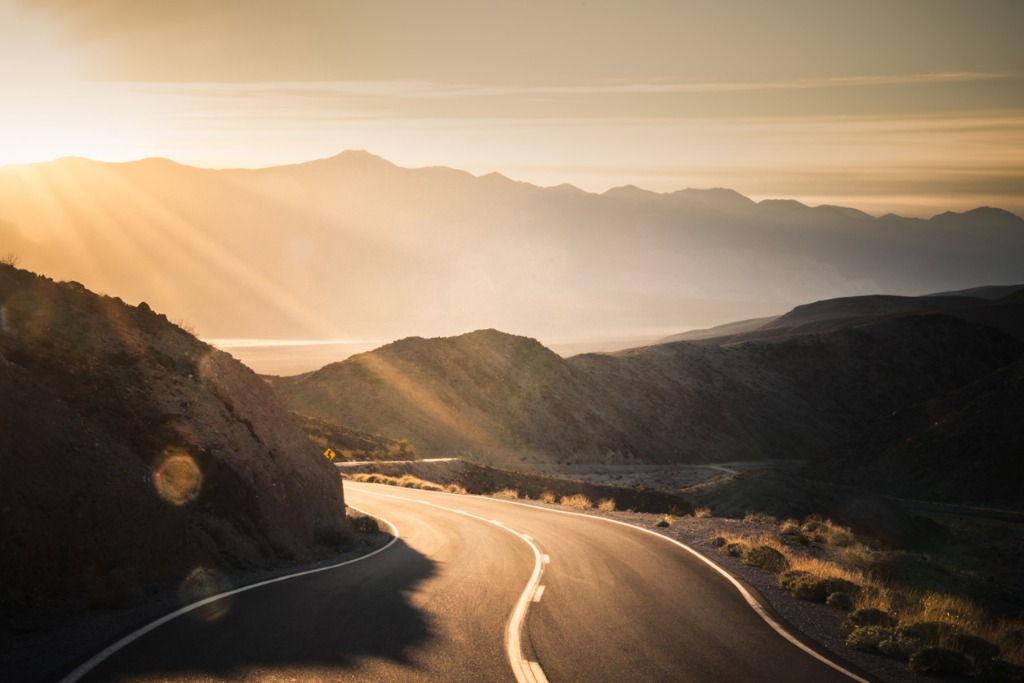
photo by Wildroze via iStock
The specific quality of light the Sun produces during Golden Hour is dual in nature. Compared to having the Sun high in the sky, golden hour light is both warmer and diffused. Why is this so?
During the majority of daylight hours, the Sun is relatively high in the sky from our perspective. We expect colors to look a certain way and we see shadows with hard, distinct edges, and our brain is programmed to accept this as normal.
The Sun, though millions of times larger than our home planet Earth, is a point light source. Lighting tip: it’s those sharp shadow edges that tell when light sources are point or not. You can see this in your home studio when you use straight flash or bare bulbs versus shooting through an umbrella or soft box.
Learn More:
The Light Quality of Golden Hour
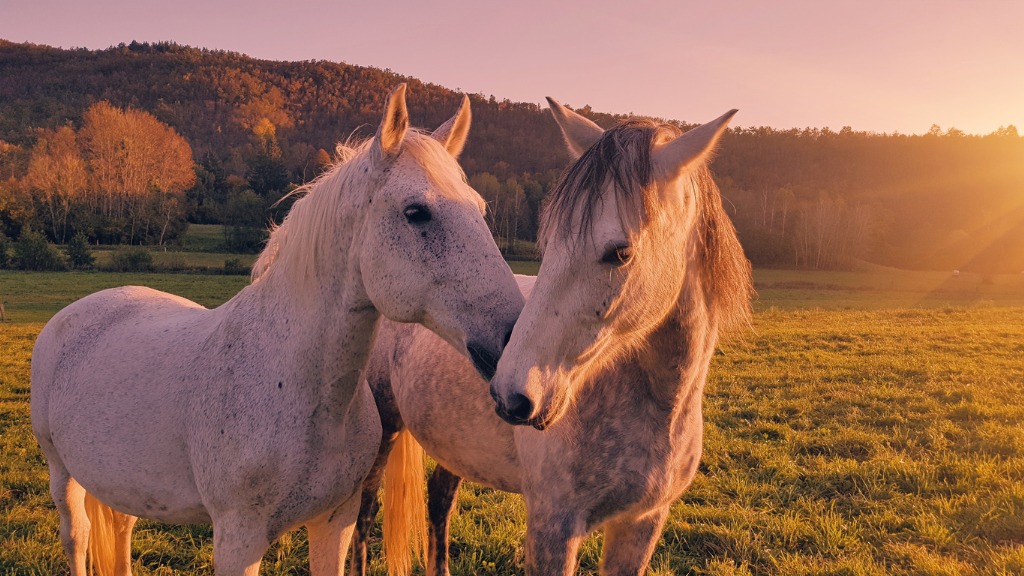
photo by m-gucci via iStock
A point light source produces hard light. Hard light is a quality of light unrelated to color or intensity. A soft light can be bright or a hard light dim, that’s taken care of by your exposure choices. Both qualities are great for photography, but for different reasons.
As the Sun travels through our sky, the atmosphere affects the light. This is due to the angle of the Sun in relation to our location. When the Sun is closer to the horizon, its light passes through more atmosphere than when higher in the sky.
Passing through more atmosphere modifies the light. One transformation is going from a hard light to a more diffused light. It still acts very much like a point source, but it’s as though you passed the light through a screen. So the shadows, while still very distinct, have a softer edge to them.
Just like using a photoflood in an umbrella, if you move the light further away from the subject, the light quality gets harder even though it is more diffuse than a bare bulb.
The Science Behind the Quality

photo by a_Taiga via iStock
The Sun remains pretty far away regardless of time of day. On average, our sun, good ole Sol, is about 93 million miles from the Earth’s orbit. That’s so far that light takes 8 minutes to travel from the Sun to here. So any time of day, the Sun is a point light source, more or less.
Another result of the alteration of sunlight by means of our atmosphere is a change in color temperature. Our sun is a warm yellow star but we perceive its unaltered light as white. That’s just the way we’re wired. Anything else is seen as either warmer or cooler.
Color temperature refers to the relationship of light emitted by a perfect black body radiator and the color it actually takes on due to variables. In less scientific terms, is the light warm looking or cool? This is represented in measurements by degrees Kelvin or K.
Without the direct light of the Sun but lit by the brightness of the sky itself, the light is cool. Observe the difference in your old pictures of scenes or subjects lit by direct sun and those lit by skylight. Skylight has a cooler color temperature than direct sun.
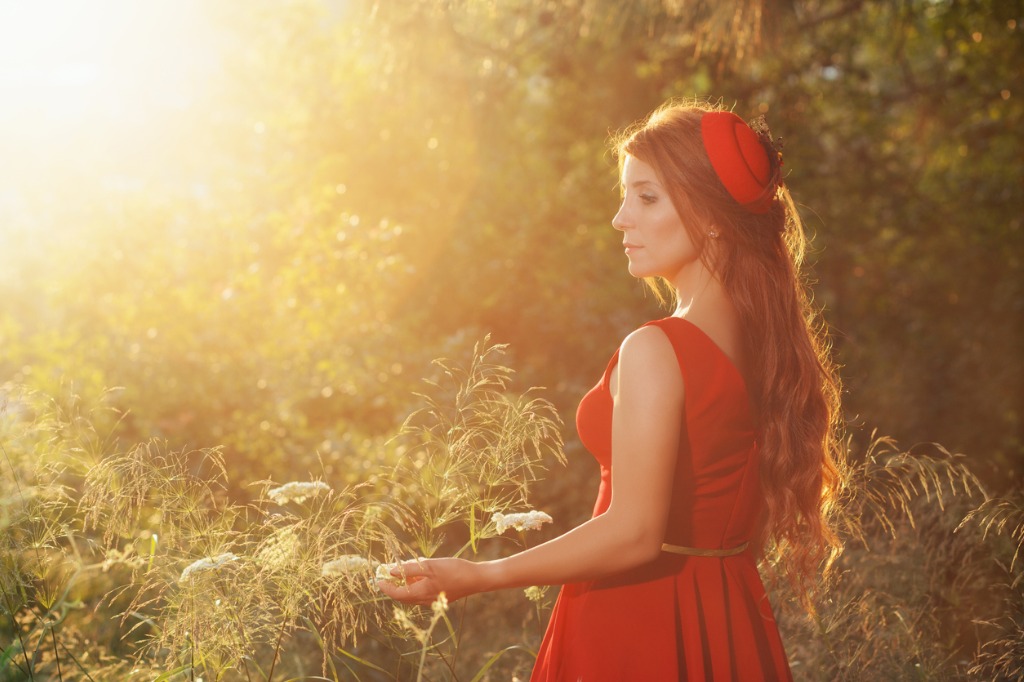
photo by Barcin via iStock
Golden Hour daylight is a warmer color temperature. The lower the degrees Kelvin, the warmer the light is considered to be. Sunlight measures approximately 5600K. Skylight measures 6500K or cooler. Golden Hour light comes in around 3800K or warmer.
The end result of all of this science talk is a realization of why Golden Hour light is so special. It’s natural sunlight, but is softer, a little less intense, and warmer in color temperature. Which makes it perfect for certain types of photography.
Learn More:
Golden Hour Photo Tips

photo by DieterMeyrl via iStock
Now that we understand what golden hour light is, let’s put it to use. An important consideration for golden hour photo shoots is that it doesn’t last long. On average, you’ll probably have under an hour to take advantage of the peak time for this beautiful light.
Planning is necessary for a successful golden hour photoshoot. If considering a landscape or scenic photoshoot, you should see what spots will make a good vantage point for your intended images.
You will also need to see what the terrain is like so you aren’t surprised by anything. Your excursion will probably either begin or end in darkness.
Same idea for portraits. Scouting out ahead of time is a good practice for any limited timeframe photoshoots. You can take notice of any interesting parts of the scenery to include or pose around. Again, notice any possible hazards that you might not see in lower light.
Golden Hour Camera Settings for Landscapes
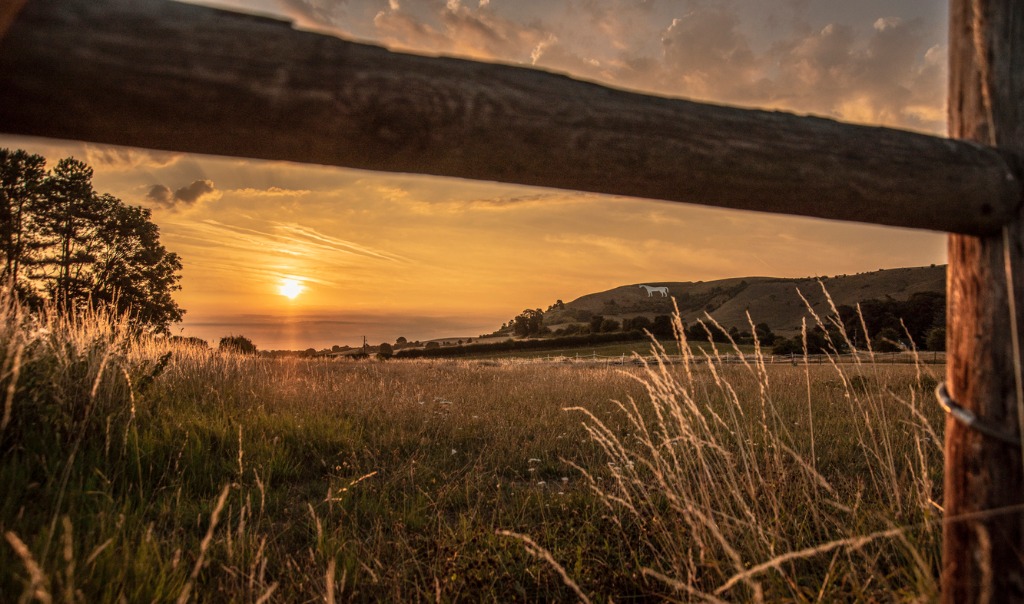
photo by AnettaNecia via iStock
Before we go any further, I highly recommend shooting your golden hour images in RAW. Your camera RAW image files hold much more exposure information than a Jpeg does. This gives you a lot of latitude to adjust your files in a post processing program.
Since your subject for a landscape is relatively static, you really have a lot of room for various exposure settings combinations.
If you are attempting some selective focus effects, a wider aperture is used, meaning your shutter speeds will be shorter to compensate. To capture deep depth of field, you’ll be using smaller f-stops, so shutter speeds will be longer.
Along with the warmer, more diffused light quality, the intensity is lowered some as well. A couple of words of caution are appropriate here. Any time you are using longer shutter speeds, a tripod becomes a valuable tool for sharper images.
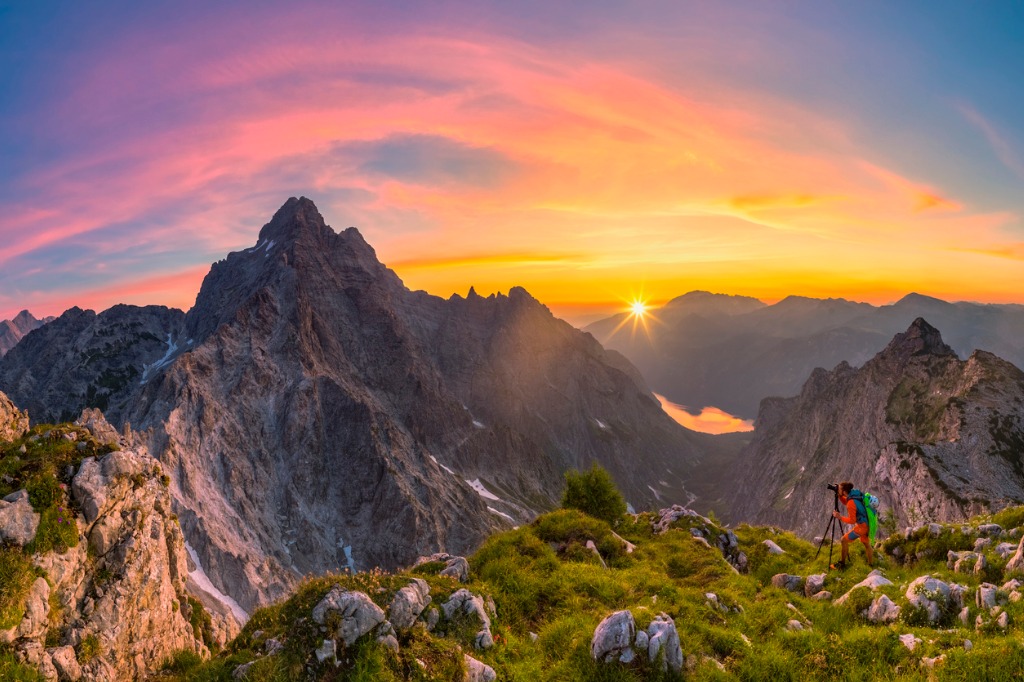
photo by DieterMeyrl via iStock
The other caution concerning the lower light intensity, it’s not really that low. You are still using the Sun, so if you are under the impression that f/1.4 at 1/15th of a second and ISO 1600 is a good setting to start with, well, no. Those photos will be completely overexposed.
Exposure settings may need to be changed rapidly, though, so stay aware of the light. If your camera is on automatic, the meter may be fooled by large expanses of light or dark, which is why some photographers prefer manual exposure during Golden Hour photoshoots.
But what is accurate exposure at the start of the shoot won’t stay constant as the light fades. At the close of Golden Hour, light will fade rapidly. Another reason to scout out ahead of time, to practice what settings are best.
Learn More:
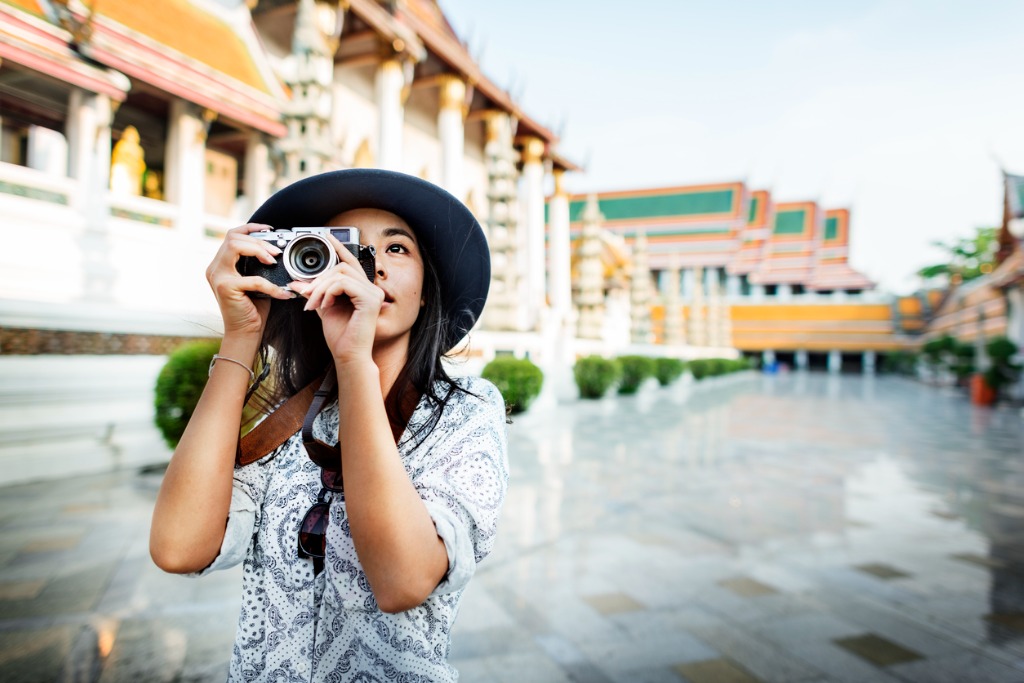
Golden Hour Portrait Photography Settings
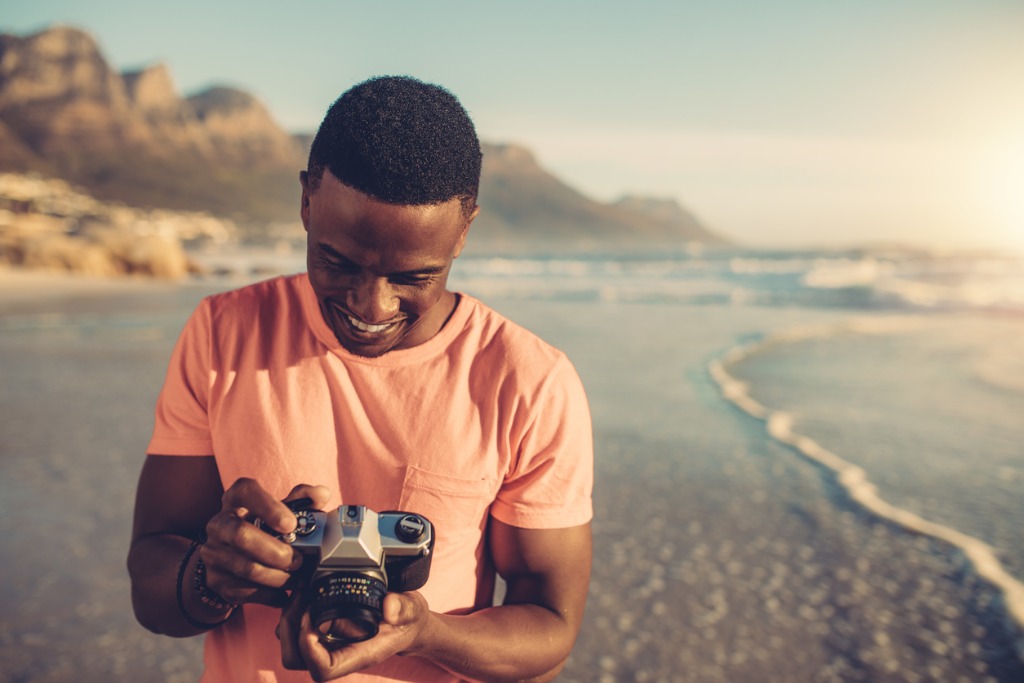
photo by jacoblund via iStock
This is one of my favorite times to take outdoor portraits. The beautiful light makes virtually any subject glow with a calm attractiveness. Seriously, it doesn't matter what type of skin, what age or gender, or what skin color, golden hour portraits are awesome.
For many subjects, a combination of wide aperture for selective focus and fast shutter speed to allow for the model to move around comfortably works out well.
You can adjust your camera and subject position for various styles of portrait lighting. Have the subject face the light for an evenly lit portrait. Turn them to the side and now you have a golden hour split lighting scenario.
Have the sun behind them for either a warm silhouette or add a reflector for a subject that pops out of a bright background. All are beautiful methods which will yield superior results.
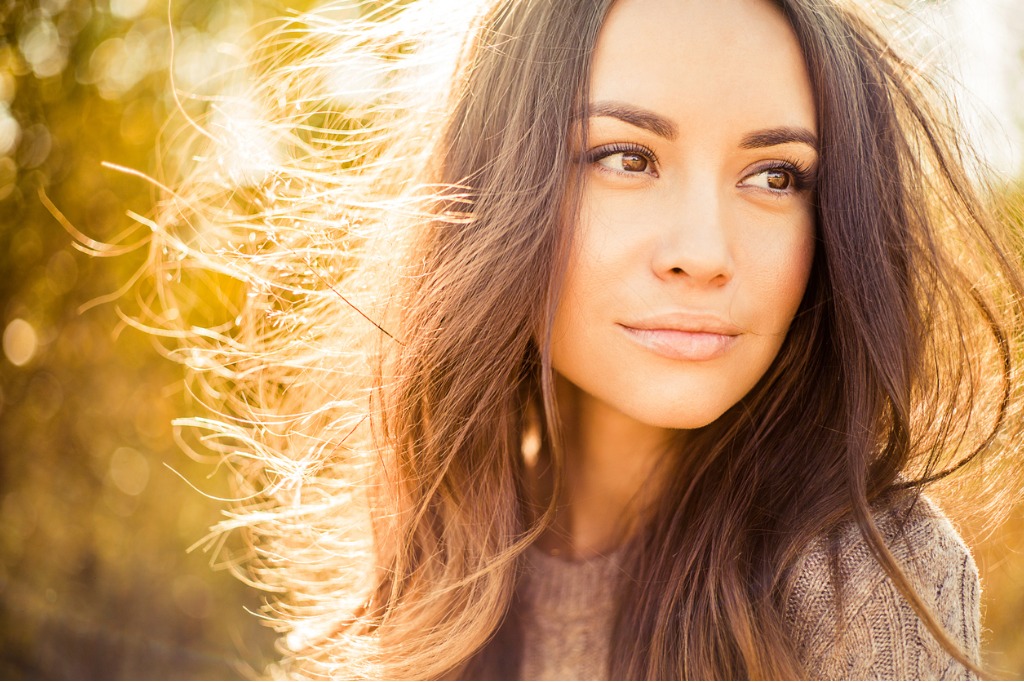
photo by soup__studio via iStock
Another option for golden hour portraits is fill flash. In this instance, I highly recommend TTL flash automation, but maintain control with exposure or flash compensation.
With all of this going on with you, your camera, and your subject, keep in mind that time is limited. Move fast but maintain control. Some photographers tense up with time pressures. Golden hour will give you good results from beginning to end, just don’t lose track of the time. Relax, but keep shooting.
My number one tip for golden hour portrait photoshoots is twofold. Besides your camera and subject, bring a reflector (gold if you have it but any color will work) and bring an assistant.
The reflector will throw in the fill light that is needed in many instances to balance out shadows and highlights. A simple collapsible round reflector is perfect for the job.
The assistant will be your camera bag, subject poser, reflector holder, and can keep track of how much time you have left. A photographic assistant. If you have the means, by all means get one! Sometimes I trade out with other friends as their assistants and then they assist me. That way, we don’t have to worry about financial compensation. If you’re shooting portraits for profit, include that in the bid or budget.
Golden Hour Cityscapes
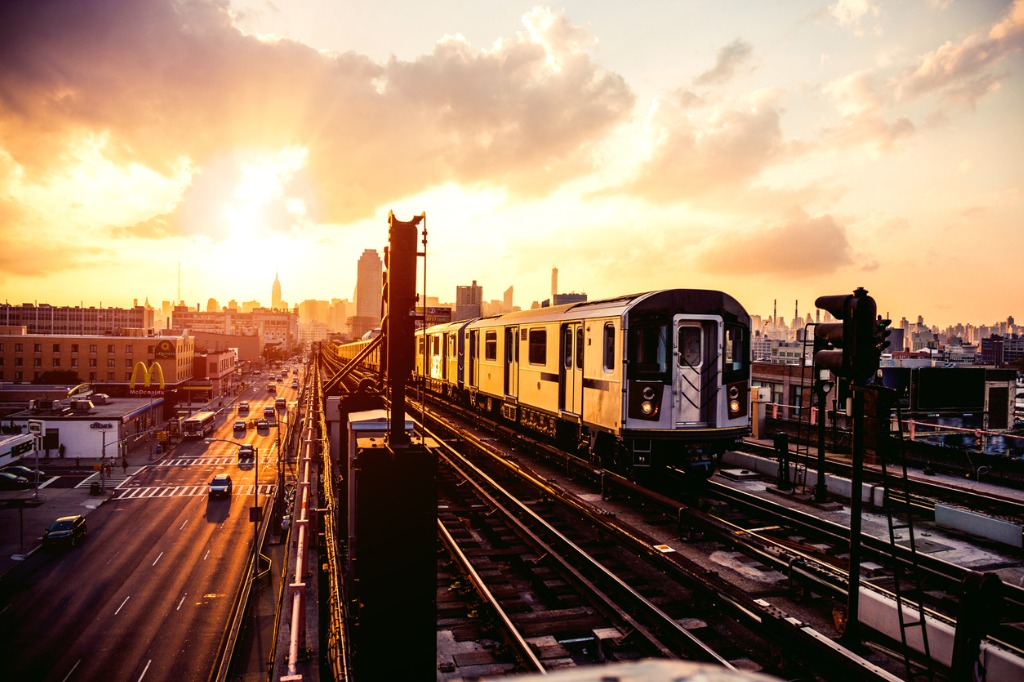
photo by LeoPatrizi via iStock
A city view, or any type of architecture, can become a work of art when shot during golden hour.
You will really need to scout out ahead of time for city or urban views. City streets can become tunnels of light and dark at this time of day. Consider which direction your desired subject faces to determine if you need morning golden hour or afternoon golden hour.
A tripod is invaluable in these situations. Since you have your tripod out already, let’s move on to the next idea, HDR golden hour photos.
Use HDR During Golden Hour
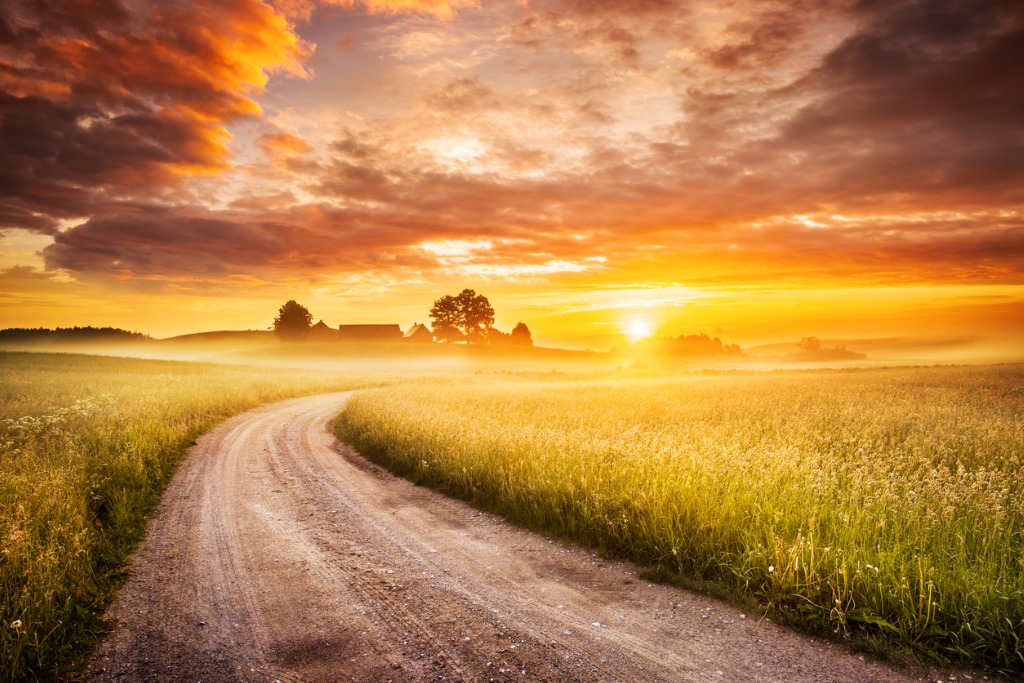
photo by konradlew via iStock
High Dynamic Range (HDR) photography is one of the best things to come about with digital photography. Besides the other worldly super artsy effect you can get with it (some people like that effect, some don’t), HDR is also able to render a scene that looks completely natural but encompases a wide range of light to dark exposure values.
Especially in landscapes and cityscapes is HDR a good option, but it can even be used in portrait photography. Simply have the subject hold still for a second or two. The results can be phenomenal.
If you are unfamiliar with HDR, it is a method or technique that blends together different exposures to extend the range of light to dark that can be captured in the image.
Learn More:
Golden Hour Leads to Blue Hour
photo by AndrewSoundarajan via iStock
Or vice versa, depends on whether you are shooting in the morning or evening. Blue Hour is the short time period when the Sun is below the horizon but the sky is still bright.
While Golden Hour light quality was quite warm and you could use hand holdable shutter speeds, during Blue Hour the color temp changes wildly depending on the direction you’re facing and how far below the horizon the sun is.
It’s another time of day to use to your advantage for outstanding views of the world around you. I like to schedule my Golden Hour and Blue Hour photo shoots together, since they come together already during the day.
Golden Hour Photography Is Beautiful Photography
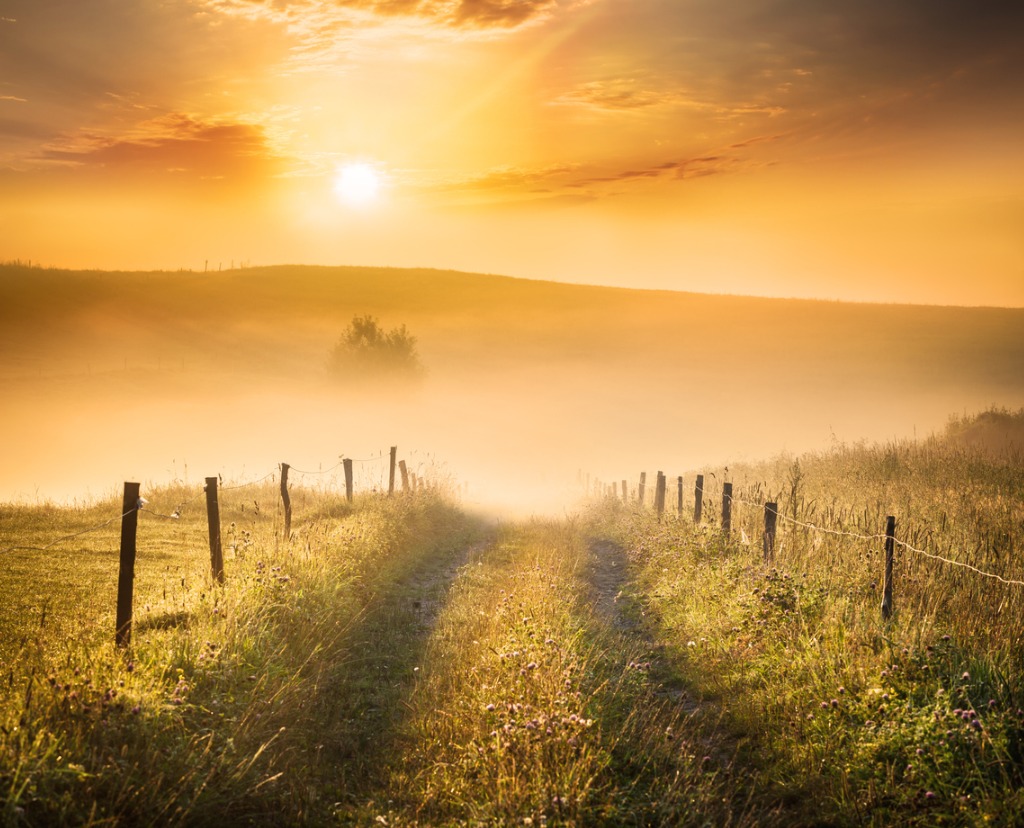
photo by konradlew via iStock
Regardless of your subject, with whatever equipment you have, even at any skill level you are at as a photographer, Golden Hour will provide you with endless photographic beauty and enjoyment.
Well, maybe not endless. For at least about an hour or so!