How to Photograph Real Estate in the Winter
- Basic Camera Settings for Real Estate Photography Exteriors
- Professional Real Estate Photography Kit: What’s in the Camera Bag?
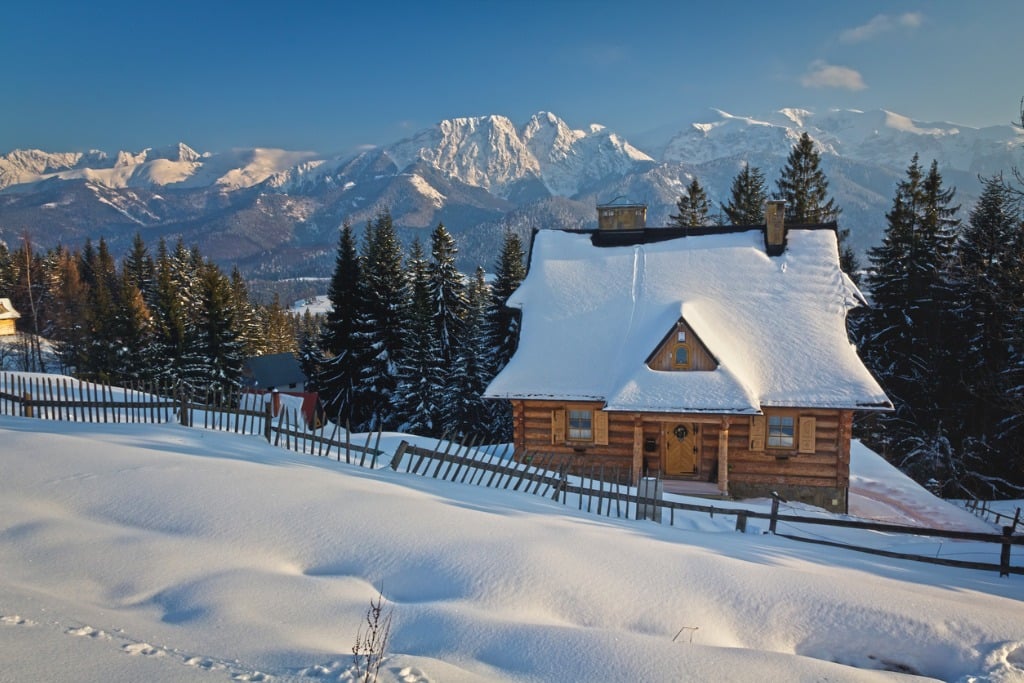
photo by ewg3D via iStock
In climates in which winter means cold air and a blanket of snow, real estate photographers have to get creative to capture the best images.
There are plenty of challenges, too: unattractive piles of snow, iced-over walkways, flat light, and exposure challenges that come with photographing a mostly white scene.
These obstacles can be overcome with the right approach, though.
In this tutorial, you’ll learn a few essential tips on how to photograph real estate in the winter.
Timing is Everything
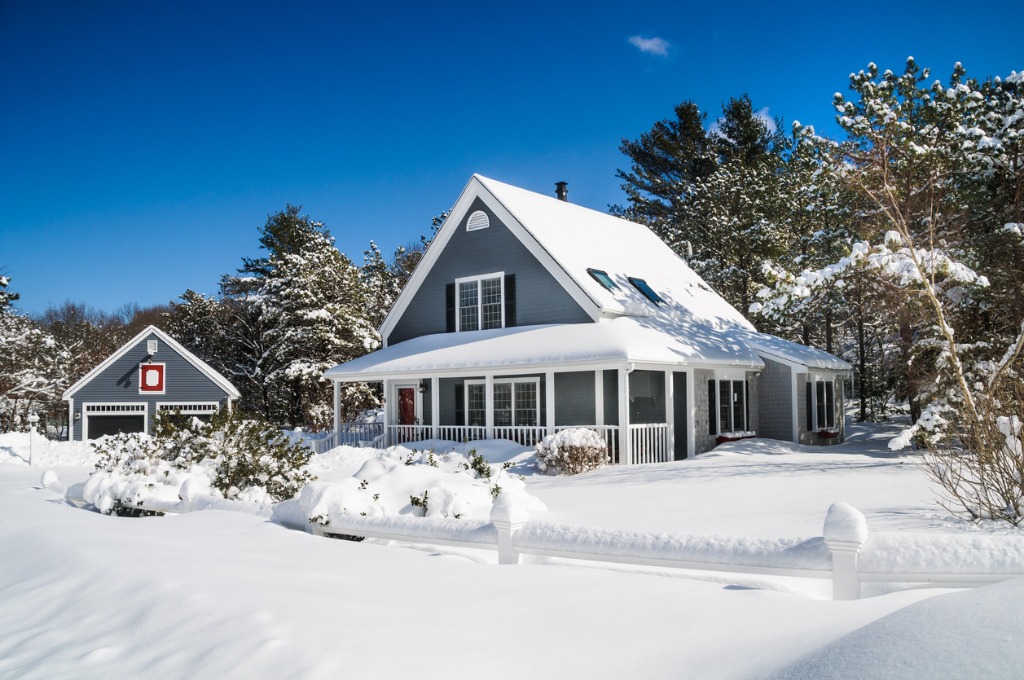
photo by KenWiedemann via iStock
If you’re faced with photographing a home in the midst of a wintery scene, the time of day you plan your photo shoot can make all the difference in the world.
Photographing a home in the middle of the day is often not the most ideal situation regardless of the season. The harsh light can create areas of high contrast with bright highlights and deep shadows that can look unappealing.
Add in the exposure challenges of photographing a snow-covered scene (discussed next), and you have the makings of a potentially difficult photo shoot.
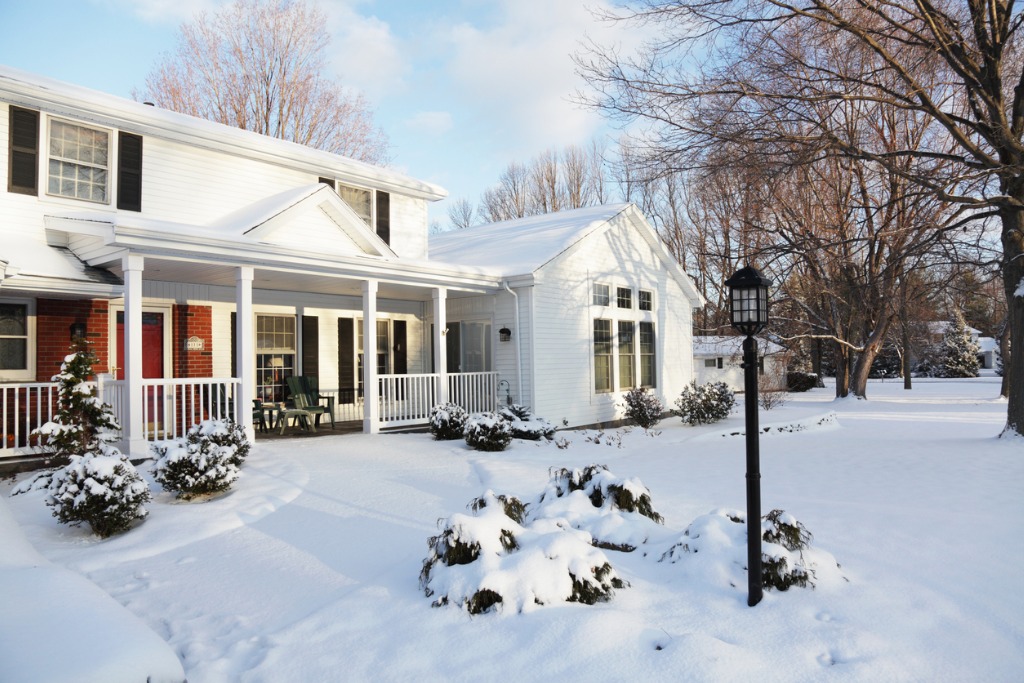
photo by Willowpix via iStock
A better option might be to photograph the property during golden hour when the sun is lower in the sky.
Not only is the light from the sun softer during golden hour, but it’s also warmer in color temperature. This can help offset all the cool tones of the wintery scene.
Quick Tip: Keep an eye on the forecast for snow. If you can photograph the exterior of a property after freshly-fallen snow, the images will have a fresh, clean look that will make just about any property shine.
Learn More:
Watch the Exposure
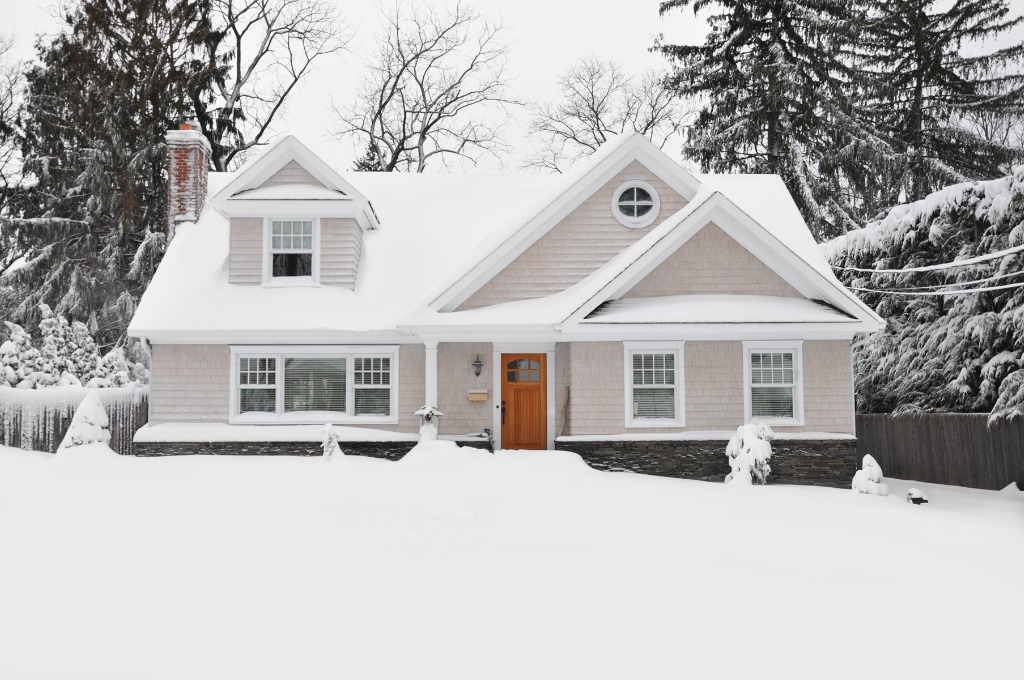
photo by USGirl via iStock
By far, one of the biggest challenges you will encounter with wintertime real estate photography is getting the right exposure.
Your camera is calibrated to base its exposure on 18 percent gray, but when most of the scene you’re shooting is covered in white, it can trick the camera’s meter into thinking the scene is brighter than it actually is.
The result of this is underexposed images that have snow that looks dull and gray rather than crisp white. Wedding photographers have the same problem when photographing a bride in her white gown.

photo by RichLegg via iStock
The trick to overcome this issue is to use exposure compensation. The exact amount of compensation needed will depend on the specific situation, but one to two stops of compensation is probably a good bet.
When using exposure compensation, take care not to overdo it. If you dial in more than a couple of stops of positive compensation, you run the risk of blowing out the highlights in the photo.
Quick Tip: Try using spot metering, metering off the snow, and dialing in +1 EV compensation. That should give you a good starting point for getting a well-exposed image.
Bracketing and Merging Exposures Gets Great Results
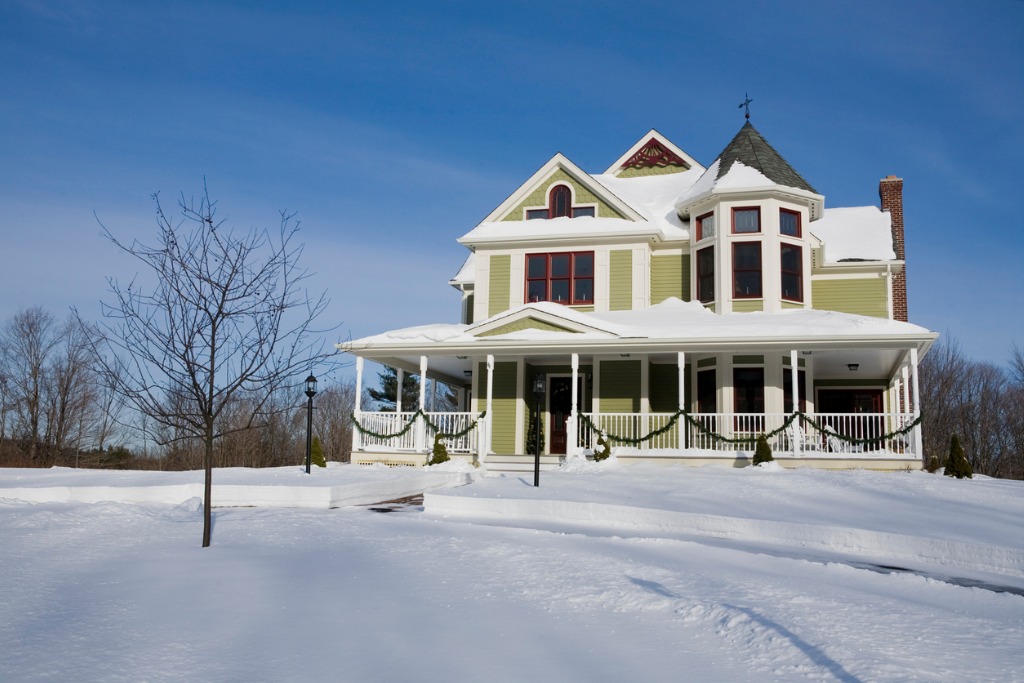
photo by diane39via iStock
An even better option for getting good exposures in the challenging lighting conditions of winter is to bracket your exposures and merge them together in post-processing.
Bracketing exposures is a simple task. Using your camera’s Auto Exposure Bracketing (AEB) feature, dial in +/- 2 EV (or the highest your camera supports). Mount your camera to a tripod, set your camera to continuous shooting mode, and take the series of shots.
By bracketing the exposures, you can better manage challenging winter light - one image in the brackets is slightly underexposed, one is the “proper” exposure, and one is slightly overexposed. Merging these images together in post-processing gets you a final result that is well-exposed throughout.
This method is particularly useful if you have to photograph properties during the daytime when the dynamic range of the scene is its greatest, but it can also be a useful procedure for golden hour photos.
Quick Tip: Not sure how to merge bracketed images? Learn how in this detailed tutorial.
Learn More:
Carefully Compose Your Shots
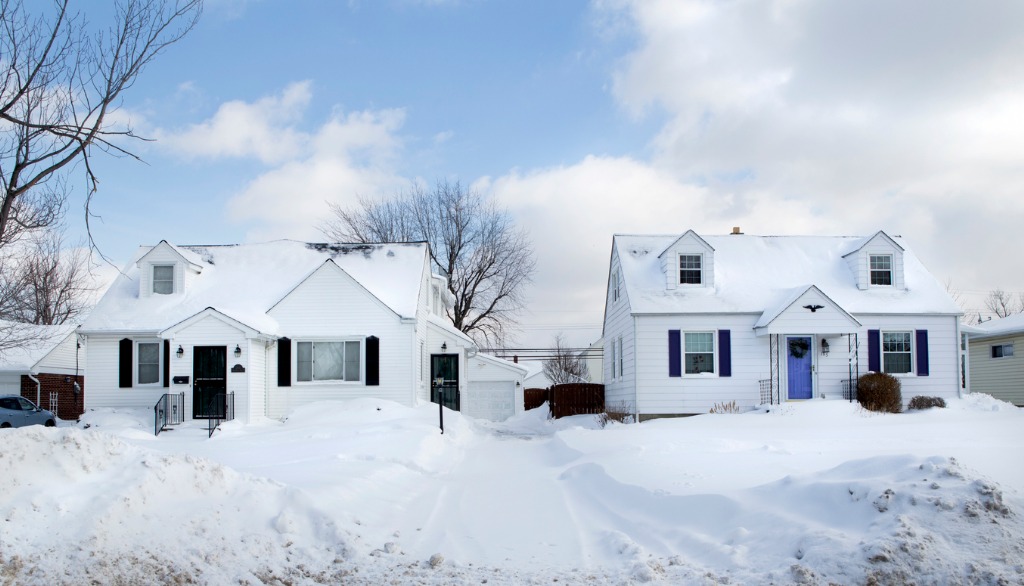
photo by TomFawls via iStock
Unless you photograph a property right after fresh snow has fallen, you’re going to have some unique obstacles to try to overcome.
While fresh snow is beautiful and clean, snow that’s been shoveled into piles is not. Additionally, sand and salt that’s used to melt snow can make sidewalks and driveways look particularly dirty.
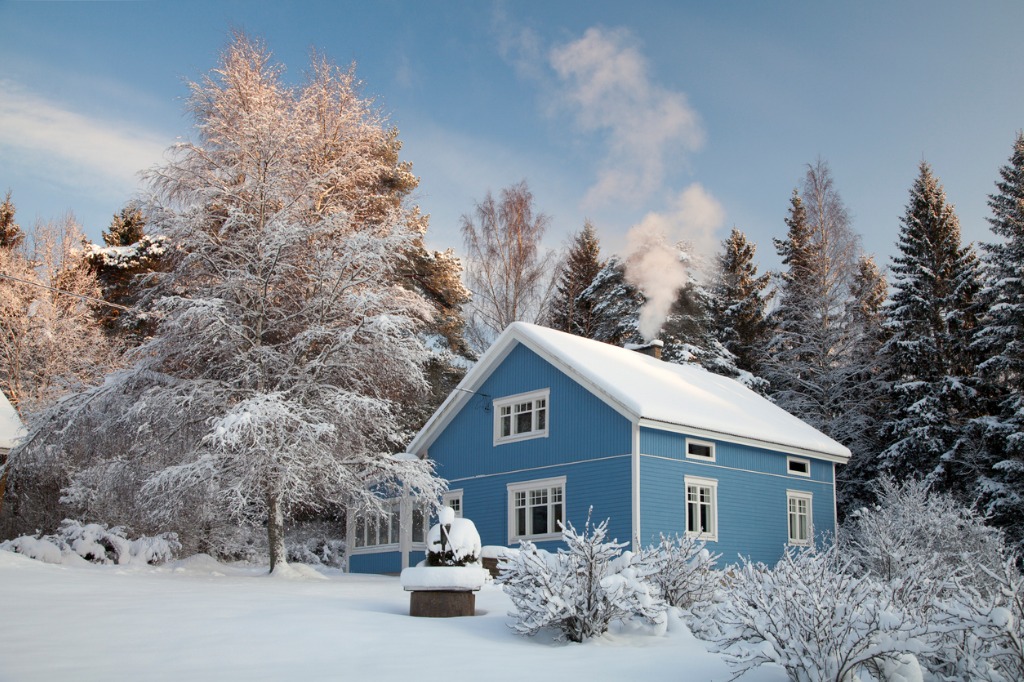
photo by AarreRinne via iStock
To avoid these eyesores, you’ll want to walk around the property to find the most pleasing angles. Look for ways to minimize the impact of snow that’s piled up or has otherwise been disturbed.
Altering the eye level of the shot is a good bet for doing this - dropping the eye level will help mask dirty sidewalks. Photographing the property from the side opposite of the driveway will also do wonders for masking how much potential buyers can see the mounds of snow piled up.
Quick Tip: Do your best to avoid making fresh footprints in the snow. Landscape photographers will tell you that nothing ruins a wintery landscape photo like footprints in an otherwise pristine shot. The same is true for winter real estate photography!