How to Stabilize a Camera When You Don't Have a Tripod
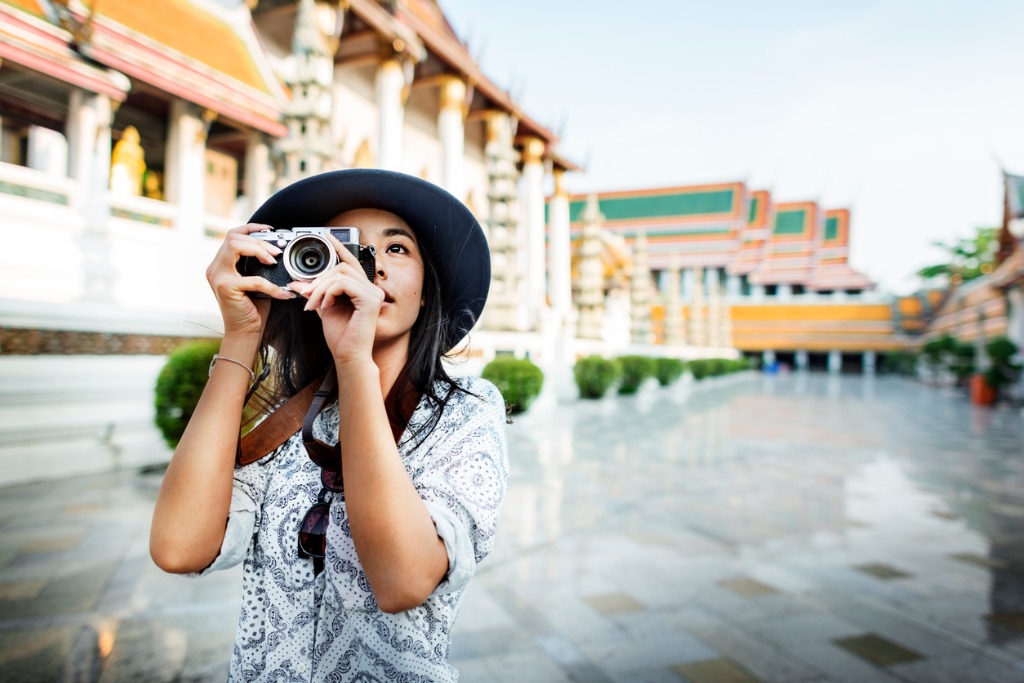
photo by Rawpixel via iStock
It can be really difficult taking photos without a photography tripod, or at least without a tripod substitute. No matter how hard you try , sometimes you really can’t get rid of handshake, and this becomes an even worse scenario when you’re shooting video.
Before I realized the importance of owning proper photography gear, I tried to use all sorts of things as a tripod alternative. Most of them worked out okay...some of them worked out less than okay. On one particular occasion I tried to take some video without a tripod and ended up setting my camera down on a table. Halfway through the shoot, someone bumped into the table and my camera took a four foot fall.
The moral of the story is: don’t be like me. Learn how to stabilize a camera properly without a tripod.
Use Your Body
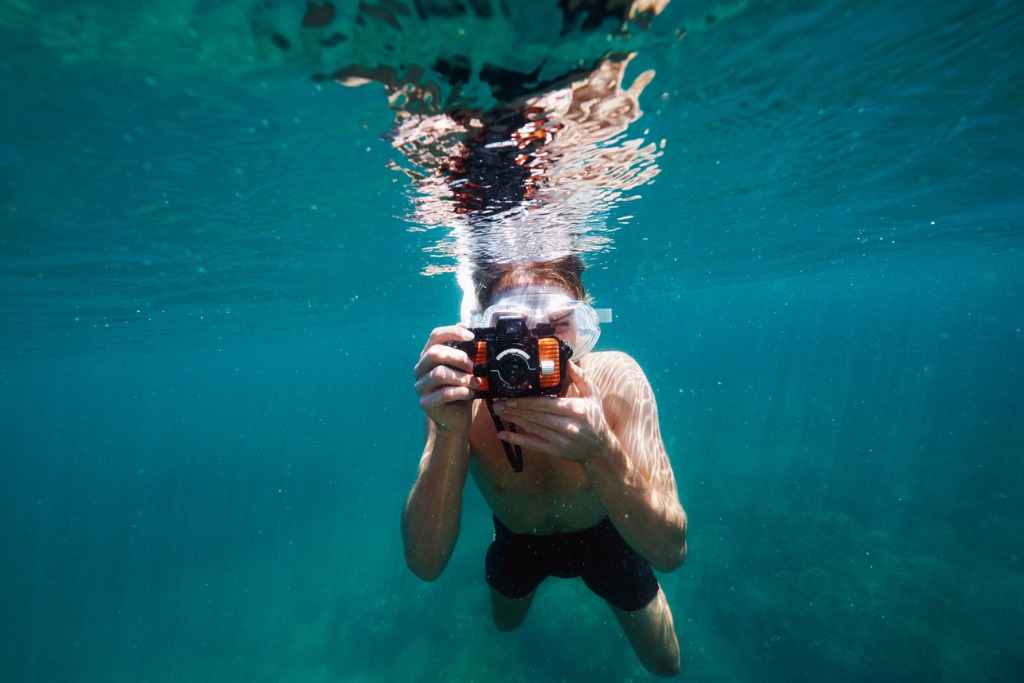
photo by NKS_Imagery via iStock
No matter how many articles you’ve read about learning how to stabilize a camera, the truth of the matter is that sometimes you aren’t going to be able to use anything other than your own body.
There are the extreme examples, like while you’re scuba diving, and then there are everyday examples, like when you’ve forgotten your tripod at home. Both are just as frustrating if you don’t know the proper technique for stabilizing your camera with your body.
The first thing to learn when learning how to stabilize a camera is how to hold your camera properly. You should put your non-dominant hand underneath your camera or around your lens barrel. This allows you to hold it as steady as possible.
Next, you’ll need to get your elbows as close to your body as possible and plant your feet shoulder-width apart. The stability that you find on the ground will travel through your whole body.
Last, exhale before taking your shot, that way the movements of you breathing doesn’t cause the camera to move.
If you need some extra stability, you can also lean against a more sturdy surface, like a wall.
Buy the Proper Equipment
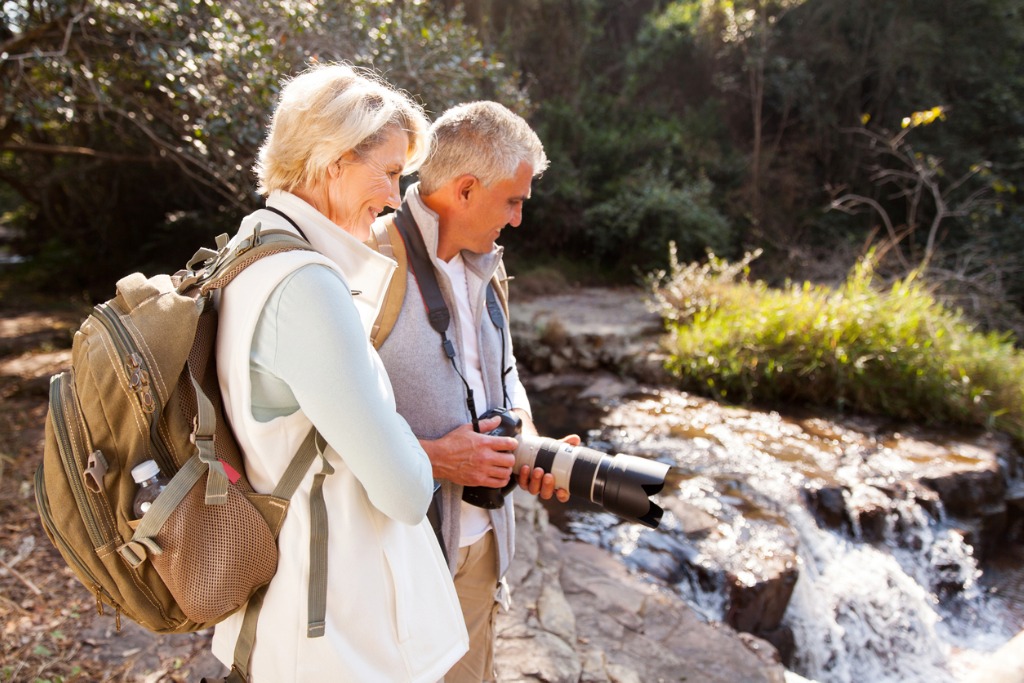
photo by michaeljung via iStock
This is another one of those tips people don’t tell you about when they teach you how to stabilize a camera. A lot of the stabilization you’re seeing in a professional’s photos is likely coming from their camera or their lens and not their shooting technique.
If you’re serious about learning how to stabilize a camera, then you need to put your money where your mouth is and buy the right equipment.
When it comes to camera stabilization, there are two types of equipment you need to know about. The first is your actual camera. Many modern cameras come with in-body image stabilization. This sort of image stabilization will be applied to your photos regardless of the type of lenses you are using. The second is your lens. Different lenses come with optical stabilization which can create even more stable photos.
Depending upon what look you’re going for with your photos, and depending upon your budget, you should likely start your stabilization journey with a trip to the camera store.
Learn More:
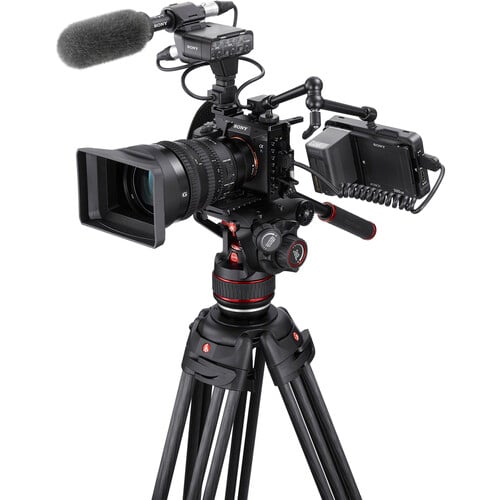
Try a Monopod
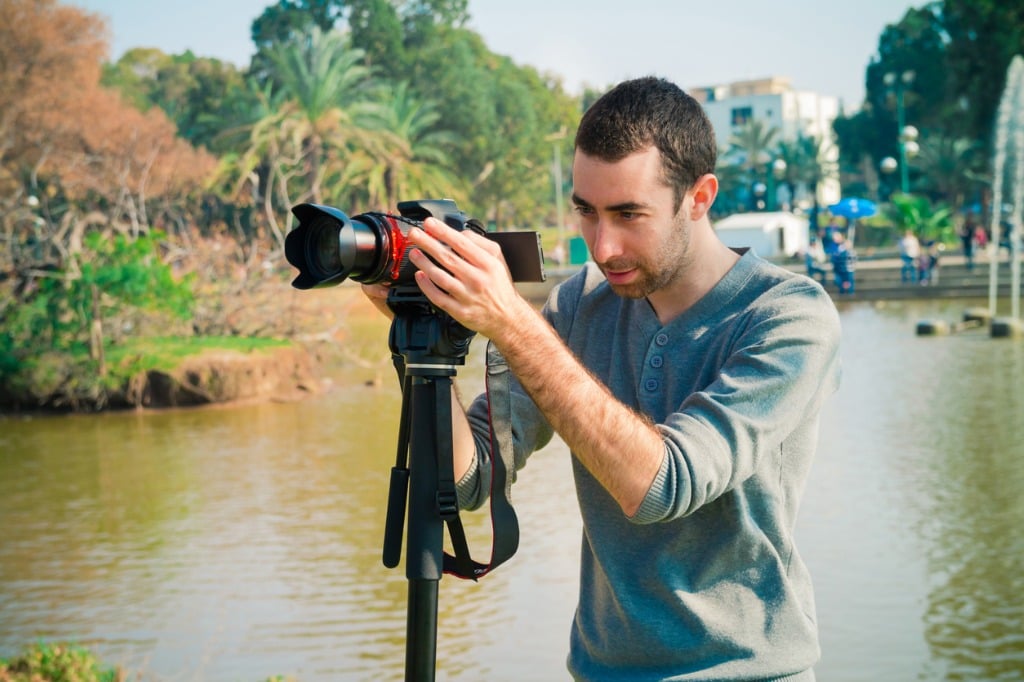
photo by Maor Winetrob via iStock
Tripods are wonderful. They help you learn how to stabilize a camera and they do a mighty fine job at it. But, they definitely have their downsides. Tripods can be pretty heavy, which is not a welcome thing for adventure photographers who are trekking for miles to get to their photoshoot destination. It’s also not a welcome thing for travel photographers who are doing the same thing. Tripods can also be bulky. They might not fit into just any bag and require special attention.
You can figure out how to stabilize a camera without the weight and bulk of a tripod by choosing a monopod instead.
A monopod is like a tripod except that it only has one leg. This means that monopods are light and very easy to store. If you’ve seen a monopod in action before, then you’ve likely seen a sports photographer using one. They can drag their monopods down the field without really thinking about it.

photo by AscentXmedia via iStock
Many monopods are also collapsible, like a tripod, but they can collapse into just a few inches of storage space. For this reason, I’ll frequently turn to my monopod for days that I’m traveling and need to fit all of my photography equipment in my carry on bag.
Since monopods are light and portable, they are also usually cheaper than tripods.
The one issue you may encounter with a monopod is that they obviously are not as stable as a tripod. They only have one leg to stand on, so if that leg gets knocked, the camera will come crashing down. So, you’ll need to be more hands-on if you’re planning on shooting with a monopod.
Try an Octopad
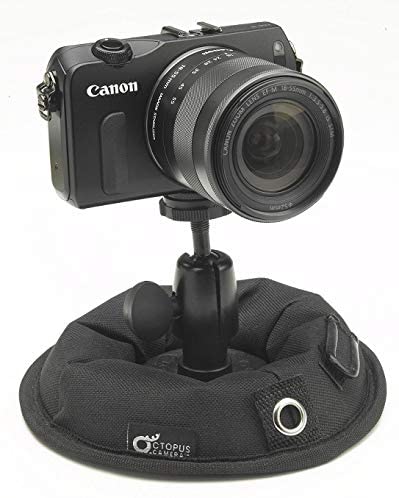
If you’re looking for a different kind of tripod alternative, then you should also look at the Octopad.
The Octopad basically takes the best characteristics of a tripod and the best characteristics of a monopod and smashes them together to create one of the best camera stabilization tools available on the market today.
The Octopad features just one leg, like a monopod, but it features the stability of three legs because it sits on a non-slip, circular mat. It’s the best of both worlds!
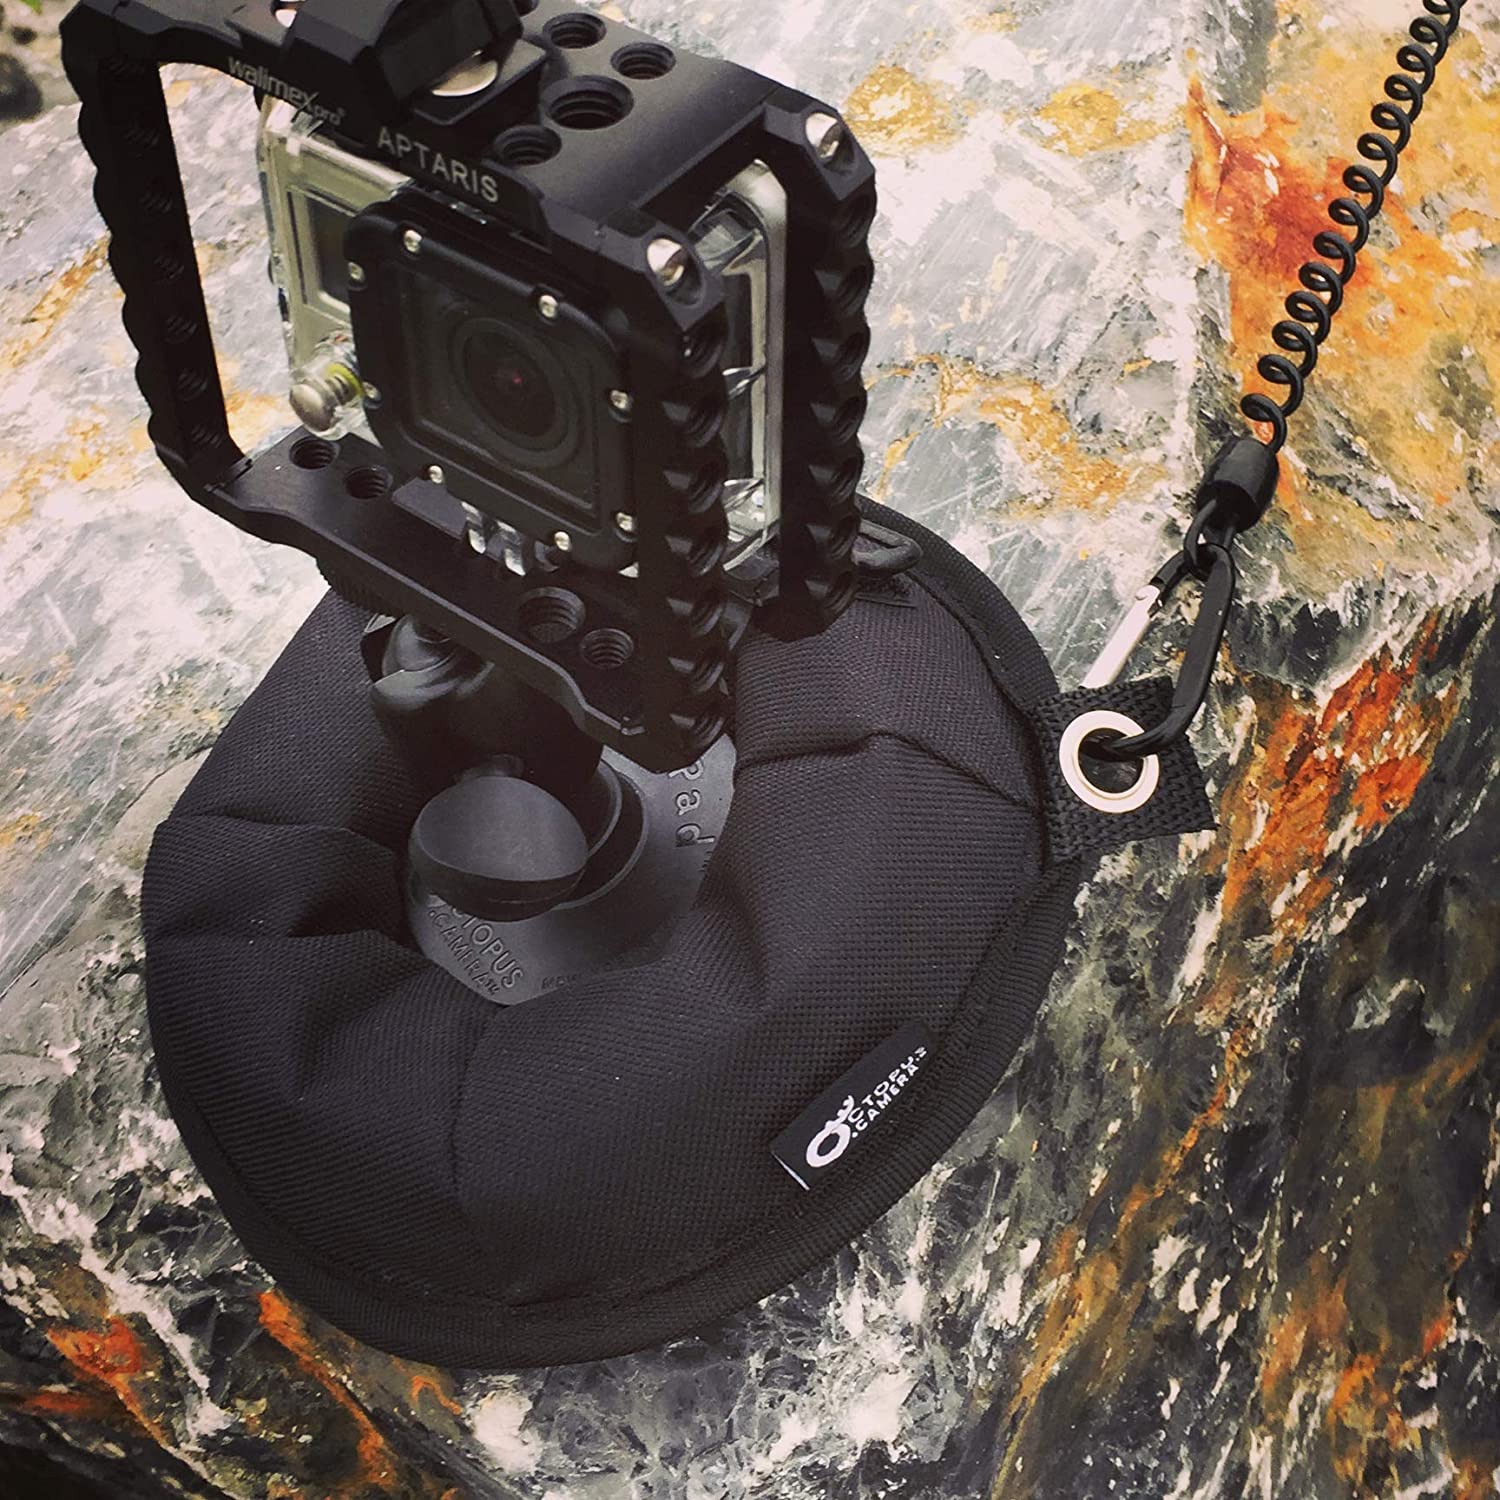
Because of its design, you can use an Octopad to hold your camera, your smartphone, your GoPro, your lighting, or your microphone. Since the mat is extremely grippy, it’s the perfect option for photographers who are on the move.
The makers of the Octopad were essentially fed up with using different tripod alternatives that would lose their suction or tip over or collapse under weight. So, they created the Octopad as a better tripod alternative.
But, the Octopad is also so great because of just how inexpensive it is. High-end tripods and high-end monopods can run into the hundreds of dollars, but the Octopad is just $27.