How to Turn Photos Into Wall Art
- How to Create a Gorgeous Large-Format Print
- A Beginner’s Guide to Getting Awesome Prints
- Beautiful Printing Options for Your Favorite Photos
- Why Your Images Need to Be Professionally Printed
- Top Tips for Getting Professional Prints of Your Photos
- How to Impress Your Photography Clients
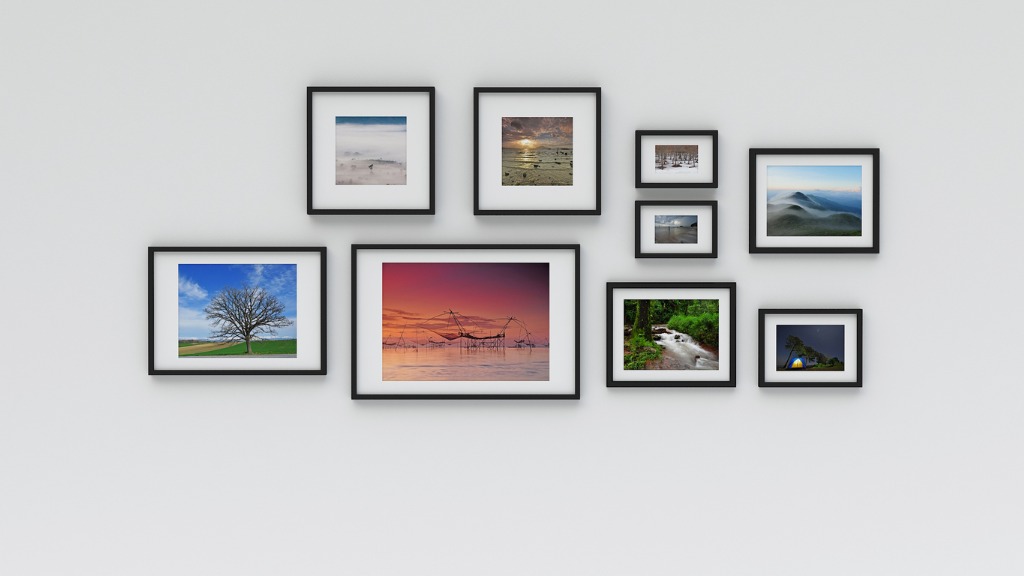
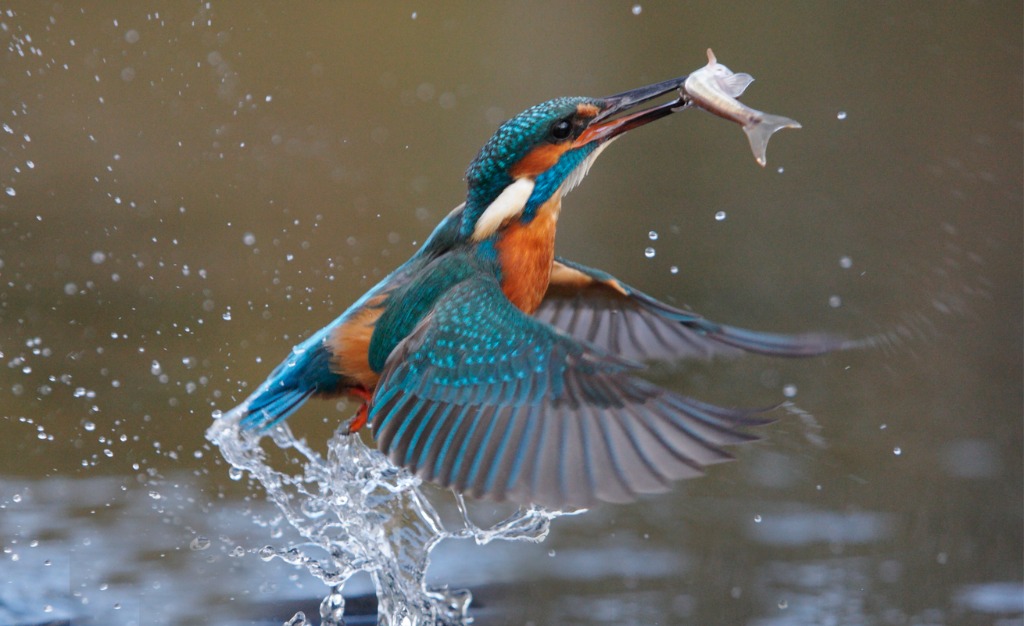
photo by Baitong333 via iStock
The next time you’re in a hospital lobby, law office, or local coffee shop, take a look at their wall art. More often than not, the wall art is photography. The reason decorators turn photos into wall wall art is because it looks good. It really makes an impression to see large, well crafted photo prints displayed on a wall.
Naturally, a question or two will come up, especially with newcomers to serious photography, concerning how to turn photos into wall art, the best options for how to print your photos, and does it make sense to do it in the first place.
What Makes Good Photographic Wall Art?

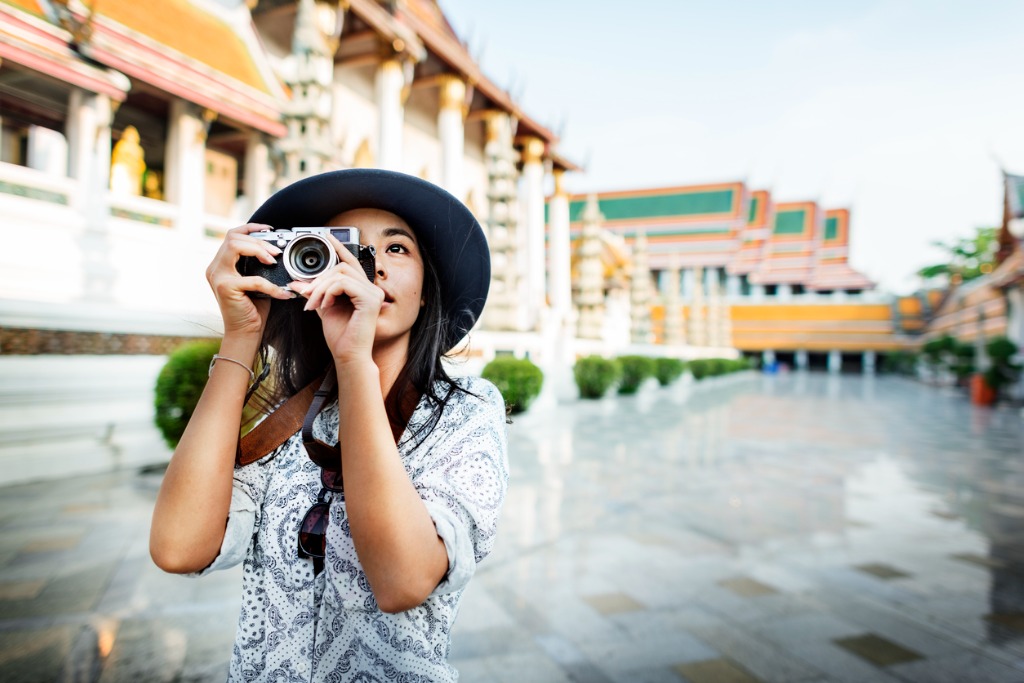
photo by Drazen_ via iStock
We’ll tackle this question from the perspective of beginner photography tips, but anyone who hasn’t yet made any of their photos into large physical prints will also benefit from considering these photo printing ideas, even if you’ve been a serious photographer for a long time.
There are 4 basic ideas covering how to turn photos into wall art, though there are many other aspects one could consider.The ideas are: high resolution files, pleasing composition, interesting subject matter, and using a great printer or printing service.
You already have a nice camera and lens and you’re already a good photographer, so we’ll discuss those 4 things considering your existing skills and talented eye are a given.
High Resolution Files

photo by Pheelings Media via iStock
In order to make a large print from a digital file, the file needs to be high resolution. It’s the same as making giant prints from a small film negative, the negative needs to be the highest quality possible.
Sometimes, when we talk about digital cameras and creating a high resolution, high quality image file, we might get caught up in thinking we need more and more megapixels in our camera’s sensor. However, that isn’t necessarily required.
Way back in 2001, Canon released the EOS-1Ds with an 11.1MP full frame sensor which was tested as beating the incredible resolving power of 35mm Kodachrome 25 film, then an industry standard for high quality.
Notice that it was an under 12MP sensor that beat out one of the 35mm films ever. And photographers could print incredible sized prints from 35mm Kodachrome. There was a 20 by 30 foot billboard in New York City advertising the Nikon House back in the 1970s that was made from a 35mm Kodachrome slide. By 2002, pro digital cameras had beat that.
The point is, whatever current or fairly recent DSLR or mirrorless you’re using right now is even better than that 2002 (19+ years old) camera sensor.
Learn More:
How to Get High Resolution

photo by freemixer via iStock
Yes, the MP count has something to do with being able to capture high resolution files, it does need to be good enough for our needs. But our technique and our methods also play important parts.
Part of good technique for high resolution is accurate focus. Our cameras have incredibly accurate and rapid autofocusing but it sometimes helps to tweak the focus or to focus manually. Tweaking the focus may mean choosing the best AF point, adjusting the focus ring for a slight change, or manually calibrating our camera and lens for optimal focusing performance.
Focusing manually and being precise might be in order for certain situations. Making use of the external viewscreen and the magnifying function can help us achieve exact focus. To get best results with this method, a tripod is instrumental.
A tripod also allows us to eliminate any camera motion causing an unsharp image. Regardless of image stabilization functions or good hand holding technique, the one tried and true method for reducing or eliminating camera movement resulting in a lack of sharpness is to use a tripod.
Pleasing Composition

photo by Antoniooo via iStock
Printing a very large photo tends to highlight the good points of an image composition, and it also shows any weaknesses in the composition.
What makes good composition? There are two ways to go with composing an image. We can either strive for a comfortable balance or we can make an interesting statement.
Many of the commonly used photographic compositional techniques can go either way, which is part of what makes photography so fun.
A simple composition method like the Rule of Thirds is often used to create balance while another simple technique such as Negative Space can make a statement. Oftentimes, we can actually combine two or more rules of composition in order to craft the best possible image for creating a very large print as wall art.
Interesting Subject Matter

photo by tobiasjo via iStock
Even though you did everything perfectly right, if all of that effort is done for a subject that isn’t interesting, it won’t make good art. To turn photos into wall art, the photo should be interesting as well as well exposed, properly focused, and composed well. Otherwise, it’s just a big picture.
Use a Great Printer

Now that we have the image file that will make a nice large piece of wall art, we need to turn it into that wall art. To turn photos into wall art, a printer that takes advantage of the high quality file is needed to make the end result of a high quality print.
While I really like having my own pro quality printer, there is no way I can print everything I want from my files. I am limited by the size of my printer, what printing papers I have on hand, and the types of materials I can print on.
So, I also use a quality online photo printer. A high end online photo printer service offers me multiple size options and also several types of papers and materials. Besides different photo papers, an online photo printer might also be able to make canvases, metal prints, and acrylic prints.

One that I’ve been taking advantage of for a while is Artbeat Studios who make prints from paper, metal, canvas, and acrylic, plus they make frames for their prints. The sizes offered run from 8 x 8 inches up to 40 x 60 inches which is 3 ½ by 5 feet! That’s nice sized wall art.
In addition to their fine selection of photographic papers, Artbeat Studios makes metal prints, canvases, and acrylic prints. They actually won our 2020 Metal Print Shootout and I’m eager to see who leads our upcoming new metal print shootout.

As good as their products are, other reasons to use them to turn photos into wall art are their excellent customer service and quick turnaround time, use of superb materials, and finally their excellent craftsmanship.
Everything comes together to provide a wonderful way to turn photos into wall art!
Make an Impression Yourself
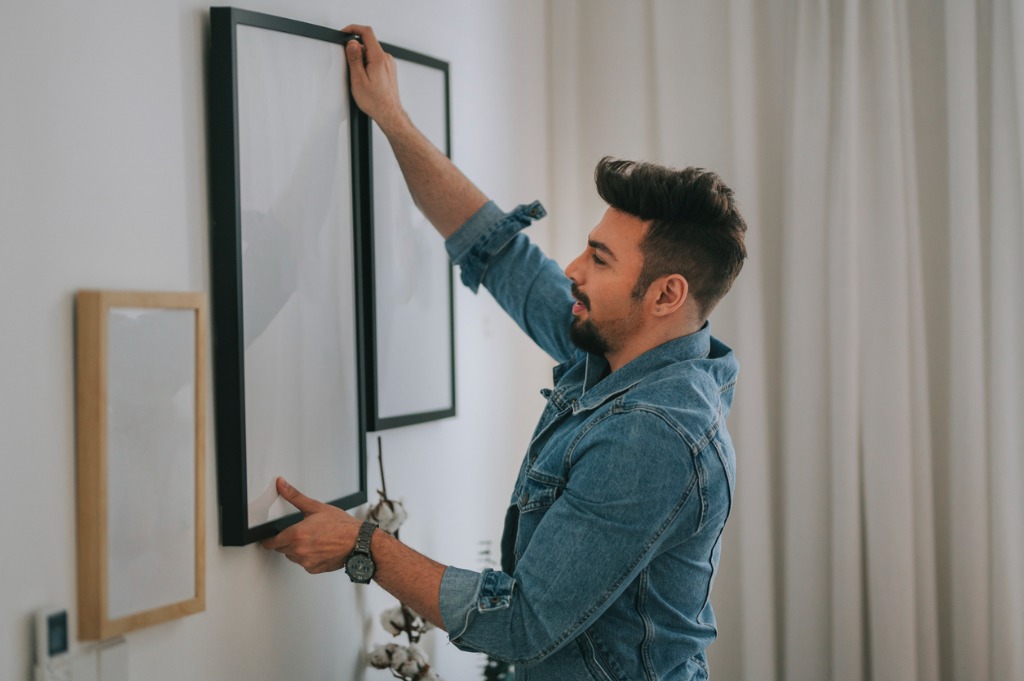
photo by Edwin Tan via iStock
To wrap up, it’s not so much having the latest and highest MP count that lets you turn photos into wall art that makes an impression. Create sharp, in focus, high resolution image files of interesting subjects with good composition and then use a high quality printer or online photo printer.
Check back in with us for the next installment of our Metal Print shootout for more photo printing ideas.
Learn More: