How to Use Rembrandt Lighting for Portraits
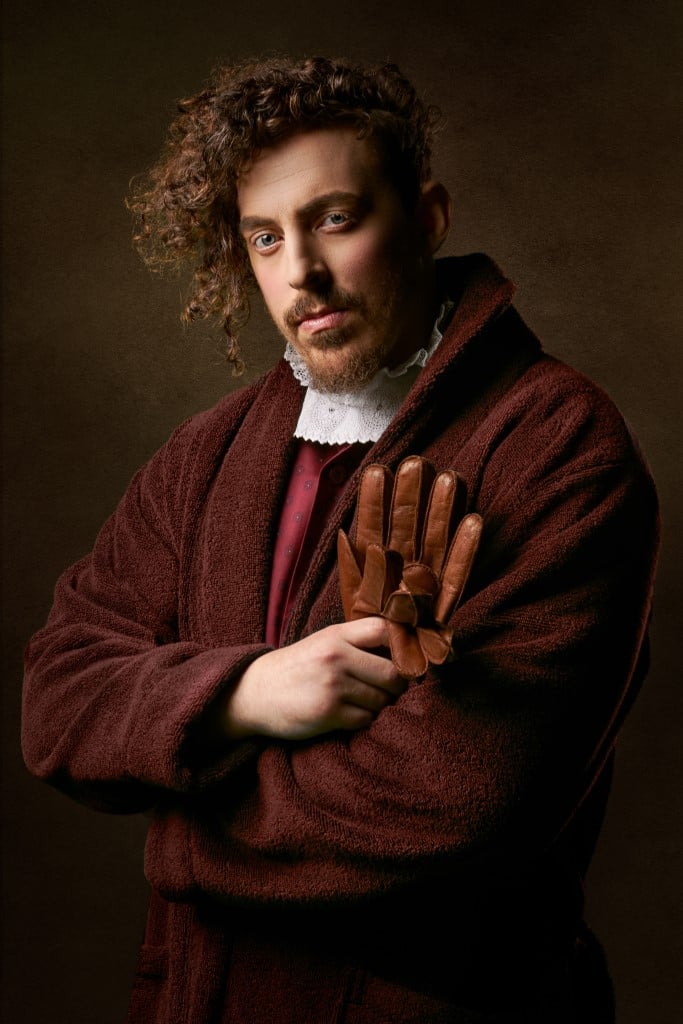
Photo by JJ Jordan on Unsplash
Rembrandt lighting is one of the most recognizable lighting techniques for portrait photography. What is Rembrandt lighting for portraits? What makes it so special? How do you configure your portrait lighting set up to make use of this technique?
Rembrandt Lighting for Portraits
Rembrandt lighting is a form of lighting similar to split lighting but with one crucial difference. Split lighting is a configuration that can be used to create a lot of contrast between the highlights and shadows. The light comes from the side of the subject and can be accomplished with a single light, a light and a reflector, or any number of multiple lights.
The thing that makes rembrandt lighting unique is the small triangle of light seen on the shadow side of the subject’s face.
How To Create Rembrandt Lighting for Portraits
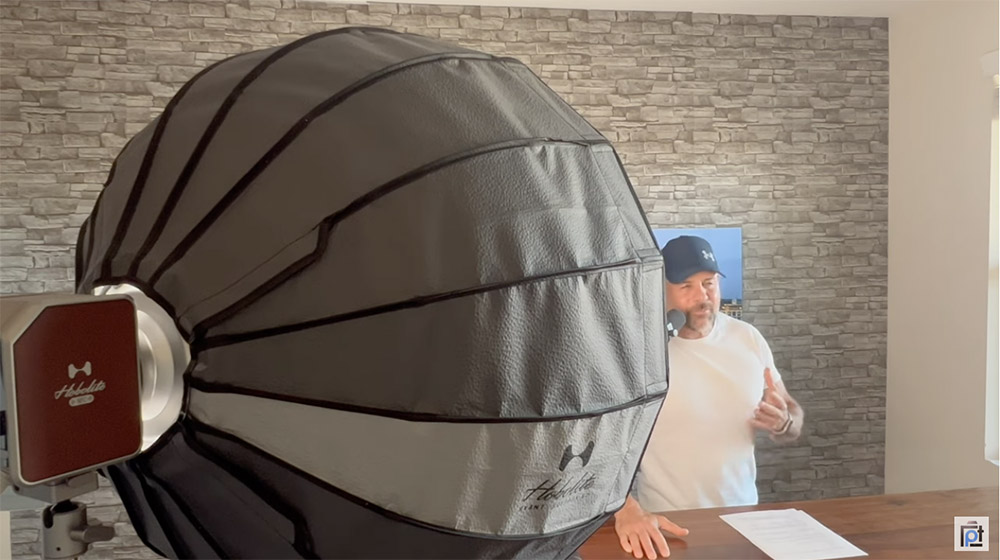
Here is a very simple method to create the classic Rembrandt lighting. All you need is one light. It can be a large light bank such as a soft box or you can choose a smaller LED light bank such as the Hakutatz Pocket size RGB LED Light.
A sunny window could be your one light if the time of day is right. Using a soft box or window light will tend to lessen the overall effect of Rembrandt lighting, which may be a good thing for that particular portrait.
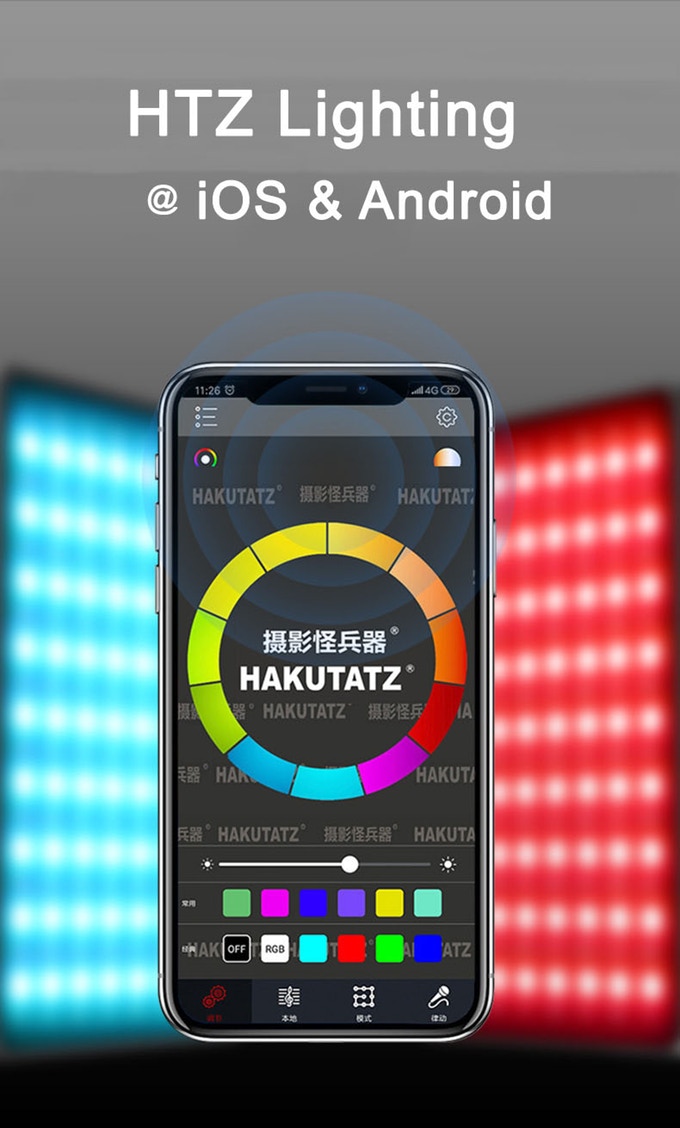
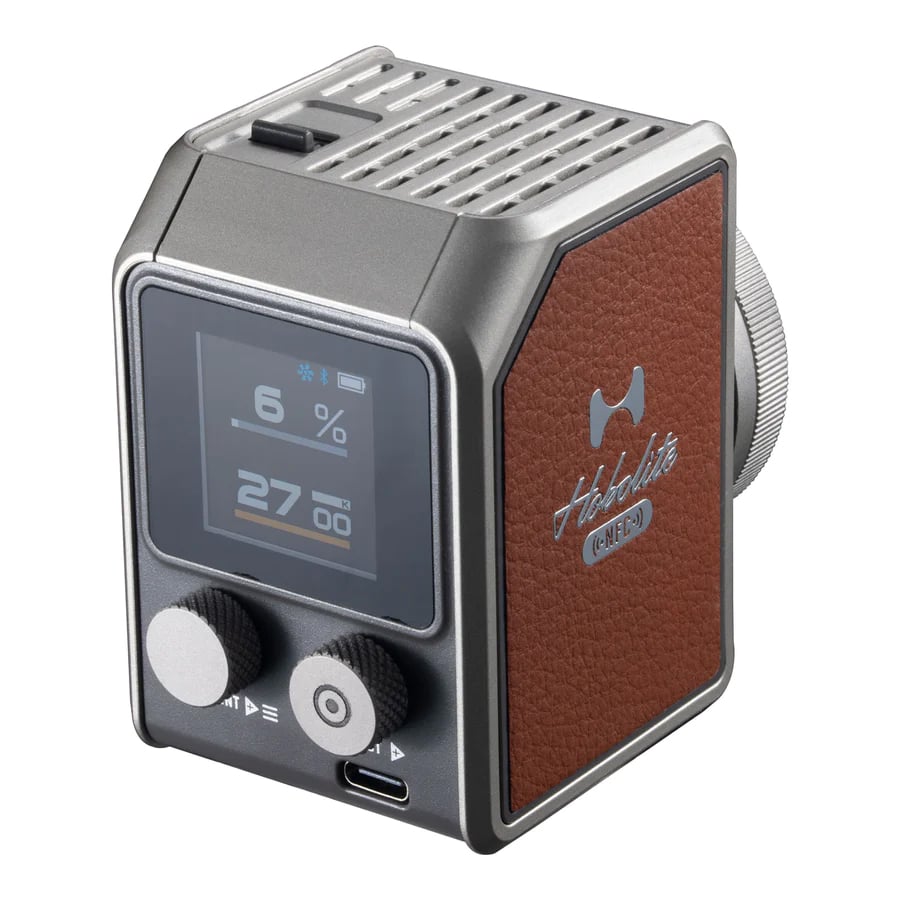
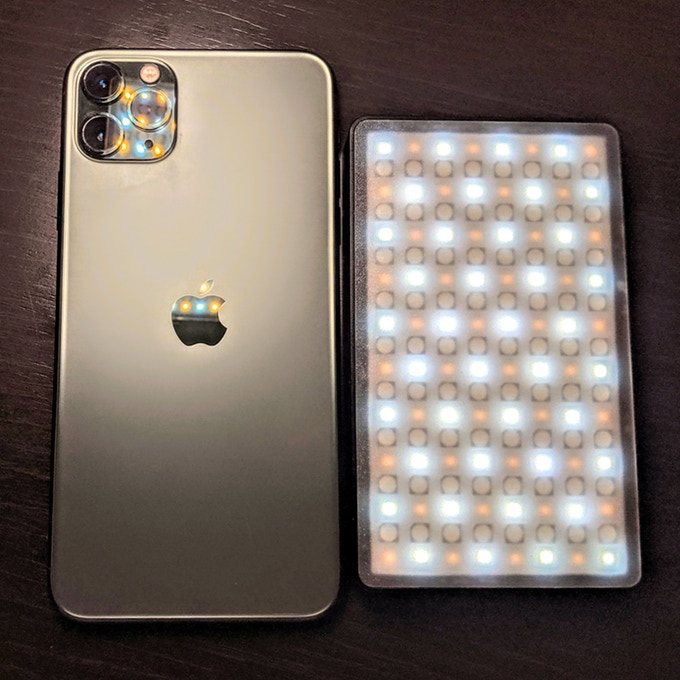
An LED panel light will provide the harder edge lighting that makes the Rembrandt lighting effect most noticeable. The Hakutatz Pocket size RGB LED Light has a feature that makes it an interesting choice for iPhone photography. It can be controlled from an app on the phone. That way, this portrait lighting technique is available to you at any time.
Learn More:
The Actual Light Set Up
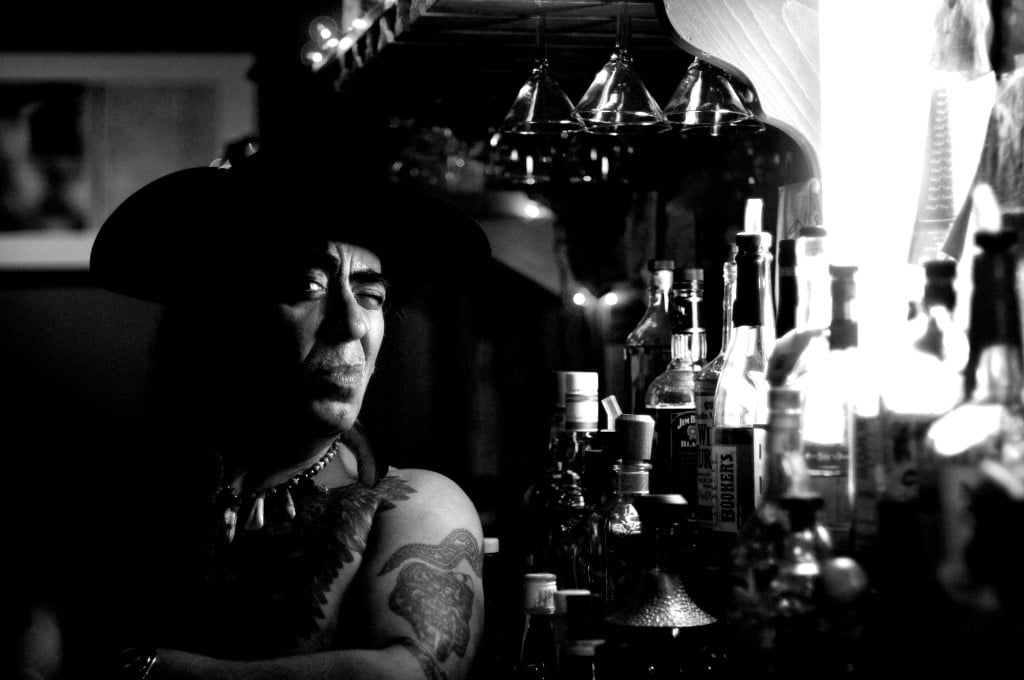
Photo by Hatim Belyamani on Unsplash
The easiest way to get the triangle of light on the shadow side of your split lighting portrait is to seat your subject so you can have a head and shoulders portrait, facing the camera. Get a little creative and have the subject place their torso at a 45 degree angle to the camera position and turn their face toward the camera.
Place your single light 45 degrees to one side of the subject and raise it up so that it also points down at about that same angle. The exact angle is not vital when initially setting up, because you will be adjusting it in a minute.
You can create this lighting effect with a single light, a light and reflector, or multiple lights. If using more than one light, use these instructions for the main, or key, light.
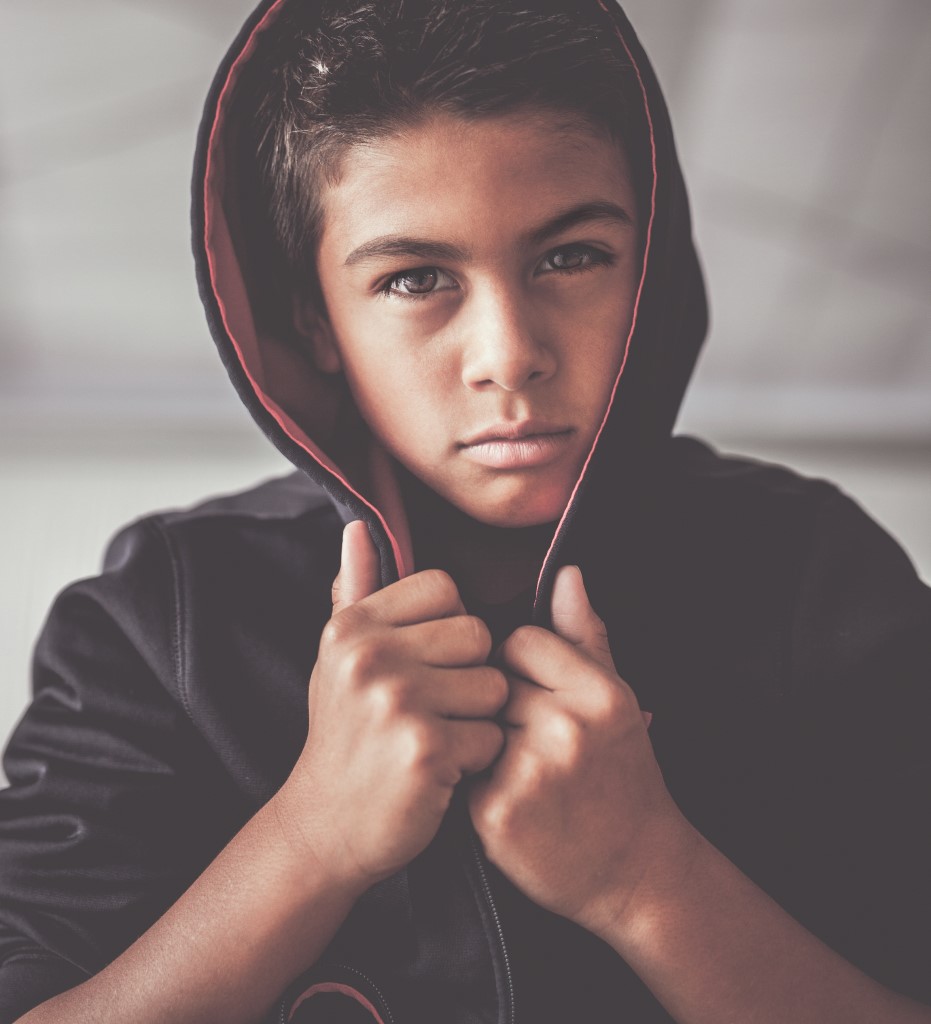
Photo by Joseph Gonzalez on Unsplash
Focus carefully on your subject’s eyes. Focusing elsewhere may cause visual confusion which could detract from the overall feel or mood of the portrait. Rembrandt lighting is inherently somewhat moody.
Now, have the subject move their head slightly so you can see a little triangle of light on the cheek that is in shadow. If you don’t see it, you will need to move the light slightly.
You may need to move the light more toward the camera position or away from it, also up or down as necessary. Have the subject maintain their pose so you can see what the light and shadow are doing.
Play with subject position and posing as well. Shooting from lightside or darkside will change up the mood and feel of the final portrait. Having the front of the torso either in light or shadow will also dramatically change the effect in the final image.
For the strongest version of the effect, minimize ambient light where you’re setting up. Overhead fluorescent lights will pretty much wash out what you’re attempting to create. Get more details on Rembrandt Lighting in the video above by Advancing Your Photography.
The lens f-stop or aperture will probably be very wide since you are shooting a portrait and will want to minimize depth of field for selective focus. Balance the exposure to get detail in both the highlights and the shadows.
Shooting in RAW will help you balance out exposure in post processing if desired. But, high contrast lighting is part of the reason for using Rembrandt lighting for your portraits in the first place.
Variations of Rembrandt Lighting

Photo by Jurica Koletić on Unsplash
In order to be Rembrandt lighting, there really can’t be too much variation. Without that triangle of light on the cheek, it’s simply a form of split lighting. Which is okay. Rembrandt lighting doesn’t work with all subjects.
Don’t think you have to limit using this lighting technique for subjects that have a lot of texture. Glamour and beauty portraits can be made with Rembrandt lighting and other split lighting. Try it out on your next portrait subject.
Learn More:
Rembrandt Lighting History
The lighting technique is named after the man who exemplified its use in painted portraits during the 17th Century, Rembrandt Harmenszoon van Rijn of the Netherlands. Rembrandt was a master of the style in drawing and painting known as Chiaroscuro.
Chiaroscuro is a method of using shading and brightness, or shadow and light, in order to create contrast and subject modeling. It can be employed on any subject. Besides portraits, you see this a lot in still life arrangements and renderings of architecture.
Rembrandt took this art methodology and tweaked ever so slightly, as true geniuses often do, and made his lighting idea one of the most iconic styles of portrait lighting in art, whether drawing, painting, or photography.
Try It Out for Your Next Portrait
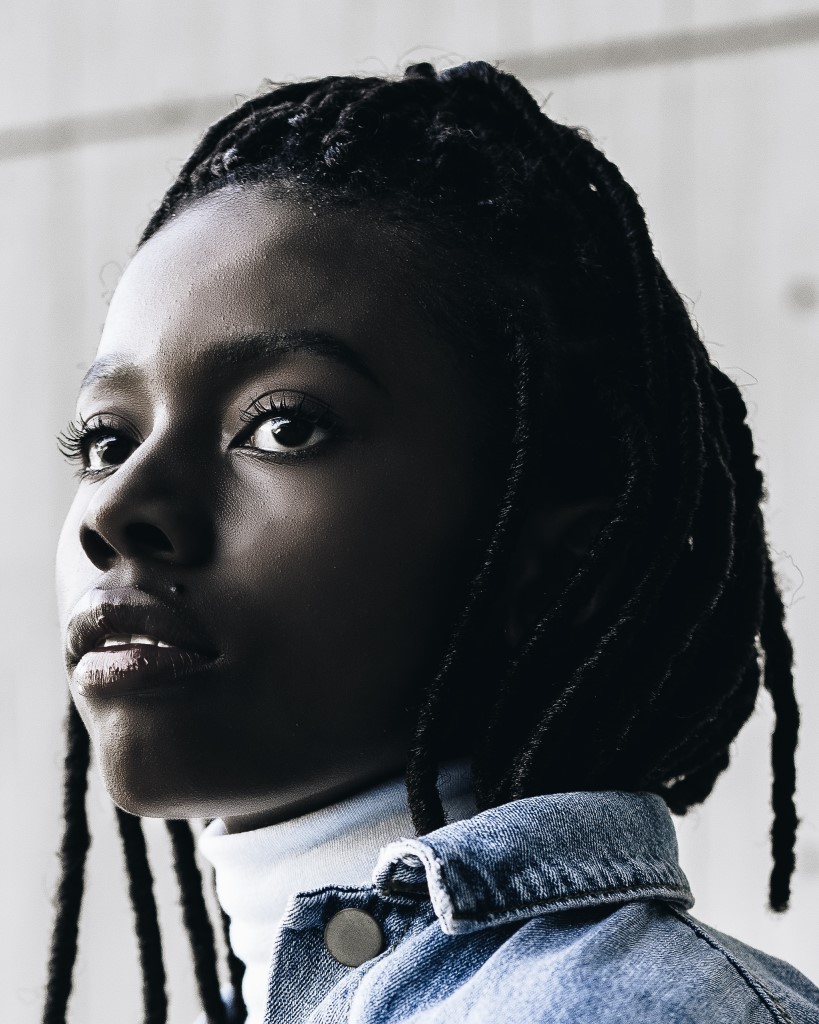
Photo by Oladimeji Odunsi on Unsplash
Your subject matter doesn’t have to be the creased face of an elderly person or the rugged face of a cowboy or oilfield roughneck. Though those faces make great portraits with Rembrandt lighting.
Use Rembrandt lighting with your regular subjects. Kids, senior portraits, beauty portraits, boudoir, or basic headshots. Any one of your subjects might look amazing with Rembrandt lighting.