
Manual Mode for Beginners
- Last Updated: Thursday, 28 December 2023 16:02
- Shutter Speed
- Lens Aperture (AKA: F-Stop)
- ISO
- Focus (including focus area)
- Color Temperature (White Balance)
- File Type / Format
- Flash Exposure
- Exposure Compensation (Evaluative Metering)
- Modern cameras have mostly the same controls and settings that photography has had for years, the controls just look and operate differently because of newer technology.
- The settings control the Exposure Triangle, focus, metering, colors, and flash photography among other things.
- Changing the settings manually may be intuitive or we might need to read our camera’s instruction book which is a great teaching tool.
- Use manual mode to really learn the details of the photographic process, using an older exposure meter
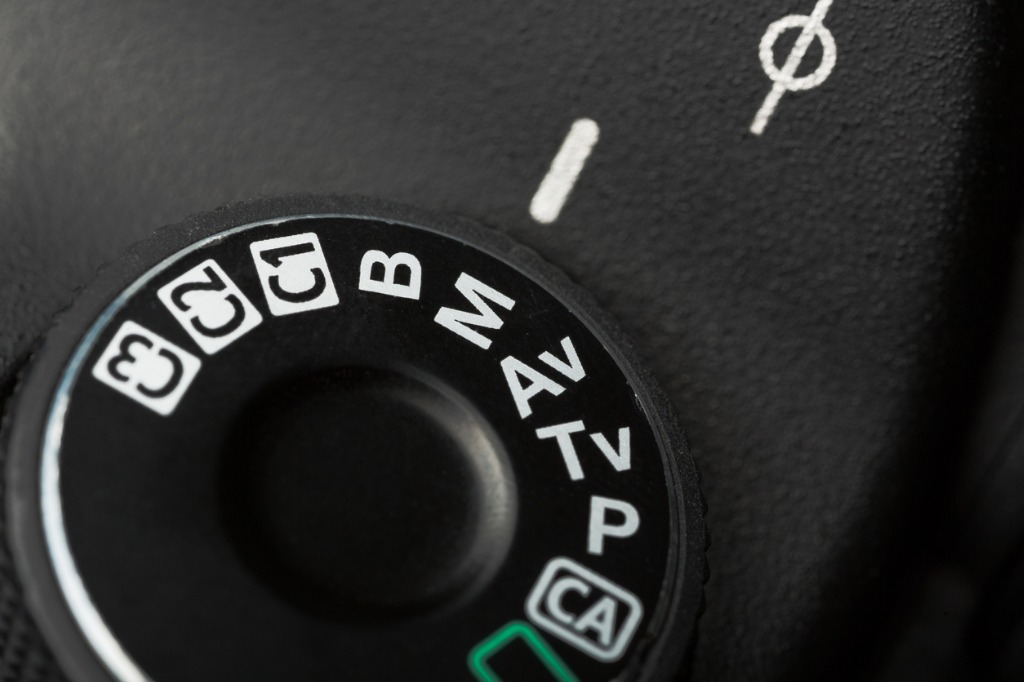
photo by artisteer via iStock
Once you start getting serious about improving your photography, you start seeing how many things go into making an image. Crafting an image might be a better way of describing it since serious photography is similar to other crafts in total scope.
For instance, you might admire a beautiful wooden statue as a piece of art. Taking that artwork from beginning to end involves a whole lot of steps, each of which requires thought, skill, and effort. You need to have a plan, choose the right wood, cut it, sand it, stain it, polish it, and so on before your wonderful little wooden statue is actually a finished piece of artwork.
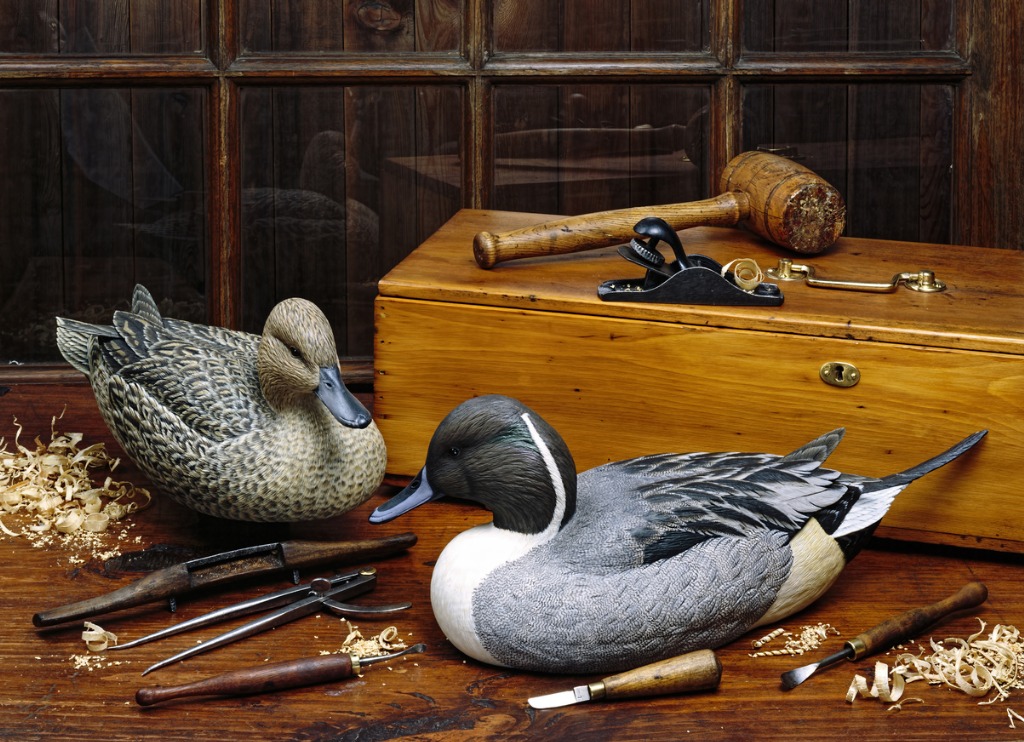
photo by mj0007 via iStock
It’s the same with photography as an artform. Which it really is, photography, film or digital, has the capability of being fine art. Just visit any business office or even a hospital and take notice of how much photography is used for decorating as artwork.
Just as with that wooden statue, the framed photo you see hanging on a wall in a waiting room has had many steps involving skill, effort, and thought put into the creation of the final print.
Which brings us to manual settings for our camera and lens. Just as with woodwork, you might be using a power saw, but you are controlling the cutting. With photography, we might allow the powerful computers in our cameras to make adjustments for us but we should know how to control the variables involved in photography for best results.
What Settings Are There?
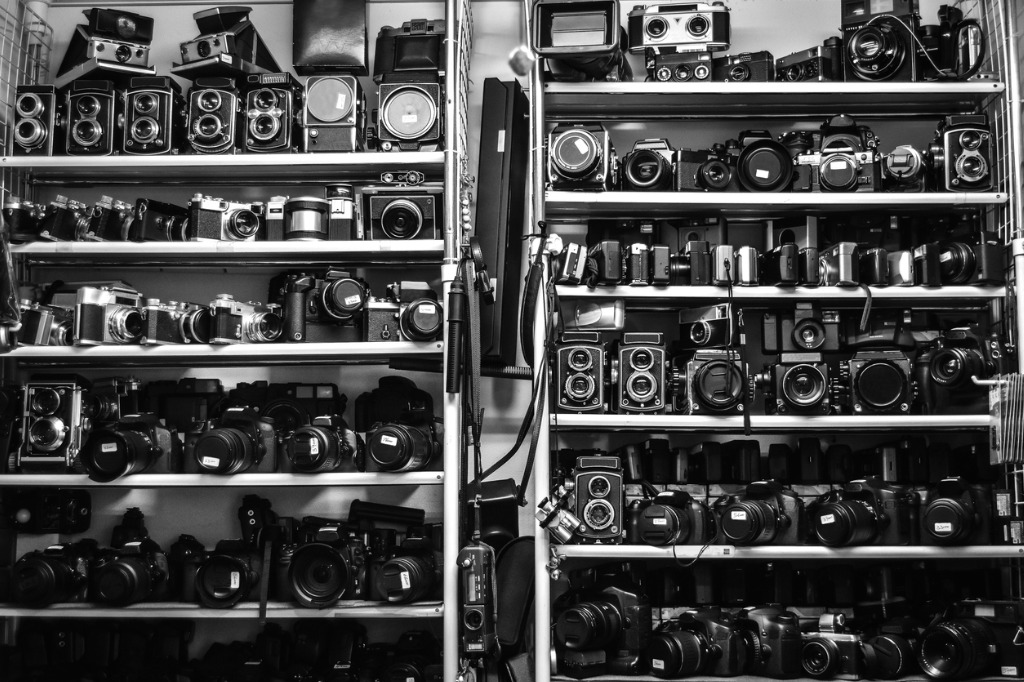
photo by Carmen Romero via iStock
In 1888, George Eastman advertised his Kodak camera with the slogan, “You press the button, we do the rest.” This mindset for casual photography or snapshots still rules most picture taking.
Many times, people pressing a shutter release on a smartphone, point and shoot camera, or a sophisticated DSLR or mirrorless camera aren’t consciously thinking of every variable involved in producing that image.
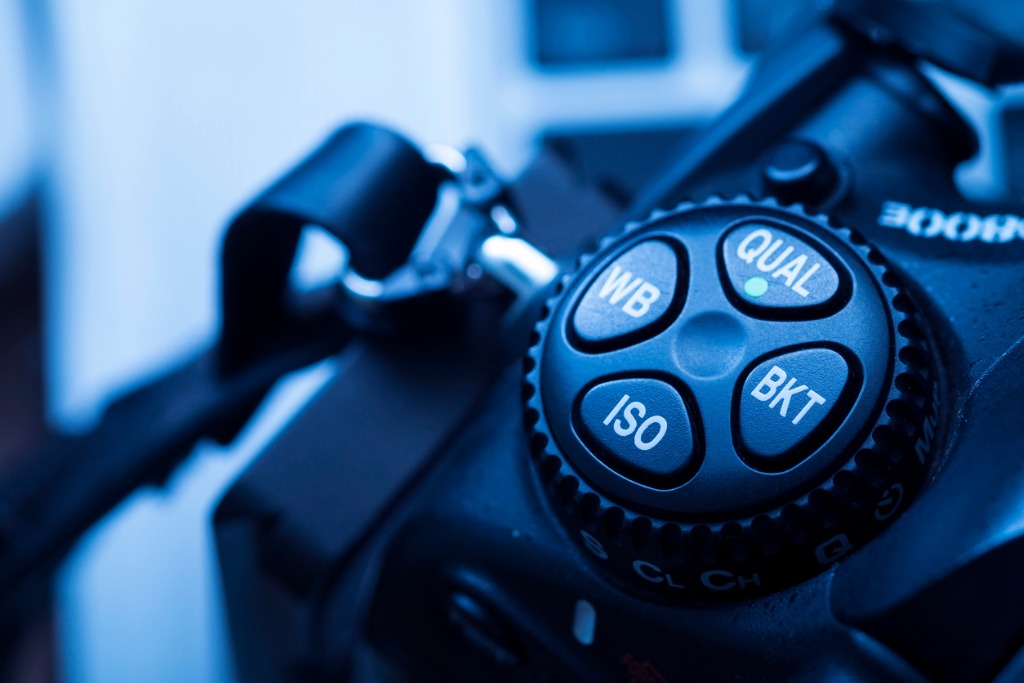
photo by structuresxx via iStock
Take a look at some of the decisions made (either by the photographer or by the camera) that affect the creation of a photographic image:
On very simple cameras, some of these may be factory set or fixed. For instance, a basic point and shoot camera or smartphone might have the lens focus distance preset, relying on the depth of field to create an acceptable range. But that still means a decision was made about that setting.
What the Settings Control
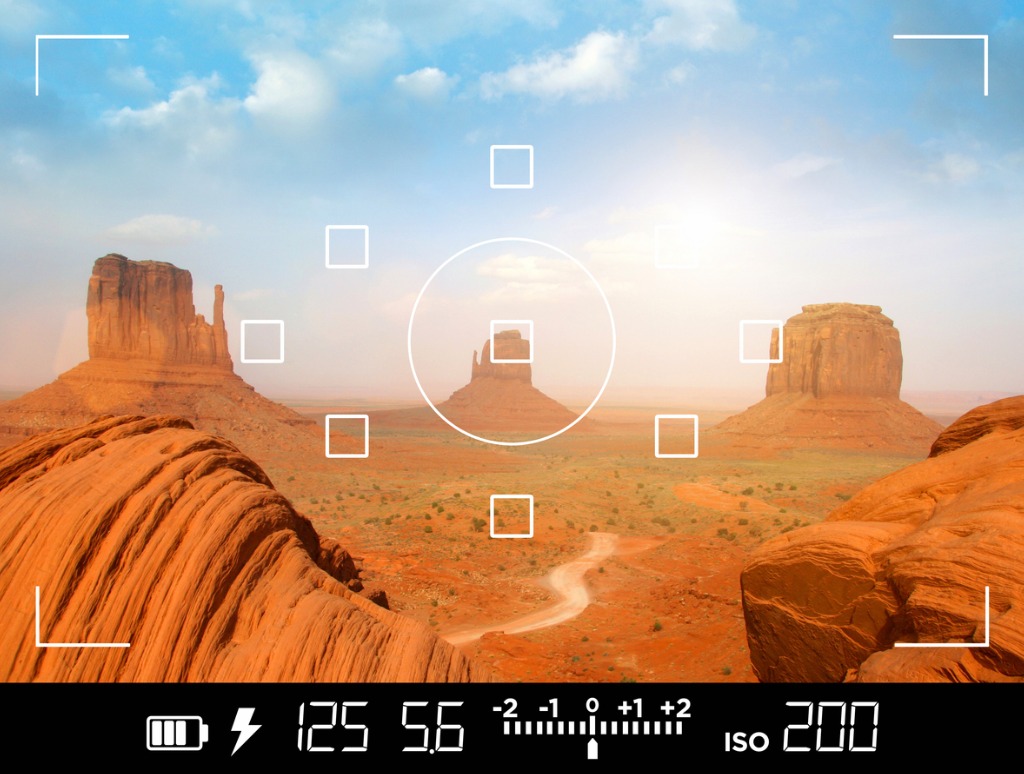
photo by Maxiphoto via iStock
The camera settings and controls apply almost equally to film based imaging as to digital photography so we’ll concentrate on digital cameras and terminology for this discussion.
The first three settings listed makeup what’s known as the Exposure Triangle of shutter speed, lens aperture, and ISO. Changing one affects what’s available to set for the other two in regards to proper exposure. By the way, proper exposure may vary based on the creative needs of the final image, not simply what the meter may read for a scene.
Besides exposure, each of those three settings also control other aspects of the final captured image. Lens aperture helps determine how much is in or out of focus, shutter speed can either freeze or blur motion, and ISO, the sensitivity of the sensor, can affect the digital noise level in the file.
photo by Koldunov via iStock
Flash exposure adds the controlled output of extra light to a scene and can change the contrast level of a subject depending on the light placement and variables of position. Exposure compensation and evaluative metering can adjust for out of the ordinary exposure scenarios such as extreme backlight.
Focus controls what is clearly defined and sharp or not, color temperature affects the overall tint of a scene, and the file format determines final use, display options, and post processing options. There are other variable settings on modern cameras, but these listed cover most of what we might be changing in semi automatic or manual modes.
How to Change Settings
photo by guruXOOX via iStock
Somewhere on our camera is a method for making these changes. It might be dials, buttons and switches, a menu on a screen, or a combination of any of these. Don’t let the appearance of these controls intimidate you or cause any worry, you already know what they control, this is simply access.
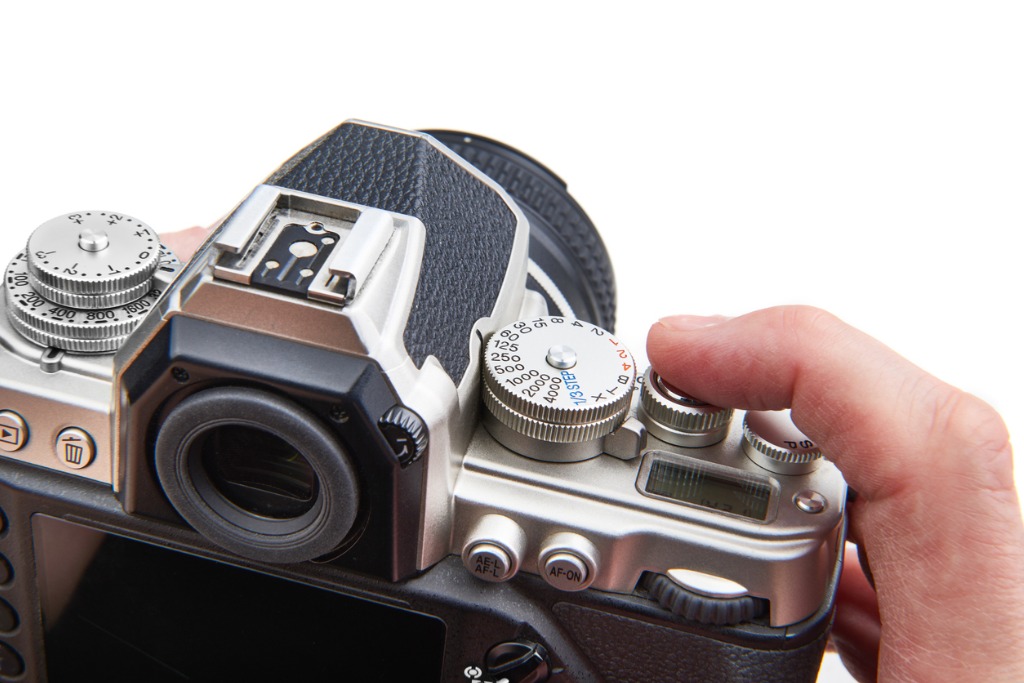
photo by sergeyryzhov via iStock
Taking the first three settings listed, the ones in the exposure triangle, let’s find these controls. On many digital cameras, the lens aperture and the shutter speeds are controlled by dials or wheels near the shutter release, while the ISO may have its own dedicated button anywhere on the camera or inside the menu visible on the viewscreen.
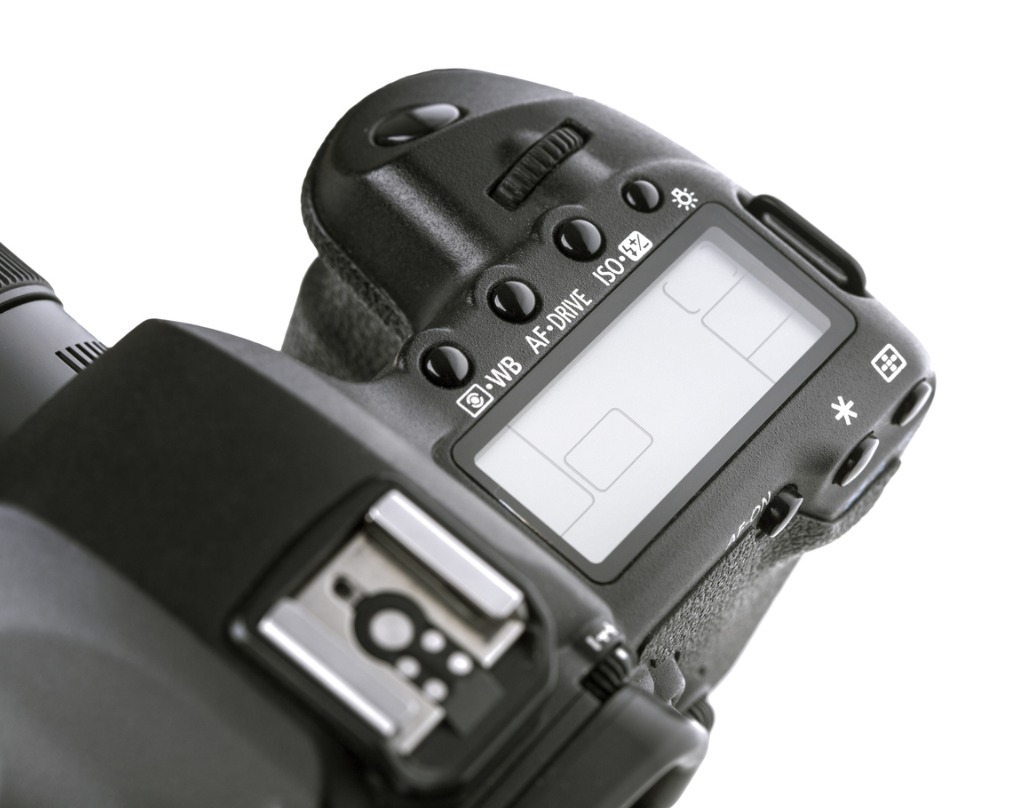
photo by deepblue4you via iStock
Camera manufacturers tend to place shutter speed and lens aperture controls close together and make the ISO control obvious because of how important they are to the photographic process and how often they get changed.
Mentioned several times is the camera viewscreen menu which might be the location for certain controls such as white balance, file format, and other settings. Before going too deep into some of the settings, controls, and changes it would be a good idea to access your camera instruction book.
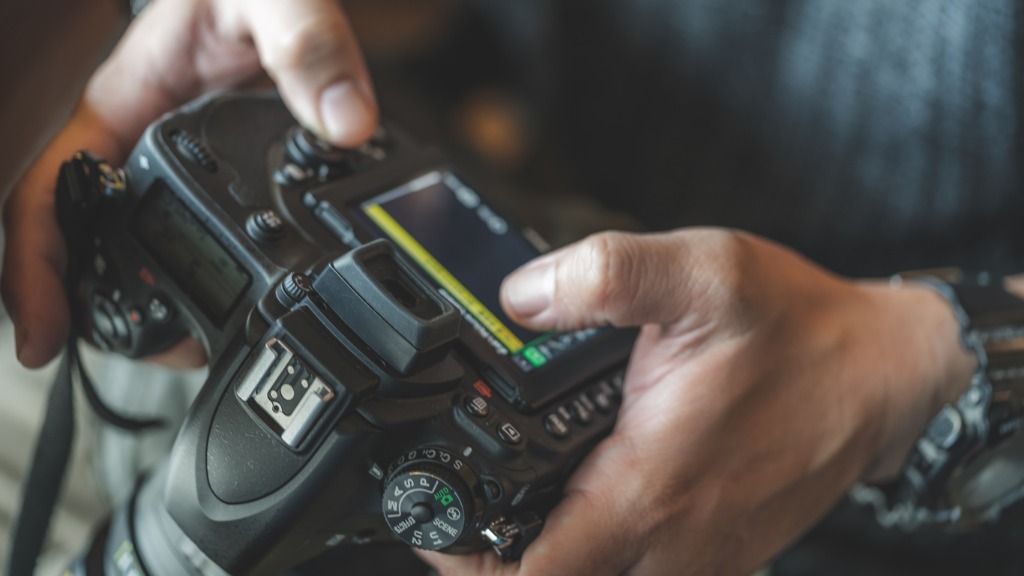
photo by ArisSu via iStock
The small paper one that came with our camera will show where most of these controls are but most manufacturers will also have a very detailed version, either online, a downloadable PDF, a DVD, or a really thick book.
In order to change between manual focus and autofocus, we need to find the specific switch. It could be on the lens or on the camera body. On most interchangeable lens cameras, there will be a lever, slider, or button near the lens mount because not all lenses have their own switch.
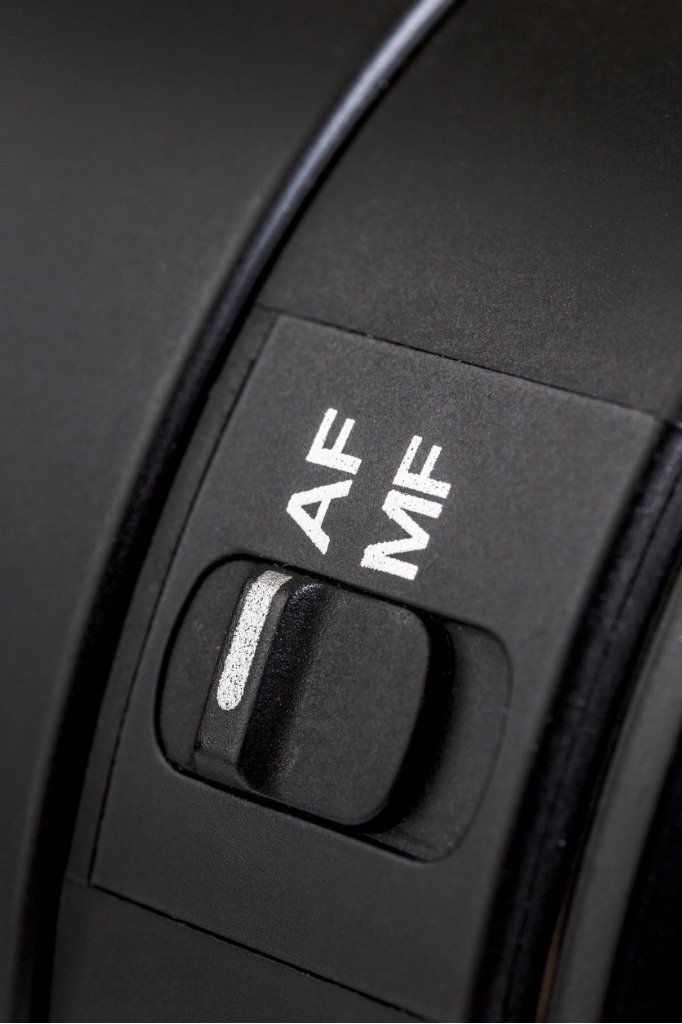
photo by koldunova via iStock
There is another option for certain camera and lens combinations in that you can simply grab the focus ring of the lens and override the autofocus. This option is a little tricky on some cameras because the camera might override right back at you for the very next shot, so reading the instructions of your own particular camera is important for finding out how to use these controls.
Exposure compensation, file format, white balance, and flash automation might have dedicated buttons and dials but these are often found within the menu of the camera. Many auxiliary flash units will have a set of their own controls, often a mix of buttons, switches, and menu.
Why Use Manual Mode?
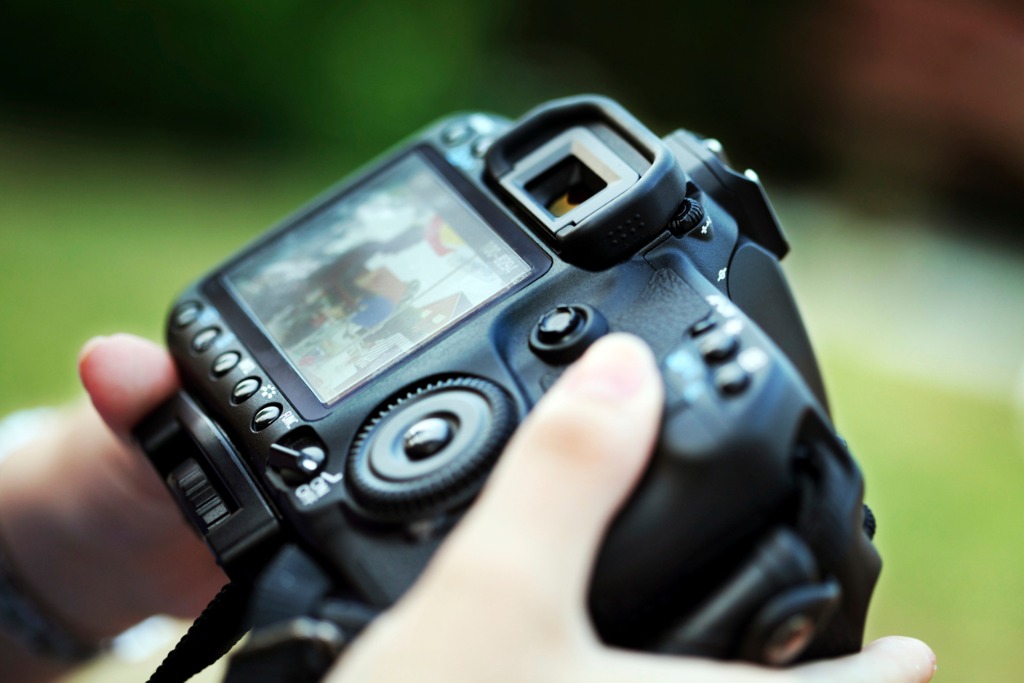
photo by deepblue4you via iStock
One of the things I miss about film photography is the opportunity to teach a class on photography while using mechanical cameras and chemicals in a darkroom. It really forced us to know and understand exactly what was going on in the different processes. Because there was no “do over” in that type of photography, you either did it right and got something, or you messed up and were forced to find out why.
We can still do that, but requires some focus on our part to not simply give up and go back to our big green dot auto mode. Nothing wrong with automatic modes, by the way, but let’s learn what is happening with all of our settings. That way, we get to understand what is going on even when we’re using the fantastic automation our modern cameras have.
Pick Up a Used Exposure Meter
photo by ThomasVogel via iStock
One of the methods I use now for teaching the photographic process is I ask students to get two things.
First, find a fantastic post processing program. Adobe Photoshop Lightroom, DxO, and ACDSee are full featured, relatively inexpensive, and the controls work similarly to how classic cameras and darkrooms did.
This is helpful because the photographic process itself hasn’t changed in 300 years. Light comes in through a lens for an amount of time and exposes a light sensitive medium. What has changed is that the medium is now electronic instead of chemical.
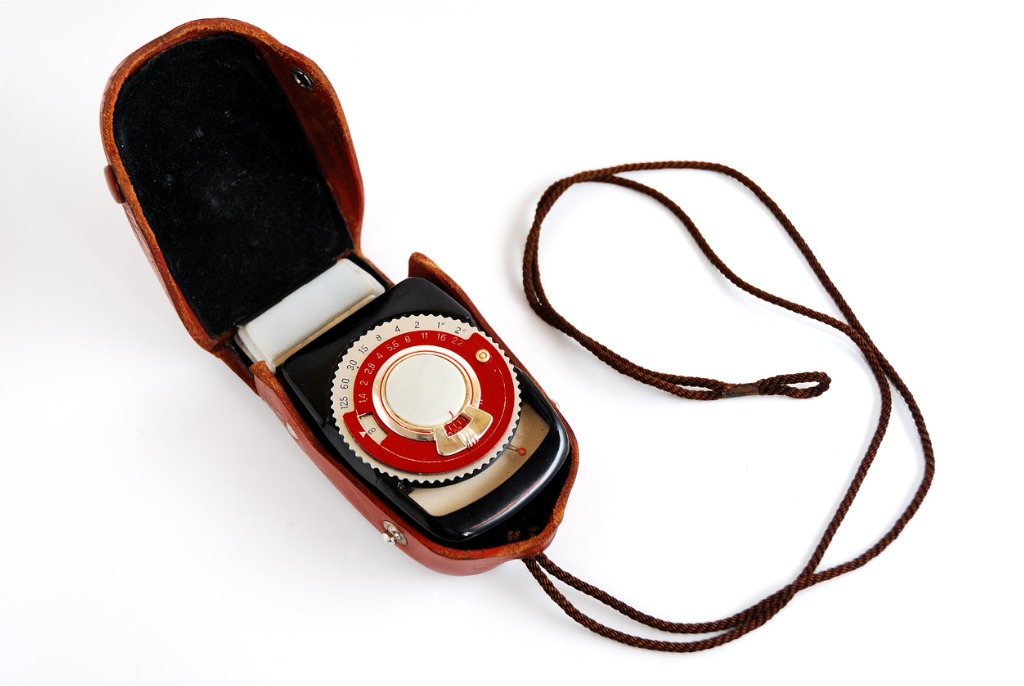
photo by ElenaPavlova via iStock
Second, get an old handheld photographic light meter. We can find them in camera stores that sell used equipment, online auction websites, and at local estate and garage sales.
The way these light meters are constructed allows us to quickly see the relationships among shutter speed, lens aperture, and ISO and also how the light changes as we point the light meter at various parts of the scene. This method really helps us learn what is going on when we take a picture.
Final Thoughts
photo by Sjo via iStock
The reason we urge beginner photographers to try out manual modes is because there are situations that require us to set one or more things manually in order to capture the image that’s in our head.
But more importantly, we all should want to learn what is happening when we “press the button” and take charge of “doing the rest” photographically. Doing so makes us better photographers, more capable crafters and artists. Besides, it really is a whole lot of fun!
Lesson Summary
Assignment
photo by AntonioGuillem via iStock
For your assignment, we’re going to dive right into manual mode. Set your ISO to 400 and make sure your camera’s auto ISO override is turned off. Switch your lens off of AF and set to MF.
Go ahead and choose large/fine JPEGs as your file type since we’re not concerned with post processing for this exercise and a JPEG shows right away what the image looks like. For this exercise, leave white balance on automatic, we cover color temperature in other lessons and articles.
Now for the fun part! Using your classic light meter, go to several different locations you like to visit for photography, indoors and outside. Point your light meter at different parts of the scene and transfer the readings from the meter to your camera shutter speed and lens aperture.
You can look on your camera viewscreen for the results or view the files on your computer. After a few sessions of doing this exercise, you should know more about how all these camera settings affect your final images which will allow you to be a better crafter of artistic images.