Essential Photo Printing Tips
Though most of us view most of our photos on phone screens and computers, there will be photos along the way that deserve to be printed.
Printing photos is a much different animal than simply looking at them on a screen, though.
That being the case, here are a few photo printing tips to help you get the best-looking final product possible.
Have a perfect photo that you’re ready to print? See what it would look like as fine art.
Photo Printing Tip #1: Strive to Get It Right In-Camera
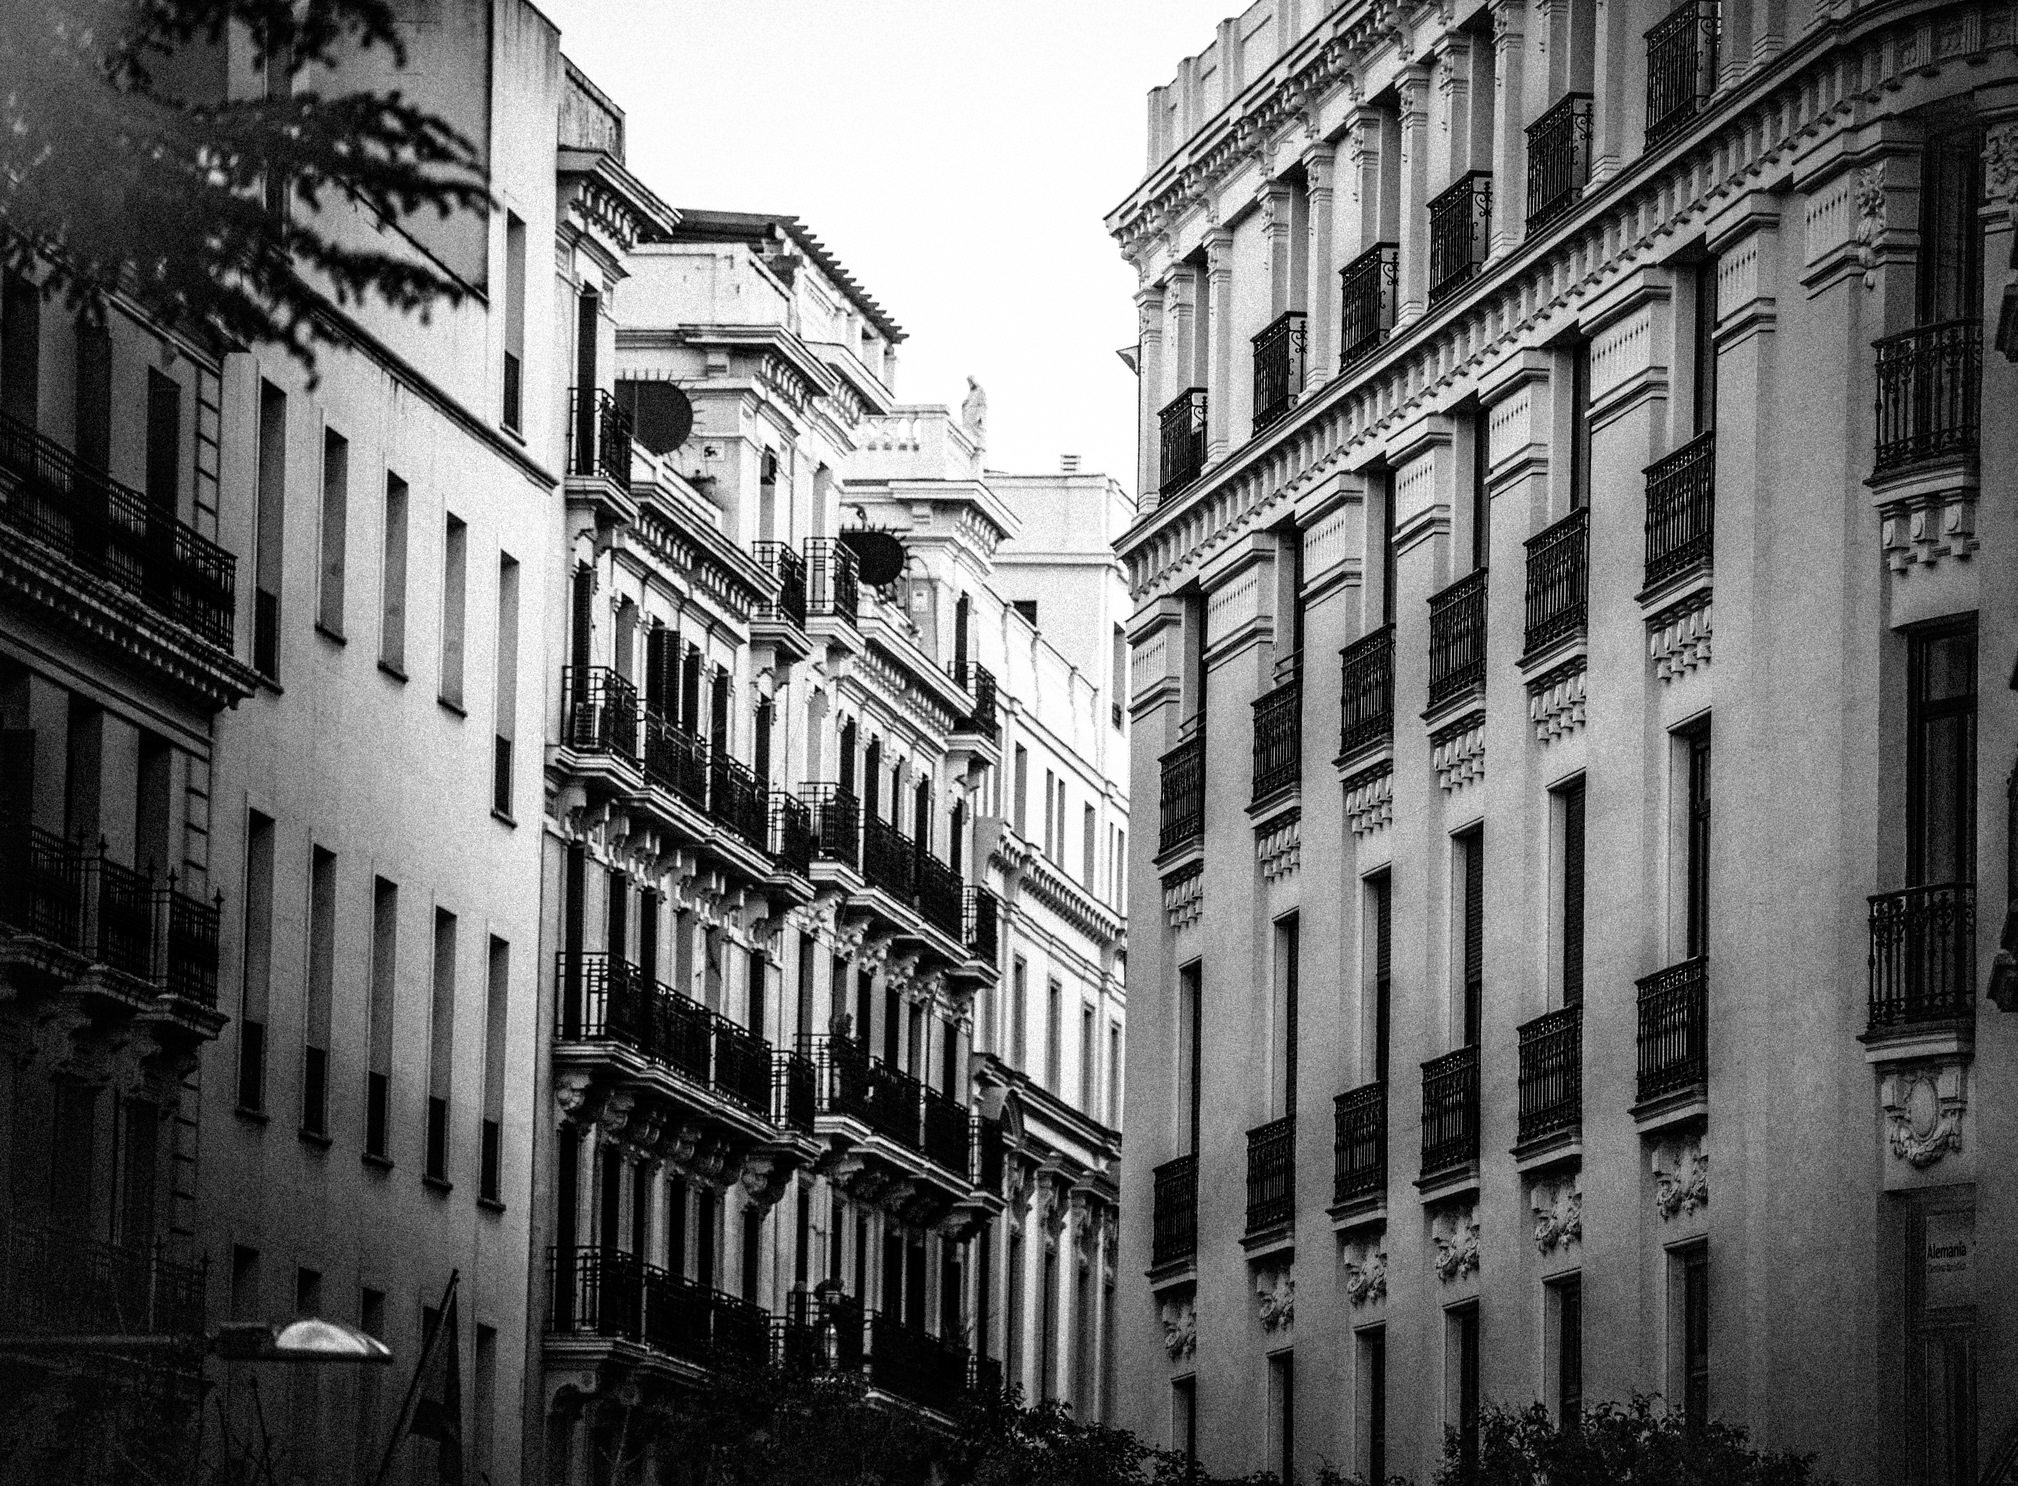
photo by ArisSu via iStock
The problem with that line of thinking is that it could take you hours to fix in Photoshop when 10 minutes of effort in the field could achieve the same result.
When creating photos, concentrate on the quality of the composition. Ask yourself if there are ugly objects that need to be moved or framed out of the scene. Look at the quality of light and how it interacts with the subject, and strive to improve the quality of the light if need be.
photo by joakimbkk via iStock
Likewise, equip yourself with the gear that will help you create better shots in-camera. Use a tripod for stability. Get a remote shutter release to prevent camera shake. Invest in a circular polarizing filter to minimize glare and boost contrast in landscapes.
You get the point.
I don’t know about you, but I’d much rather spend time out shooting and getting things just right than spend time hunched over my computer fixing all the problems I’ve created by not striving for perfection in the first place!
Learn More:
Photo Printing Tip #2: Minimize the ISO
The ISO controls how sensitive your camera’s sensor is to light. Raising the ISO increases that sensitivity and makes low-light shooting a greater possibility.
The problem is that the higher the ISO setting, the more digital noise that appears in the photo. This results in a grainy look (as shown above). Though that noise might not be all that noticeable on your computer screen, it could be a glaring distraction in a printed photo.
Each camera has varying levels of ISO performance, so you’ll need to experiment with your camera’s ISO to determine the point at which things get too noisy. On entry-level cameras, that line might be ISO 800. On higher-end cameras, it might be ISO 3200.
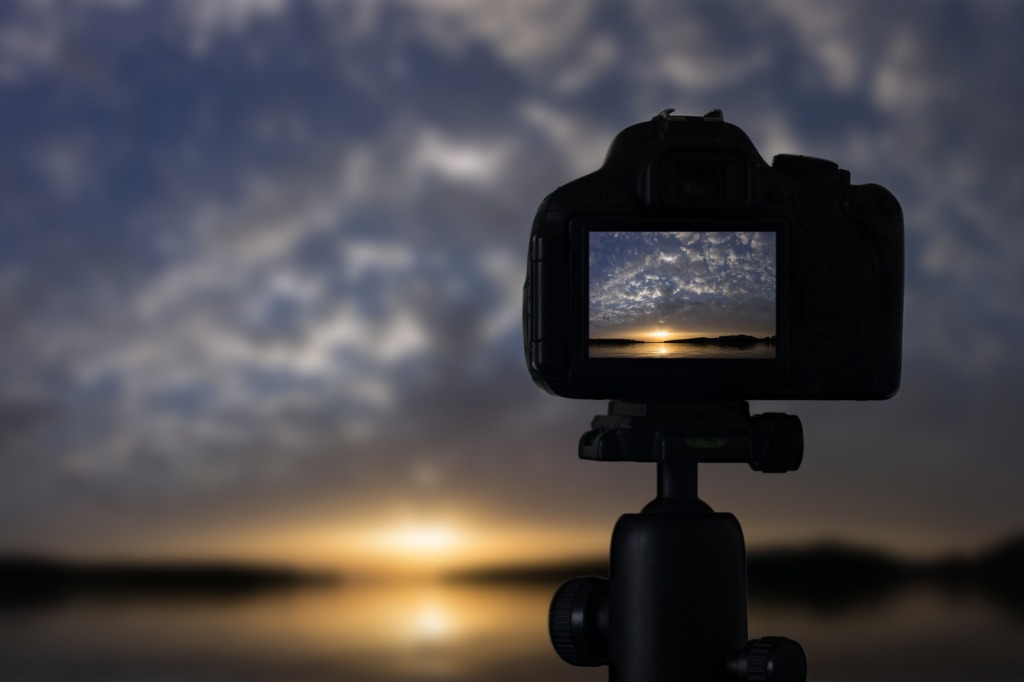
photo by Allexxandar via iStock
As noted above, having a tripod and a remote shutter release helps get sharper photos by minimizing the chances that camera shake occurs.
But they also help you keep the ISO low because you can select a slower shutter speed to brighten the image. Again, experiment with your camera settings until you find the slowest shutter speed you can use without inducing motion blur so you can keep that ISO low.
Not sure how to get started with printing a photo? Get step-by-step instructions here.
Photo Printing Tip #3: Err on the Side of Underexposure
A common error that novice and enthusiast photographers make is to overexpose their photos.
The problem with doing so is that highlighted areas will be nothing but bright, white blobs in the printed image.
Since recovering details in shadowed areas is much easier to do than in highlighted areas, it’s better to underexpose your images to protect the highlights and then recover the details in the shadows in post-processing.
Get more details on the advantages of underexposing your images in the video above by Manny Ortiz.
Learn More:
Photo Printing Tip #4: Invest in a Quality Print

After taking the time to get your photo just right, the last thing you want to do is have it printed on a sub-par substrate.
There are tons of online printing companies that promise high-quality prints on the cheap, but by and large, those claims are just lip service.
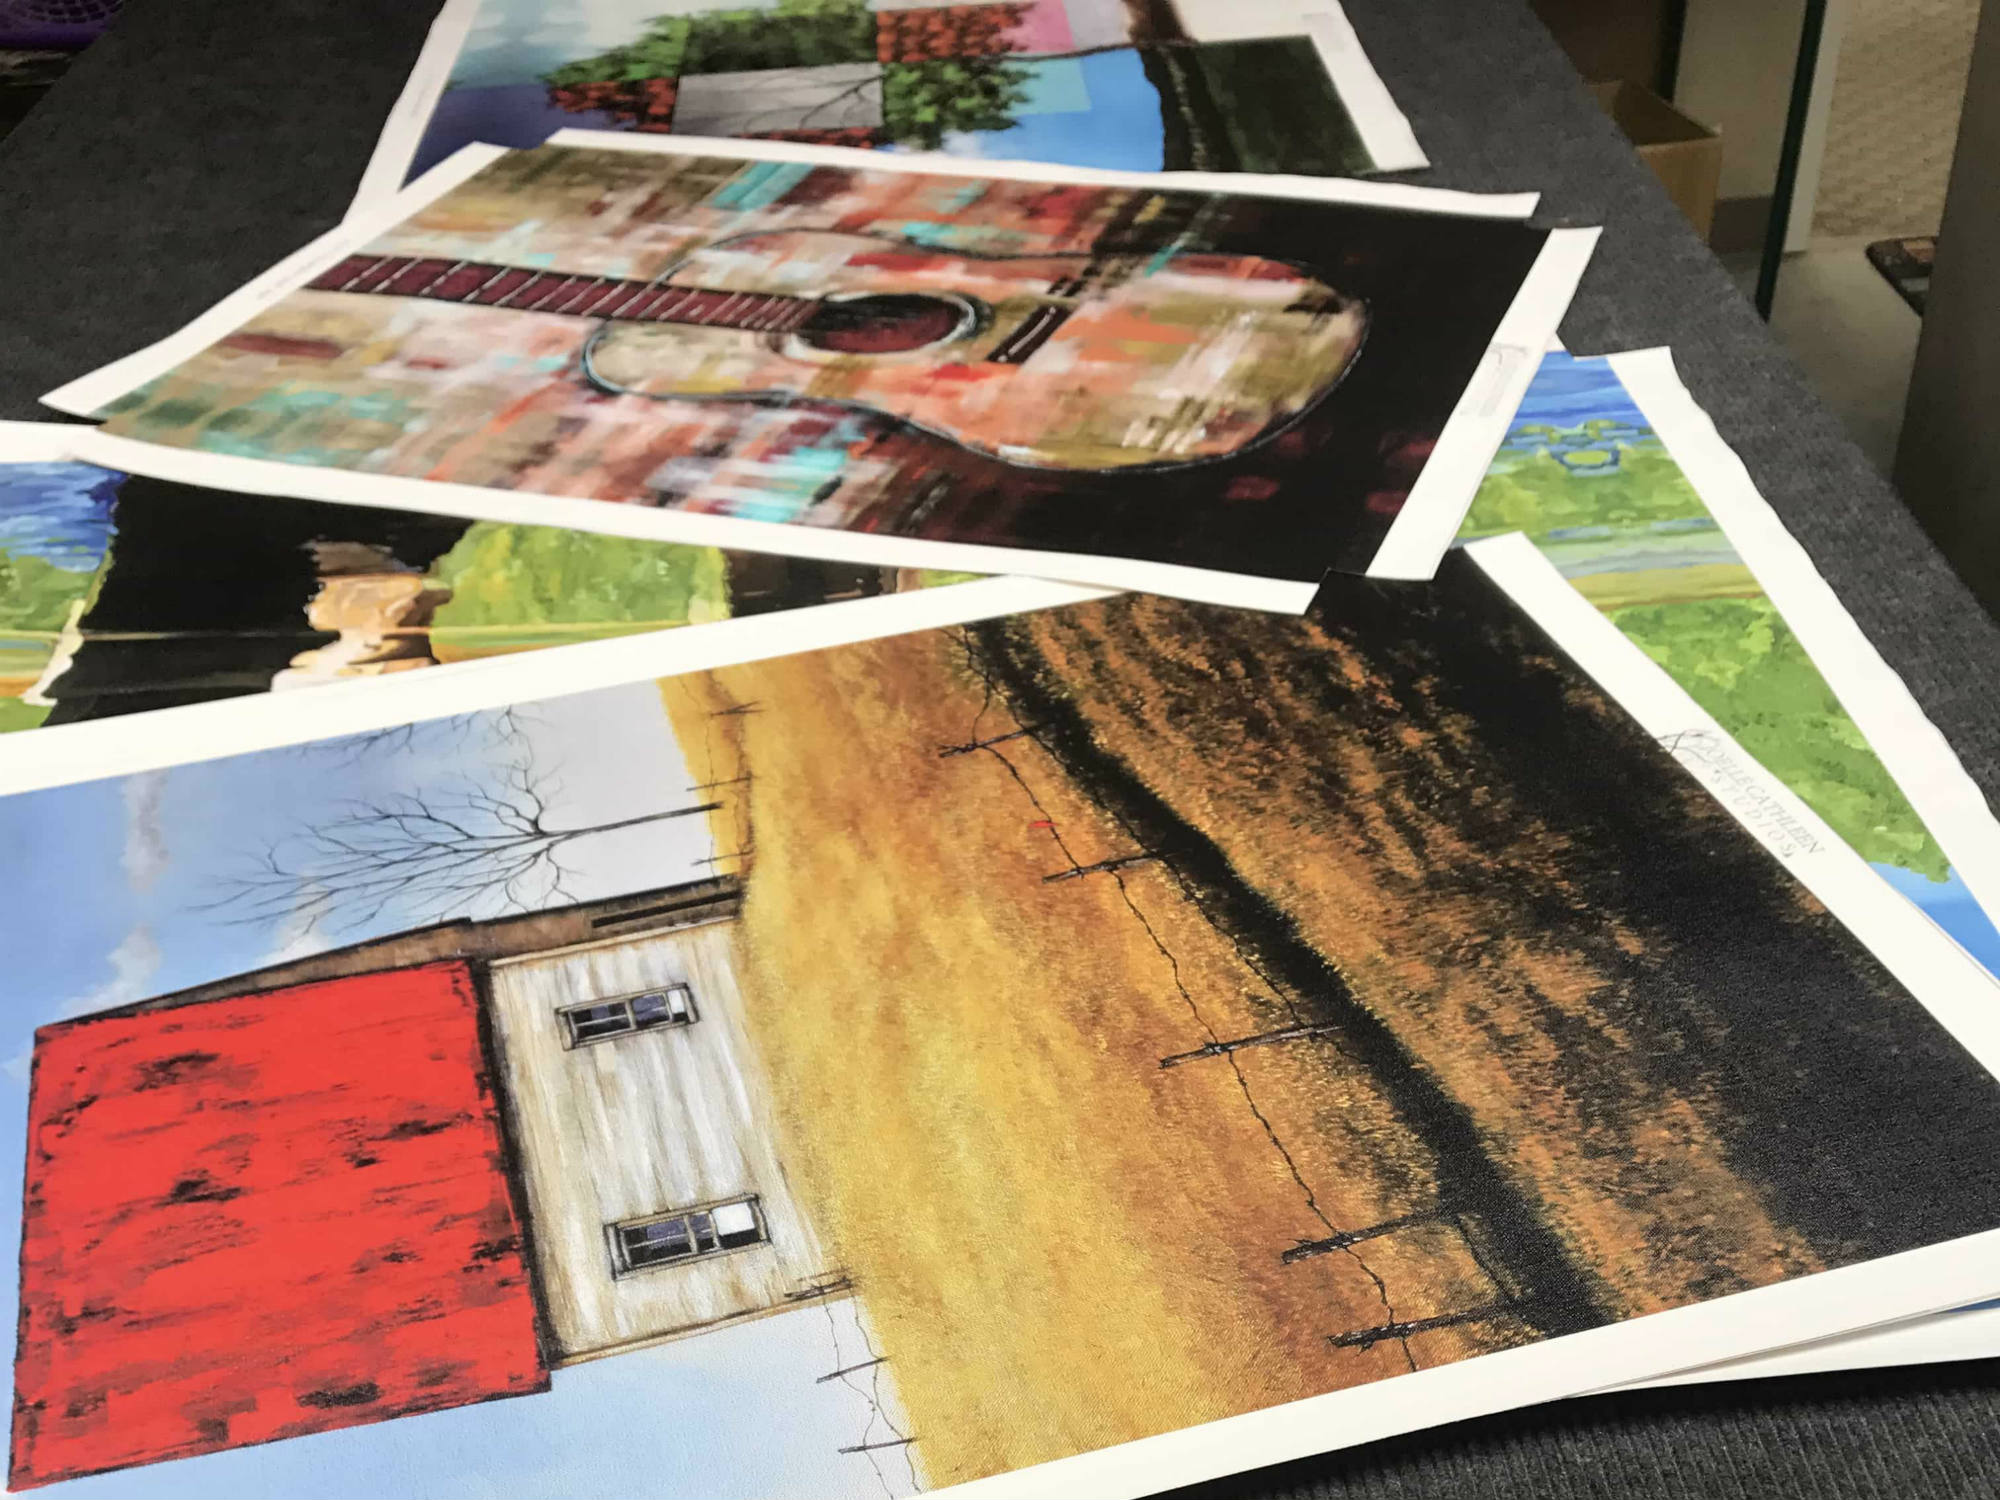
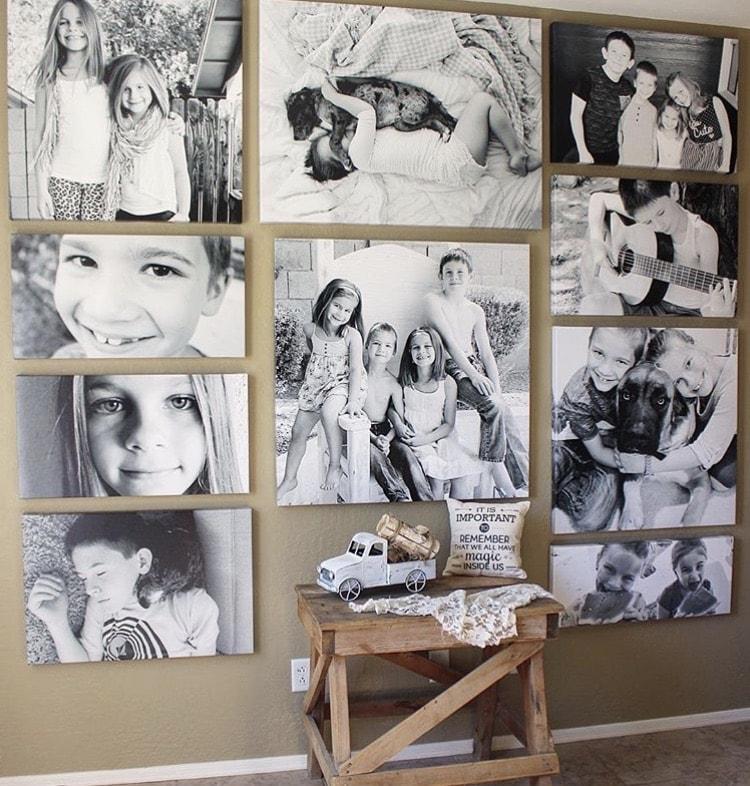
I’ve had hundreds of prints made over the years, and I’ve come to really love the look of my prints on canvas.

A while back, I did a Canvas printing shootout in which I compared prints from four different canvas printing companies.
The winner of that shootout was CanvasHQ - and they won it by a mile.
What’s so great about CanvasHQ is that they really do provide high-quality, long-lasting, gallery-quality canvases without breaking the bank.

I have dozens of prints from these guys in my house (shown above), and every time I add to my collection of canvas prints, I’m always blown away by how well made these things are.
Most of my canvases are of my son, and I appreciate the care that CanvasHQ takes to create a piece that looks so beautiful and will continue to look beautiful for generations.
In that regard, getting prints of your photos should be an exercise in creating something for the future. Cheap and flimsy canvases just won’t do it. Instead, if you want to create prints that are breathtakingly beautiful, complete the process with CanvasHQ.
There are many other steps involved in creating a gorgeous print, but these four tips will get you going in the right direction.
By taking your time and really focusing on getting things right in camera, using the appropriate camera settings, and partnering with a top-quality printmaker, you should end up with prints that look great and that give you a lot of pride for your work.