Plan a Solid Video Shoot With These Pre-Production Tips
- Clearly Define the Target Audience
- Create a Script and a Storyboard
- Develop an Introduction and Signoff
- Practice the Script
- Personality type
- Motivations
- Goals and aspirations
- Likes and dislikes
- Needs and wants

photo by izusek via iStock
As with photography, planning and preparation for shooting video is essential.
With a concrete plan in place that includes things like developing an introduction sequence and a signoff sequence, storyboarding the video, and identifying your target audience, you’ll be able to create a cohesive video that is engaging, organized, and meets your specific goals.
Let’s take a look at these and a few other pre-production tasks with which you need to be familiar.
Table of Contents
Clearly Define the Target Audience

photo by Ildo Frazao via iStock
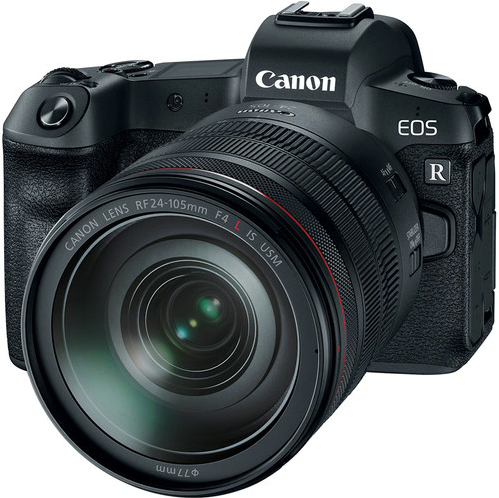
Your first task in planning a video shoot is to identify your target audience. After all, a video directed towards suburban middle-aged dads is going to have a much different look and feel (and much different content) than one aimed at elementary-aged school children.
But more than identifying a general audience based on broad criteria like age, gender, or location, you also need to evaluate higher-level characteristics like:
Taking these characteristics into account will help you identify a more specific audience to which you can develop and target your video for better engagement.
That’s because using these higher-level characteristics allows you to create a story in your video that is not only more authentic but also more relatable. This will make your video speak to members of the target audience, rather than missing the mark by creating something that tries to please everyone, yet engages no one.
In the video above, learn some tricks for identifying your target audience from Tyson Zahner.
Create a Script and a Storyboard

photo by Extreme Media via iStock
Though some people think they can wing it and make a video on the fly, most of us just don’t have the wherewithal to pull it off, at least not well…
Having a script gives you a blueprint for how to accomplish the goals for the video. Piecing it together can be a long process, but it’s one that should be undertaken if you want to create something that compels people to watch it.
Be careful not to just write something out and accept it at first take. Instead, critically review the script, revise it, and seek input from others to ensure you have a complete guideline for how the story unfolds.
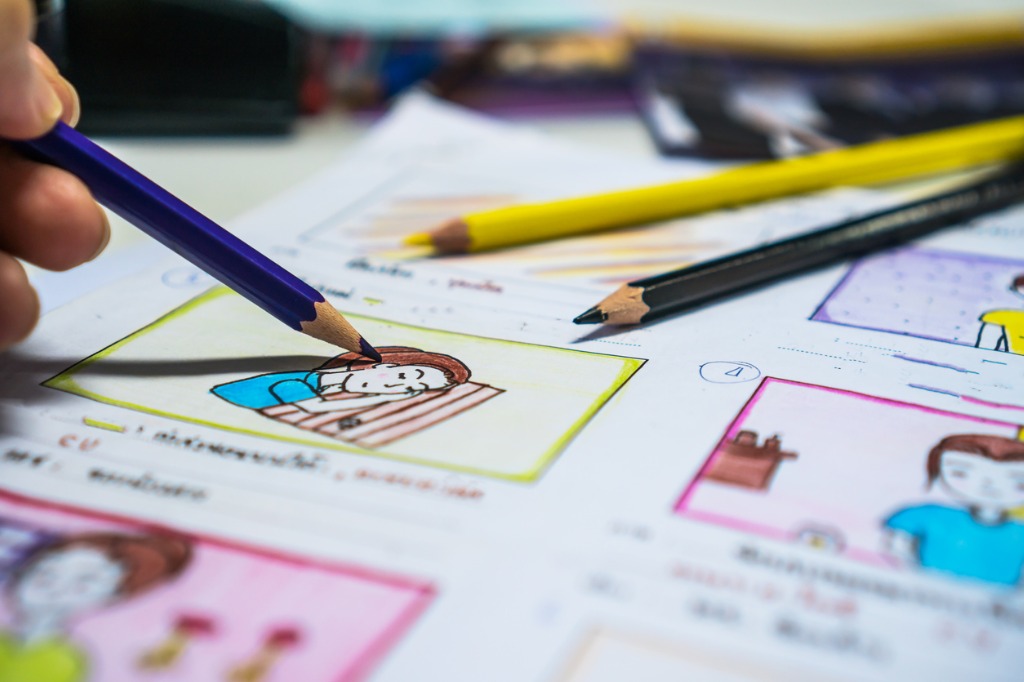
photo by smolaw11 via iStock
Once you have your script nailed down, you need to take planning a step further and storyboard the entire video.
A storyboard is a must-have tool for videographers because it allows you to visually sequence the story and identify the different shots you need to get to make the story come to life.
In other words, the storyboarding process enables you to bring the script to life by sequencing what happens and when. It’s a process during which you can determine if what you have in the script will be possible from a videography standpoint, and if not, allows you to revise the script into something that works.
Storyboarding is also important for identifying where you want to shoot each video sequence, positioning of people in the frame, where you’ll place lights, and so forth.
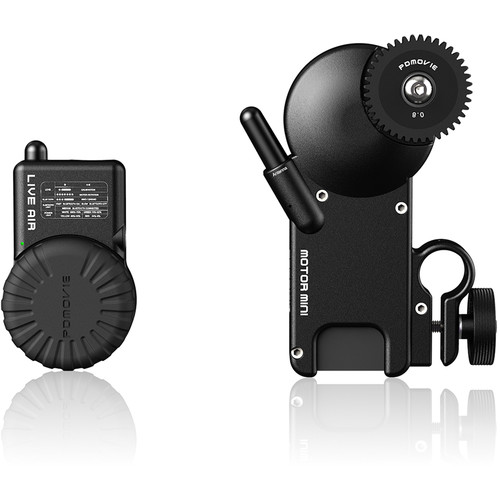
You can also identify the tools you need to make the video look as you’ve envisioned it.
For example, you can use a lens control system like the Ikan PDL-AF shown above to plan for precise focusing within shots on your storyboard.
This completely wireless follow focus system brings control of your lens’ focus to your fingertips and automatically calibrates to the mapping of your lens.
With simple, single-button system settings control, a compact size, and no external power source required, it’s just the videography tool you need to plan each shot’s focus to perfection.
See just how valuable a tool like this can be in the video above by Ikan International.
Of course, you might need other tools like tripods, lenses, sliders, lights, light stands, mics, booms, and so forth, so identifying these and other tools you need during the storyboarding process will save you time and headaches later on.
Additionally, procuring all these tools (whether you rent or buy them) will influence your budget and how far you can stretch your dollar, so planning for these things now, rather than later, will help you create your video in a timely fashion and without busting your budget.
Develop an Introduction and Signoff
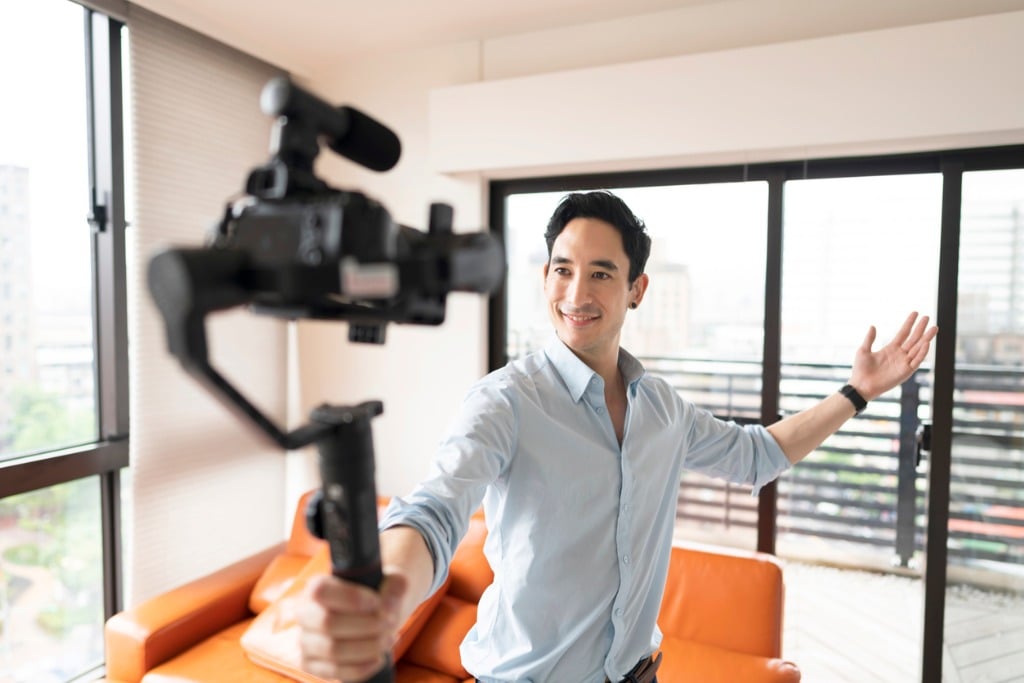
photo by SrdjanPav via iStock
Check any popular YouTube channel and you’ll find that just about everyone has an introductory and signoff sequence.
Having these brief sequences are important for very different reasons.
In the case of an introduction, it helps set the stage for the video while also giving consistency to your videos across your channel. Likewise, with a consistent introduction, you can help people identify the type of content they can expect in the videos you produce.
Signoff sequences are equally as important because they tie up loose ends in the video. If your goal is to sell something or get people to sign up for something, the signoff is a great time to include calls to action to do so.
Again, it helps to have some consistency here from one video to the next, simply because it softens the request to take action - so the video seems less salesy or pushy - but still gets your point across and compels people to act.
Practice the Script
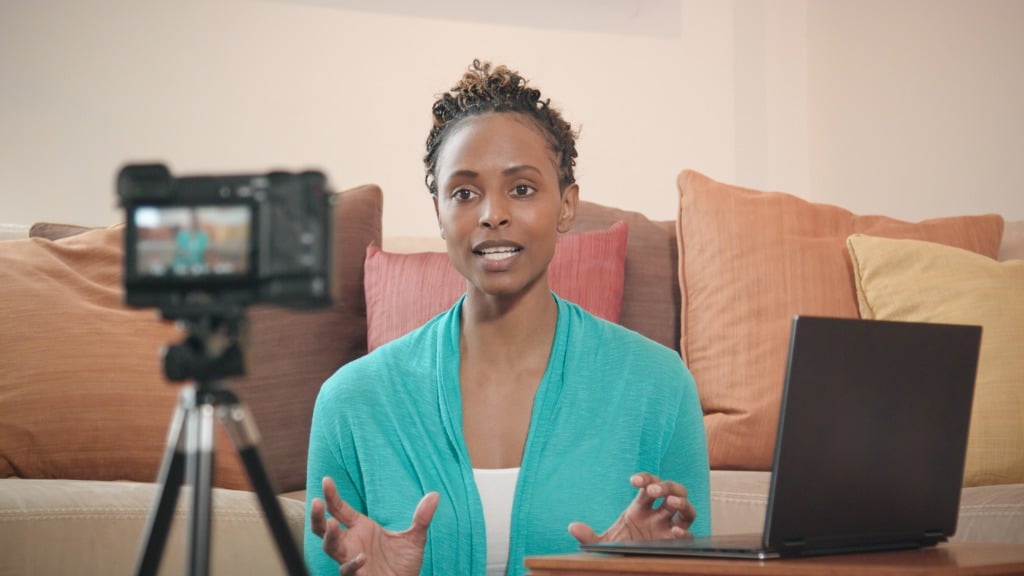
photo by RoosterHDvia iStock
Practicing what you’re going to say in your video is also of paramount importance.
By practicing the script, you’re not only getting comfortable with the wording and sequencing of the script, but you’re also able to identify areas in which you need to change the pacing or intonation, add dramatic pauses, and so forth.
One of the best ways to do this is to load the script in a teleprompter and practice reading the script in a way that’s as natural as possible.
A teleprompter like the Ikan Elite Pro is ideal for videos in which you’re talking directly to the camera.
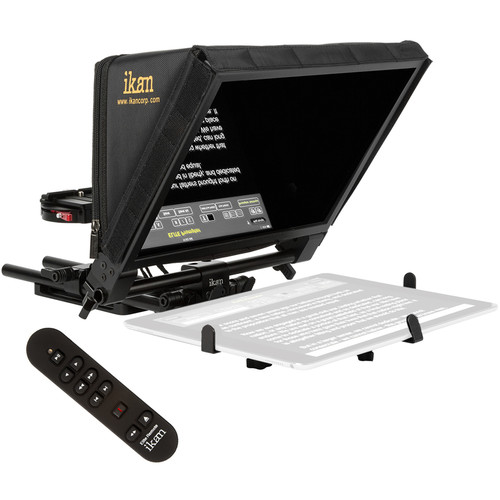
Having a teleprompter aids in much better flow of the script while also helping you keep on track with what information needs to be conveyed (and when).
Teleprompters like the one pictured above support all kinds of tablets, like the iPad Pro and the Surface Pro, just to name two.
What’s more, these teleprompters offer a flexible design that has an adjustable and foldable glass frame and a quick-release camera platform that enables quick setup and takedown.

photo by vm via iStock
Another advantage of having a teleprompter is that it actually allows you to be more authentic. This might seem strange - that reading the script is more authentic - but you’ll find that as you work more and more with the script and reading from a teleprompter, it can help you be more comfortable, relaxed, and more natural in front of the camera, and all of that will lead to a more authentic presence in your video.
There are many other beginner videography tips you can utilize to improve the quality of your videos, but implementing these tips will certainly give you a leg up!