Real Estate Photography - A Beginner's Guide for Getting Started
- An executive summary, i.e., an outline of what your business is.
- A company description, where you hammer out the details like target market and pricing.
- A market analysis where you determine whether real estate photography jobs are going up or down in your area.
- An organizational chart, which may just be you right now, but might include front office staff, social media people, image editors, and more as your business grows.
- Proposed products and services you intend to offer, from prints and photo albums to the specific types of photography you plan to provide.
- A marketing strategy that outlines how you intend to reach potential clients.
- Financial projections for the short-term (i.e., the next year) and the long-term (i.e., the next five years).
- Building a Real Estate Photography Business: Making a Business Plan and Selecting a Business Structure
- Building a Real Estate Photography Business: Permits, Finances, and Insurance
- Driving distance to and from jobs
- Additional equipment (I'm looking at you, real estate drone photography enthusiasts)
- How much editing time the client is asking from you
- How tight of a deadline the client is giving you
- Region of the world
- Any miscellaneous costs
- Videos
- Real estate drone photography
- 3D virtual tours
- The Business of Real Estate Photography: A Comprehensive Guide to Starting your own Real Estate Photography Business
- Photographing Real Estate Interiors and Architecture: A Comprehensive Guide to Equipment, Technique and Workflow for Real Estate Photography
- Exposure mode
- Aperture
- ISO
- Shutter Speed
- Focus Mode
- Metering Mode
- Exposure mode - aperture priority
- Aperture - f/11
- ISO - 100
- Shutter speed - determined by camera
- Focus mode - single-shot autofocus
- Metering mode - matrix
- Exposure mode - aperture priority
- Aperture - f/8
- ISO - 200
- Shutter speed - determined by camera
- Focus mode - single-shot autofocus
- Metering mode - matrix
- Exposure mode - aperture priority
- Aperture - f/8
- ISO - 400
- Shutter speed - determined by camera
- Focus mode - single-shot autofocus
- Metering mode - matrix
- Exposure mode - aperture priority
- Aperture - f/8
- ISO - 400
- Shutter speed - determined by camera
- Focus mode - single-shot autofocus
- Metering mode - spot
- Basic Camera Settings for Real Estate Photography Exteriors
- Best Camera Settings for Real Estate Photography Interiors
- Composition Tips for Photographing Real Estate Exteriors
- Composition Tips for Photographing Real Estate Interiors
- Build a portfolio
- Create a beautiful website
- Put a blog on your website (and write on it consistently, say, once a week at a minimum)
- Develop your brand (create a logo, tell people about yourself, be consistent in your marketing)
- Create social media accounts and schedule posts on them, again, doing so frequently
- Create offers for referrals, that way you get additional business from your existing clients
- Find clients on freelancing sites like Upwork
- Connect with as many realtor networking groups as possible
Photo by hikesterson via iStock
Real estate photography jobs can be tough to come by. You have to go about it the right way to get the clients you need to build a successful business.
But, if you aren't careful, you can accidentally end up with fees from the government, equipment you don't need and can't use, and angry clients.
So, while real estate photography jobs can be lucrative, they can also cost you.
Thankfully, I've been writing about real estate photography for PhotographyTalk for a few years and have covered everything from real estate photography pricing to real estate photography camera settings and everything in between.
If you're just getting started in your career, this is the right place for you to be because in this article I'm going to cover all of it!
Starting a Professional real Estate Photography Business

Photo by andresr via iStock
So, you have a basic understanding of how to shoot real estate photography, you found your first client, and you've read all of the real estate photography tips you've come across.
Now what?
The first thing you need to do is ensure you're legally able to run a real estate photography business, which seems overwhelming at first but will only take you a few days to complete with my help.
Unfortunately, business licenses and permits for photographers vary from state to state and from city to city.
Business permits allow you to collect sales tax, which is required under state and federal law and will allow you to form an LLC if you want to.
Business licenses, on the other hand, allow you to complete your taxes easily at the end of the year because you're keeping your income and your business' income separate.
In order to get either a business license or permit, though, you'll need to apply for an Employer Identification Number on the IRS website (it's simple; don't worry).
Additionally, you may be interested in getting a DBA, which you can learn about in the video below by 180 Law Co.
The Small Business Administration is another great resource that can walk you through how to obtain all of the permits and licenses you need.
Now that you are legally able to operate, it's time for you to develop a real estate photography business plan.
Your business plan will help you get small business loans, but it will also help you to organize your business.
Your business plan needs to include:
This video by Gillian Perkins is really useful.
For more details about starting your business, check out the learn more links below.
Learn More:
Real Estate Photography Pricing
This video by Aperture University is a good starting place for you because...
I'm not going to tell you what your real estate photography pricing should be for a few reasons, but namely that there are a ton of factors that affect real estate pricing.
But, I can tell you that these factors should play a role in your pricing:
Once you've established a baseline real estate photography pricing guideline for yourself, you'll also want to think about adding services to increase your real estate photography pricing.
For me, there are three optimal services every real estate photographer should offer, but many don't:
I haven't come across a client in the past year who wasn't interested in real estate photography videos once I mentioned that I offer them. Why isn't everybody taking advantage of this?
Plus, videos are really easy to learn, as showcased in this real estate photography tips video by Parker Walbeck.
Real estate drone photography is another hot topic nowadays, especially if you're planning on branching out into commercial real estate photography at any time in the future. Clients will want to see you have experience with a flying camera.

Photo by Derek Thomson on Unsplash
Finally, you can offer 3D virtual tours of properties as another means of earning income.
Though it might sound like a complicated undertaking, as this excellent post by iGuide explains, it's really just a matter of planning and execution to get the best results.
Recommended Real Estate Photography Books:
Best Camera for Real Estate Photography
Photo by Mario Calvo on Unsplash
I know the title of this section is sort of misleading, but let me start off by saying that there is no single best camera for real estate photography.
When people are arguing over what the best camera for real estate photography is, they are really arguing their preference because it's 2020 and every professional-grade camera that is built for real estate has essentially the same features.
But, you definitely will want to watch for some features when you're camera shopping.
Firstly, you'll want a camera that you can use with a variety of lenses, offers Automatic Exposure Bracketing (AEB), and comes with a continuous shooting mode.
For the record, almost every professional mirrorless and DSLR camera on the market today offers all three of those things.
Secondly, don't let a salesman sell you something you don't need. For example, you won't need a camera with a built-in flash because you're going to be relying on other methods for getting well-exposed photos (more on this later).
Personally, if I were in the market for real estate cameras today, I would also purchase a camera drone.
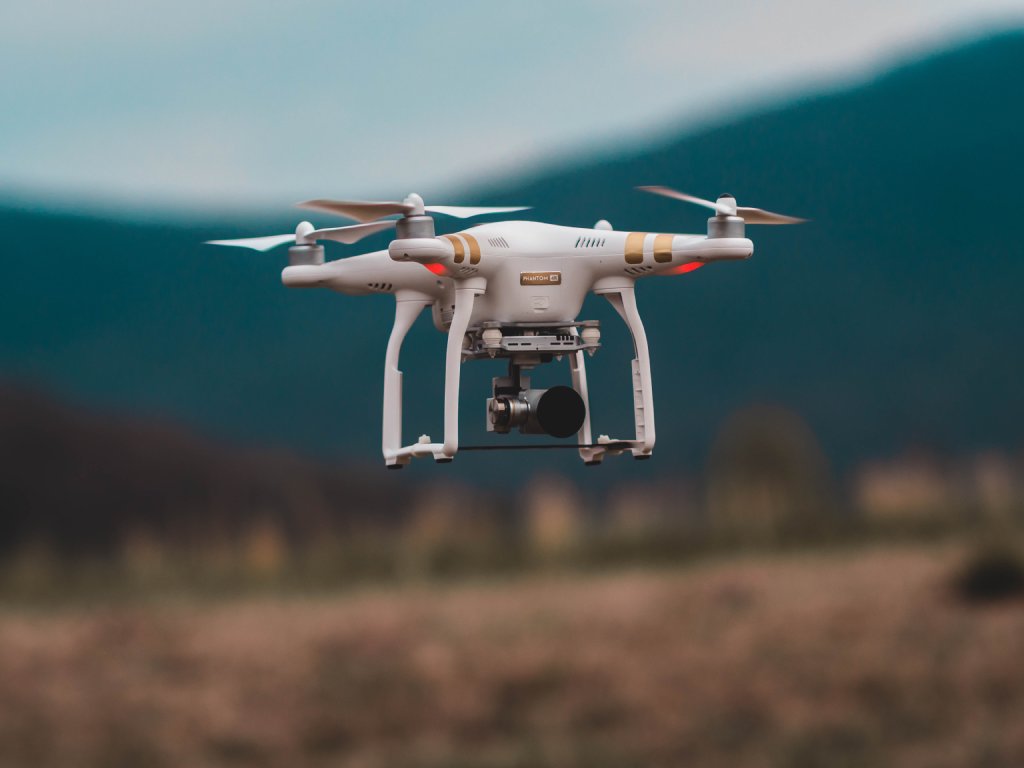
Photo by Jared Brashier on Unsplash
Again, when you're shopping for a camera drone, focus less on the brand and more on the drone's capabilities.
If you're just starting your real estate photography career, you can probably get away with a less expensive drone that only has a short flight time of around 20 minutes.
You can always upgrade later on!
Learn More:
Best Lens for Real Estate Photography
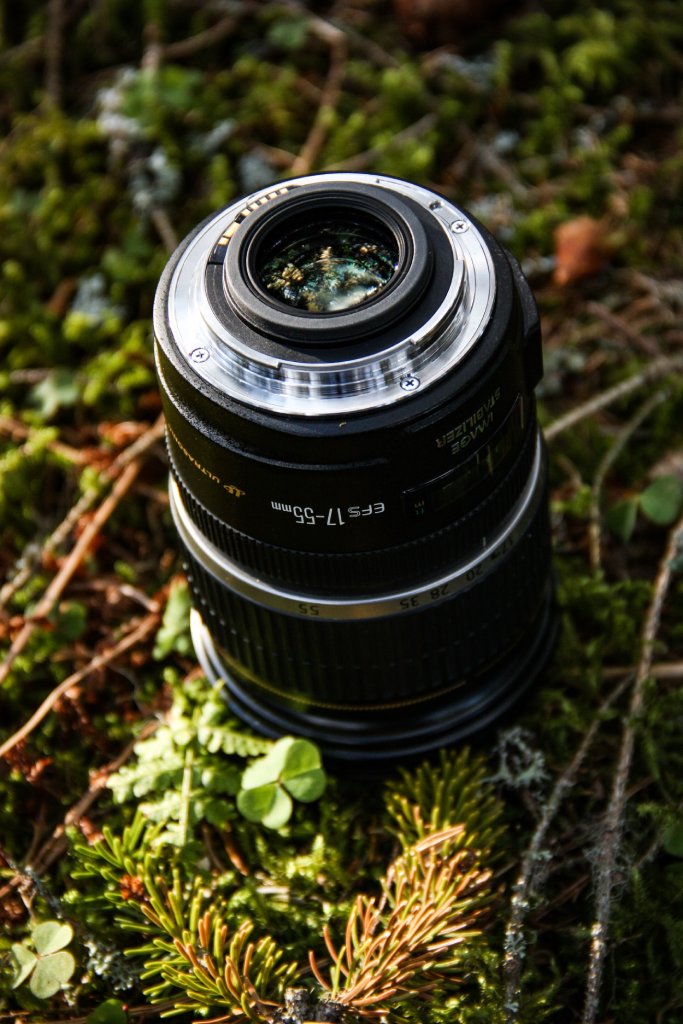
Photo by theverticalstory on Unsplash
The best lens for real estate photography, like the best camera, also doesn't exist.
I mean, think about it...you're definitely going to need at least two or three lenses to capture everything you will need while photographing homes.
For most real estate photographers, a wide-angle zoom lens is going to be a great first option.
Zoom lenses offer the versatility of a range of focal lengths, and wide-angle zooms give you that nice field of view that encompasses the entire room in a single shot.
Look for a wide-angle zoom lens like a 16-35mm f/4 if you shoot with a full frame camera or a 12-24mm f/4 if you shoot with a crop sensor camera.
Note that you do not need to spring for a fast lens, like an f/2.8, f/1.8, f/1.4, and so on.
Primarily, this is because you will most often be shooting at f/8 to f/11, so you don't need all that light-gathering power of a fast lens anyway.
Best Real Estate Photography Lighting
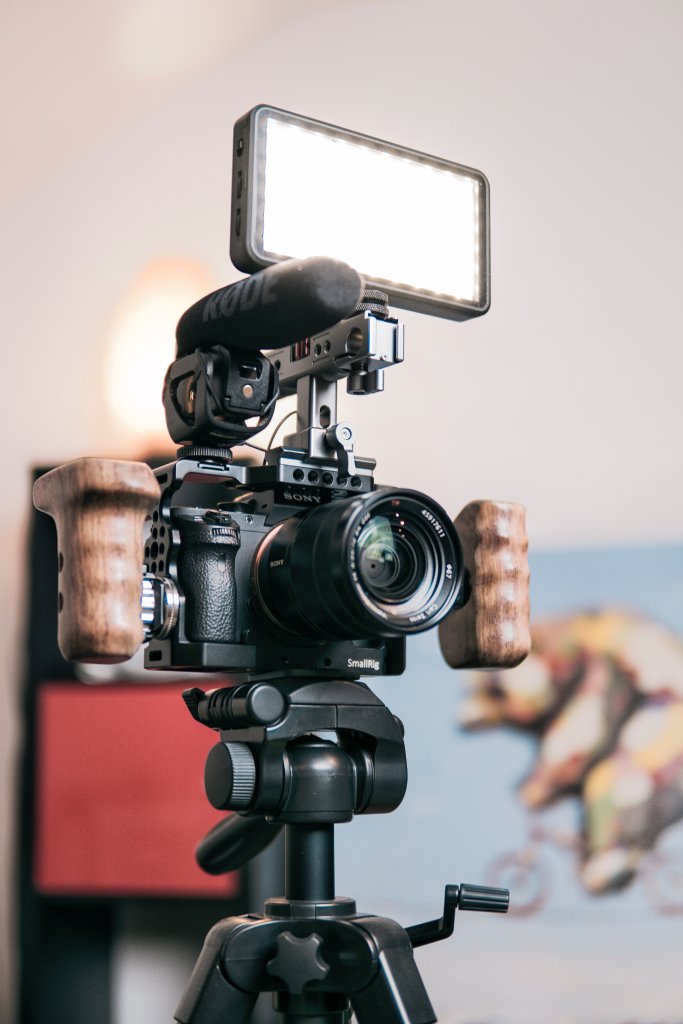
Photo by lucas Favre on Unsplash
Would you be surprised to find out I rarely bring external lighting with me to my real estate photography jobs?
Realistically, with modern photography technology, you no longer need to.
Instead, I take three different shots, one exposed for the shadowed areas of a room, one for the midtones, and one for the highlights and merge them together in post-op.
It's faster, cheaper and easier than bringing heavy lighting gear with me, that's for sure.
Using the bracket and merge technique is not only budget-friendly, but it's also much faster.
As discussed in the video above, you make a few changes to camera settings, put the camera on a tripod, and take several shots.
Then, you simply merge those shots together to create a composite image that's well-exposed throughout. It doesn't get much easier than that!
Learn More:
>
Real Estate Photography Camera Settings
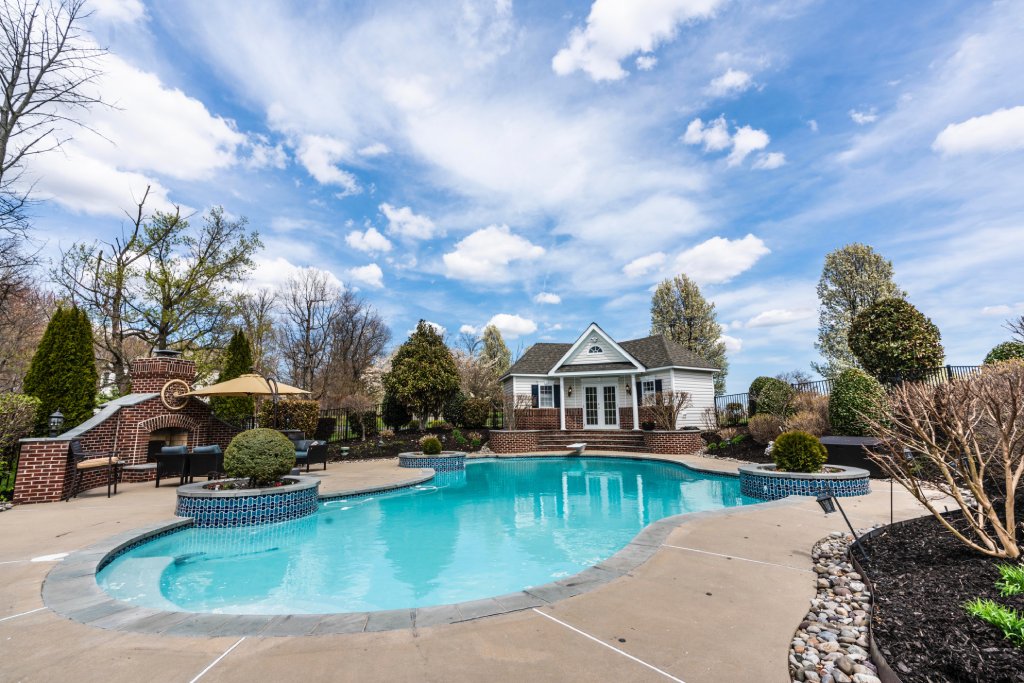
Photo by Evan Dvorkin on Unsplash
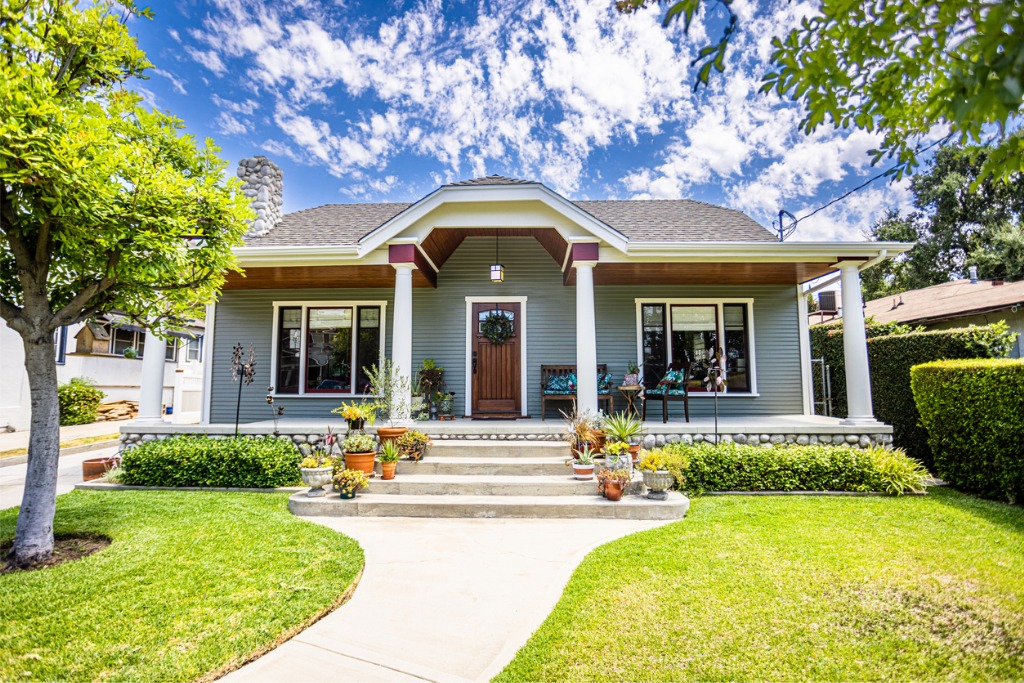
First, let's discuss your camera settings for real estate photography exteriors.
There will typically be two types of exterior real estate photos, ones taken during the day (like the one above) and ones taken during the evening.
Your camera settings will change for both of these types of photos, but the aspects you'll want to be paying attention to are the same.
These are:
You'll want to become familiar with all of these settings, but you can use the following as a guide.
For daytime photos:
If the images keep coming out too bright at these settings, then step the aperture down to f/13 or f/14.
If the images are too dark on these settings, do the opposite and open the aperture by a stop or two.
For evening photos:
The aperture, in this case, was stepped down to allow more light in and the ISO was increased just a little, again to brighten the image.
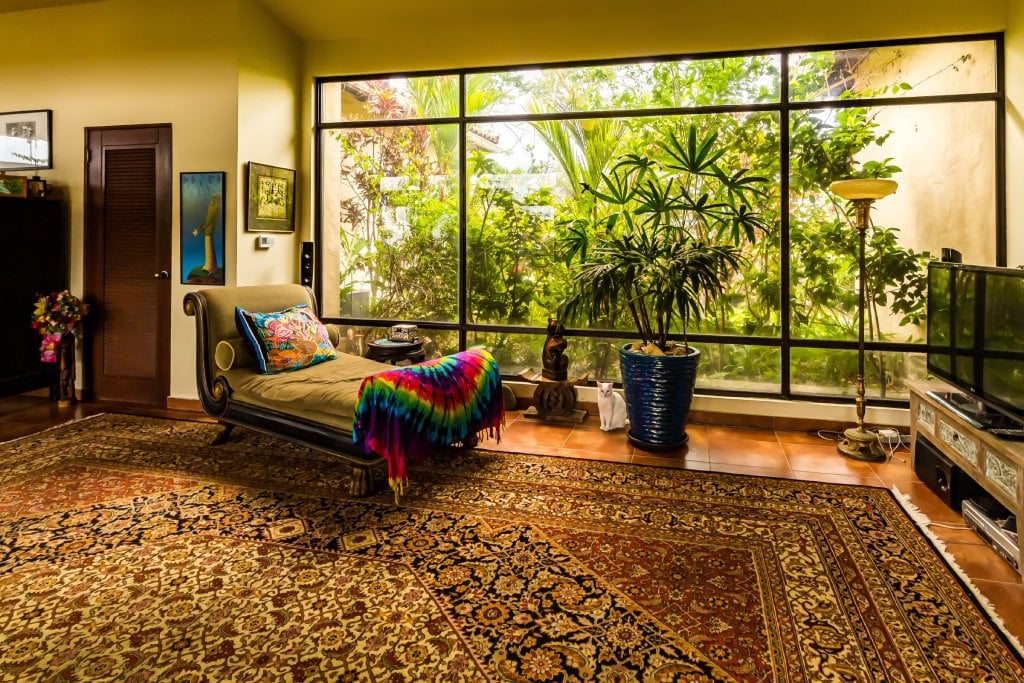
Photo by fran hogan on Unsplash
Figuring out your camera settings for real estate photography interiors is a bit more complicated, namely because you can have weird amounts of light in different rooms of a house.
For rooms with plenty of natural light, set your camera settings here to start:
For rooms that don't have any natural light, try this:
While I've given you enough information here to start exploring your camera's capabilities, please check out the learn more links below for a full in-depth review.
Learn More:
Real Estate Photography Tips
Photo by Paul Hanaoka on Unsplash
When you're learning how to shoot real estate photography, you're essentially learning different composition tips.
And, as with all things in real estate photography, composition for the interior and exterior of houses is different.
Let's start with interiors.
You'll want to make sure that your lighting is the same across the board, which is the number one thing you should be worrying about.
I touched on that in the lighting portion of this list, but you can also read more about it in the learn more link below.
You'll also need to pay attention to the height of your camera.
Mostly, you'll want to keep the camera at eye-level, but for things like a beautiful view out of a tall window, you can bend this rule.
Lastly, get shots from every angle. You want to give potential buyers multiple views of each room and of the exterior of the property.
Photo by Evan Dvorkin on Unsplash
For exteriors, you're basically just fighting the weather and the time of day.
But, don't be afraid to shoot in cloudy weather, or in the evening, because clouds can act as a diffuser for your photos and the evening light provides a softer look to your homes.
You will need to find unique angles for your homes.
There's nothing more boring than viewing the exact same photo of every single house taken from dead-on in the front of the property. If a house you are shooting is shaped differently, use it to your advantage.
Use your angle to highlight unique features.
While a wide-angle shot is important for potential home buyers, so are the features of the home. If there's a gorgeous pathway running through a garden, capture it with a tighter shot to show off its shape and detail.
Finally, make sure to get different shots of the entryway. Go wide to show the entryway in the context of the front of the home. Take a medium shot to give potential buyers a closer look at the front porch or front door. Then get detail shots of any interesting elements, like stained glass in the door, unique door hardware, and so forth.
Again, providing potential buyers with a varied collection of images will help you tell them the story of the home.
Learn More:
Real Estate Photography Classes

There are thousands of real estate photography classes available to beginners and it can be hard to determine where to start.
But, I've been doing this for quite a few years now, and I find it's typically best to go with small businesses owned by real estate photographers...
Firstly, because these individuals know exactly what they needed to know when they were in your spot. Secondly, because they have the time to devote specific attention to you and your individual needs.
But, a lot of times finding a small business that runs classes means you're getting a less technologically-savvy class. This is not the case with Real Estate Photographer Pro.
It's a small business with tons of videos to teach you everything you need to know about real estate photography, from how to create presets to how to get people to pay you on time.
Plus there's a Facebook group for members that hosts a live Q&A every week, so if there's information you can't find through their classes, you can ask it to the owners.
They have a 30-day money-back guarantee and the lifetime membership pays for itself in the first few months. If you need additional guidance for getting your business off the ground, this is it!
Real Estate Photography Jobs
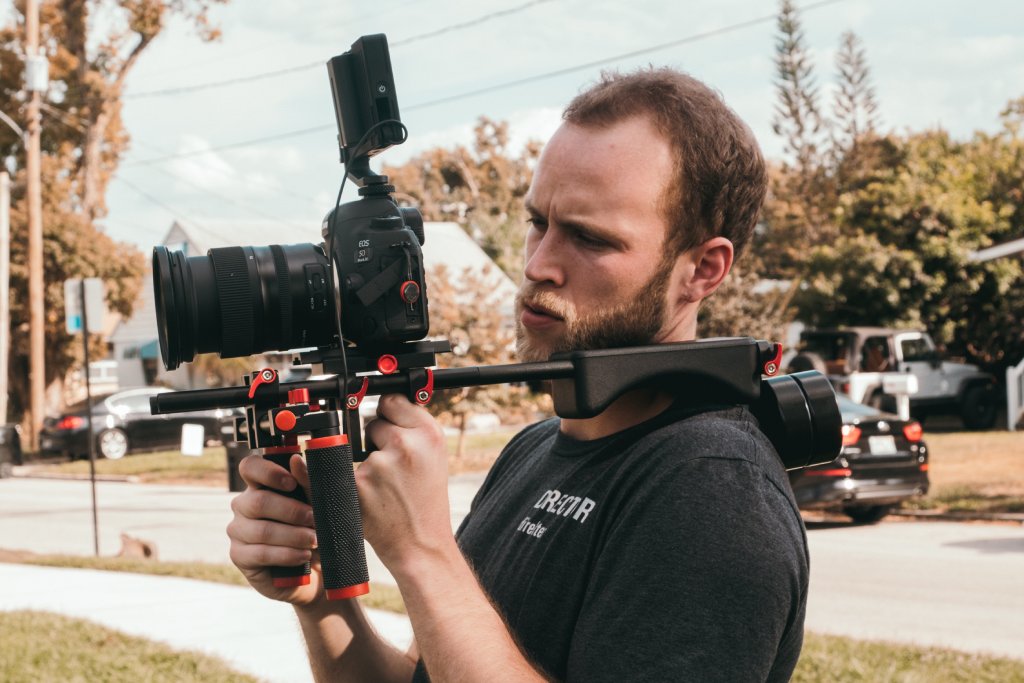
Photo by KAL VISUALS on Unsplash
The question I get asked the most often in my line of work is, "How do I get real estate photography jobs?"
So, here's a comprehensive list of how to get real estate photography jobs:
Is starting a real estate photography business easy? No...
But with the tips and tricks I've outlined here, you have a ton of resources to help you get on the path to success.
Now all that's left to do is to put your learning into action and get your business up and running!