What You Need to Do Before Taking a Single Real Estate Photo
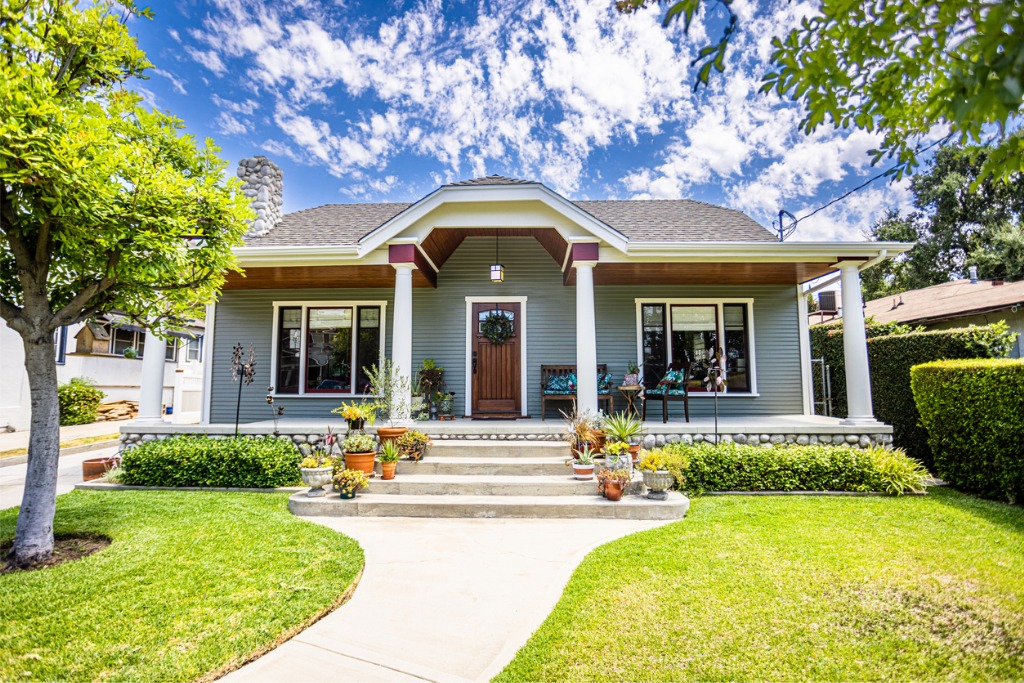
- Wide view from directly in front of the home
- Wide view from the side of the home
- Close-up of entry to show more detail
- Driveway & garage
- Side yard space
- Backyard
- Outdoor living spaces like patios, decks, and pools
- Landscaping
- Property views, such as highlighting mountain views or water frontage
- Entryway or foyer
- Wide view of living room and family room spaces
- Close-ups of details like fireplaces, staircases, or interesting moulding and trim
- Wide view of the kitchen from multiple points of view
- Wide view of the dining area
- Wide view of each bedroom from multiple points of view
- Wide view of each bathroom
- Close-ups of bathroom details, like intricate tile work
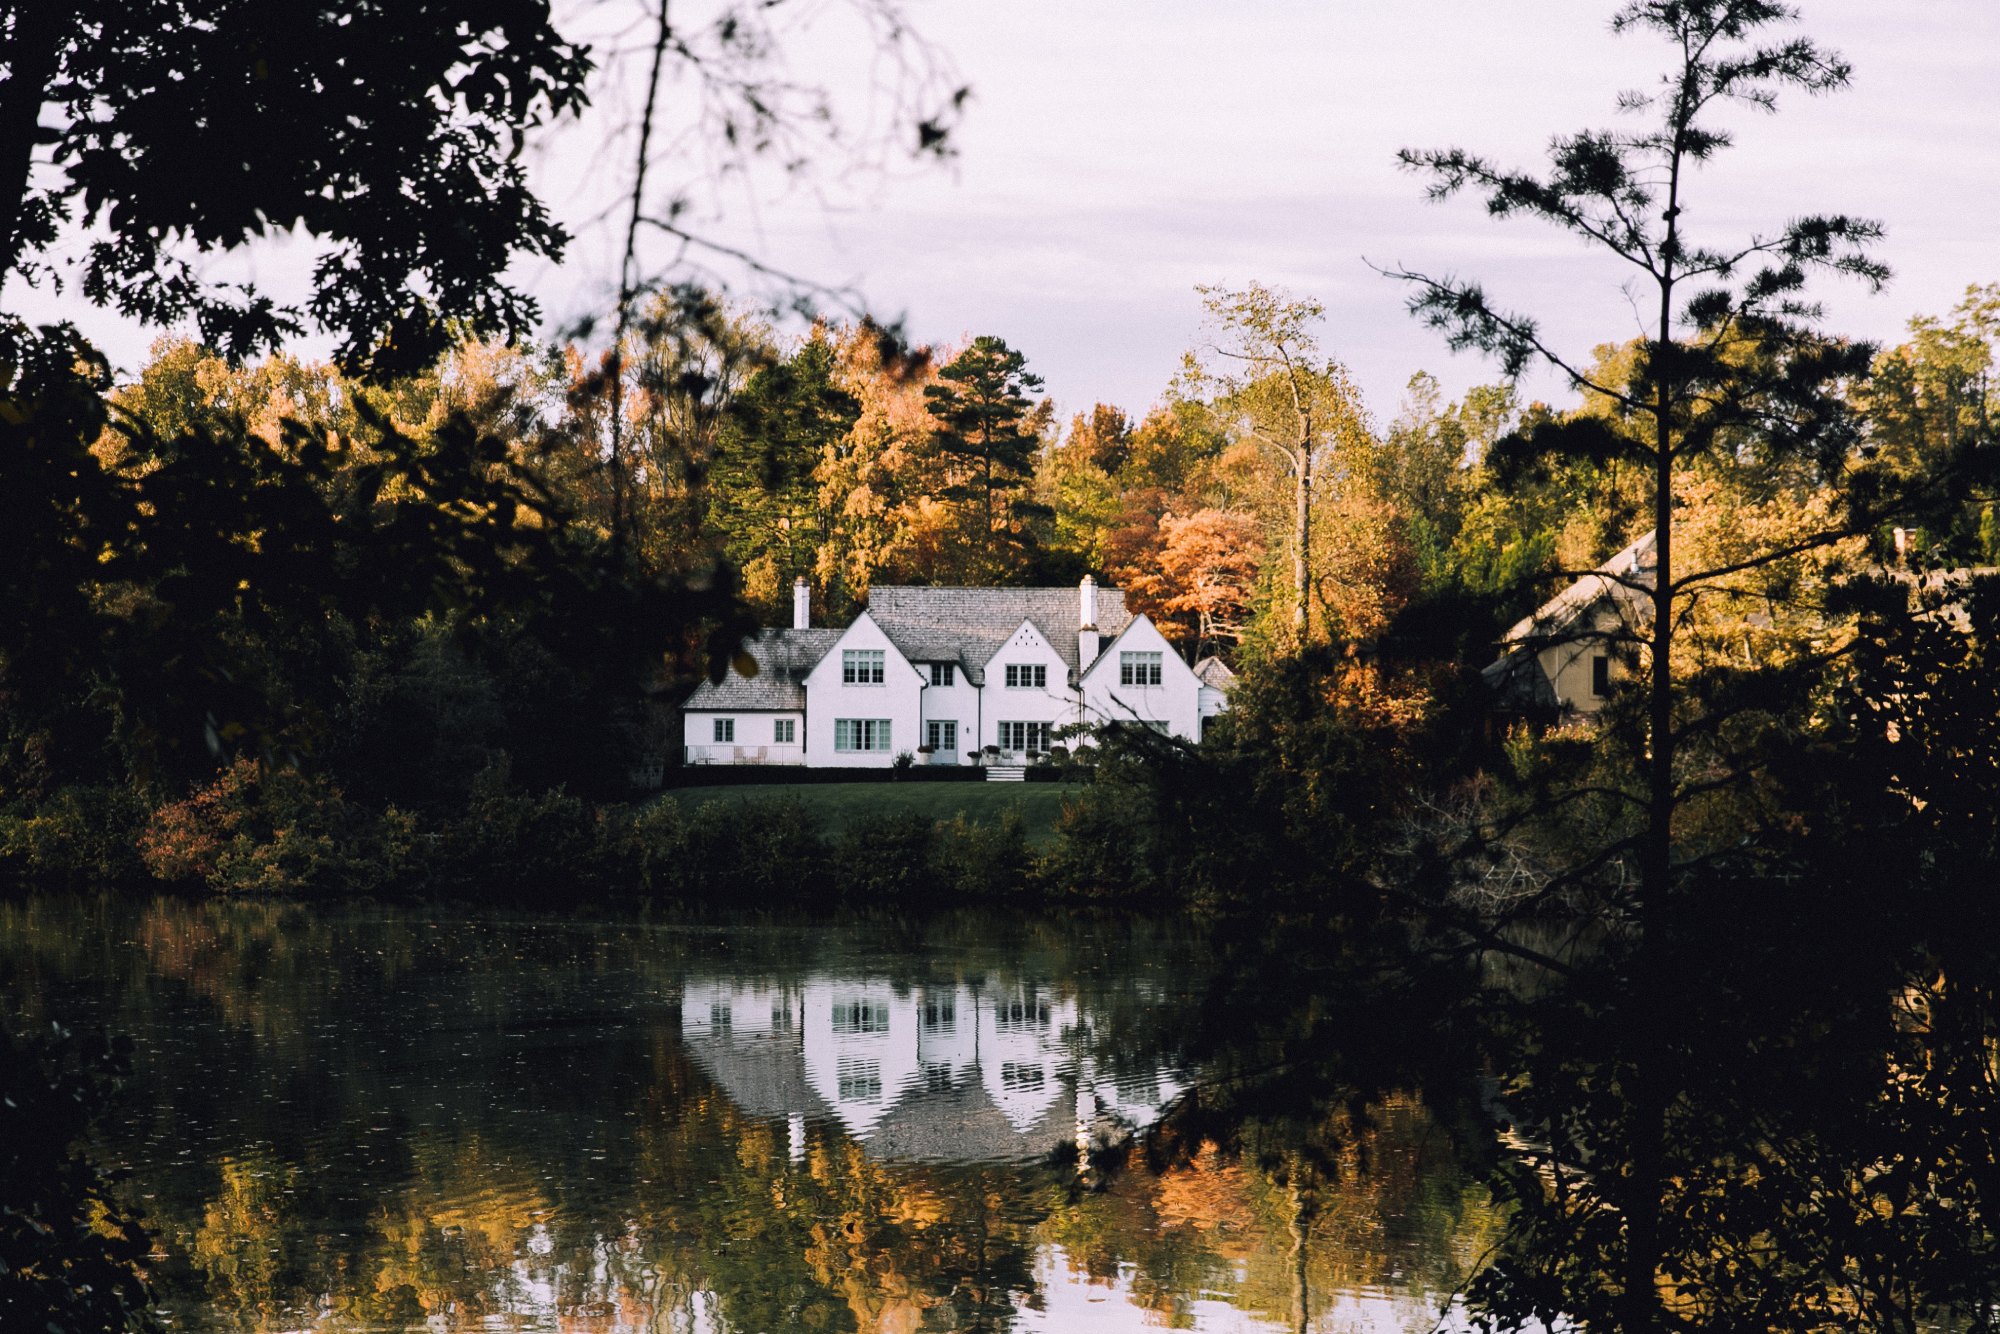 Photo by Emma Frances Logan on Unsplash
There are many keys to success when it comes to being a real estate photographer.
Naturally, you must have the skill and talent required to take beautiful photos of properties that make it more likely that they will sell.
But it's not as simple as showing up to a home and pressing the shutter button. Instead, just like any type of photography, it's necessary to do quite a bit of planning and preparation before you ever take a single photo.
Let's review some of the most critical tasks you need to complete before you take a single property photo.
Get to Know the Client
 Image Credit: fizkes via iStock
Whether you're a real estate photographer who is contracted by Realtors to take photos or you're a Realtor taking photos of your own property listings, it's crucial to take the time to get to know the people for whom you work.
For example, if the property owner is especially proud of the updates they've had done to their kitchen and bathrooms, they'll want the images you take to show off those updates. Furthermore, you'll likely want to highlight those updates by taking more photos of those areas than you normally might do.
As another example, if a client has a small child, they might not want their kid's likeness to be in any photographs of the home.
That might mean working with the client to depersonalize their child's bedroom or removing family photos from walls to protect the privacy of the family.
The point is that every client is different, as is every property, so getting to know who your clients are and what their specific needs might be will help you devise a shot list that shows off the home's best features while also respecting the wishes of the client.
Learn More:
Do a Walkthrough and Tour the Home
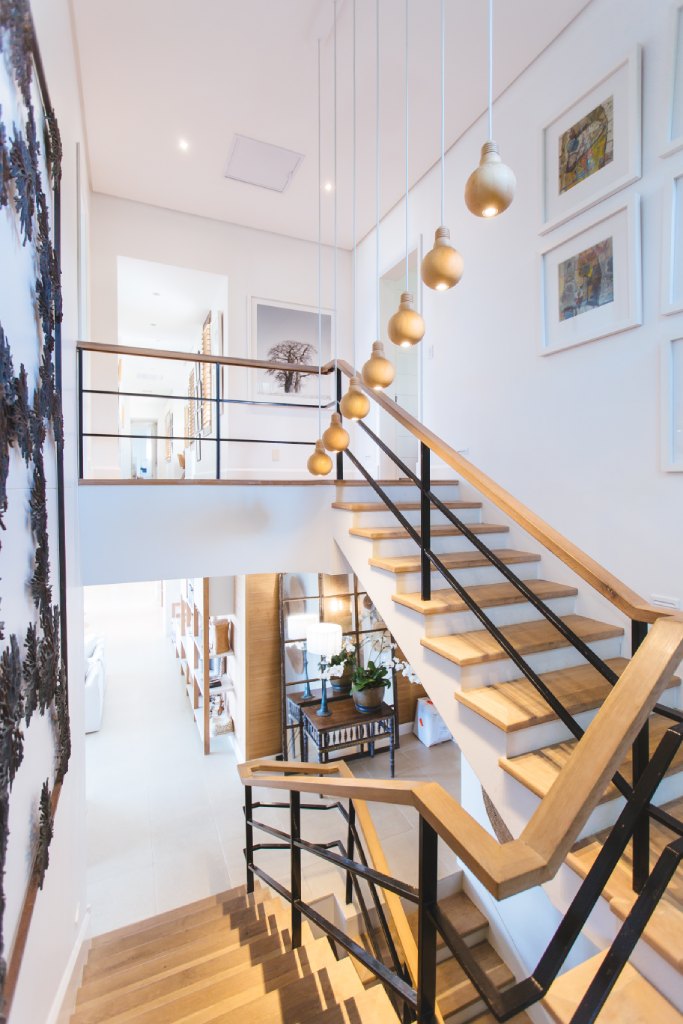 Photo by Jason Briscoe on Unsplash
Your clients aren't the only ones that you need to get to know. Instead, getting to know the property you'll be photographing is essential to your success.
If you're a professional real estate photographer, the walkthrough will likely be done with the listing agent of the property. However, if you're a Realtor, the walkthrough will most likely be done with the property owners.
Either way, you'll need to rely on the expertise of the listing agent and the homeowners to get a feel for the specific features of the property they wish to promote.
Conversely, the walkthrough is also a chance to determine which areas of the home might not photograph so well, that way you can work with your client to determine the best means of making those areas more photogenic.
>
Develop a Shot List
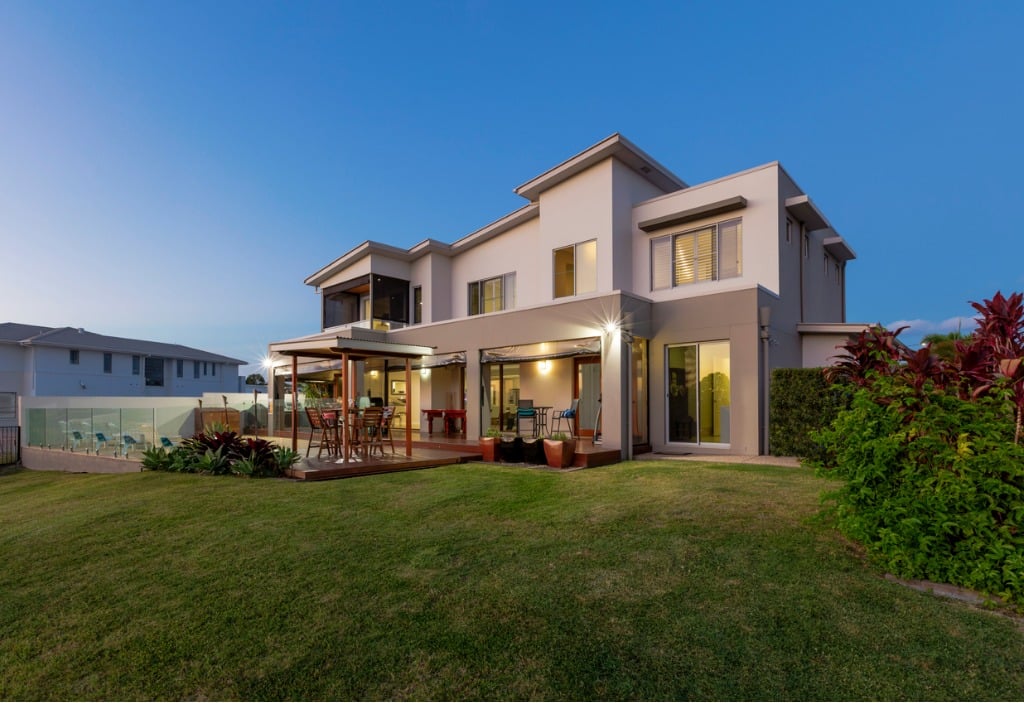 Image Credit: zstockphotos via iStock
A shot list is a must-have for real estate photographers because it serves as a roadmap for your time at the property.
There are endless images you can take of a property's interior and exterior spaces, so it's easy to forget a shot here or there if you don't have a well-defined list ahead of time.
When photographing the exterior of a property, consider the following as crucial photos to take:
Bear in mind that the exterior spaces of a home will change as the seasons change.
If, for example, a property is first listed in the winter, you'll likely need to return to the property in the spring to take updated photos once the yard is green and landscaping has come back to life.
 Photo by Jolene Hardy on Unsplash
Then, when photographing the interior spaces of a home, be sure not to miss any of the following:
Naturally, this is just a basic list, and as you get to know the client and their property, other types of images will likely need to be added. But if you check off each of the items on the list of interior and exterior shots listed above, you should be in good shape.
Learn More:
Prep Your Gear
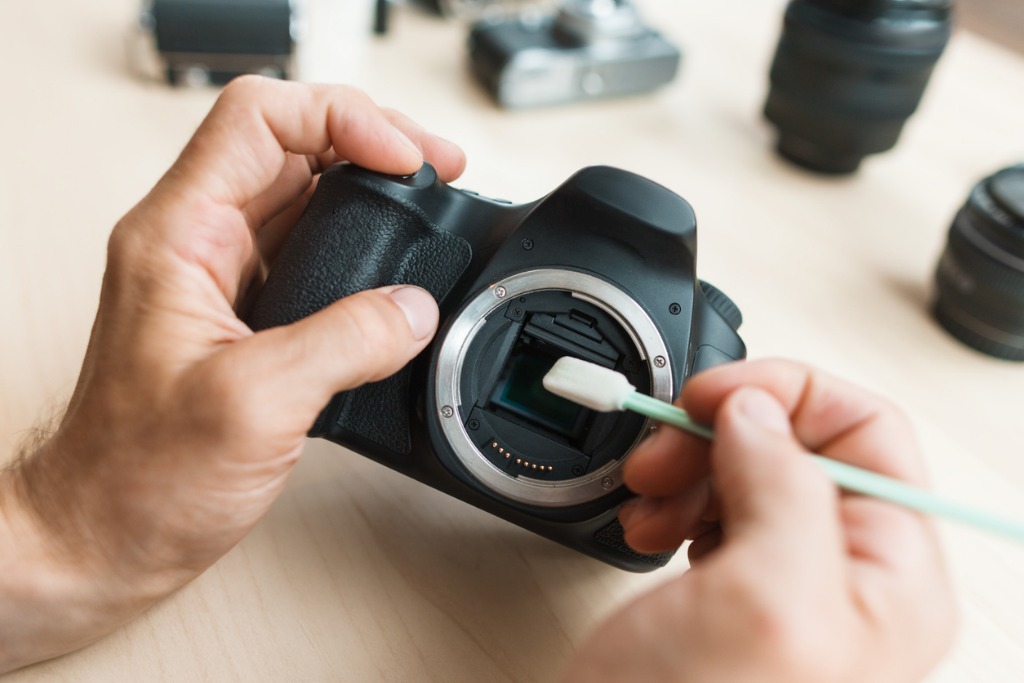 Image Credit: golubovy via iStock
Now that you have a better idea of who your clients are, what their needs are in terms of photos, and have a shot list ready to go, the next step is to ensure that all of your photography gear is ready to go for the photo shoot.
The night before, charge all your camera batteries. As they're charging, give your lenses a good cleaning, and if need be, clean your camera's sensor as well.
It's a good idea to clean the feet of your tripod too, as you don't want any dirt or grime that's built up on its feet to transfer to your client's beautifully clean floors!
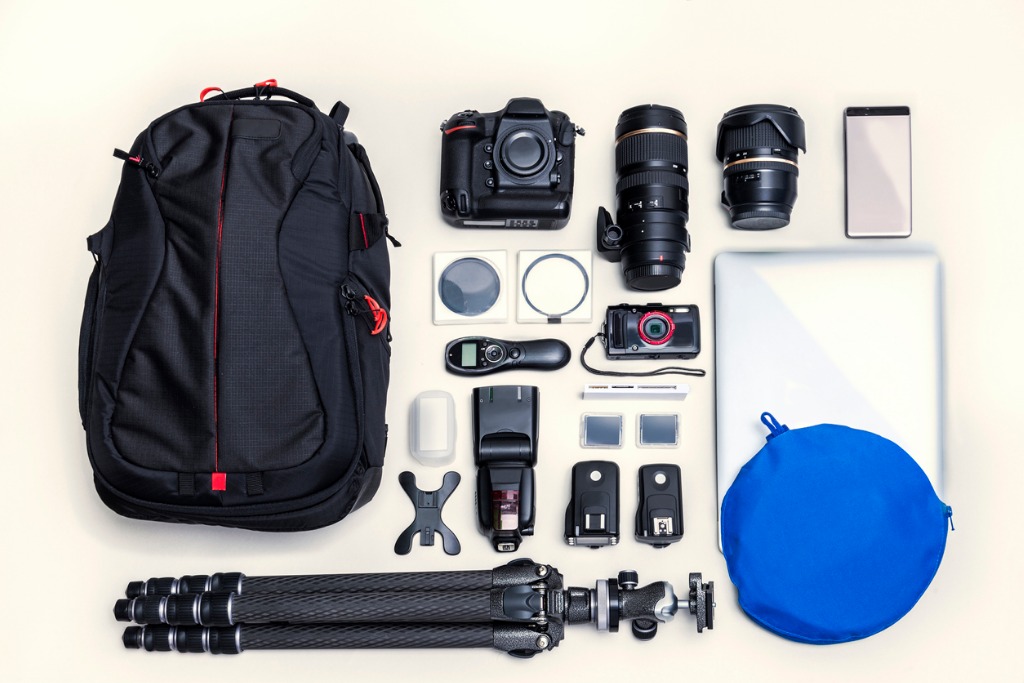 Image Credit: ugurhan via iStock
When packing your camera bag, ensure you have all the essentials.
That most obviously includes your camera, lenses, and tripod. But don't leave small, easy-to-forget items like your camera remote or memory cards behind. Be sure you have your shot list with you before walking out the door as well.
It's also a good idea to have your post-processing needs arranged ahead of time.
For example, having software that allows you to merge multiple photos to get well-exposed interior pictures is a smart move.
Better still, using software that allows for merging as well as batch processing, resizing, and more will help you save time.
Final Thoughts
 Image Credit: jnnault via iStock
While your ability to take high-quality photos will certainly factor into your success as a real estate photographer, the proof is really in the preparation.
The more you know about the client, the more you know about the property, and the more diligent you are about having a detailed shot list and having your gear prepared ahead of time, the more likely you will be to get each and every shot you need.
Furthermore, all that planning and preparation will help you get better images as well. And since there's only one chance at a good first impression, prep work is most essential!