3 Ways to Supplement your Photography Income
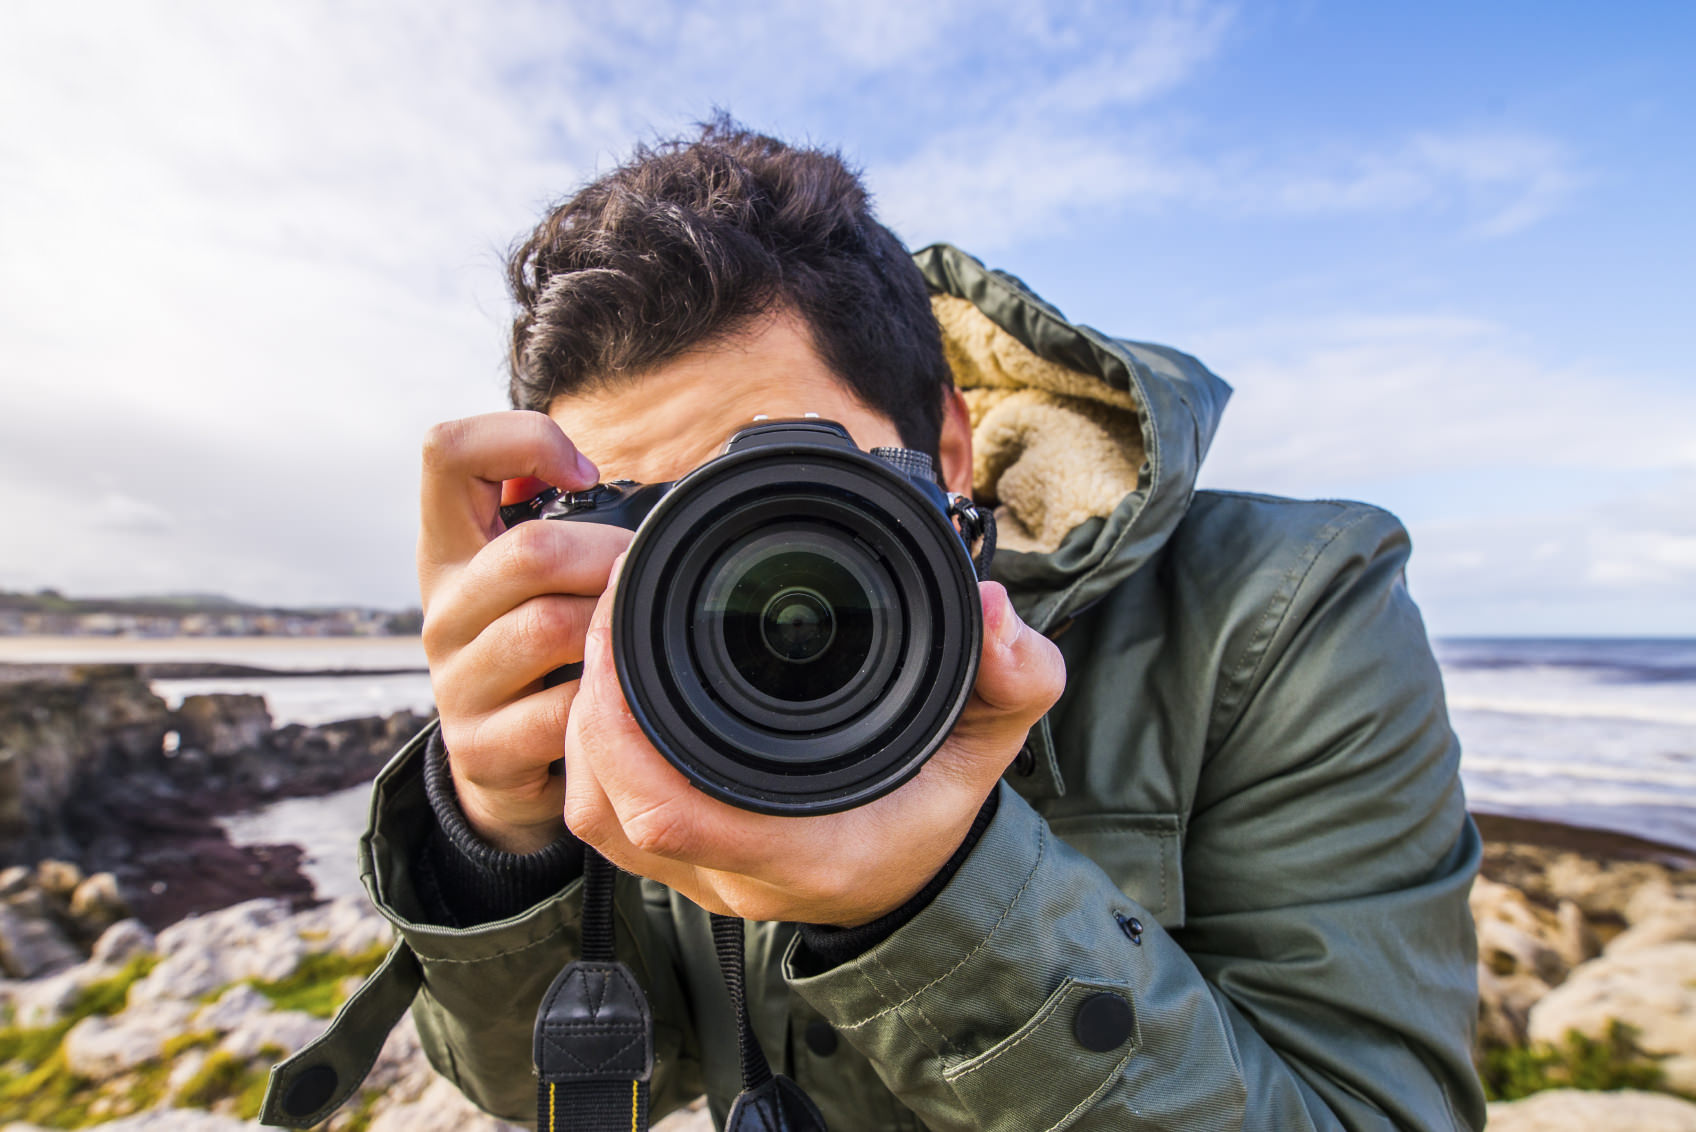
Ah, the life of a photographer! There's nothing quite like making a six-figure income doing what you love, right?
If you identified with that opening paragraph, you can probably just close this article now. If, on the other hand, your income from your photography isn't quite enough to keep food on the table and a roof over the family's head, don't be discouraged; you're actually in the same boat as the majority of good photographers out there. It takes more than just skills and creativity to establish yourself in today's photography markets and for most of us, quitting the day job doesn't become an option for a long time.
On the positive side, for a dedicated "shutterbug", there are some camera-related sidelines that might replace that day job or at least help keep the bank account afloat while you're building your business and reputation. Let's take a look at three alternatives that can help:
Property/Insurance Inspections

As mundane as this may sound, it's one of my favorite ways to generate some extra money and it involves taking simple property photos, along with a very small amount of paperwork. It also involves some regional travel, which is an added bonus for many photographers.
In a nutshell, you'll sign on as a contractor with one of a few national companies that hire inspectors. Some require that you attend an online training session and most will pay you for that time. After training, you'll receive lists of jobs in your assigned area, with a time frame as to when your report is due. You'll be expected to travel to the properties, take a required list of photos, fill out a simple report and submit everything via the Internet. You'll be paid a flat fee for each successfully completed report.
Your time is your own as long as you can deliver the reports in the allotted time, so your excursions can provide plenty of opportunity for any other photographic adventures you want to take while you're in an assigned area. If you're a good organizer and enjoy finding new places to shoot, this can be a fun and profitable venture.
Check your local Craig's List ads for property or insurance inspector positions. The hiring companies advertise constantly, so chances are you won't have to look too hard.
Product Photography
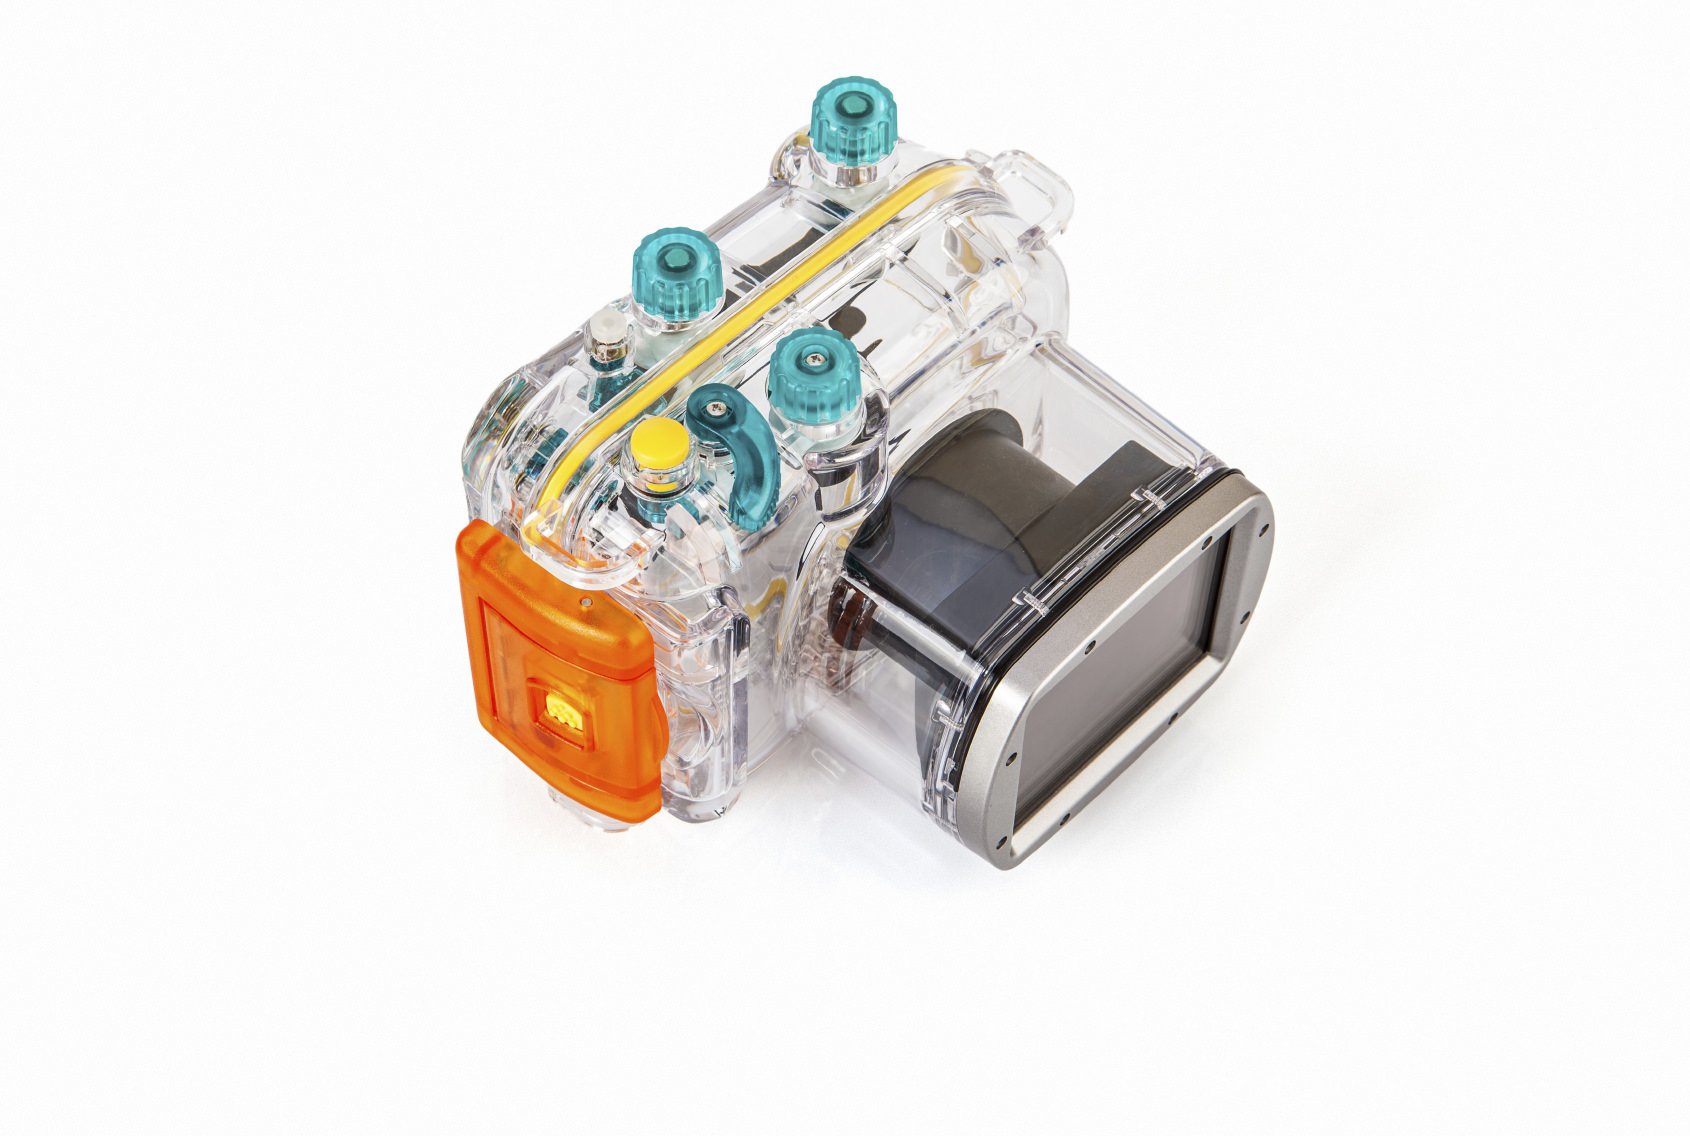
This is a surprisingly good way to generate income with your camera. It's not exciting or glamorous, but there are a surprising number of businesses and individuals that need good shots of their products. Whether it's taking photos of top items at estate sales, shooting items for ebay sellers or doing on-site photography for retailers, you can find steady work in this field with a little effort.
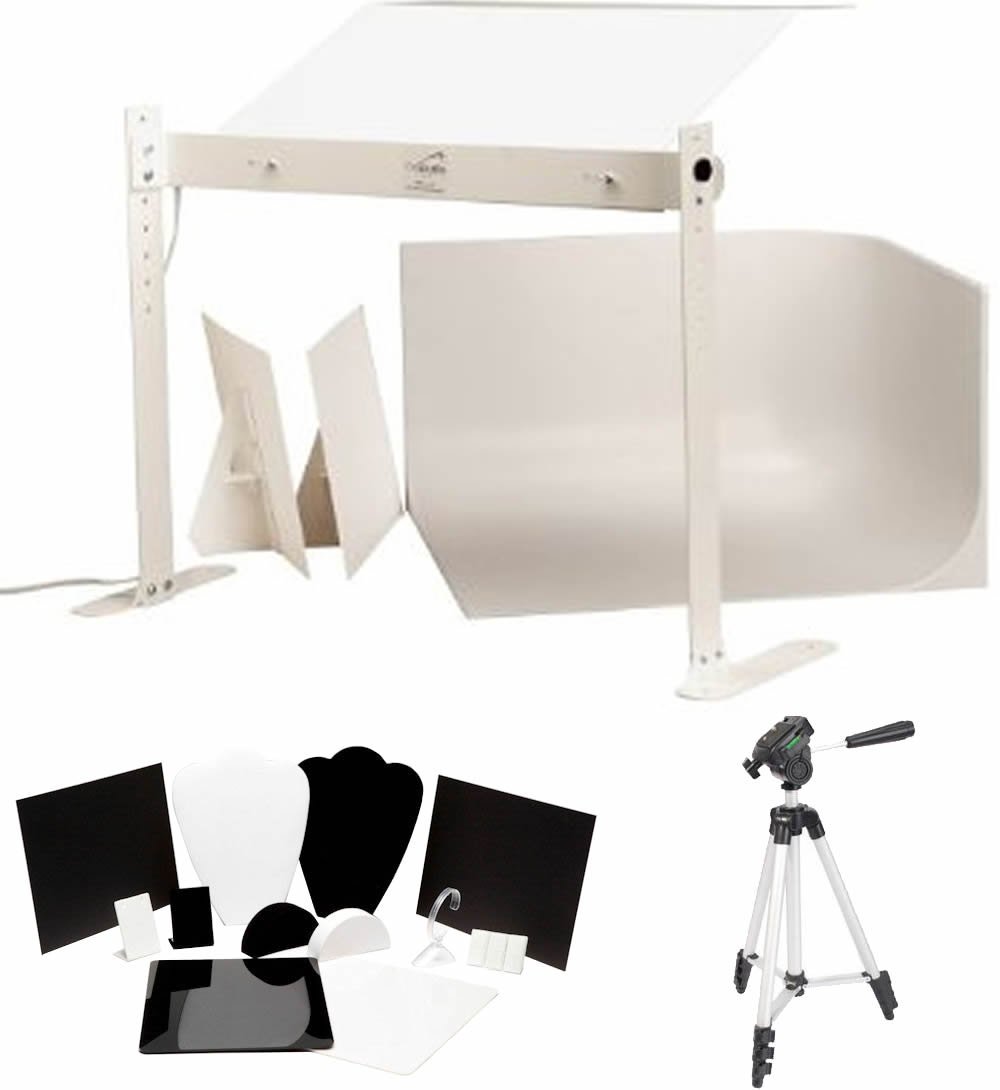
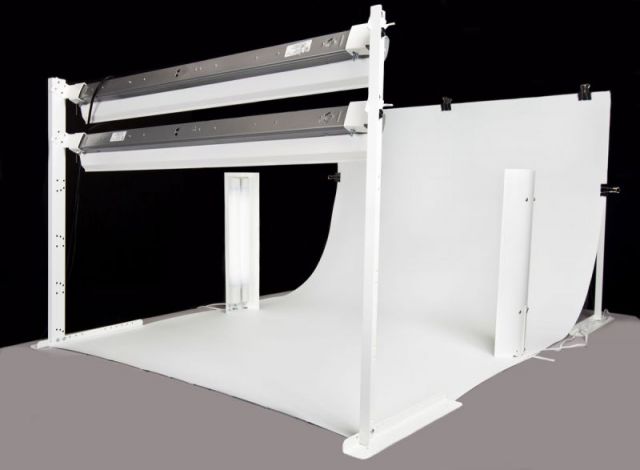
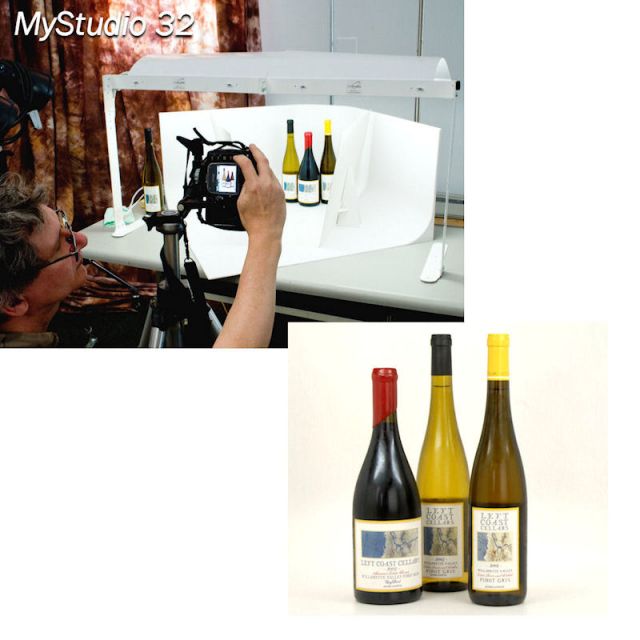
It's best to have a portable studio that you can set up quickly in a small space, and we like the MyStudio line from ProCyc. Their MS20 TableTop Studio Kit, for instance, gives you everything you need for shooting almost anything almost anywhere and there's a great line of accessories available. Take a look at the demo video below to see how easy and versatile this setup is.
This is one of those photography types that literally lets you just hand out business cards, post ads, etc. and let the clients call you. You can then either take your studio to them or bring the products into your own. Just be sure you can deliver high quality photos that make the products look their absolute, enticing best.
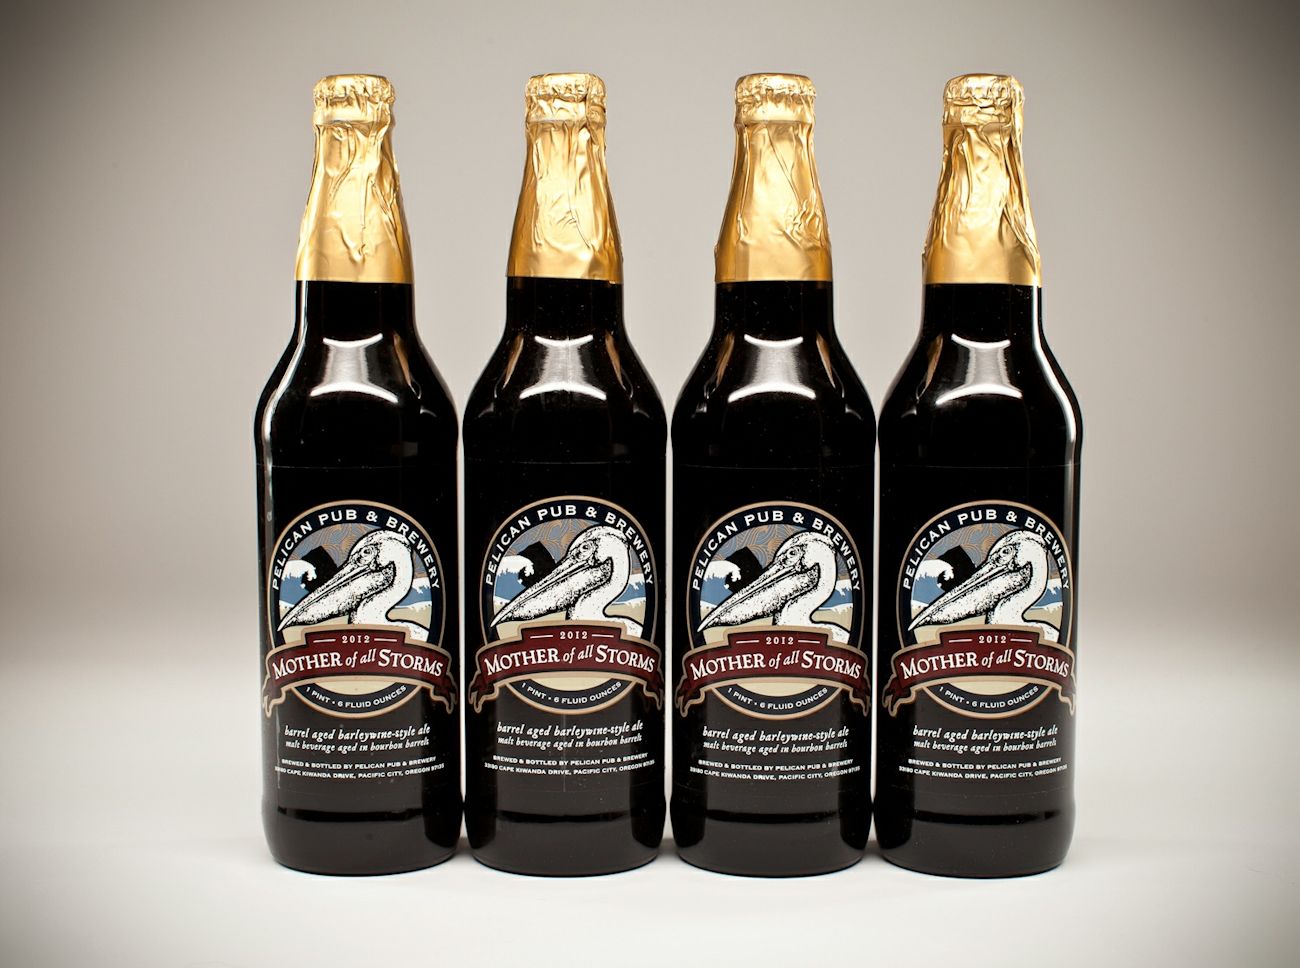
Stock Photography

Stop rolling your eyes. No, stock photography isn't want it used to be and it's a very controversial subject for many. The truth is, though, you can still generate ongoing income with stock photos and it's something that requires very little additional time and effort if you're already out there taking pictures.
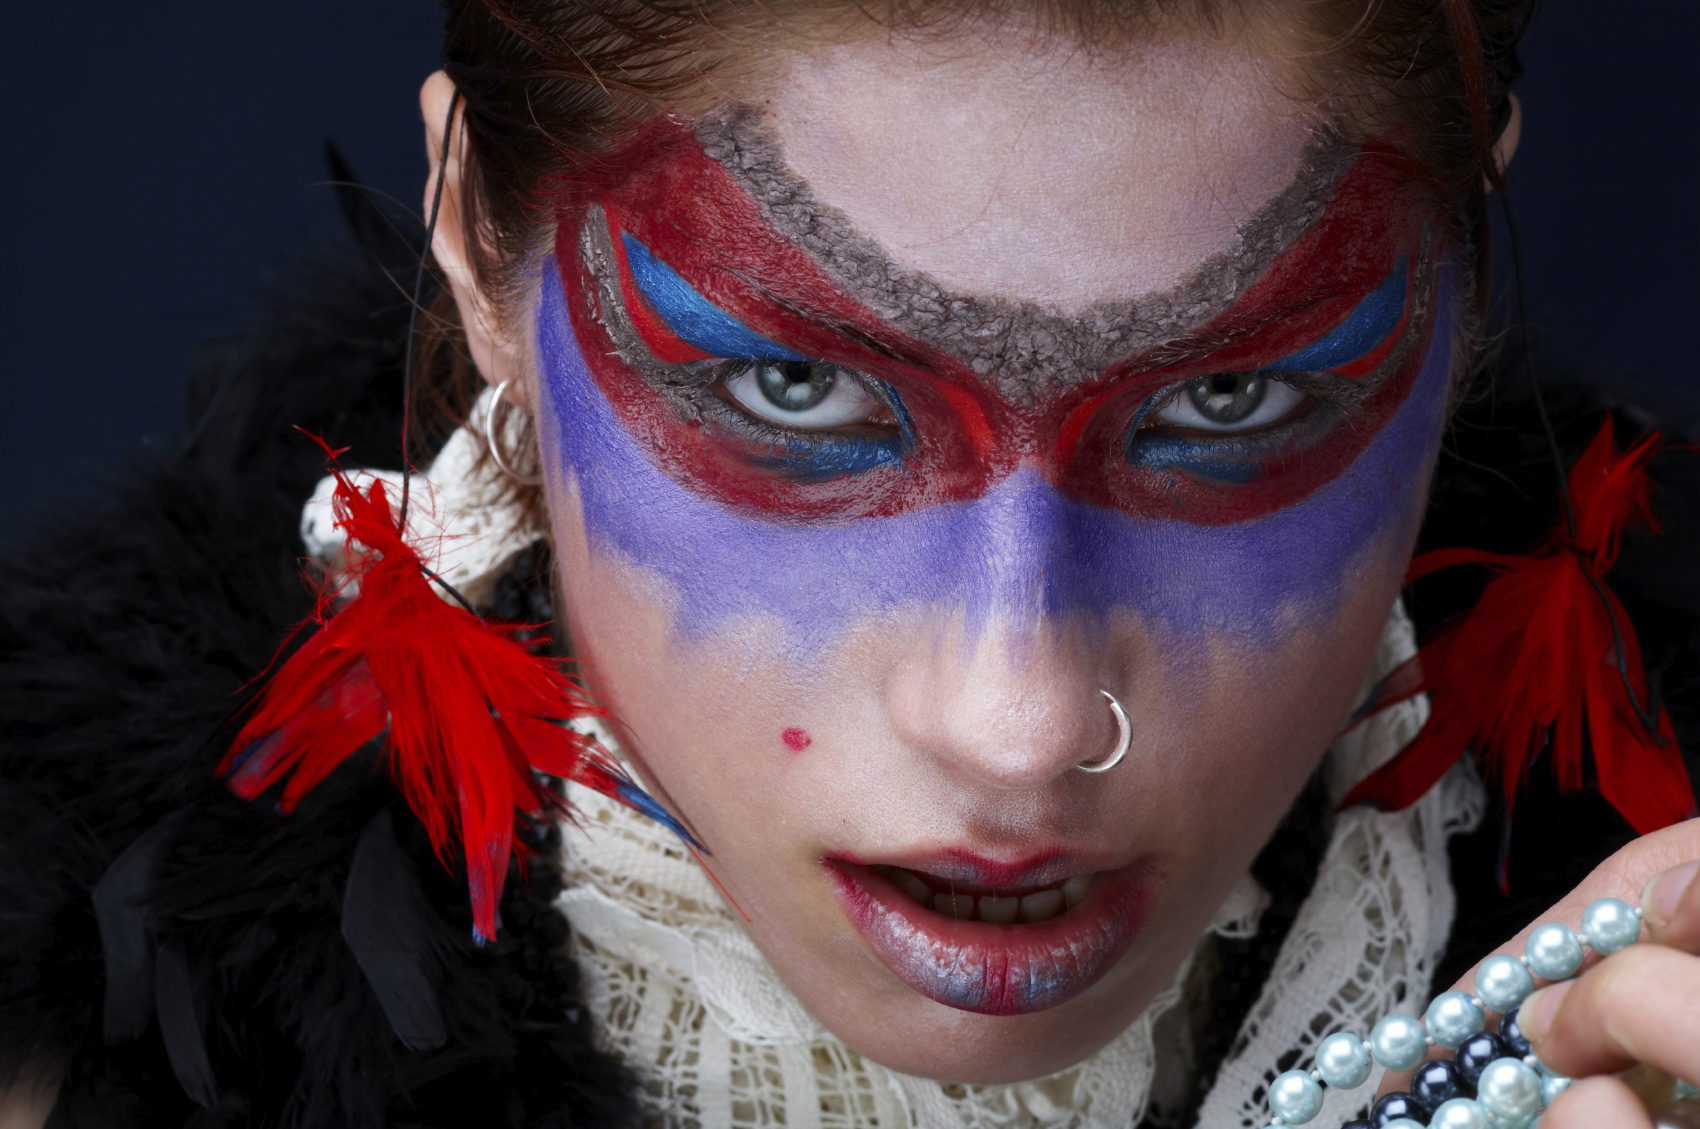
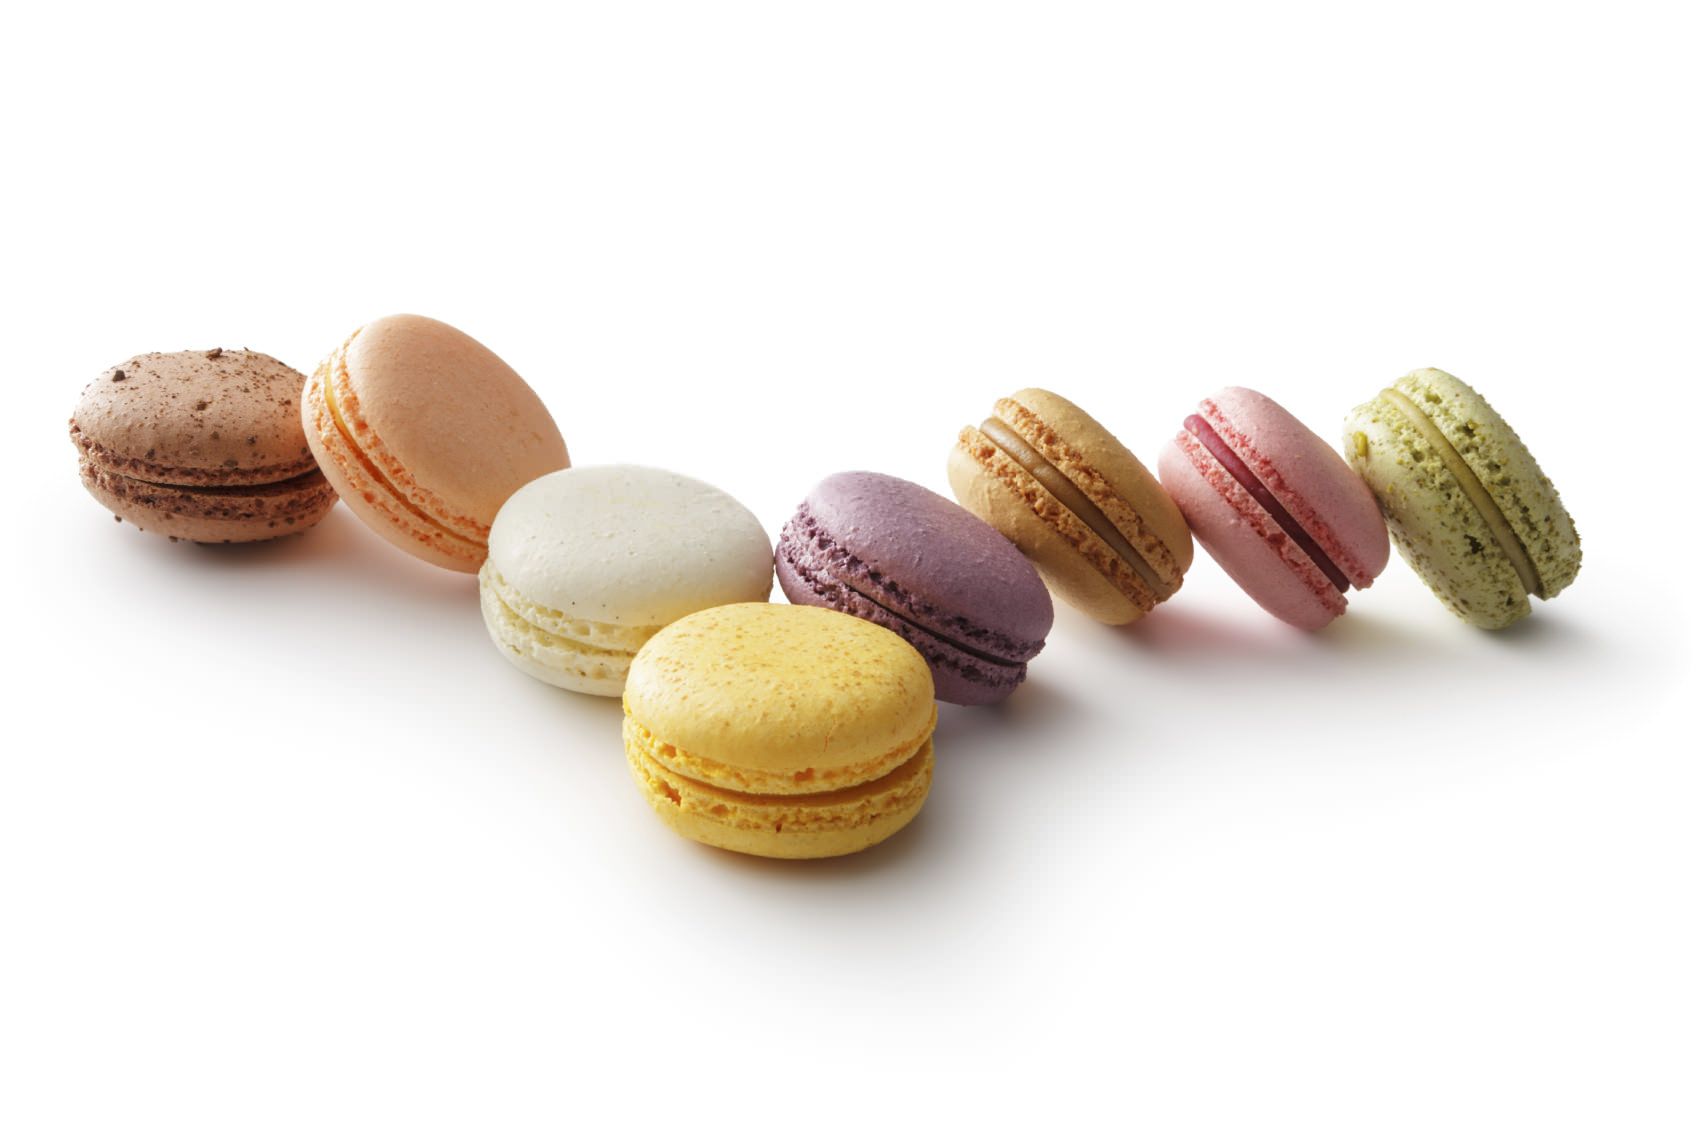
The key to making stock photos work for you is taking the kind of pictures that advertisers are looking for. Keeping up with trends is important and there are a few that have been popular for years, in particular: food, sports, travel and humor.
One common mistake made by inexperienced stock photographers is submitting their "junk" photos – those technically good shots that just didn't quite make the cut for other markets. Stock photo buyers are looking for your best, not your rejects.
These three "sidelines" can work separately or together to bring you that extra income you need to keep your head above water while you're not out shooting what you're really passionate about. They may not be the most fun ideas, until you compare them with that day job. Give them a try.
We Recommend
4 Common Mistakes to Avoid in Product Photography

If you're thinking about adding product photography to your list of services, you're not alone. The transition from printed advertising to digital hasn't lowered the demand for high-quality images of merchandise. In fact, if anything, the need for good product shots has grown, since it's easier to update inventory with new items in the digital world.
Providing the kind of images that will sell your clients' products and, in turn, your services is a matter of avoiding certain pitfalls. Fortunately for you, we're here to tell you about the most common mistakes made by aspiring product photographers, so you don't have to learn about them the hard way. Ready? Here they are:
Shooting in Auto-Exposure Mode
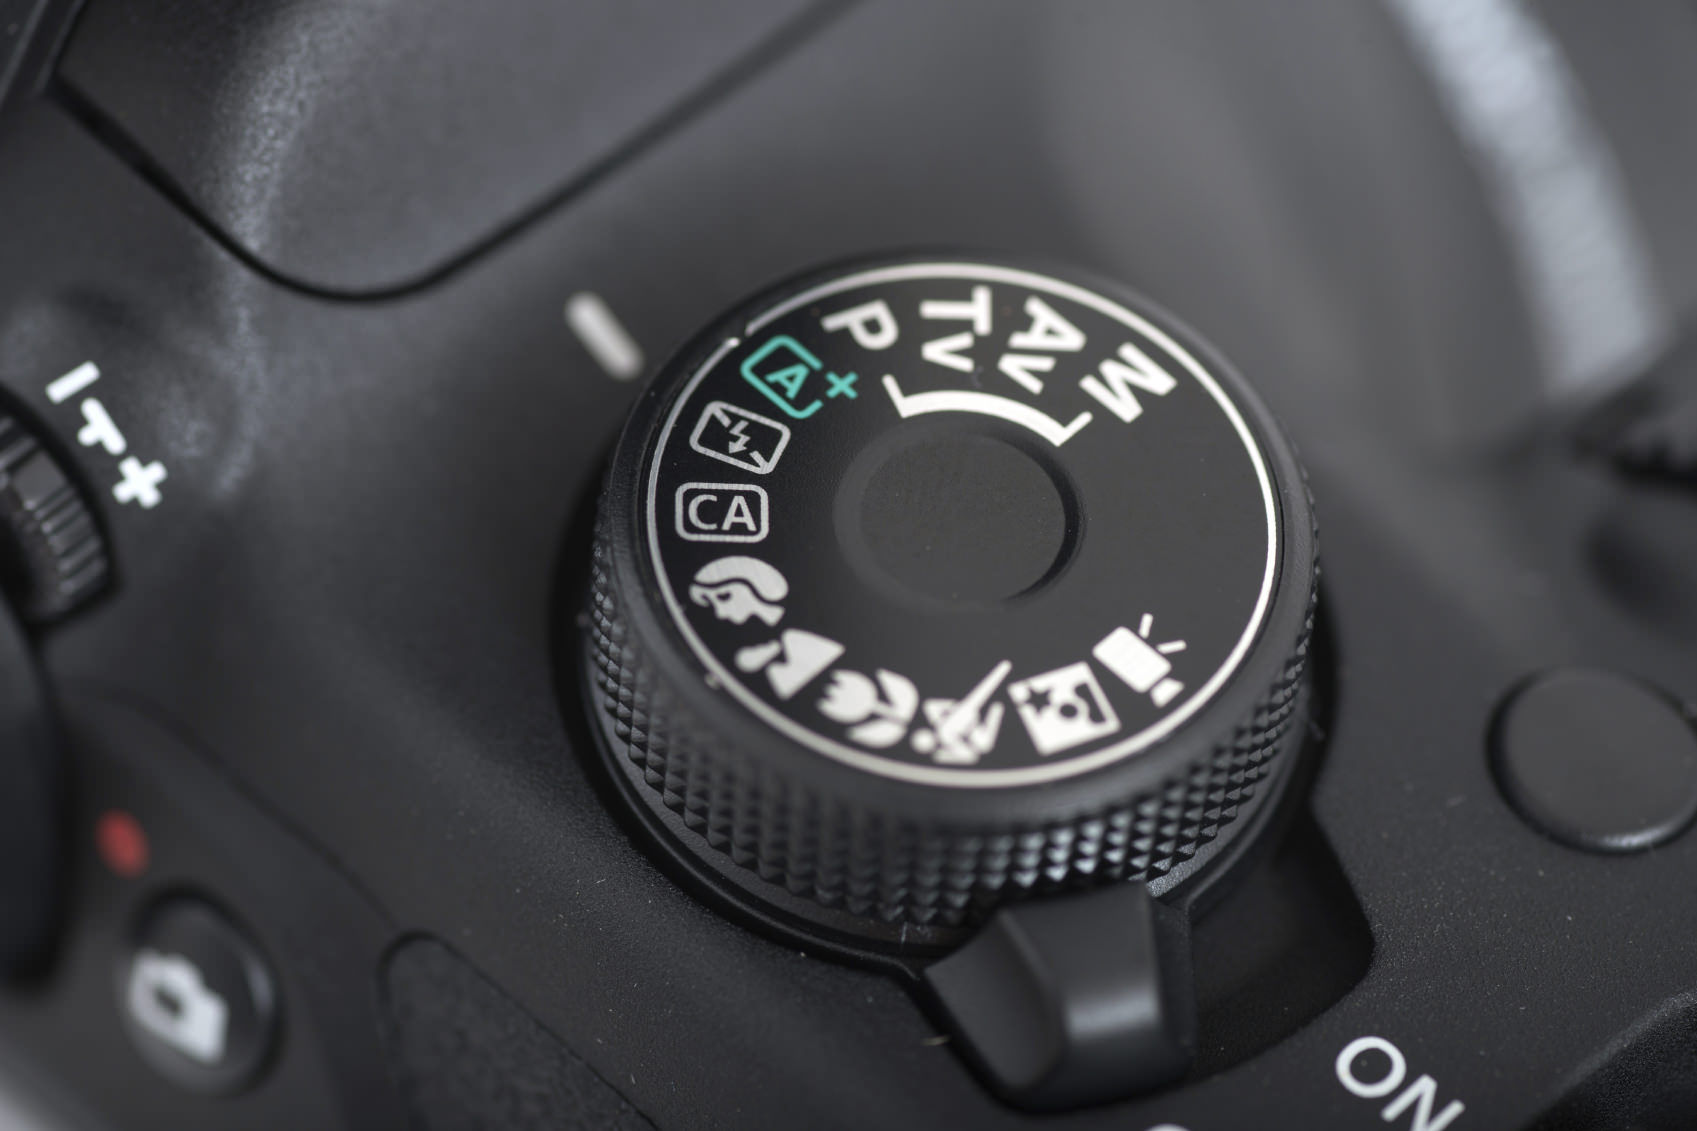
Product photography is all about consistent exposure. Differences in color, reflective surfaces, textures and other features can fool your camera's metering system. You set up your studio to highlight the best features of the products, so set your exposure mode to manual to ensure that you get consistent results. You'll shorten your post-processing time, too, which increases your profit margin.
Using a Wide-Angle Lens

Distortion is not your friend in this genre. You're often going to need to get in close to show the detail in small items like jewelry, and even a moderately wide angle is going to warp your images. Most pro product shooters prefer high-end lenses in the 85 - 90mm range on a full-frame camera. That doesn't mean your 18 - 55mm kit lens on your crop-sensor DSLR won't do a great job; just avoid the shorter end of the zoom range. A good-quality 50mm f/1.8 will also do the job well.
Shooting Wide Open

One of the things many novices will struggle with is to use wider aperture settings to blur the background and keep the shutter speed high. Your audience is going to want to see every detail of the items you're shooting. Keep your aperture setting in the f/8 – f/11 range, use a tripod along with a remote release, and use backgrounds that don't have to be blurred.
Shooting Against the Wrong Background
Remember, your job is to show off the product, not the setting. Don't use backgrounds with distracting patterns or textures and keep the color neutral. You can always change a background color in post if the client requests it, but your best best is usually something white and seamless that you can paint with light for the best effect.
I like the backgrounds in the MyStudio® lineup from ProCyc. Their white, 3-dimensional sweep gives you the perfect shape to sculpt gradients, darken or lighten the background with reflectors and/or accent lights and they'll handle any small-to-medium item or group of items perfectly. Take a look at the MS32 Tabletop Photo Studio Kit to see what I mean and don't forget to check out their accessories, like jewelry stands and color-matched accent lights.
Take a look at the great demo video below to see just how versatile the kit is:
Avoiding these four mistakes will get you on track for creating photos that sell products, and that is exactly what your clients want.
We Recommend
4 Important Tips for Your First Product Photo Shoot
So, you're a photographer and a business-savvy person that's ready to start offering product photography services to retailers in your area and abroad. Smart move. It's a much more active field than many people realize in this camera-equipped world. Most retail business owners are more than willing to pay a professional for high-quality product photos, while they tend to running their businesses. That means steady work for a photographer who can consistently create product images that highlight the best features of the merchandise.
Before you get that first job, though, it's important to keep in mind that really good merchandise shots require much more than just tossing an item on a table and shooting. In many ways, this is one of the most challenging genres, especially when you're working with very small or reflective objects. Lighting each product in a way that enhances textures, colors, form, sparkle and more requires some practice and the right kind of equipment. Let's take a look at a few things that will help you get the best possible shots with the least amount of time and effort.
1. Use continuous lighting.
Flash is popular in many studios, because it's cooler than incandescent lighting and its color temperature is close to daylight, which makes it easier to render colors accurately. Unfortunately, flash lighting can be time consuming to adjust, since you can't see the effects of your setup without a test shot. In addition, using multiple flash heads means using remote triggering, so there's more cost involved.
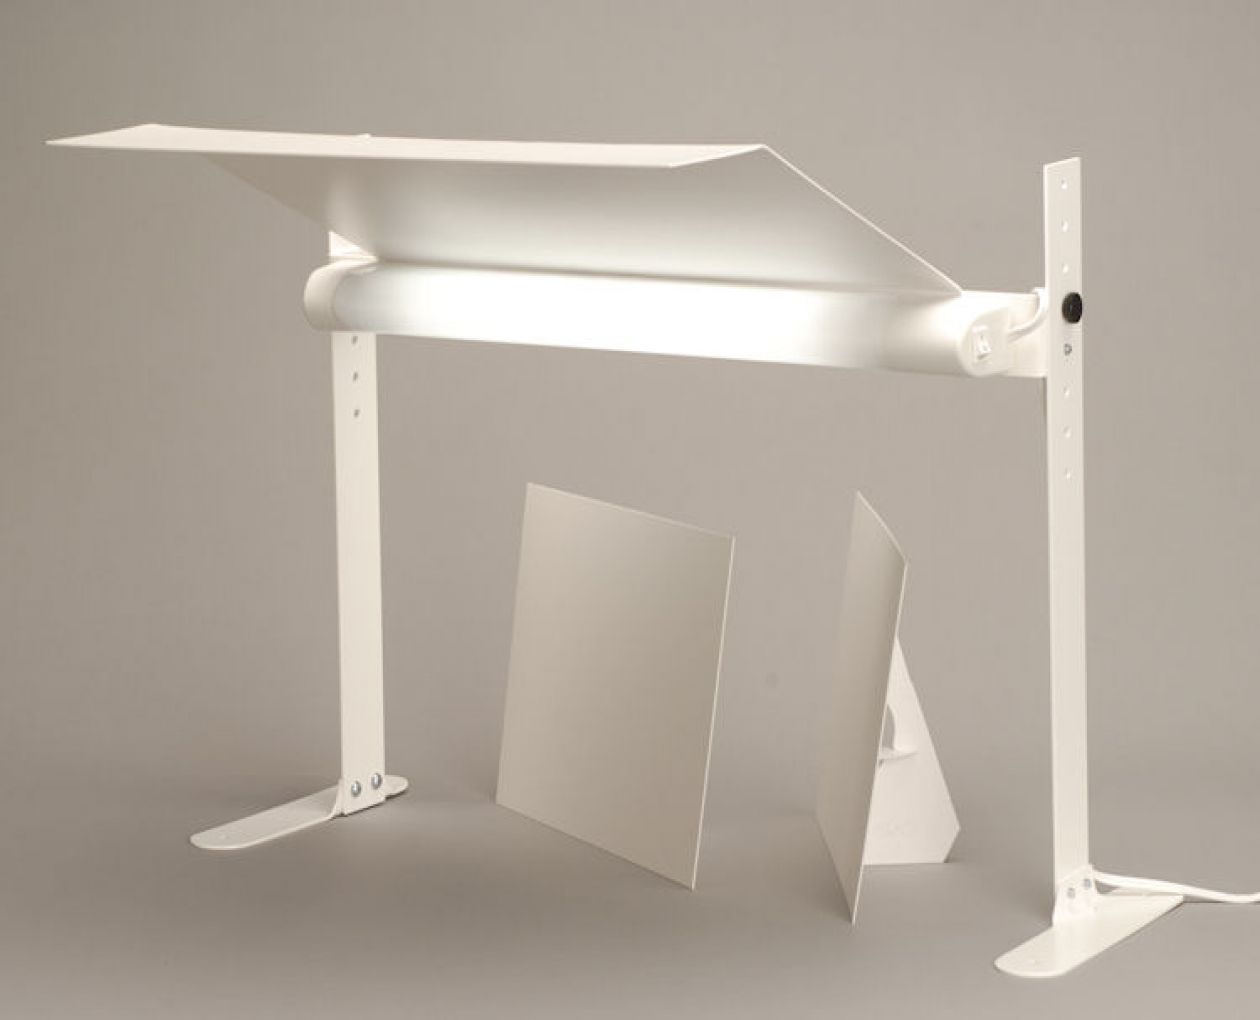
A cool, continuous main light source lets you adjust your lighting with bounce cards or matching accent lights and see the results in real time. This reduces setup time and makes you more productive, which is the key to making good money in this genre. A daylight-balanced fluorescent main light directly in front of and above the subject can be bounced to suit just about any object.
2. Use a sweep.
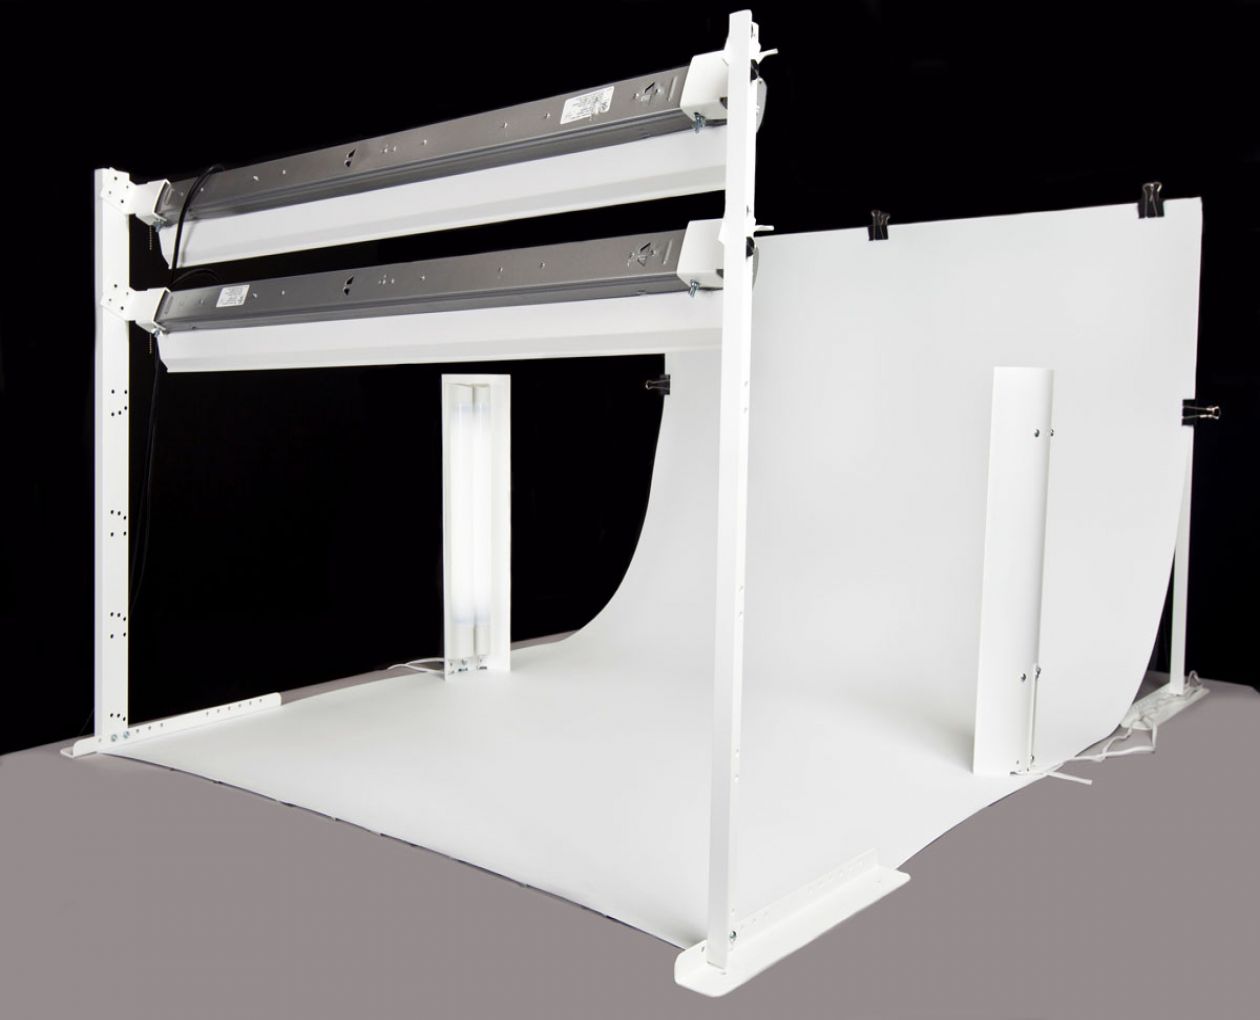
There's no need for fancy backgrounds in this field. It's the products you want to highlight, not the setting. A simple sweep is incredibly versatile, letting you create infinity backgrounds or gradients just by adjusting your lighting. A white sweep can even reflect that main light to help remove shadows from the subject.
3. Have a few props on hand.
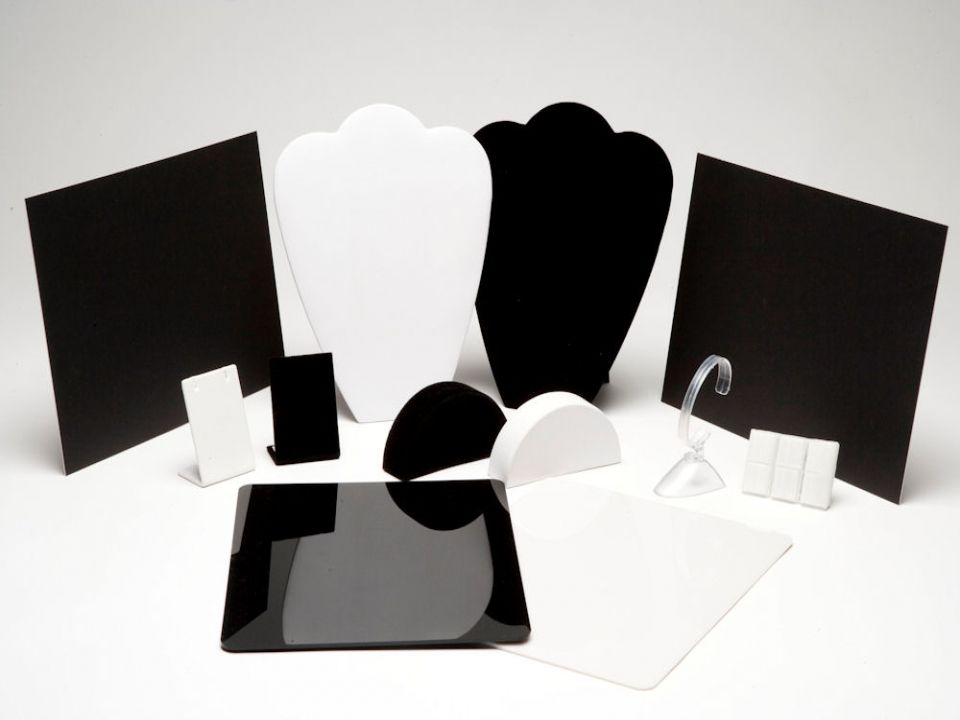
There are a many items that will look better when displayed on the right device. Necklaces, bracelets, earrings and other jewelry can be enhanced by placing them on a black, white or clear stand of the appropriate shape and size. Placing a mirror underneath some items can help model their shapes. A good product studio setup includes props that can be placed directly on the sweep to build a miniature set.
4. Be mobile.
There's a good chance that your first – and many other – product photo client will want you to shoot at their place of business. That's much easier to do if your studio travels and sets up easily. A tabletop setup is ideal, and the MyStudio® MS20J is the one I recommend for almost any shoot in any location. It's lightweight, sets up and breaks down in minutes and includes everything needed to follow the tips above, including the props. What's more, the cycloramic background gives you a sweep that allows much more flexibility in your shots.

This portable studio will increase the productivity, a.k.a. profits of any product photographer and it goes just about anywhere. Best of all, it's affordable, even for a beginner! Take a few minutes to watch the demo video below, then head over to ProCyc to get yours today!
MS20J Tabletop Photography Studio + Jewelry Kit: http://www.procyc.com/store/complete-tabletop-photo-studios-jewelry-and-product-photography-props-accessories/ms20j
We Recommend
4 Important Tips on Shooting for Catalogs

Believe it or not, catalog photography is still alive and well. In fact, according to a recent New York Times article, the printed catalog is making a comeback in a very big way. Even JC Penney has reportedly re-launched their mail-order publication after a three-year hiatus. More importantly, many smaller retailers depend on sales from their small, periodic mailings as well as online catalogs, and someone has to take the photos for both. That someone could be you, if you can deliver what modern retailers are looking for. Check out the following tips to see if you can.
Think Theme
Many modern catalog merchandisers have taken their printed and online publications in a completely new direction. Rather than displaying page after page of neatly organized product photos, these themed catalogs use adventure story layouts, wildlife and other unusual means to display their merchandise in a more enticing manner. Being able to work with or create a theme that appeals to these retailers and their customers may help you gain business.
This type of work may involve location shooting or a big enough studio to simulate an environment, not to mention props, backgrounds and a lot of creativity. In other words, this choice isn't for the casual shooter, but it can also command a bigger budget.
Be Consistent
Whether themed or more traditional, your style should be consistent within a catalog. For many retailers, that consistency will carry on throughout multiple issues, so keeping notes about backgrounds, lighting, lenses and the other aspects of your setup will help you create the same look when you're hired for the next shoot.
Having a setup that facilitates repeatability is a big plus, too. If you don't have a big studio, look into the MyStudio line from Pro Cyc for portable studios that include everything you need for consistent results from shot to shot and session to session.
Focus on Detail

There was a time when lack of detail in catalog shots was expected by the consumer. That time has passed. Photography and printing equipment have improved and you need to be able to deliver crisp images that highlight all the details of the products you're shooting. That means good lighting, clean backgrounds and sharp focus. You may want to shoot at a wide aperture to blur out background imperfections, so be prepared to use focus stacking when necessary.
Have the Right Props
Displaying products in a way that brings out the best features is often a matter of positioning. That can mean anything from suspending an item with fishing line to showing it as its worn, as with jewelry, for instance. Looking to our friends at Pro Cyc again, the MS20J Tabletop Studio + Jewelry Kit is a great way to get everything you need to shoot hundreds of items, not at all limited to jewelry. Best of all, it's on sale right now, so you can save almost $100 by following the link above. Take a look at the demo video below to see just a bit of what you can do with this kit.
Summary
Times have changed, but there's still plenty of demand for professional catalog photography. The tips above should help you keep up with the times and meet that demand with the kind of shots today's catalog merchandisers need.
We Recommend
4 MORE Common Mistakes to Avoid in Product Photography
In my last article, I divulged four mistakes that many novices make when starting out in product photography. For those of you who felt those tips were a little bit elementary or too few, here's a list of 4 more errors that may be preventing you from creating images that make customers want to buy. Your client's success is, after all, your success in this business.
Using the Wrong White Balance Setting

The best representation of a product's color comes from matching your camera's white balance setting to the light source you're using. It's surprising how many photographers simply leave their WB setting in automatic mode, no matter what they're shooting. What's not surprising is that you're probably not going to notice a color shift when you're shooting, but your clients will notice it in the images. Always be aware of the approximate color temperature of your lighting and match it with your camera's WB adjustment.
Mixing Light Sources

Trying to balance window lighting with tungsten bulbs, using a fluorescent main light with a tungsten accent light and similar lighting mash-ups happen far too often in some studios. Unlike your brain, the camera can't adjust to mixed color temperatures and there's no way to split the WB adjustment, so the color differences will show in the final images and will be very difficult to fix.
A single main light with white bounce cards is an ideal setup for making sure your color stays balanced, or accent lights that are matched to your main light. In the previous article, I introduced you to a tabletop studio from ProCyc's MyStudio® line. I'm going to drop another plug for them here, and tell you that you can eliminate both of the problems we've just covered and then some with this kit: MyStudio VS53 VersaSweep. If you're looking for the ultimate tabletop product photo studio, this is it. See it in action in this video:
Shooting Only One View
For a shopper, the next best thing to being there is being able to view a product from multiple angles. In fact, I recommend specifying the number of views when pricing your packages for your clients. Even if a catalog only has room for one photo per product, you'll be offering your client a choice of angles to display.
You can always look for ways to show multiple angles in the same image, as in the shot above. Otherwise, make sure your camera setup is solid and your studio evenly lit, then shoot each product from the front, side, ¾ profile and from the back if necessary. Shooting tethered can be a big help in keeping your shots aligned, especially if you have an assistant.
Cropping Inconsistently
It's important to crop your images so that they'll fit consistently into the layout they're intended for. This becomes extremely important when you shoot multiple views of irregular objects. Know the format your customer needs, plan your images accordingly and build yourself a template for cropping during post-processing. Make sure your images will align correctly and space evenly. Driving the layout editor crazy probably isn't a good way to ensure repeat business.

These aren't the only issues that might keep your product images from selling as well as they should. If you're struggling with selling your product photography services, though, there's a good chance you're making at least one of them. If you're just getting started, avoiding these and the four in the previous article will help you create the kind of images that make shoppers want to buy. That's the "secret formula" to success in product photography.
We Recommend
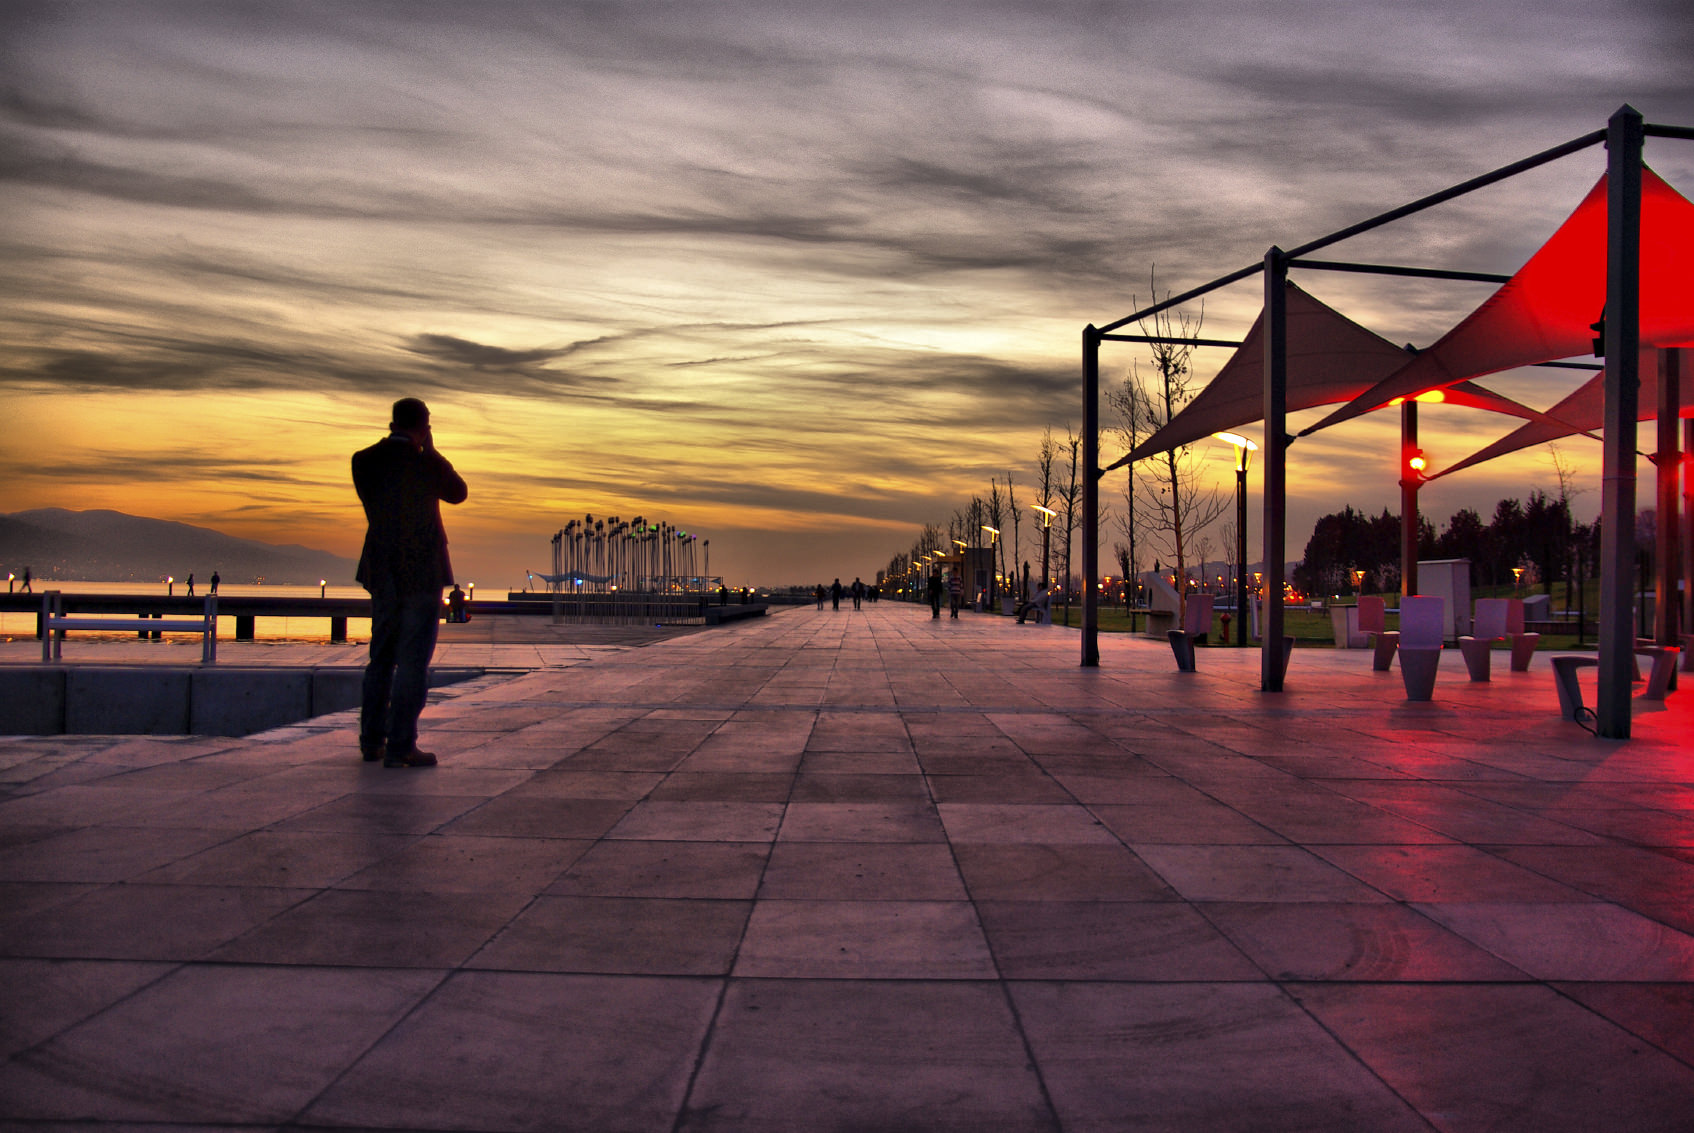
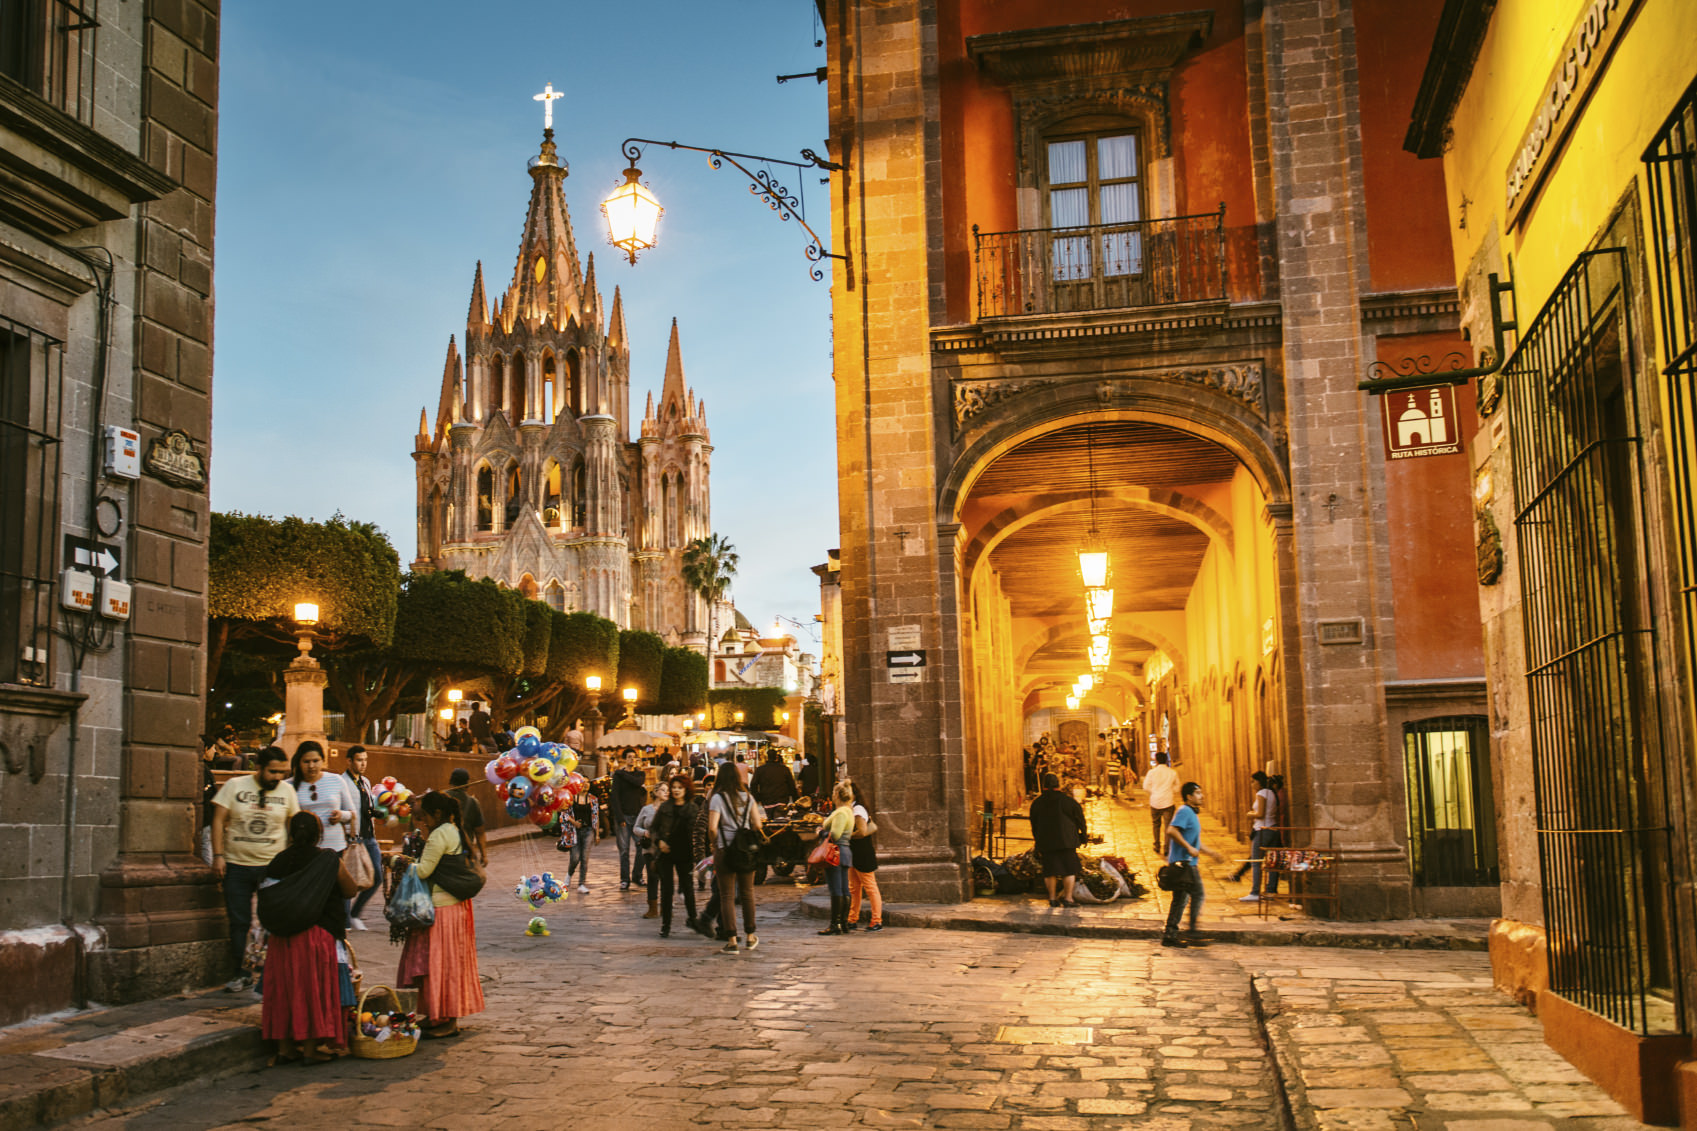
Get Started in Street Photography With These Quick Tips

Perhaps more than any other genre of photography, street photography requires a certain personality type. You have to be relatively fearless and willing to pull out your camera at a moment’s notice and take photos of people that you’ve never met. You have to be willing to be confronted by people that do not want their photo taken. You also have to have the skills to make quick decisions about composition and camera settings such that the photos you take turn out well.
Here are a few tips that will help you develop those skills.

Have a Plan
Street photography doesn’t involve wandering aimlessly around town. Instead, you’ll need to have a specific plan of where you want to shoot. If you’re in your hometown, head to the sites where you know there’s a lot of action, be that the waterfront, the town square, or downtown. If you’re a tourist, do your homework ahead of time to discover the hotspots in the area. When selecting a location, try to identify at least three individual spots for shooting so you have some variety in your images.
Know When to Hold Back

It can be incredibly tempting to pull your camera out to photograph something provocative, like a fight erupting on the street. But you have to consider if doing so is actually worth it. It’s easy enough for people who are already angry to see you snapping away and turn their attention to you. So, there are just some things that you needn’t photograph. Developing your gut feeling regarding when you do and do not take a photo will be an important part of your journey toward becoming a better street photographer.
Know the Legalities
The end use of the photos you take will determine the legalities that you need to be aware of. If, for example, your images contain copyrighted material, like a business’ logo, you won’t be able to sell the photo to a stock photography agency. Similarly, if you will be using your photos for commercial purposes, you will need to get permission from the people you photograph, as well as a signed model release. Obviously, this would be virtually impossible given the nature of street photography and the sheer number of strangers on the street. Just be aware of that and go into your shoots with the intention of only using the images for personal use.
Be Nice If Confronted

Not everyone wants their picture taken, and that’s totally understandable. Some people will be nice about it, ask what you’re doing or why you’re photographing them, and once you explain yourself, they’ll be fine with it. Other people will be downright angry or rude and demand that you delete the photos with their likeness in it.
Regardless of how someone confronts you, it’s on you to be nice. It’s a natural reaction to get defensive and angry when someone is acting that way toward you, but resist the urge! You’ll find that in many cases, a nice smile and a friendly tone, along with a quick explanation of what you’re doing, will disarm most people. If that doesn’t work, be willing to delete the photos in question.
Blend In
The more you work to blend in with the crowd, the less likely it will be that you will be confronted. So, wear dark clothing. Get a hand strap for your camera so you can quickly raise it up to take a photo and carry it discreetly at your side. Use a small, nondescript lens. Set your camera settings ahead of time so you don’t have to adjust exposure between every shot. If you do these things, you’ll be much less noticeable and have a much easier time working without being noticed, and that’s when the best street shots occur.
Final Thoughts
Street photography is as much about planning and preparation as it is about actually pressing the shutter. With a proper plan in place, you’ll more likely be at the right place at the right time to get the photos you want. And preparing ahead of time, getting your camera settings squared away, wearing the appropriate clothing, and getting ready to be confronted by people will help you get into the rhythm of taking photos on the street. There’s certainly a lot more to being a successful street photographer, but these tips will get you well on your way.
We Recommend
Pro Tip: How to Use Light Falloff for Great Gradient Backgrounds
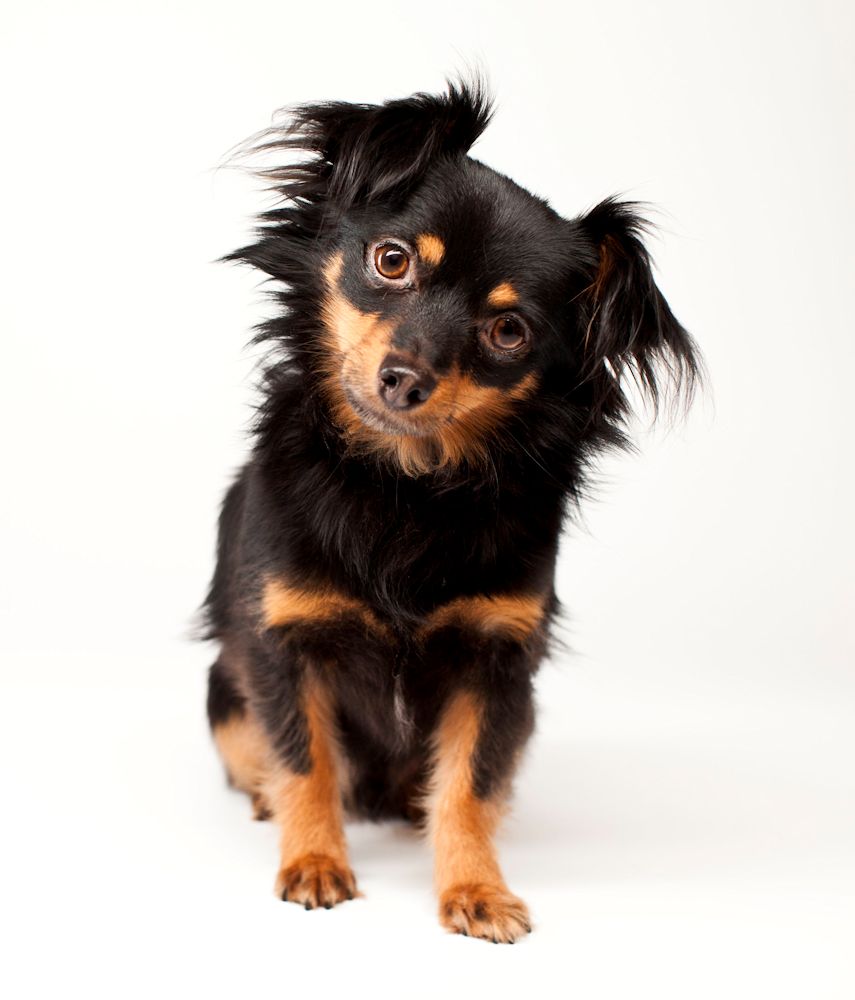
Shooting against a bright, white background to create that "floating" effect is nice, but once in a while, wouldn't it be great to use a background that adds a bit more drama and dimension to the shot? A gradient background can do just that, especially for small- to medium-scale work like product or pet photography. The good news is that with a fairly simple lighting setup and little bit of room, you can create countless gradient effects while still modeling your subjects well.
Depth is Key
Whether you're shooting fashion models or miniature figurines, relative depth in the setting is important. That allows you to control the amount of light falloff simply by changing the angle of the light, as well as determine your subject placement within the light and shadow areas.
A seamless background that recedes as far as possible before and as it rises will give you the most flexibility. You don't need a football field; three to six feet of horizontal space will work nicely for most small-scale setups, using an eight-foot long background. You'll need enough width to allow for the convergence of the edges.
Use a Wide, Even Main Light
To create an even effect, start with a strong main light above and in front of the subject. A fluorescent fixture works well, or you can use a big soft box. A round light or pair of lights will also work, and can add shape to the gradient, but you'll have to beware of creating hot spots or casting unwanted shadows on your subjects. A straight, horizontal gradient is easier to control.
Angling the Light
Once your main light is in place, place your subject, or a suitable substitute if your subject moves, and frame up the shot. Controlling the location of the gradient is a simple matter of angling the main light to feather the shadow area into the receding and rising background. If necessary, you can also move the support for the upper edge of the background to adjust the falloff rate.
Adjusting the Subject
Where you place your subject is the other variable in how it fits with your background. If you'd like a little more brightness around the base of the subject, move it closer to your camera, into the brighter area created by the main light. Moving it away from the camera and more into the shadow area can help incorporate any shadows into the background.
Adding Modeling Light
Once you have your gradient created and your subject placed, go ahead and add any modeling light needed to enhance and define the shape of your subject. This can be done with bounce cards, reflectors or additional light sources placed to the sides of the subject. Be careful not to mix color temperatures with mismatched lighting or off-color reflectors.
Aaaand, Shoot!

That's about all there is to it. Creating gradients this way is quick easy, extremely flexible and best of all, cheap. You can work with any color you like, simply by changing the background. Changing the gradient is a matter of changing the angle of the light or depth of the setup. More depth obviously means a more gradual falloff.
Here's a great video that demonstrates just how simple it is to create gradients and how to use modeling and accent lights to bring out the best in the subject. It also demonstrates one of my favorite tools for projects like this: the Versa Sweep series of MyStudio® tabletop setups, specifically the VS36 Kit. Watch how many effects this photographer creates with a few simple changes.
Finally, if, like me, you like having everything you need for this type of photography in one kit, take a few minutes to look at this kit. It's a little larger than their compact studios, and the 96" background gives you more depth to work with than the smaller kits, too. You can also step up to the VS53 Kit if you'd like to have twin main lights and accent lights to match. You can check that one out here.
We Recommend
What a Cyclorama is (and Why You Need One)
Photography is one of those fields that has hundreds of scientific, technological and creative terms associated with it. There's no real surprise in that; after all, some of those terms actually originated in the industry, like "f-stop" and "focal plane". Every once in a while, though, a more obscure word or phrase sneaks its way in and although you hear it dropped by photographers occasionally, you either ignore it or if you're like me, you go look it up and decide if it's important to you.
Alright, I'll get to the point. One term you may have heard occasionally in the photo business is "cyclorama". Now, if you've gone and looked it up, you found something like the following definitions, borrowed from Merriam-Webster online dictionary:
1. a large pictorial representation encircling the spectator and often having real objects as a foreground
Cool, huh? Well, sort of, but probably not exactly something that every photographer needs.
2. a curved curtain or wall used as a background of a stage set to suggest unlimited space
Well, that doesn't sound like it applies to photography, either – but wait. What was that about "unlimited space"? Hmmmm. You're catching on now, aren't you? Imagine what a photographer could do with unlimited space!
The fact is, there really should be a third definition that applies directly to photography. A cyclorama, or perhaps more accurately, a cycloramic background, can be used to create what's often referred to as an "infinity background", which you may recognize as a background that appears to have no beginning or end. Typically, this is done with a simple sweep, a fabric or paper background that lays on the floor and curves upward to a horizontal plane behind the subject.
As you can imagine, subject positioning, camera angle and lighting are all critical in the setup of such a background. A cyclorama, however, is much more flexible, because the background curves on both the vertical and horizontal axes. That means you can change your camera angle much more freely and use your lighting much more creatively. In fact, a reflective white cycloramic background easily becomes part of your lighting system, helping you sculpt shadows and add fill light to achieve exactly the effect you want. For many shots, all that's required is a properly positioned main light and a couple of reflectors to get the perfect modeling of your subject.

If you've ever watched a news or weather report on television, there's a good chance you've seen a cyclorama "in action". Since it can be lit very evenly, a cycloramic background is ideal for blue or green screens that can be used to create virtual backgrounds like that live weather map behind the meteorologist. High-end fashion and portrait studios often have immense cycloramas, because they can be made to completely disappear or create dramatic gradients with only a little bit of lighting adjustment.
So, why would you want one? I'd be surprised if you haven't already answered that question yourself. Whether you're shooting a still life, a product shot, a miniature architecture or fantasy scene, or any other setting, the control you have over the appearance of the background and your lighting is phenomenal. You can even create your own green screen with the right lighting and add in your display, sci-fi or fantasy backgrounds in post-processing.
Fortunately, you don't have to be independently wealthy to get your own cycloramic studio. The folks at ProCyc have been creating them for the cinematic and photographic industries for years, and they have product lines to suit any application. For those of us with small budgets and no need to shoot things on a gigantic scale, their MyStudio® line is a great way to set up a full tabletop cycloramic setup in a small space, at a surprisingly reasonable price.
I recommend checking out their MS32 Tabletop Photo Studio Kit. In addition to a wide, lightweight cyclorama, you get everything you need to light any small to medium-sized subjects for product shots, still life photos, and more. It's portable, versatile and a great way to find out just exactly how a cyclorama can enhance your photos. Take a few minutes to watch the demo video below, then visit the Pro Cyc website to get all the details and order yours.