The Beauty of Macro Photography: A Closer Look at the World's Tiniest Wonders
- What Is Macro Photography?
- Macro Photography Tip #1: Focus is Key
- Macro Photography Tip #2: Steady the Camera
- Macro Photography Tip #3: Lighting Enhances Things
- Macro Photography Tip #4: Exposure Tricks
- Macro Photography Tip #5: Post-Processing Punches It Up
- Macro Photography Wrap Up
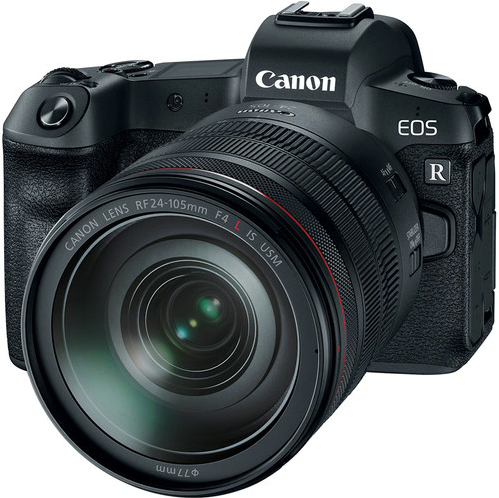
- Recommended Photography Gear
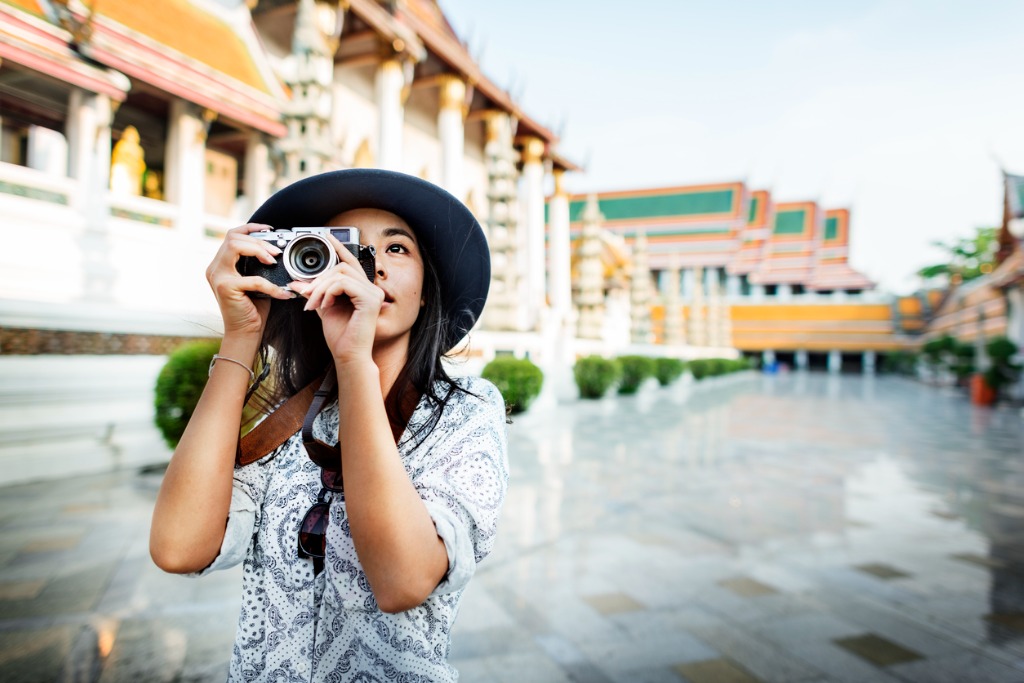
- Outdoor Photography Gear You Need Before Your Next Trip
- 4 Essentials for Hiking Photography
- Get Better at landscape Photography
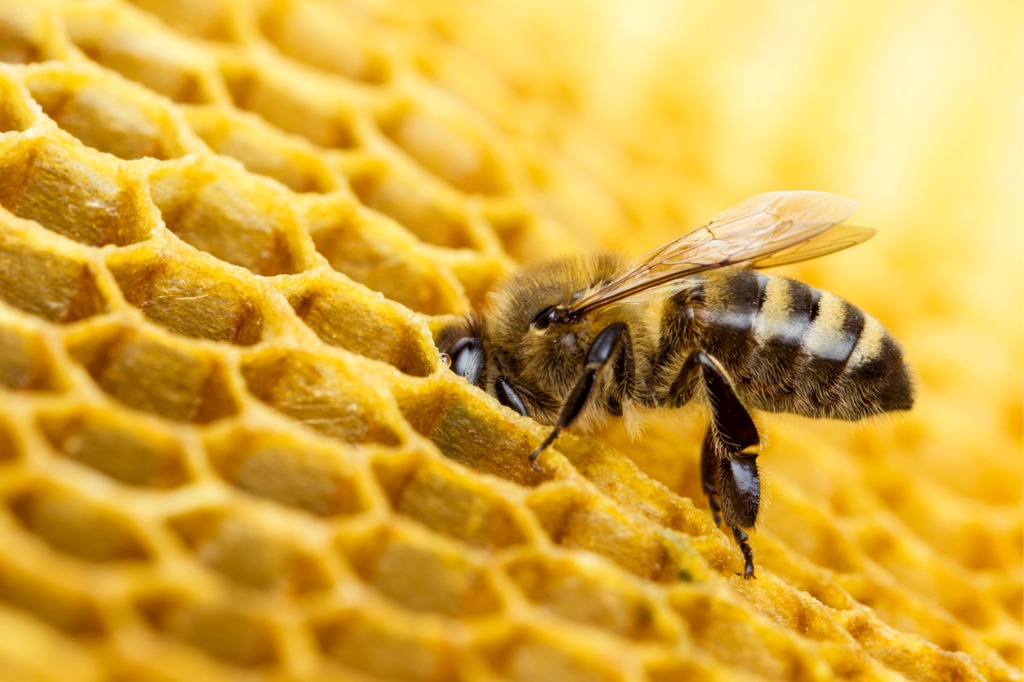
Photo by Valengilda via iStock
As a landscape and nature photographer, I love macro photography. Seeing the tiniest bit of a macro photography flower projected as a large print or filling a computer screen is a great reward for trying macro photography.
There’s a lot going on when we’re doing macro photography. There’s the equipment, such as a macro photography lens, a tripod or alternative camera mount, and perhaps some lighting control.
And the calculations are going on, figuring exposure or exposure modes and compensation, setting the focus, and using depth of field properly.
Then there’s also the thought of ‘How am I thinking of displaying this macro photography image?’ Will it be a large metal or acrylic print to wow the viewers? Am I illustrating an eBook or an online article?
I have five worthwhile tips on different aspects of the macro photography puzzle to help you make the most of capturing those amazing macro photography images for your own art.
Table of Contents:
What Is Macro Photography?
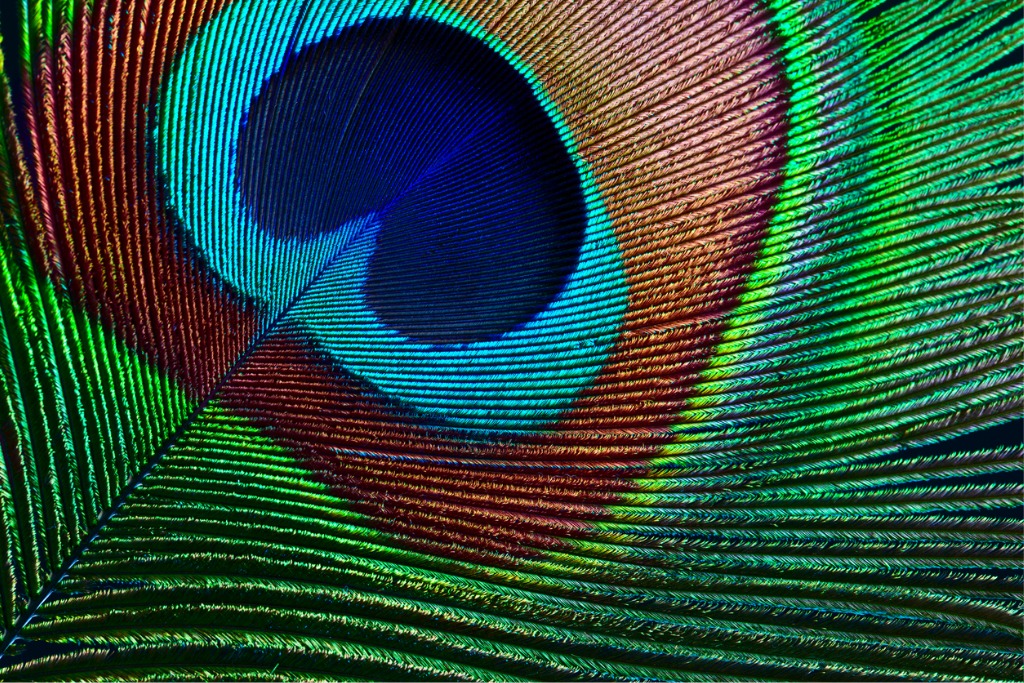
Photo by ithinksky via iStock
Macro Photography is more than simply getting close to the subject matter, though it is a big part. It’s extreme close-up photography where the subject's size in the final display medium exceeds life size.
Life-size in macro photography is used as a representation of how close focusing is used. If a macro photography lens is labeled as reproducing Life Size (1:1) or Half-Life Size (1:2) in its macro capability, that means that the subject will be captured on the film or sensor as a 1-to-1 ratio (1:1) or 1-to-2 ratio (1:2) of its actual size.
In real-world words, if I’m photographing a ½” bug as 1:1, then the bug image on my sensor will take up ½”. With a 1:2 ratio, that bug is ¼” on my sensor. Some macro photography lenses can reproduce greater than life size, such as 2:1 (1” bug on the sensor) or more.
But that’s only the size it is on my camera’s sensor (or film frame if shooting analog). Once I enlarge the image file, that bug is bigger. For a Full Frame sensor image file, if I make an 8X10” print, that bug is now bigger than life. It measures 4 inches on the 8X10 print. Make bigger prints or view on a larger monitor, and things get interesting quickly!
That’s why macro photography is so fun and amazing. By the way, it doesn’t have to be a bug or a flower part. Lots of natural and man-made objects make interesting macro photography subjects.
Macro Photography Tip #1: Focus is Key
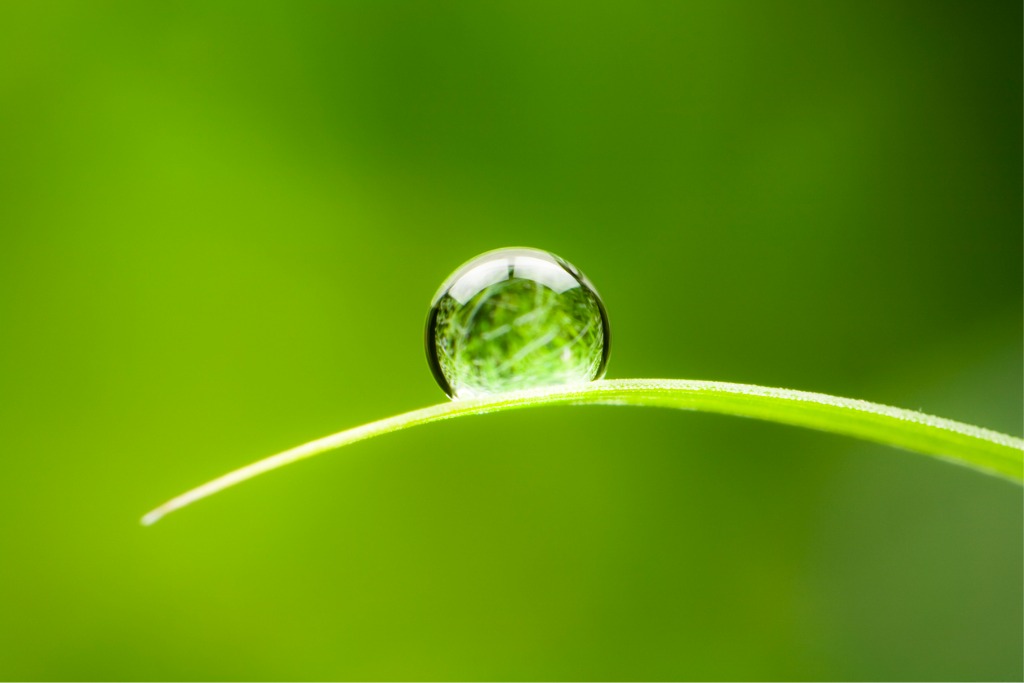
Photo by Thomas Vogel via iStock
Among the most vital components of creating good macro photography is proper focus. A rule of how optics work in photography is that the closer we are to our subject, the less depth of field there is at any given aperture. In other words, less is in focus in front of or behind what our actual focus plane is.
Adding to the issues confronting us when doing macro photography is that lens aberrations are also increased. For many lenses, this ultra close focusing emphasizes a common optical characteristic of photographic lenses, curvature of field.
Lens elements curve the plane of focus by a tiny bit. In normal distances, this curvature is well within the generous depth of focus. As you focus closer, however, this curve can sometimes affect the image. The depth of focus at super near focusing distances isn’t enough to cover the focus plane curve.
We can use that to our advantage with macro photography of some subjects such as that friendly bug or a flower part, concentrating on focusing on the desired part of the subject, letting the rest of the focus plane work as a part of selective focus.
Our regular lenses probably won’t focus close enough, so adding extension tubes or diopters (close up filters) is how we get close enough. If that focus plane curve is well corrected, we could use our lens to capture images that are flat, 2-dimensional.
That’s the advantage of using a macro photography lens. Not only do they have the mechanical means to focus super close, but they are also corrected for “flat field." A flat field macro lens can actually be used for copying documents, stamps, art, and so forth.
Macro Photography Tip #2: Steady the Camera
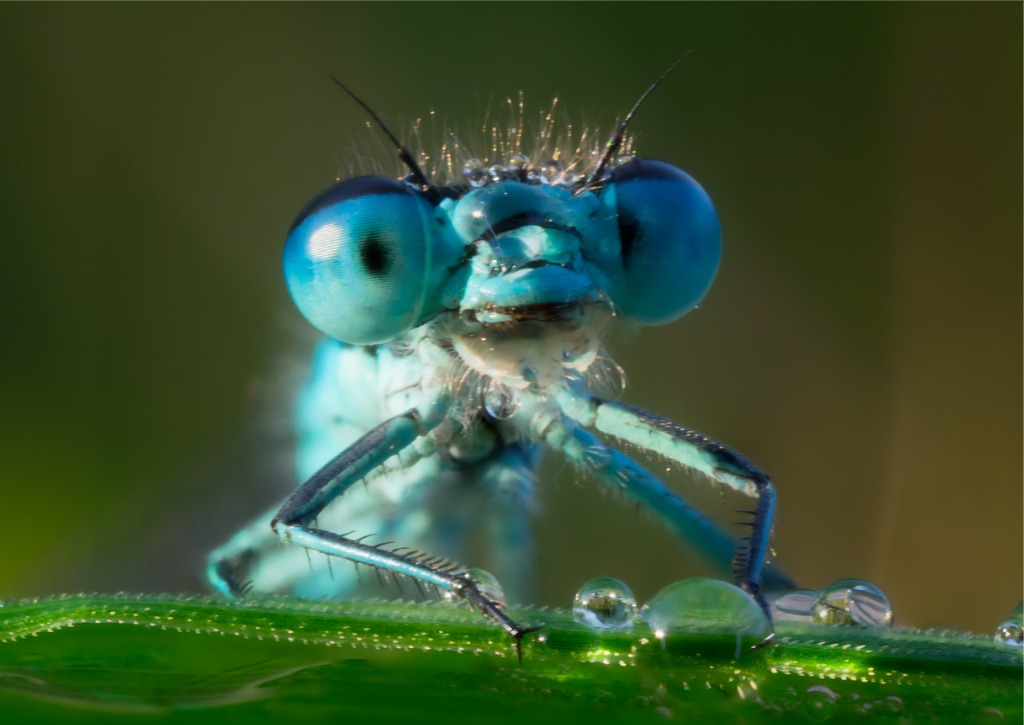
Photo by DieterMeryl via iStock
Focus plane curvature isn’t the only thing greatly magnified when narrowing in; so is vibration and camera shake. It seems that no matter how hard I try to implement my tried and true handheld techniques when doing macro photography, it just isn’t enough.
We need to mount our camera on a tripod or a tripod alternative. I often bring up the alternative to tripods with macro photography because sometimes my regular tripod is too much. I have found Octopad camera mount to be a great tool for steadiness in macro photography.
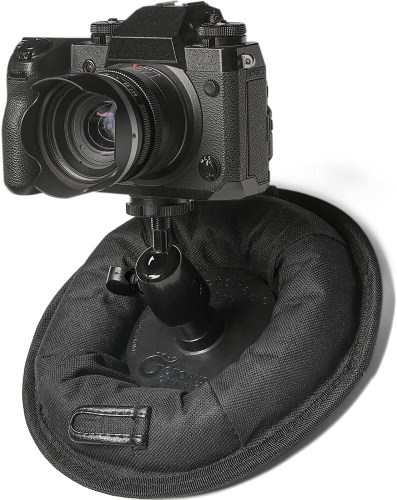
It’s more compact than a travel tripod and steadier than a monopod or my own well-practiced stance. Octopad is a compact, flat disk of heavy-duty, weighted material with a ball head attached to the top. Underneath is a non-slip pad that allows your camera to be placed on the uneven surfaces we may find ourselves in, even if that surface is angled up to 45 degrees.
Keeping the camera and macro photography lens rig still also helps in focusing. I can use a slower shutter speed and a smaller lens aperture for more depth of field. And it’s much simpler to make some of the focus ring micro adjustments I find myself doing when the camera and lens are secured in place.
Macro Photography Tip #3: Lighting Enhances Things
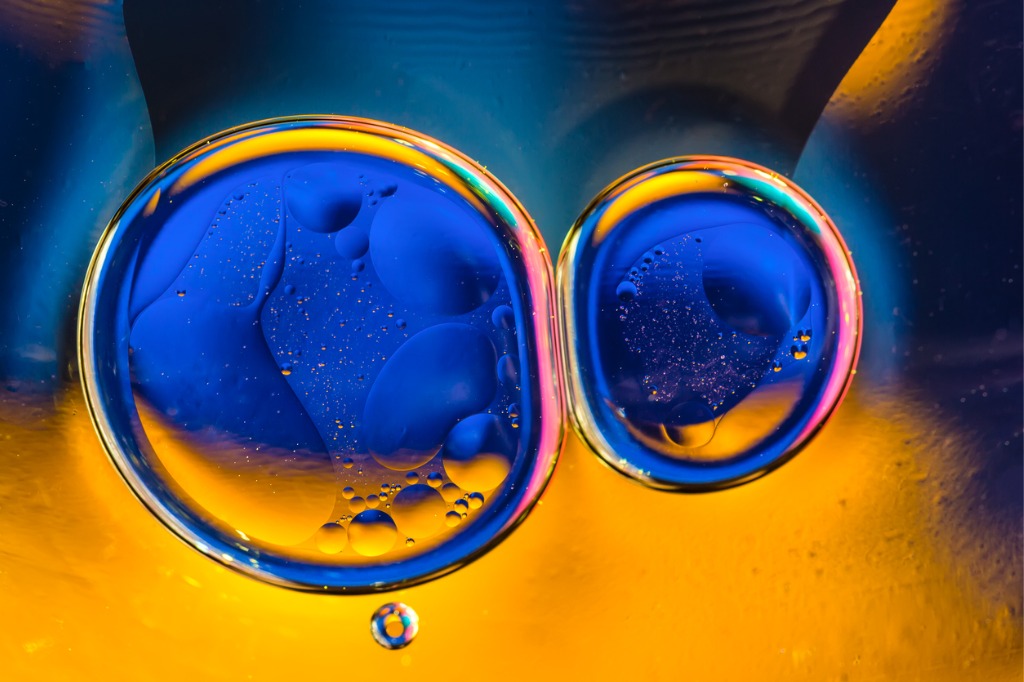
Photo by nantonov via iStock
A lot of the time, I’m engaging in macro photography. I’m in the great outdoors, away from controlled auxiliary lights. Still, I want the image to be the best I can create, so I use light modifiers more than anything else.
A flashgun could be used sometimes, but we’re often too close. The camera and lens will partially block the built-in flash, and an off-camera flash calls into play using a hand that is tied up with holding and adjusting my camera.
I have found several options that fix these issues. A foldable reflector can be placed or propped up in the right spot to reject a small amount of light where I need it. Bonus tip: that reflector is the perfect portable background for a lot of nature-based macro photography.
I regularly use two more things in the field and closer to home or studio: a flash or an LED light. But I just got through complaining about holding a flash! Here’s the trick - I’m not holding it. My tripod, small light stand, or Octopad is holding it.
Same with the small, portable, battery-powered LED lights I love so much. Put it on my stand or alternative mount and point it exactly where the light falls. TTL flash control can be remote on a couple of my cameras. With an LED light, I can vary the power level for my exposure and also adjust color temperature.
Macro Photography Tip #4: Exposure Tricks
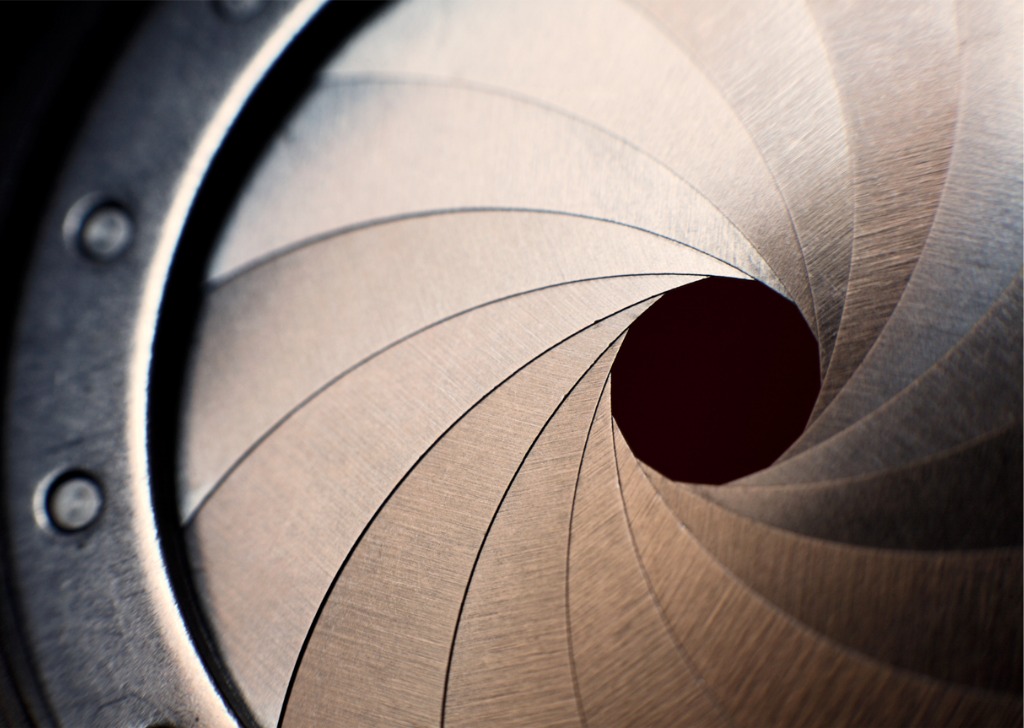
Photo by LdF via iStock
Well, not really tricks as such… more like using our basic photography skills to enhance our macro photography. The Exposure Triangle is king when I’m having fun with macro. Since my camera is likely already well-supported, and I have some lighting issues at least a little bit under control, I can play with the triangle.
A longer shutter speed requires a smaller aperture for correct exposure with any given light value. Since I'm not worried about camera shake, I can stop my lens down. In macro photography, every bit of extra focus depth can often be handy.
A handheld light meter can also be a great aid for macro photography. Here’s a nice video on some basic metering tips from Robert Machado:
Instead of relying on the built-in meter reading reflected light, I can hold a meter up to my subject and read the light falling on it. This is called incident meter reading, using that little dome cover with our meter pointed back at the camera. For macro photography, I find this method is sometimes best.
Macro Photography Tip #5: Post-Processing Punches It Up
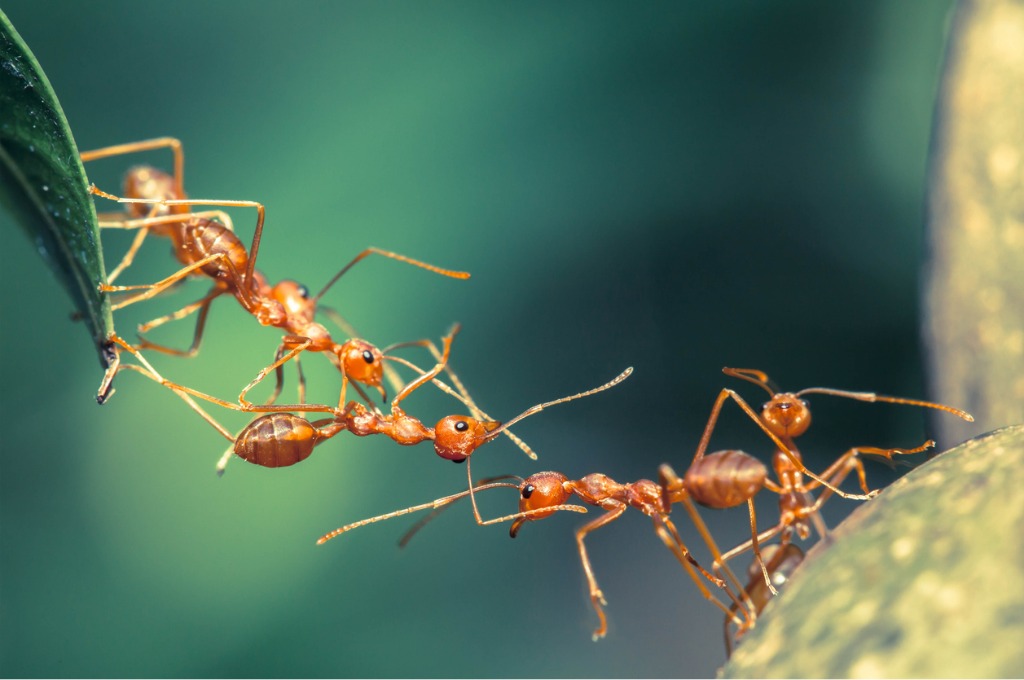
Photo by lirtlon via iStock
Post-processing these files is the penultimate step of my macro photography. (The final step is printing it or displaying it somewhere.)
With many post-processing programs, the backgrounds can be minimized with different tools to make the macro photography subject stand out even more. One nifty trick I enjoy is selective color. Simply dial down the color or desaturate whatever isn’t the main subject, making that bug stand out even more by being in vivid color while everything else is closer to monochromatic.
Post-processing can also enhance the difference between in-focus and out-of-focus parts of the picture. Another great tool is noise reduction for less visual distraction, making the image POP even more, thus further enhancing your macro photography.
Macro Photography Wrap Up
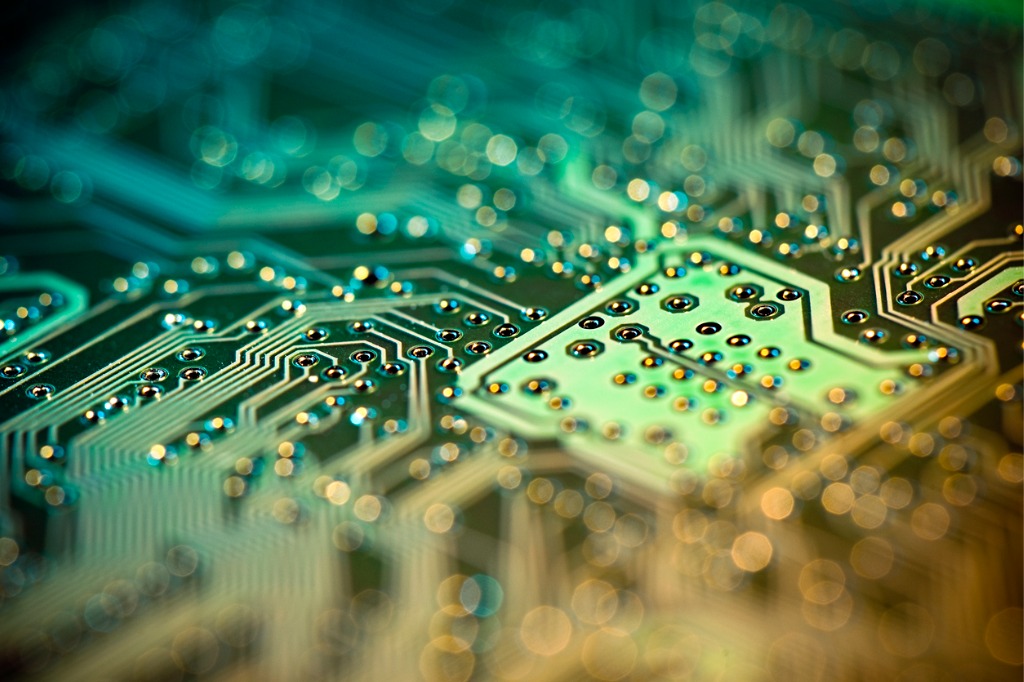
Photo by Mordolff via iStock
Almost any camera and lens combination is capable of macro photography; hey, my iPhone does it! Using a macro photography lens, keeping things steady, controlling light and exposure, and post-processing judiciously will let your macro photography images grab attention.
Take those small things, whether it’s a bug, flower, computer chip, or something else, and put them on center stage with great macro photography techniques.