The Importance of Natural Light in Real Estate Photography
- The Challenges of Real Estate Photography
- Real Estate Photography Tips for Consistently Great Photos
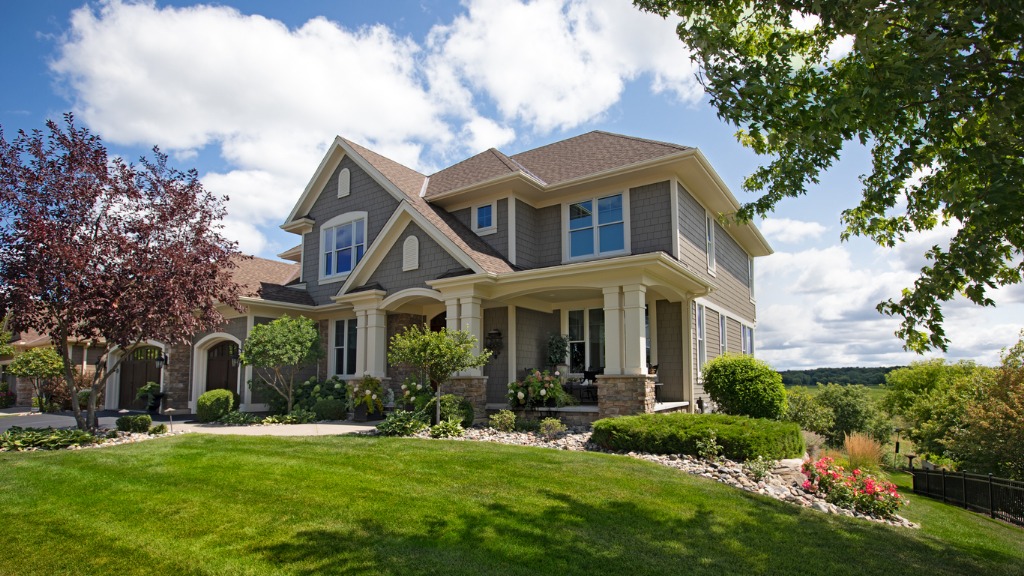
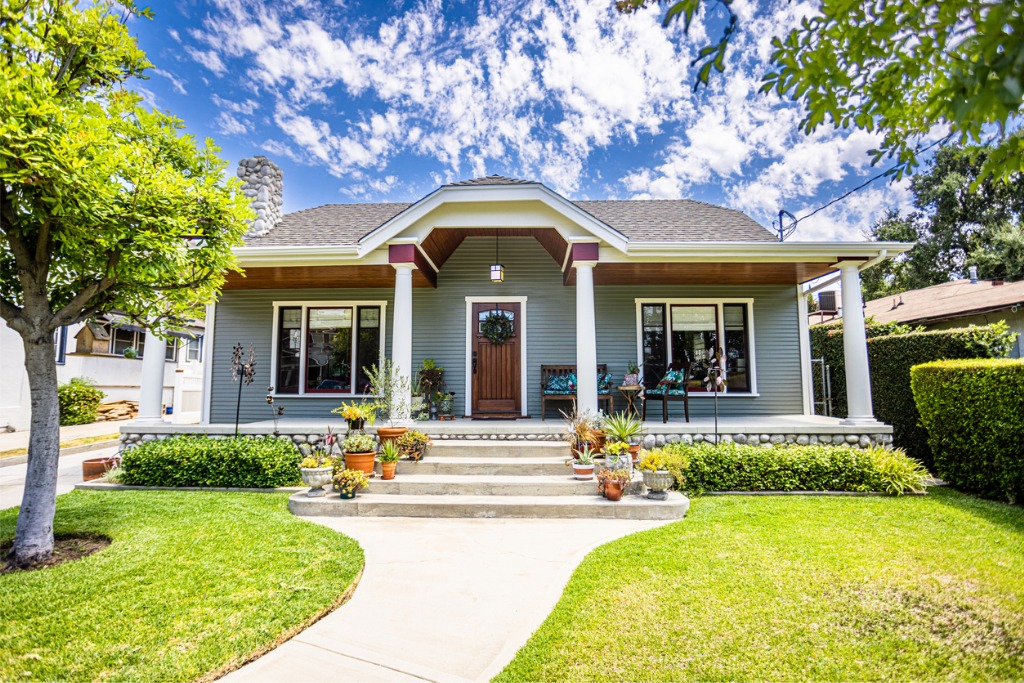
photo by Xacto via iStock
Natural light in real estate photography is a preferred method for many realtors and real estate photographers because the very nature of real estate photography is to depict a natural, though optimal, view of the property.
Adding artificial lighting for real estate photography is also acceptable, but using HDR in real estate photography actually ends up easier to do in my opinion, and it provides some truly amazing views.
Why Use Natural Light?
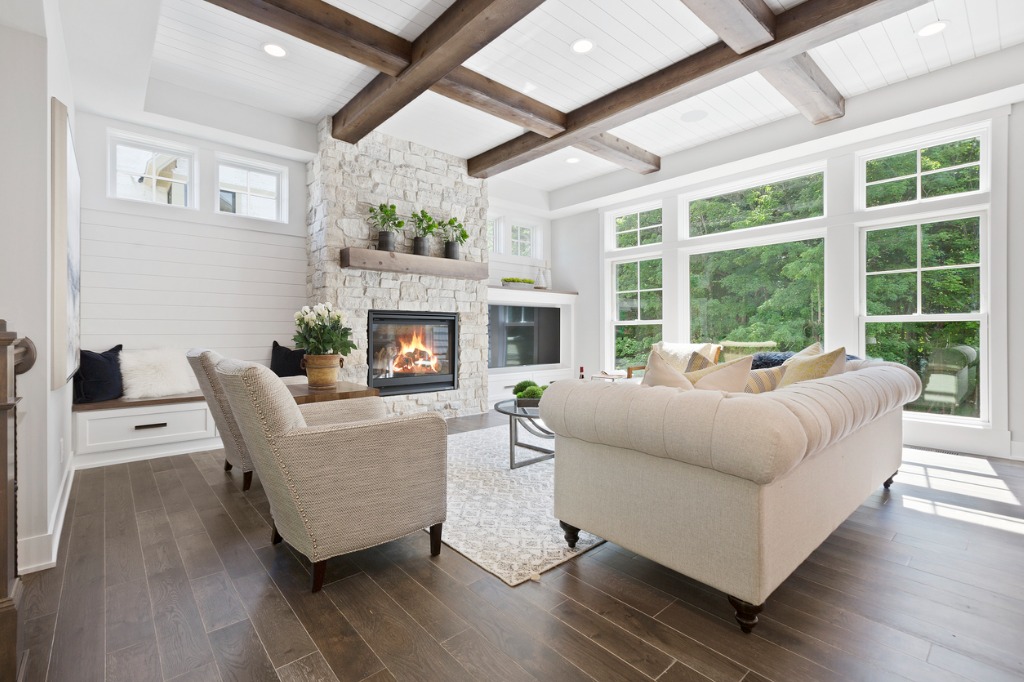
photo by PC Photography via iStock
Natural light in real estate photography is surprisingly simple to use, even with adding in the bracket and merge HDR technique for shooting and processing.
I include the bracket and merge HDR method in my real estate photography tips because I prefer its final results and also because more and more real estate agents and firms are expecting it for their property listings.
Natural lighting, especially with HDR, also helps control shadow and highlight detail that we might be able to capture by balancing artificial lighting for real estate photography.
Real estate images, both interior and exterior, are filled with areas of interest which often include bright and dark areas in the same field of view. Kitchen cabinets and outdoor porches are two examples which come readily to mind.
Simplify Workflow

photo by anyaberkut via iStock
I’ve found that even with detailed lighting configurations, it’s difficult to adequately light the shadowed areas without causing some conflicts with those shadows and the brighter areas of the room. Sometimes it’s actually very impractical to attempt to light up certain under cabinet areas or dark corners without having it look somewhat unnatural.
So, if you have found a method and equipment that works for you with multiple artificial lights, go for it. In fact, we could apply movie making lighting techniques to our real estate photography and achieve phenomenal results, but the time and the expensive equipment involved tends to make me view that as unnecessary overkill. I’d rather use the bracket and merge HDR method.
The workflow ease is a primary concern for real estate photography. We are usually under some time constraints, too, which makes dragging and resetting lights in various rooms more work than is really necessary since we have other options.
Learn More:
Bracket and Merge HDR
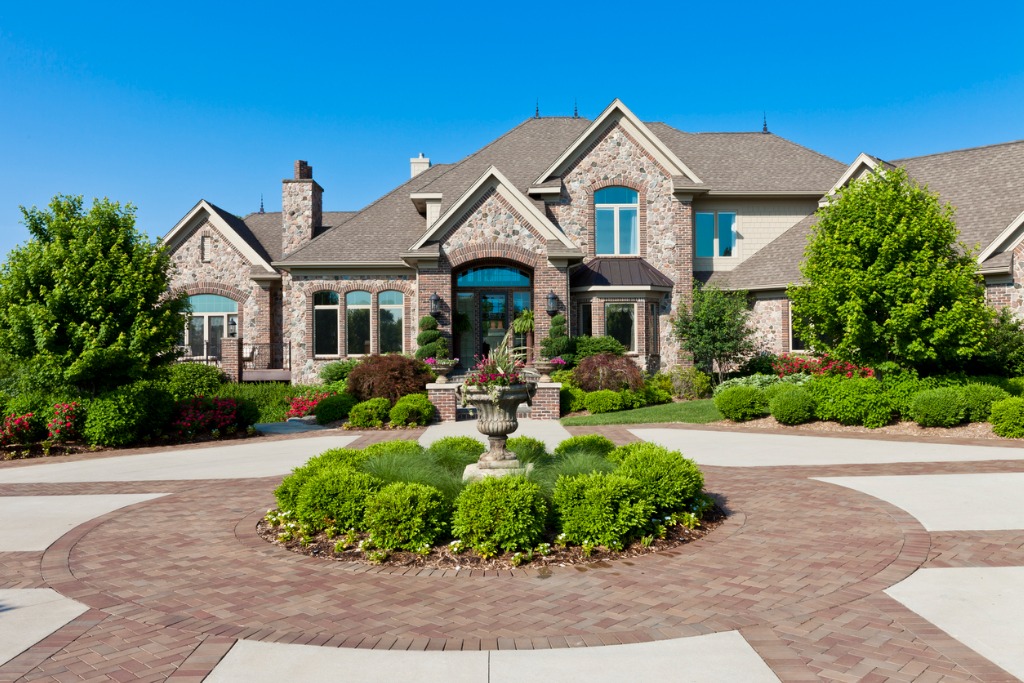
photo by TimAbramowitz via iStock
How does the bracket and merge HDR method work?
In digital photography, we have some amazing options open for us based on the electronic nature of the image files. In standard film photography, we need to capture as much good exposure detail as possible in our single exposure and then adjust the processing or the printing in such a way as to maximize the detail in both extremes, shadow detail and highlight detail.
Which we did for years as film photographers, it was the only option for us for decades. Digital imaging is different in that we can manipulate the files, the electronic information, in ways not even considered possible with film, chemicals, and paper.
The concern is what is known as dynamic range, the total range of brightness levels that can be reproduced in a final scene based on the brightness levels in the scene being imaged. Any sensor, or film for that matter, can only record a certain range of light levels.
When we calculate a balanced exposure, we tend to “let go” areas in deep shadow or bright highlights, since we are attempting the best balance of all the light levels within the scene itself.
We can expose to maximize detail in the shadow areas, but then anything in the highlight areas will “blow out,” or be unreadable. Likewise with the other way, if we optimize for capturing detail in the highlights, the shadow detail will “bunch up” and be unreadable.
It’s All About the Processing

photo by DragonImages via iStock
The shooting method for capturing natural light in real estate photography is to meter for what we would normally try to capture, a balanced exposure. Then we bracket by taking more shots, some overexposed from that balanced exposure calculation, others underexposed from the base exposure.
In many cases, taking 3, 5, or 7 exposures, varied by plus and minus 1 or 2 stops, will give the HDR program enough digital information to work with. A standard that I’ve used for years is 5 exposures, separated by 2 stops each. So the series of raw images for each finished photo would be +4, +2, 0, -2, -4. This gives us a range of 9 full f-stops to help balance the natural light exposures.
Here is an easy to follow YouTube tutorial that helps explain the shooting and processing methods used for the bracket and merge HDR technique.
Using most of the bracket and merge HDR post processing programs, we then access the various controls, usually sliders, to adjust how much weight we give the various considerations of what we’re attempting to accomplish.
Some HDR photography can deliver a very unnatural look, which is great for our art images, especially with landscape photography. For capturing natural light in real estate photography, we will most often choose minimal processing, instead striving to blend the exposures for a natural, very balanced look.
Some programs will have a feature available known as batch processing, which speeds up and simplifies even more, as it adjusts for multiple final images at once. As a helpful tip, if you do opt for batch processing, have different batches for interior, exterior, and twilight images.
Other Tips
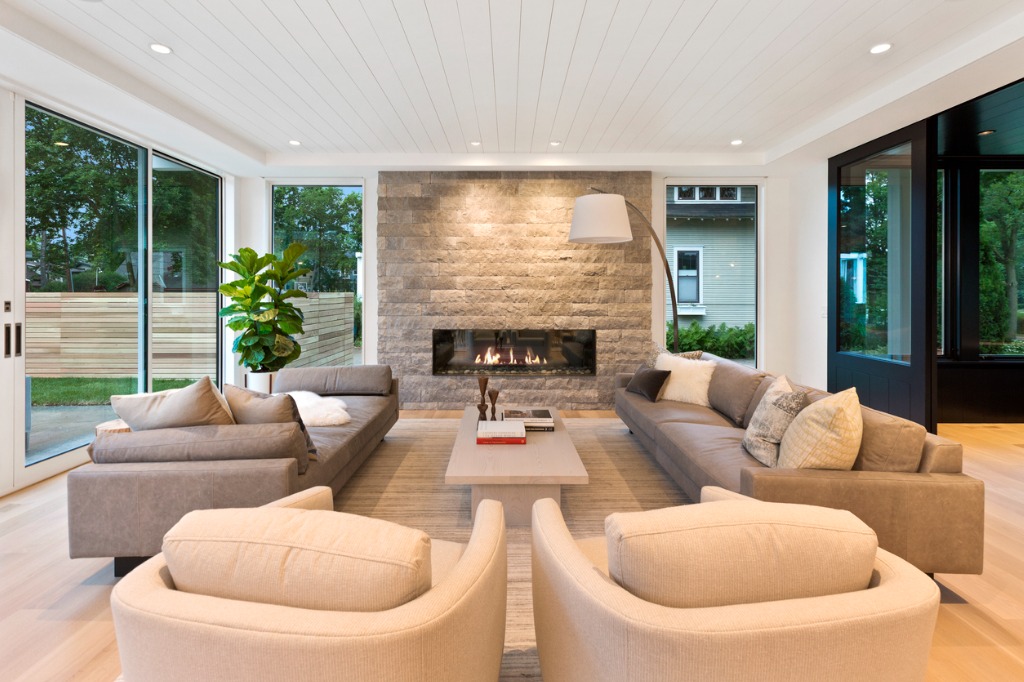
photo by PC Photography via iStock
There are many other real estate photography tips for maximizing your results. Some rooms will benefit from having the house light turned on and the window shades or blinds open, others may look better with just window light. Built-in cabinet lighting often adds just the right amount of extra illumination for those detailed kitchen views.
You’ll also want to position the camera for the best views. The 3 wall technique works fine for most rooms. You place the camera in a spot to have parts of 3 walls in the view, though one wall can be a minor or partial view depending on the specifics of the place. Including windows in one of the major walls is often beneficial.
Since we’re capturing multiple exposures of each scene meant for a final image, using a good tripod is an essential part of our real estate photography workflow. Wide angle lenses, bubble levels, and recording in RAW file format rounds out our tips for capturing natural light in real estate photography.
Learn More: