
How to Use Shutter Speed as a Creative Tool
- Last Updated: Monday, 30 November 2020 10:16
-
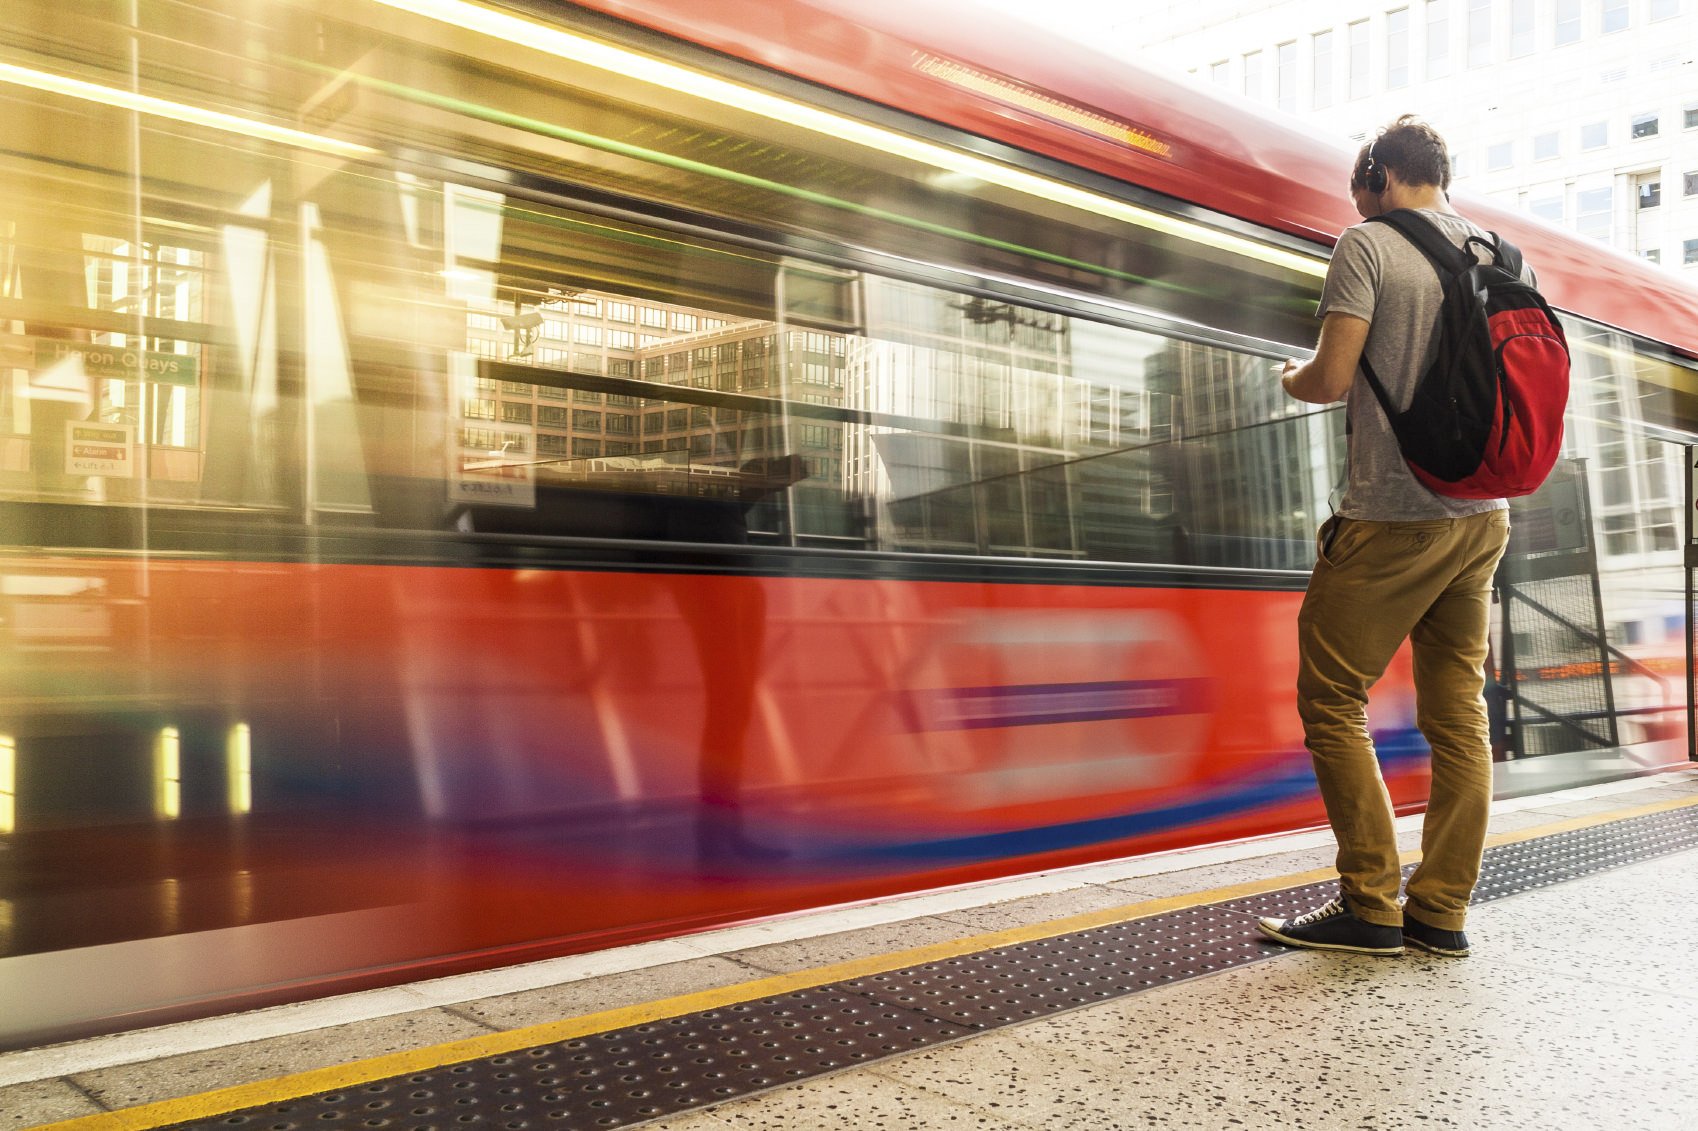
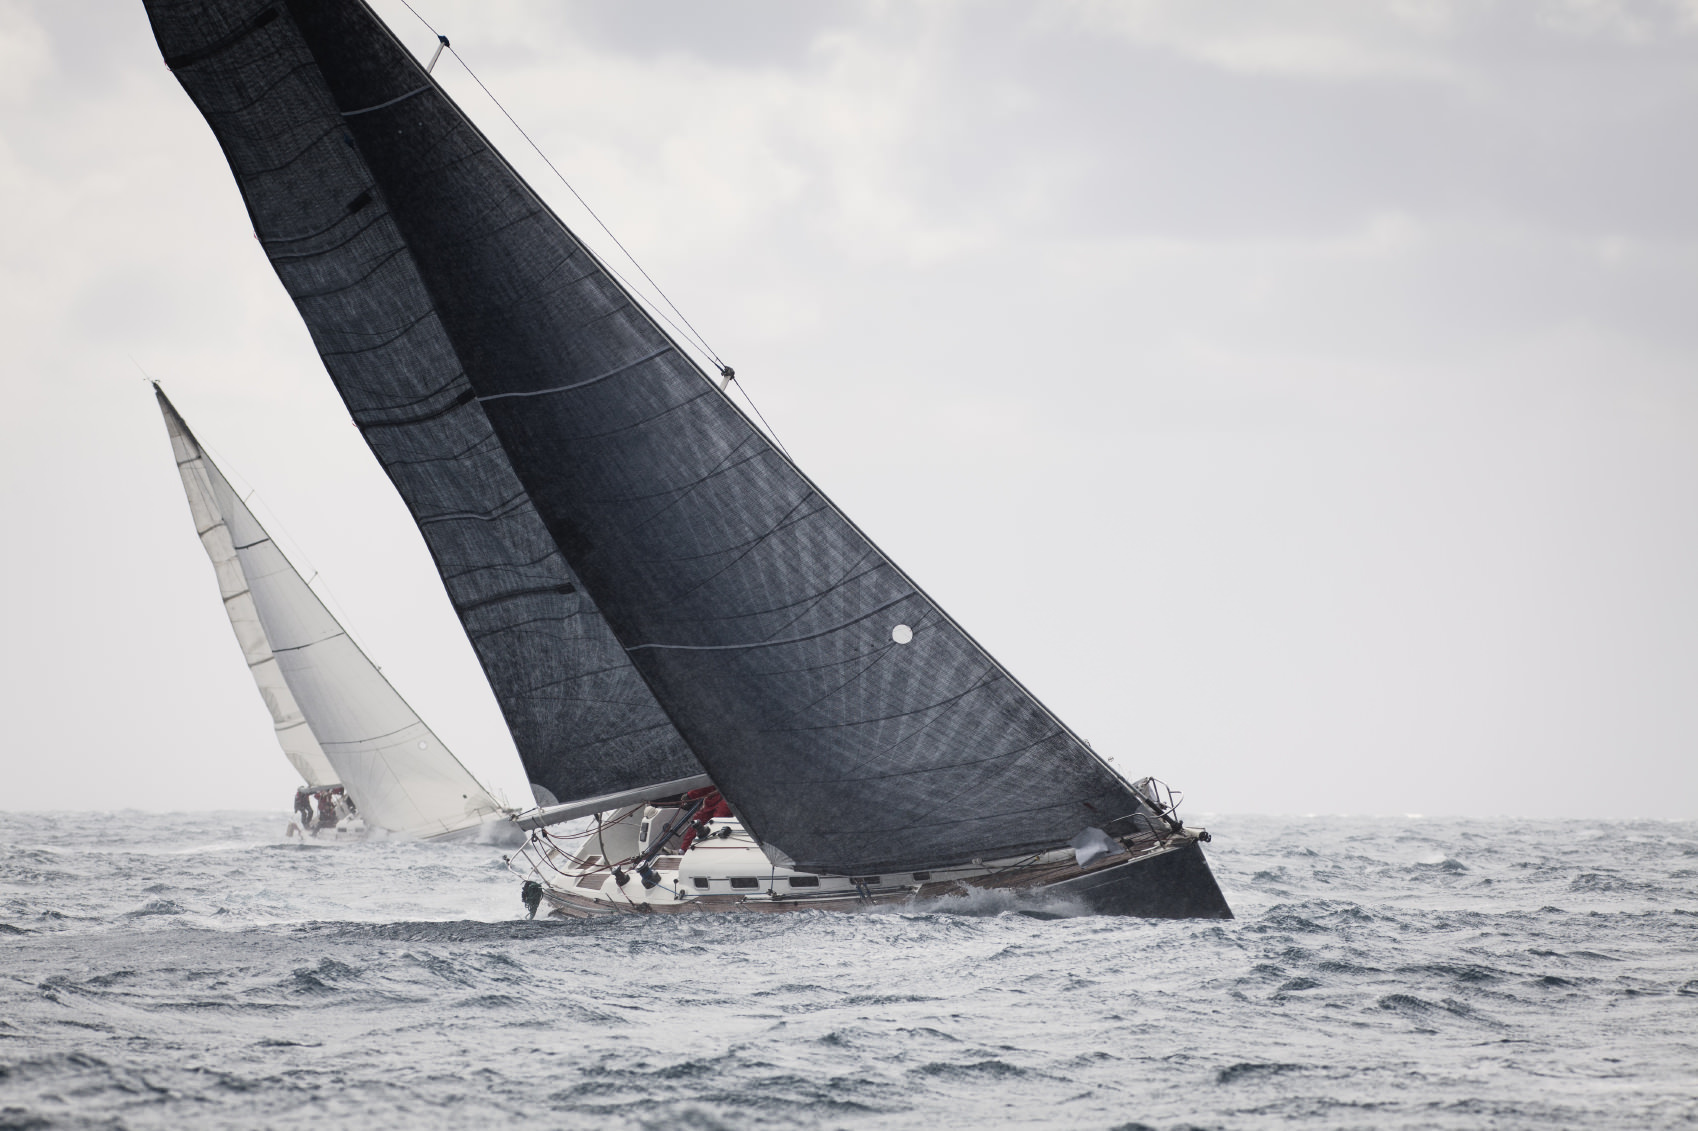
The speed of the object, whether that’s a car passing by you on the freeway or a group of dogs running by at the park, will determine how much their motion is blurred in the photo.
-
The direction of the object’s movement has a direct impact on the level of motion blur. Objects moving from side to side across the field of view will be much more blurry than those moving directly towards or away from the camera.
-
The focal length of your lens also has an effect on the level of blur. The larger the space an object occupies in the frame, the more likely it is to blur. Therefore, longer focal lengths, like telephoto lenses, are more likely to create blur because of their ability to fill the frame with the subject. Naturally, the distance between you and your subject will determine the level of blur as well because the closer you are, the more the subject will fill the frame
While some people view photography as a static art form, one that restricts photographers to just a moment in time, in reality, that’s not the case.
Because of the various settings available to you, you have very wide latitude in terms of the time frame your camera is able to take a photo, from just milliseconds to minutes or hours in length. Sure, the result is a single image, but that image, despite being a static creation, can still convey movement in a creative way.
In this shutter speed tutorial, we explore how you can use shutter speed as a tool to create more dynamic pictures.
Blurring Motion
If you want to indicate to viewers that there’s movement in the scene, blurring motion will do the trick. But blurring motion is more than just setting a slow shutter speed. Instead, there are three primary things to keep in mind that will impact how blurry a moving object will appear:
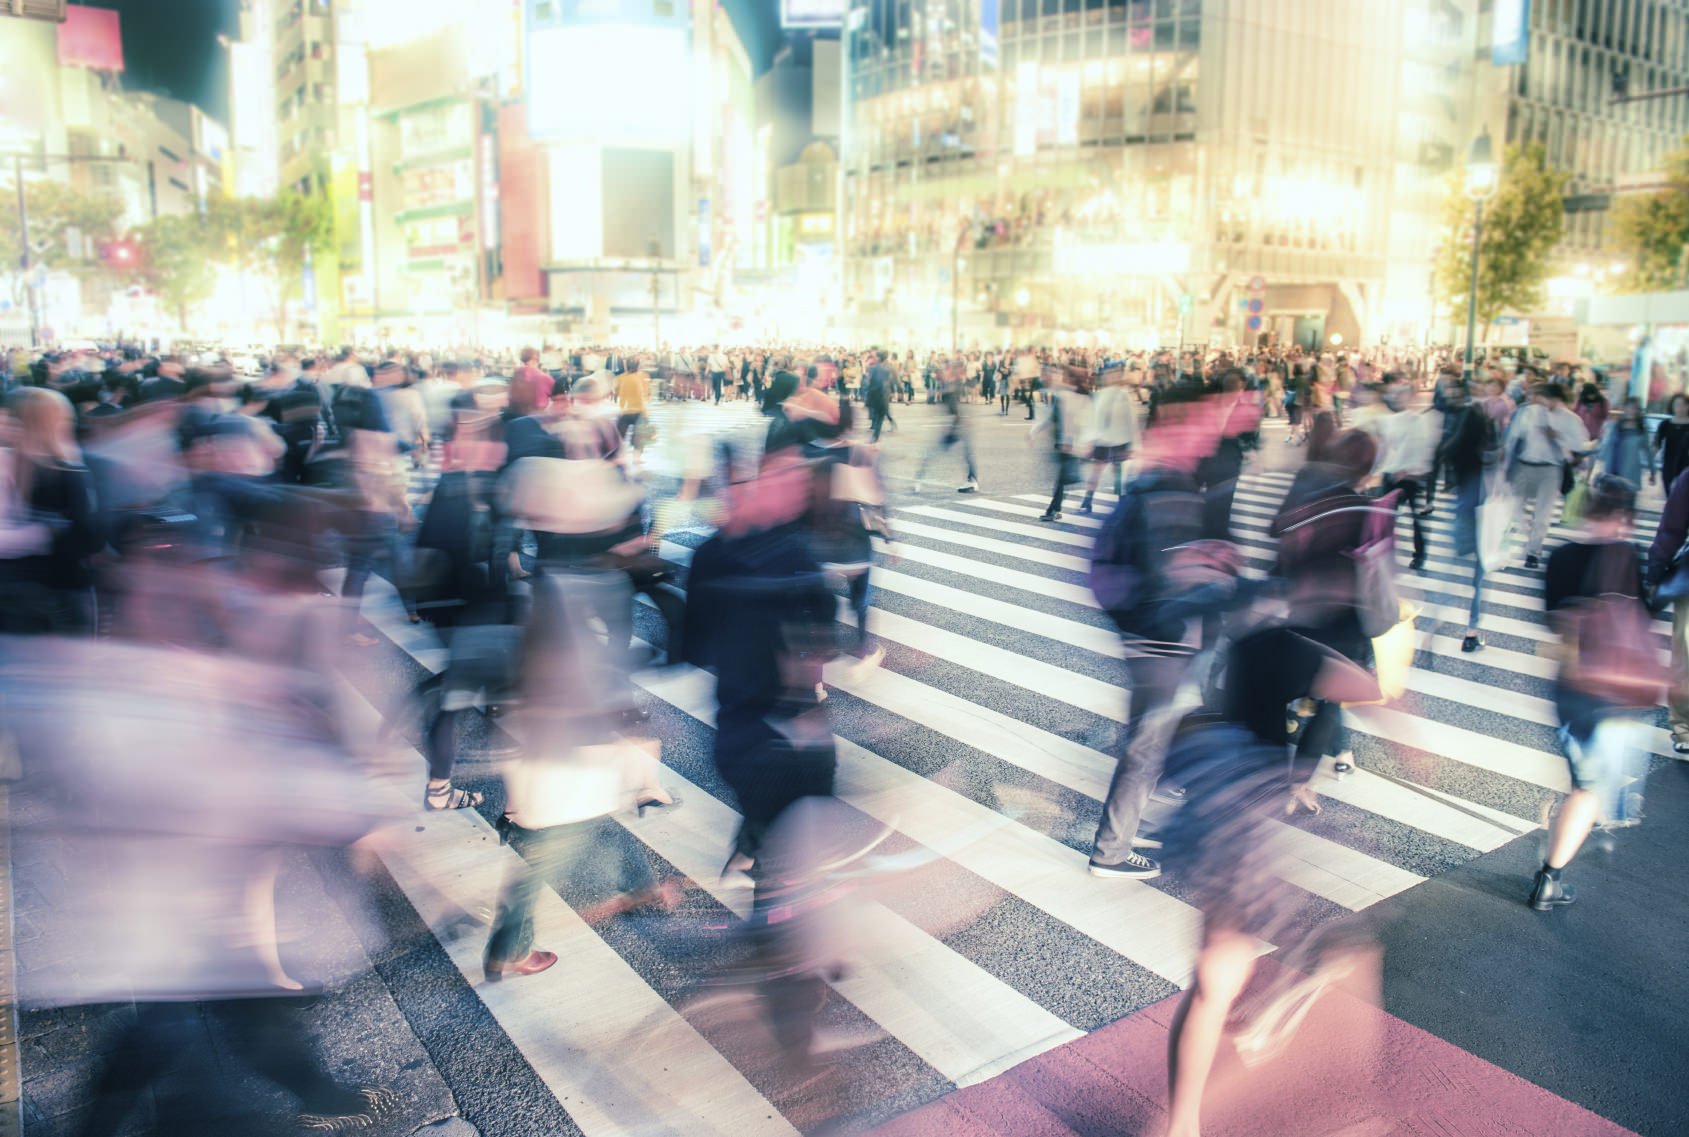
Common applications of motion blur include waterfalls, passing vehicles, or the movement of people on a busy street. Each application requires slightly different shutter speeds. For waterfalls, 1/2 seconds is a good starting point. To blur the movement of a passing train, 1/10 of a second might be advisable. A car speeding by may only need 1/125 seconds for blur to be introduced.
Of course, in addition to the three factors noted above, the lighting conditions will have a bearing on the camera shutter speed you can use. For example, if you want to blur the movement of a waterfall during a daytime shoot, you might need to close your aperture down to limit the light allowed into the lens. Additionally, you may need to use an ND filter to further cut down on the light so you get a well-exposed image.
Get more details on how to create motion blur in your photos in the video above by Jared Polin.
Editor's Tip: Are you dreading paying for an Adobe subscription so you can edit your photos? Try a more powerful - and less expensive alternative! See what Luminar can do for your photos.
Freezing Action
On the other end of the spectrum is using a shutter speed that’s so fast that you’re able to freeze movement. Rather than getting dreamy blur of a waterfall or interesting streaks of light trailing behind of or in front of passing cars, freezing action means that you stop the object in time in perfect focus.
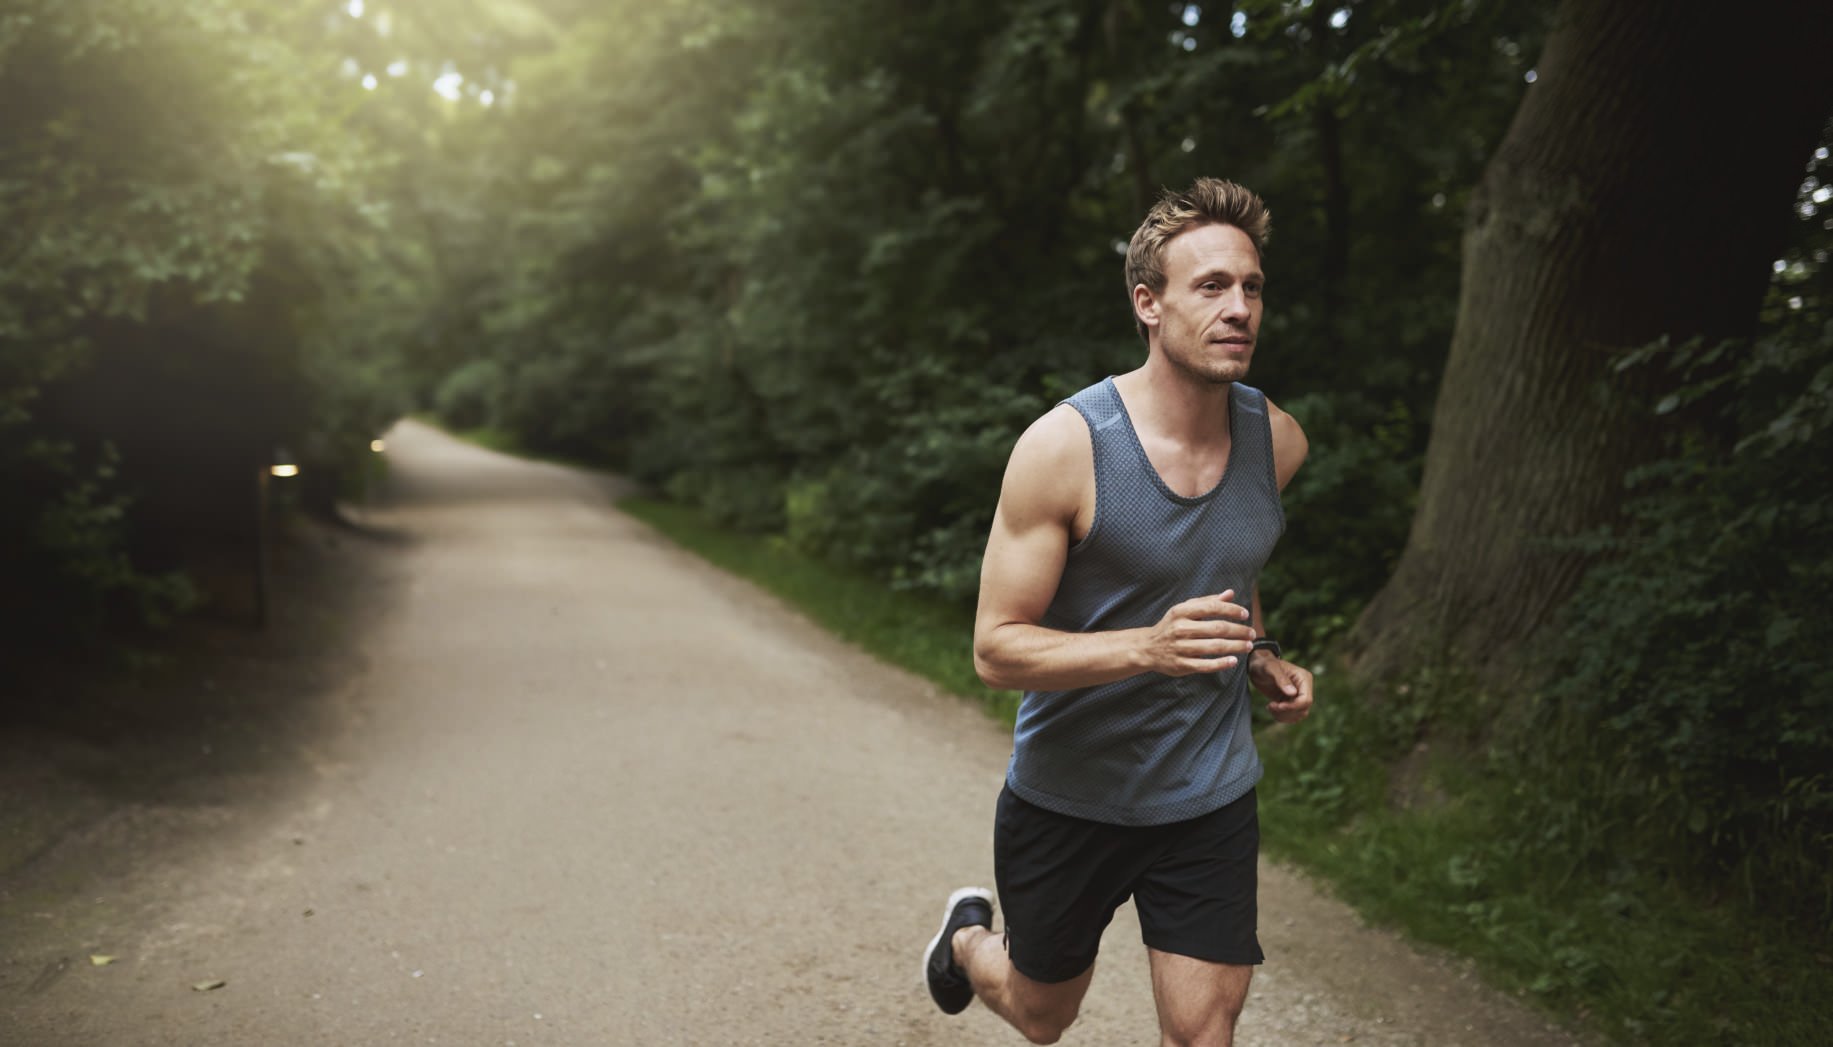
Common applications of this technique are birds in flight, droplets of water falling into a reservoir, and action in sports. And while many people assume that freezing action is easier than blurring it, the truth of the matter is that freezing action is quite complicated. Not only do you have to select the right settings to get the best exposure and to freeze movement, but you also have to anticipate when your subject will be in the position in which you want to freeze them. A split second too soon or too late can ruin the photo.
As a rule of thumb, a shutter speed of 1/250 to 1/500 seconds is adequate for freezing the motion of people moving around in a normal manner. You might need 1/1000 to 1/2000 seconds to freeze the movement of a person or animal running from side to side through your frame. Naturally, the faster the object, the faster your shutter speed will need to be.
To increase your chances of freezing motion, set your camera to continuous shooting mode. This allows you to rapid-fire shots, giving you more chances to get the moment you want. To better your chances even further, remember that objects coming directly toward or moving away from your camera are less prone to blur, so positioning yourself such that your subject is moving directly towards you or away from you will get you a sharper photo, perhaps even at a slower shutter speed.
Panning
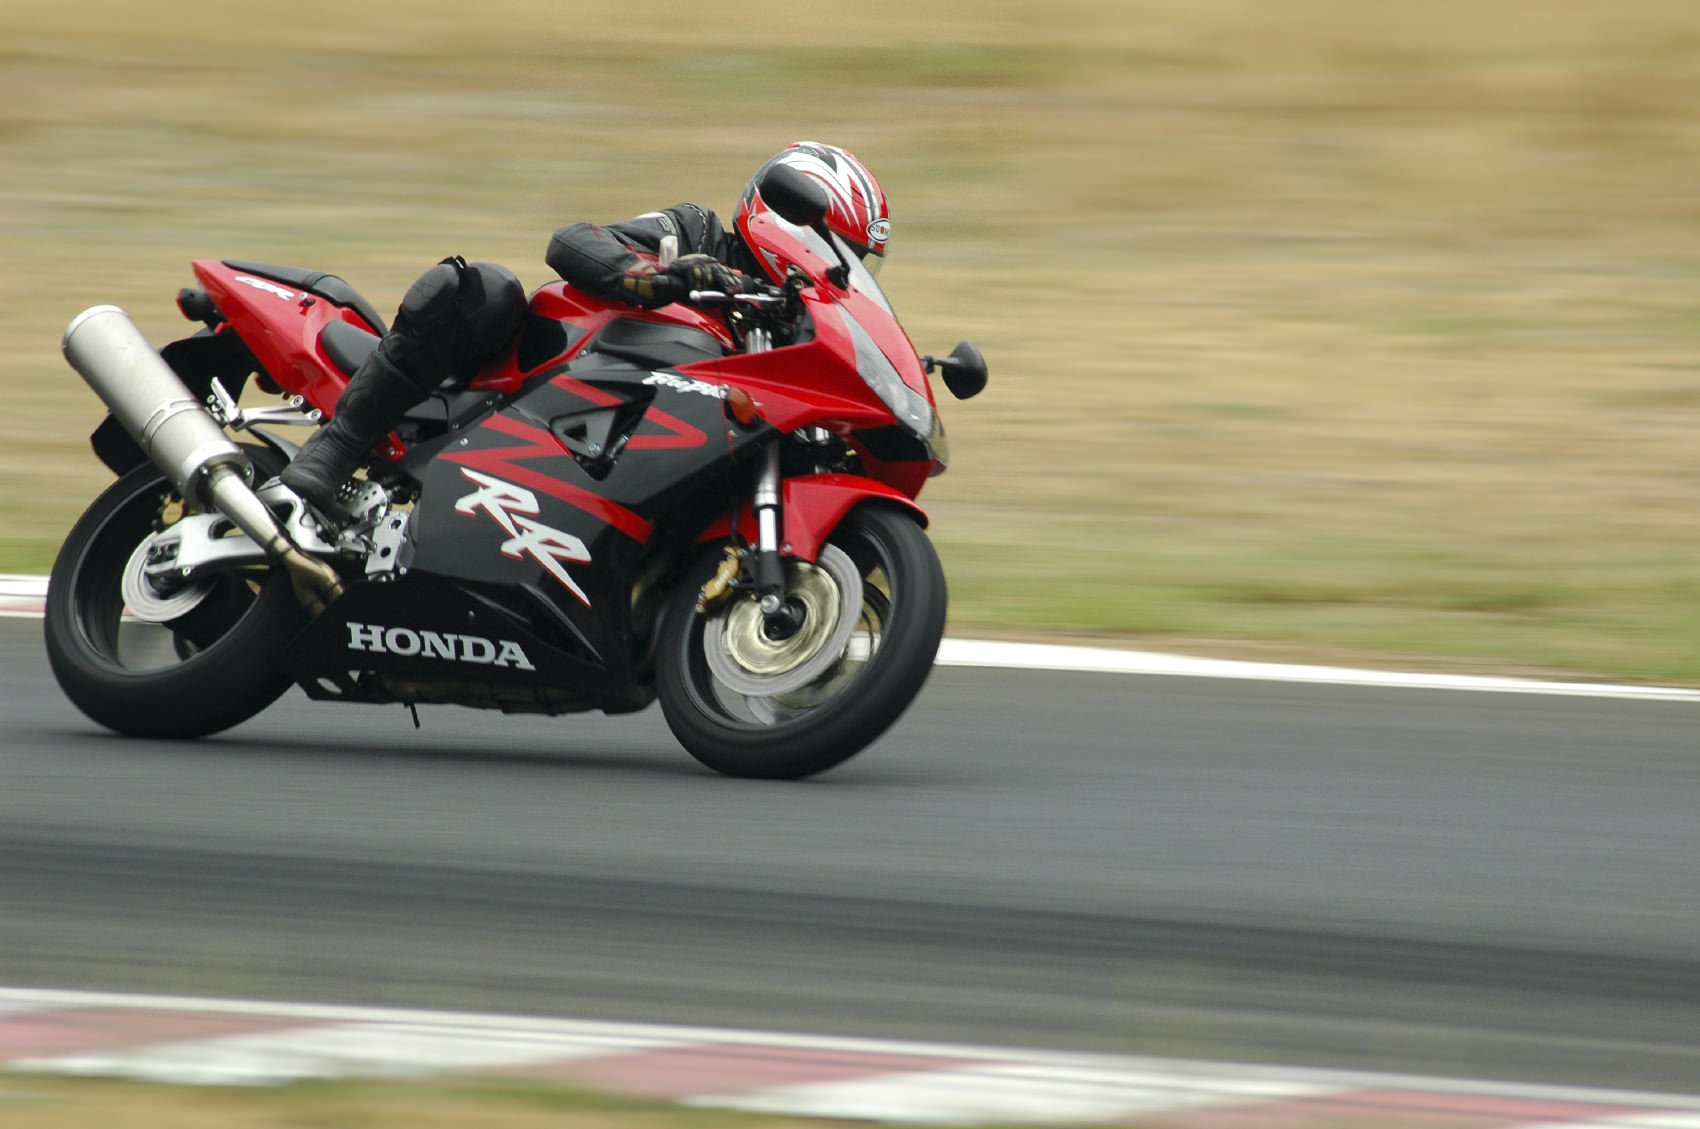
If you want the best of both worlds, with some elements in your photo blurred and others in nice focus, try panning. Essentially, panning means you move your camera at a rate that allows you to freeze your subject while blurring the background.
For example, assume you go to a motorcycle race and you want to capture the movement of the motorcycle but have the background blurred. The first step is to select a shutter speed that’s fast enough to freeze movement as you pan, but slow enough that the background will be blurred. This will likely take some trial and error, but a good place to start is in the 1/30 second range.
When panning, the key is to frame the shot and begin moving with the subject before you press the shutter button. Then, after you’ve pressed and released the shutter, you need to continue panning to ensure a smooth result.
So, if your subject enters the frame from your left and exits to the right, start panning when the subject appears, move with it to the right as you press the shutter, then continue moving with it once the shutter is released. This should all occur in one smooth, continuous motion.
You might be able to get a good pan while handholding your camera, but a tripod with a good pan head is advisable.
Learn more about how to pan effectively in the video above by Josh Katz.
Editor's Tip: Not sure what lens you should add to your camera bag? Learn why every photographer needs a 35mm lens.
Final Thoughts
Shutter speed is one of the critical components of photography. Not only does it help control the exposure, but it also influences how your subjects appear in the image.
Use a slow shutter speed to get dreamy blur or speed it up to freeze motion. Try for elements of each by panning to freeze the movement of your subject while blurring the background.
Each of these creative uses of shutter speed gives you more latitude for creating photos that are engaging to viewers.