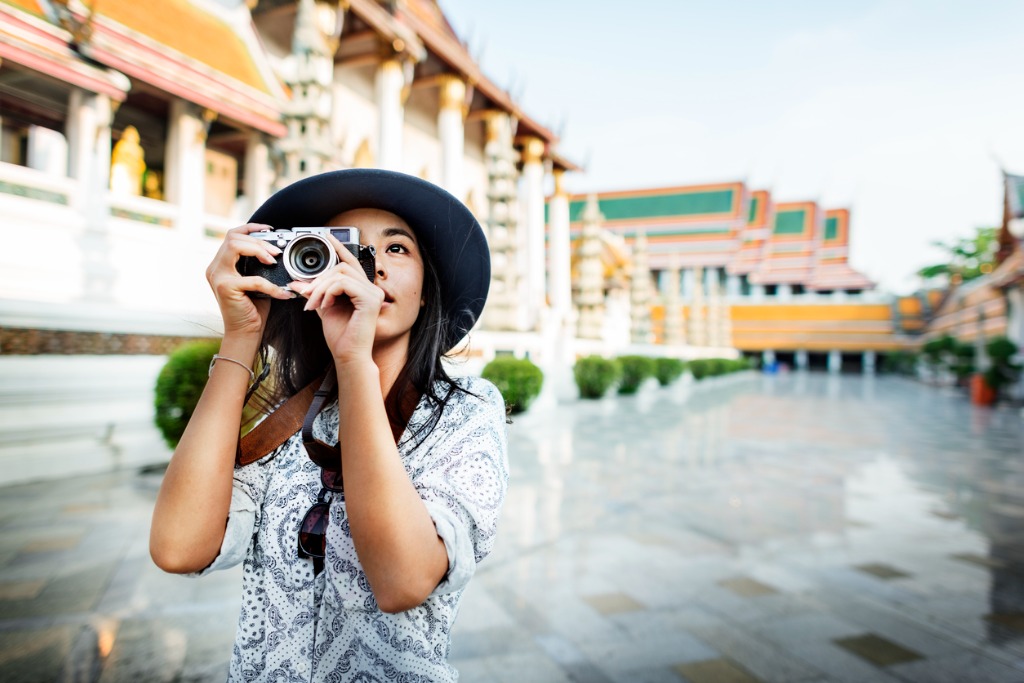
Tips for Traveling With Photography Gear

photo by LordHenriVoton via iStock
Traveling during covid is stressful enough as it is, but traveling with photography gear right now just piles it on.
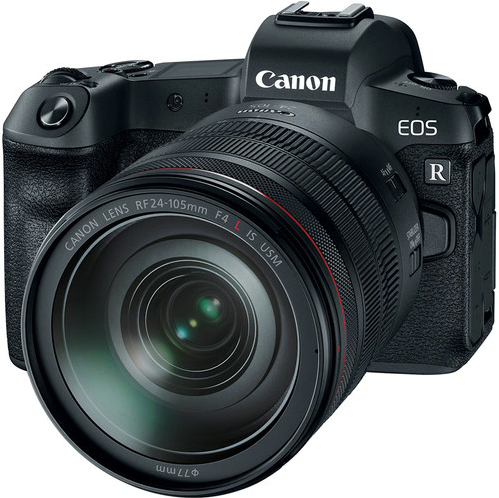
Not only are you attempting to keep yourself and others safe, but you’re also trying to keep your expensive camera gear safe. Unfortunately, when you’re traveling with photography gear, this also means that you’re likely going to be even more stressed out.
However, there are a lot of easy tips for flying with camera gear that I see photographers neglecting regularly. So, I decided to dedicate this article to fighting this educational gap.
Don’t Underestimate the Power of TSA PreCheck
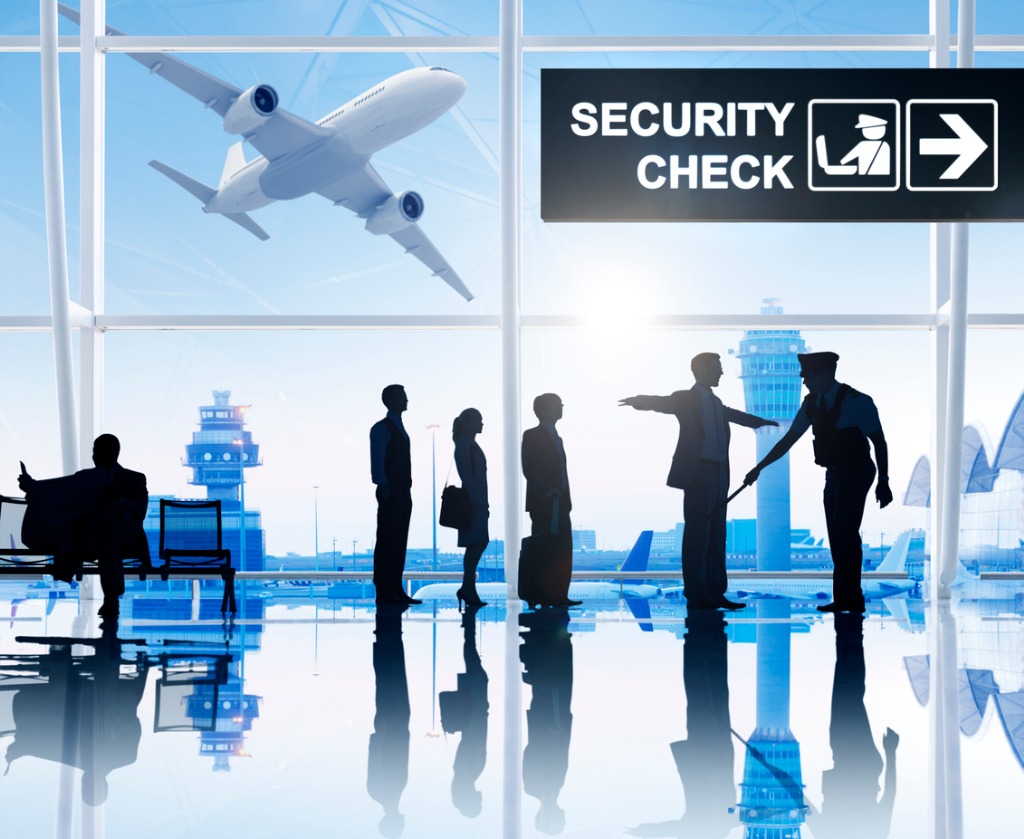
photo byRawpixel via iStock
Every time I’m at my local airport I recognize that very few people actually use TSA PreCheck. Maybe it’s because they’re uneducated about the cost of the program or maybe it’s because they’re uneducated about its benefits, but TSA PreCheck has saved me from waiting in 2 hour lines at the airport before and it’s likely helped me catch some flights I would have otherwise missed.
TSA PreCheck only costs $85 (which you can deduct as a business expense if you only use it while traveling with photography gear for work). That $85 gets you a whole 5 years of benefits. You will never have to take off your shoes at security again. Likewise, you won’t ever have to take your laptop out of your bag either. But, the best benefit to TSA PreCheck is the fact that 100% of fliers using TSA PreCheck wait less than 5 minutes to get through security.
This is obviously only a tip for traveling with photography gear in the United States, since TSA PreCheck only works if you’re departing from an airport within the country. If you find yourself regularly traveling with photography gear overseas, then you’ll need to splurge on the Global Entry program instead.
If you’re interested in signing up for TSA PreCheck you can do so here.
Communicate Well With TSA Agents
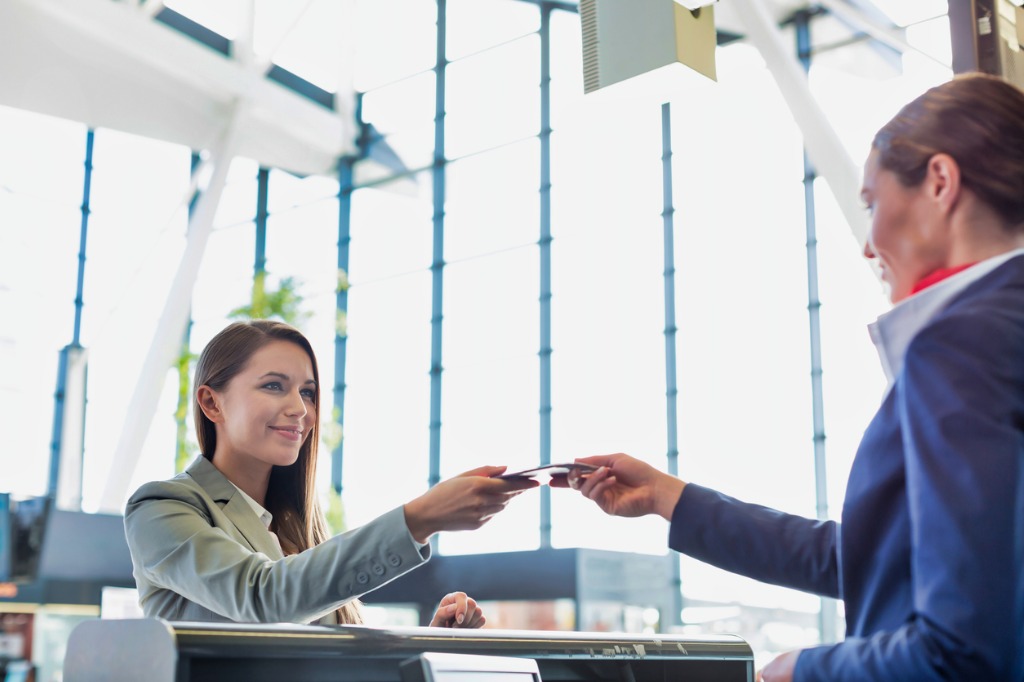
photo by IPGGutenbergUKLtd via iStock
If you opt out of TSA PreCheck, then you’re likely going to be waiting in long lines at security checkpoints and the only way to make this wait less painful for yourself and others around you is to communicate clearly with the TSA agents.
If they say that they need to inspect your carry on bag, just state clearly and calmly that you are traveling with photography gear that is expensive, so you would appreciate it if they handled your bag carefully.
If you yell at your agent, your trip is only going to be made more difficult. Plus, you’re definitely not the first person to air travel with photography equipment, so if you communicate clearly, your agent should understand how to handle your equipment.
Buy a TSA-Approved Lock
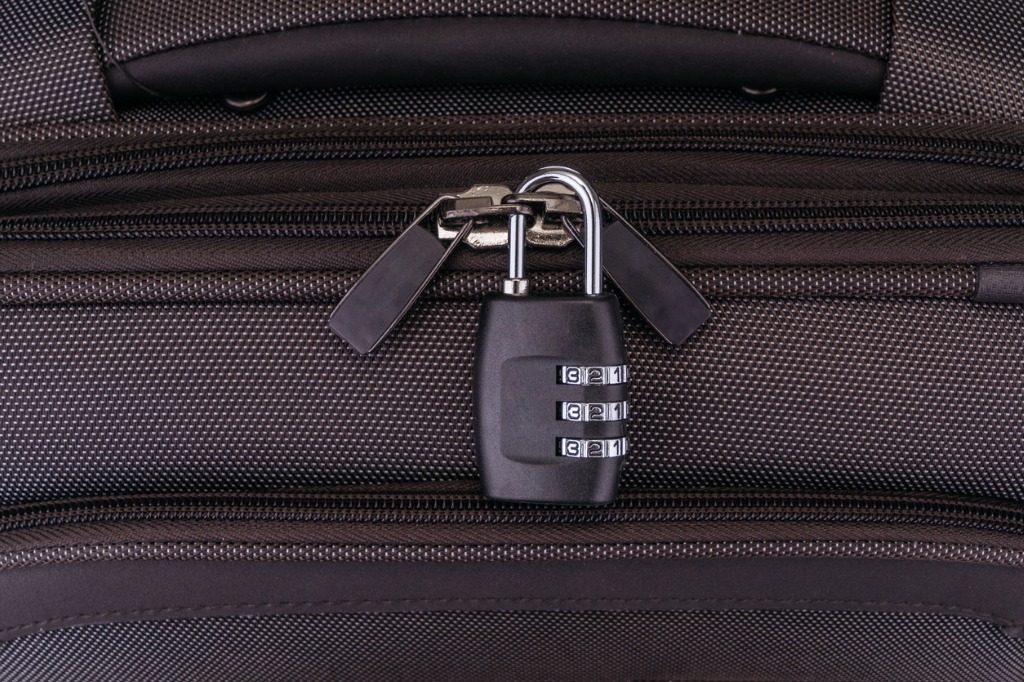
photo by ULU_BIRD via iStock
I promise this is my last TSA tip for traveling with photography gear. It will make your trip so much easier if you buy a lock that is TSA-approved.
While you should pack all of your expensive camera gear in your carry on (more on that later), you may still need to pack additional camera equipment in your checked luggage. If this is the case, you don’t want your bag full of tripods, batteries, and memory cards to be stolen, so you’ll want to lock it. The problem occurs if and when TSA decides to inspect your checked luggage further.
If you aren’t using a TSA-approved lock, then they will simply cut the lock you are using which will leave all of your camera gear exposed.
Learn More:
Pack Your Carry On Neatly
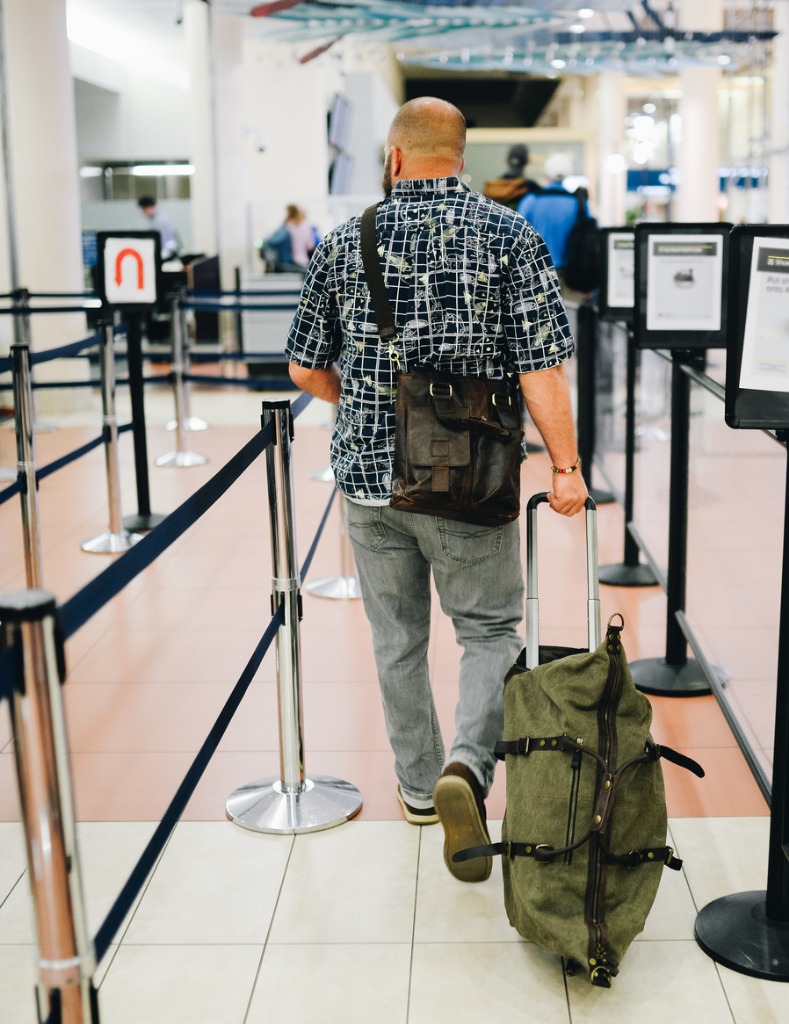
photo by Lisa5201 via iStock
While traveling with photography gear, you should only put one layer of gear in your carry on bag. This helps you do a few things. For starters, if you begin stacking your photography gear on top of each other in your bag, then the likelihood of that gear banging up against one another goes up and you will be wildly frustrated if you accidentally damage your camera or lens because of careless packing.
But, it will also help you to speed through any security checkpoints. Since TSA agents are using machinery to see into your luggage, it will simply make it easier for them to recognize each piece of equipment in your bag if they aren’t trying to decipher what is on the top and bottom layers.
Pack Expensive Photography Gear in Your Carry On
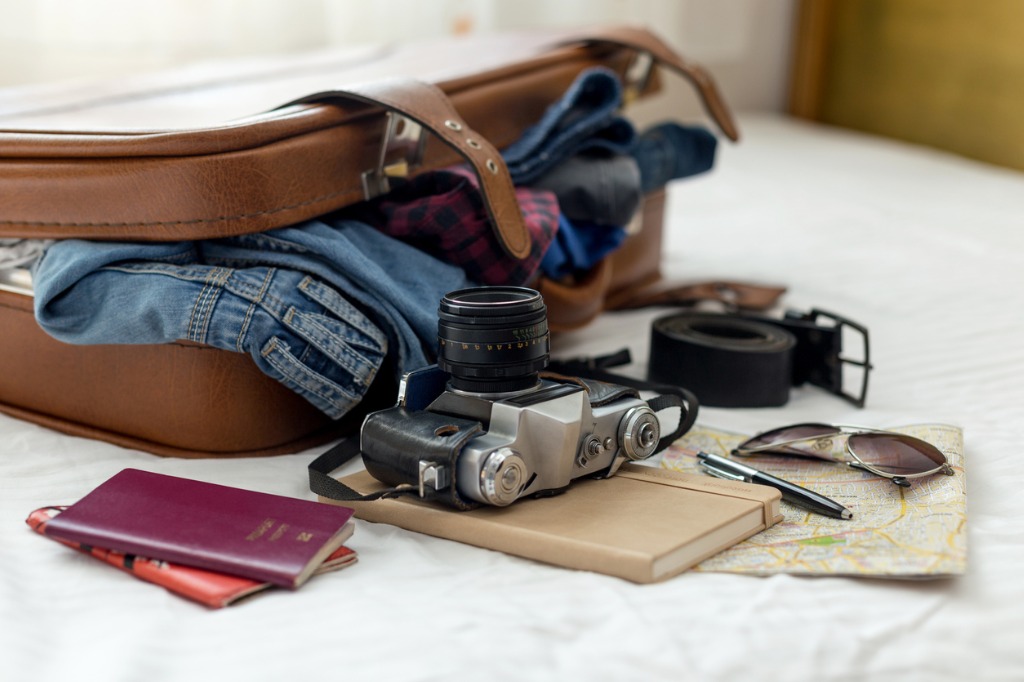
photo by bymuratdeniz via iStock
I was quite lucky in my early adulthood and never had any of my luggage lost or stolen while traveling with photography gear. But, in my early 30s when my first piece of luggage was lost by an airline, I never made that mistake again.
Anything that you cannot replace, or that you cannot replace with the amount of money in your checking account right now, needs to be placed in your carry on. Each airline’s policies are very different when it comes to replacing whatever was in your bag if they were to lose it while it was in their care. But, most airlines have a very lengthy process that is a total pain to go through.
Plus, at least in the United States, no airline is required to replace more than $3,500 worth of personal items in your luggage. Since I know that my camera equipment is worth much more than this, it makes sense to keep it with me at all times while traveling.
Pack Cameras and Lenses Separately
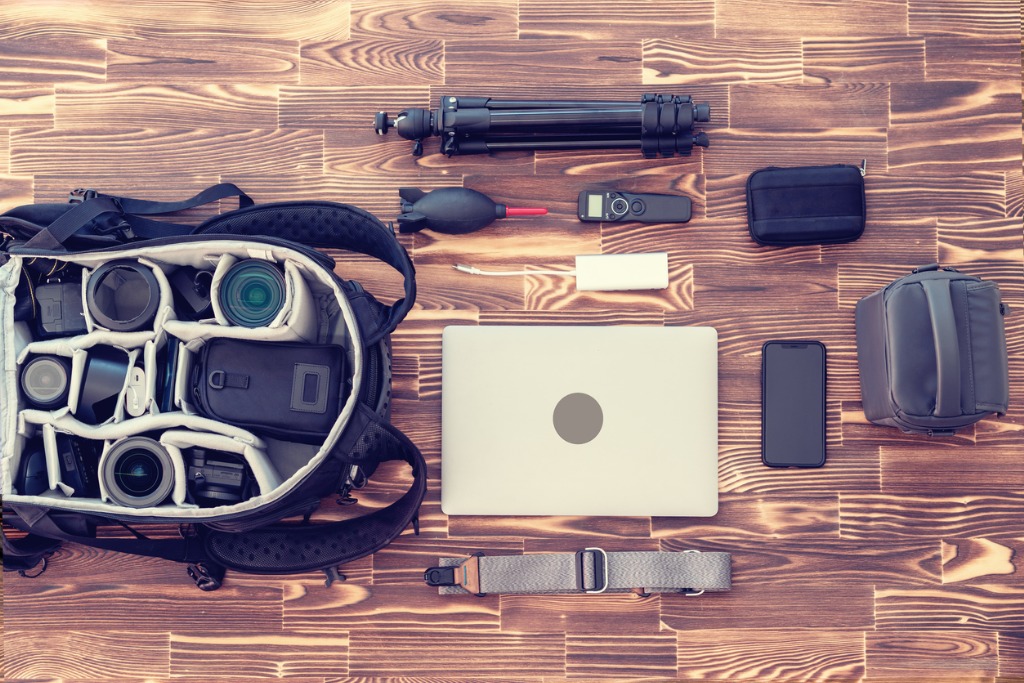
photo by SonerCdem via iStock
This may be something that most professional photographers understand about traveling with photography gear, but I see people traveling for vacation doing it all of the time. You cannot leave your lenses on your camera in your carry on bag.
Or rather, you could, but the chances of your lens or camera being damaged while you’re traveling will go way, way up.
Ideally, you would not only pack your cameras and lenses separately, but you would pack them separately in different compartments of your carry on bag. This way there is no chance that they bang up against each other during transit.
Don’t Overpack
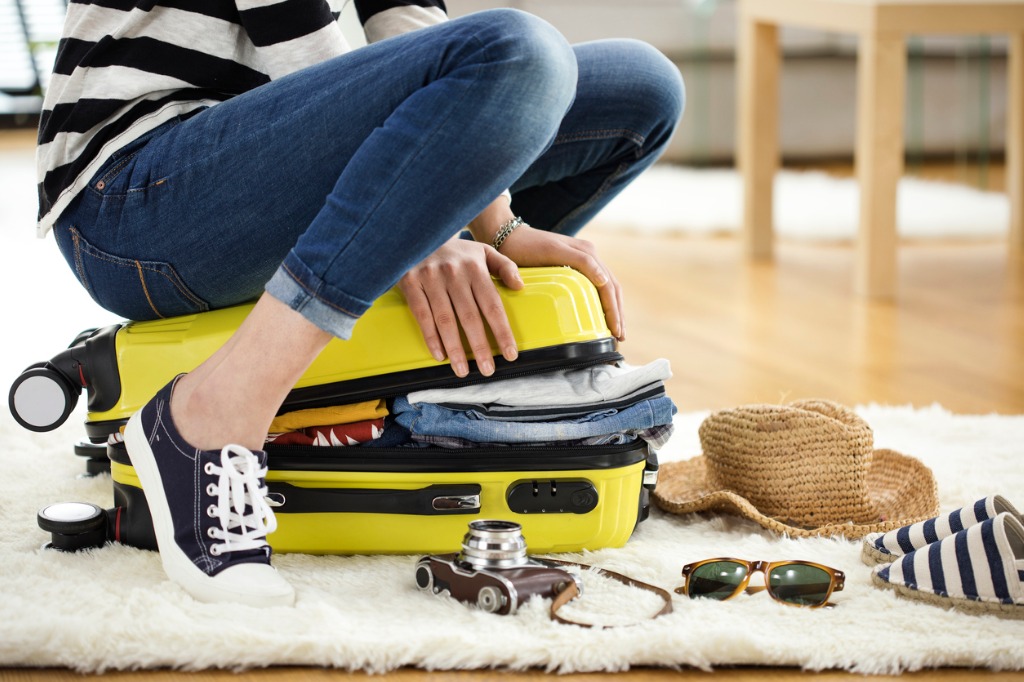
photo by seb_ra via iStock
The first trick you need to use when learning how to travel with camera gear on a plane is to not overpack.
When you overpack your carry on bag, you’re going to be miserable lugging it through the airport. Not to mention the fact that, although most airlines don’t check the weight of your carry on, they do have weight maximums for them. While the chances are slim, if you overpack your carry on, the airline may force you to either not fly that day or check your carry on, which means your expensive equipment is at risk of being lost.
Have a Good Camera Bag
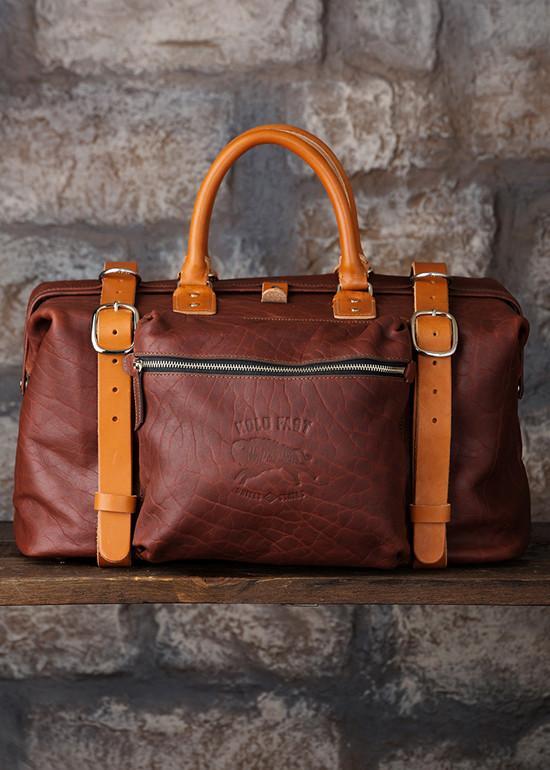
Image by Brandon Burk
I cannot overstate how much easier my life became after I bought myself a good camera bag. There are a few things in life I am willing to spend good money on. Shoes are one of them and camera bags are another.
I purchased the Roamographer camera bag a few years ago specifically for traveling with photography gear. It is a camera bag made of American bison leather, a shearling-lined strap, and the most intuitive camera insert I’ve ever found.
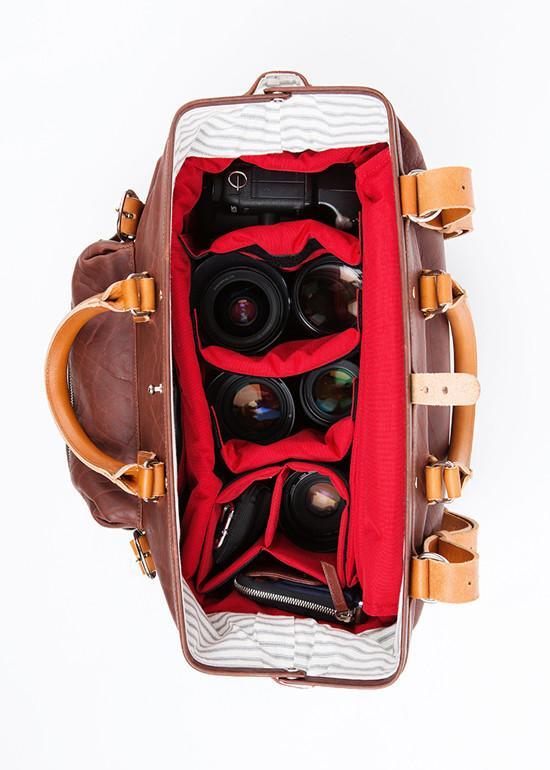
Image by Brandon Burk
The bag comes in two sizes. A large for your DSLR gear or a small for your mirrorless gear. Since I mainly use mine for traveling, I bought the larger size so that I could fit in extra personal items if I was only traveling with my mirrorless setup.
The materials that the bag is made out of means that it only gets better with age and the company behind the Roamographer, Holdfast, promises that each of their products will hold up for life or they will replace it for free. So, while the price of this bag may be a bit expensive upfront, the large is $725 and the small is $610, you have to remember that you’re buying it for life.