4 Ways to Improve Your Foggy Landscape Photography
- Foggy Landscape Time of Day
- Foggy Landscape Camera Location
- Take Control of Camera Settings
- Displaying a Foggy Landscape Image
- Recommended Photography Gear
- 4 Keys to Great Landscape Photography
- 5 Unique Landscape Photography Ideas to Try
- 5 abstract Nature Photography Tips

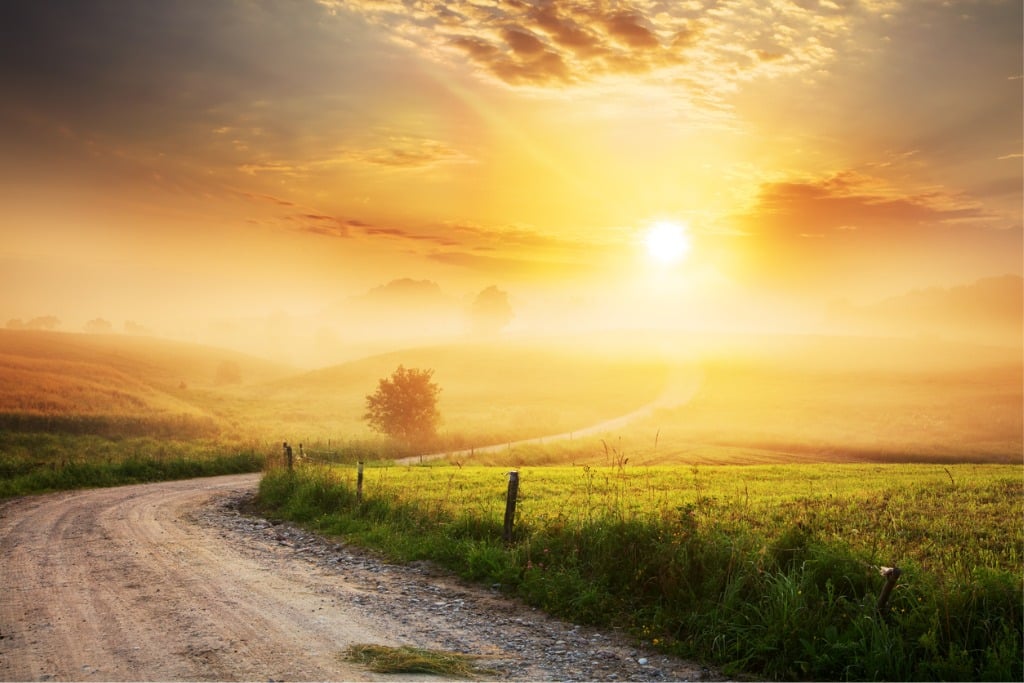
Photo by panaramka via iStock
I’m hiking on a photo trek and come across the beautiful vista of a foggy mountain landscape. Or, I’m near a lake, the ocean, or some low-lying farmland.
As I take in the beauty, I’m considering how to turn this foggy landscape into a photographic image and what tips and tricks of foggy landscape photography I would employ.
Foggy landscape photography looks amazing when done well. How to keep the foggy landscape from coming out as though you were photographing inside of a cloud involves a few skills that we can learn or improve.
Table of Contents:
Foggy Landscape Time of Day
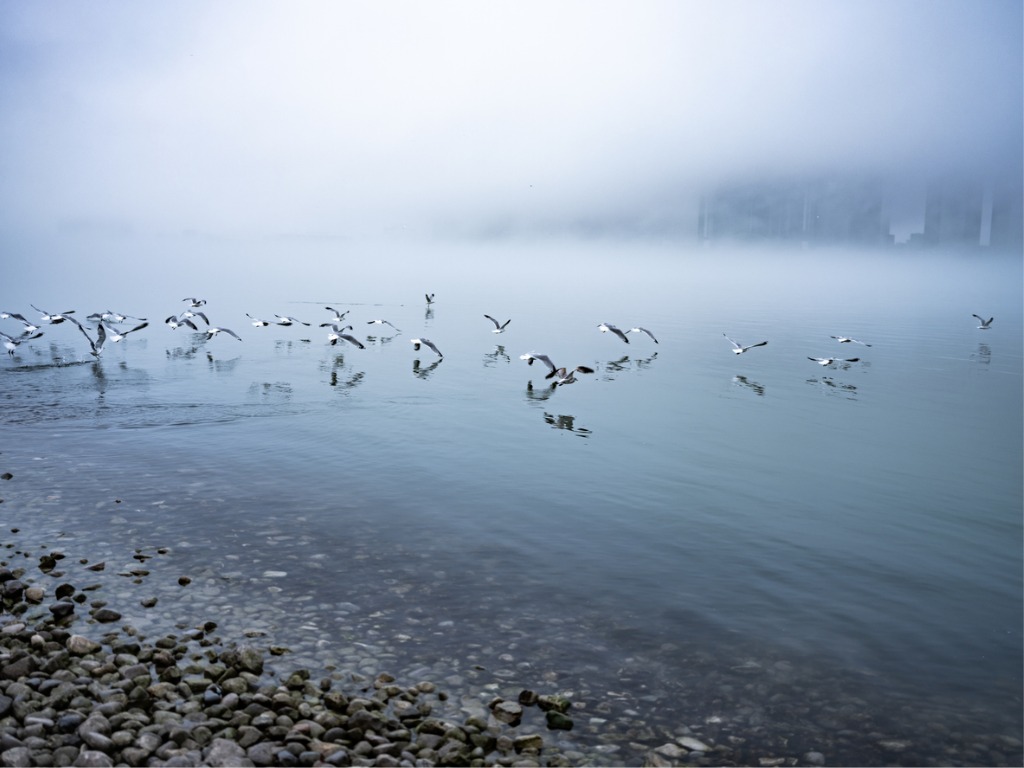
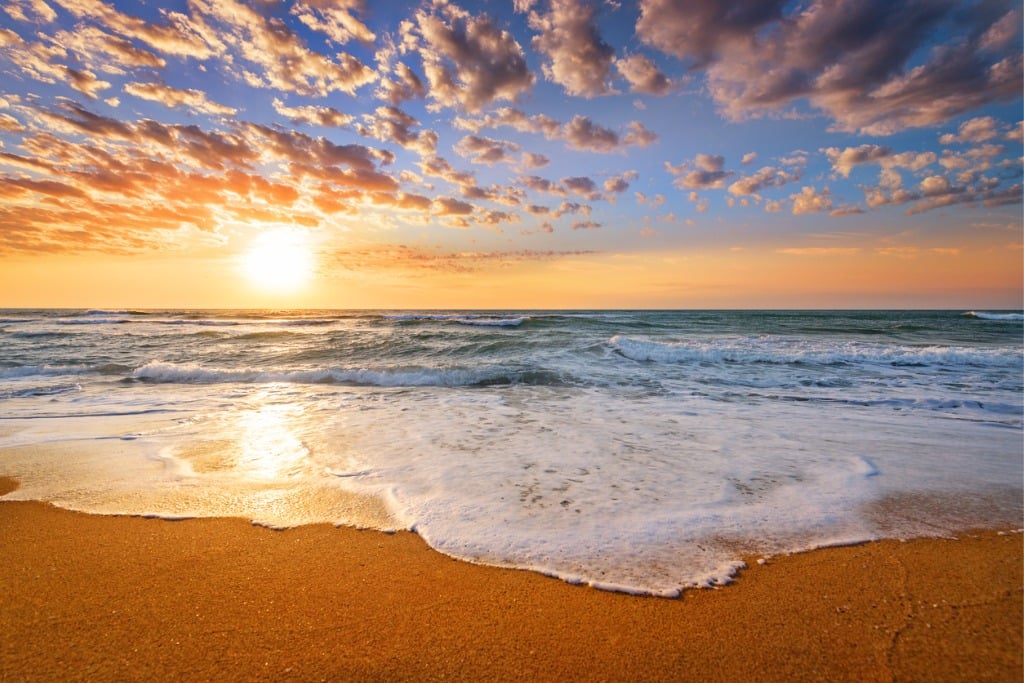
Photo by Steven_Kriemadis via iStock
The time of day and the time of year have a huge impact on your being able to capture foggy landscape images. Fog can happen at various times of the day, but a few rules of thumb can help us predict when a foggy landscape opportunity is more likely to happen.
Fog is basically a cloud on the ground. It forms when water vapor condenses around microscopic particles such as salt, dust, or smoke. Fog is thicker than mist and often forms when warm, moist air passes over a cooler surface.
Ideal times of day for a foggy landscape will occur more often in the early morning hours. The fog dissipates once the air heats up to a certain point, which is why morning traffic concerns over fog are over later in the morning when the sun heats up more.
You’re also much more likely to see a foggy landscape in Spring and Autumn than during Summer or Winter months. Weather conditions of the day before might set up the possible foggy conditions of the next day.
The National Weather Service YouTube channel has an informative video covering some basic science about fog. Have a look:
You can learn to predict favorable conditions for a foggy landscape. The morning after a cold front is ideal for looking for fog. Rain the day before means the ground is wet and cool. Wind speeds are typically lower behind a front, and the sky is usually clear. Air temperatures are also lower. Get out your camera!
Foggy Landscape Camera Location
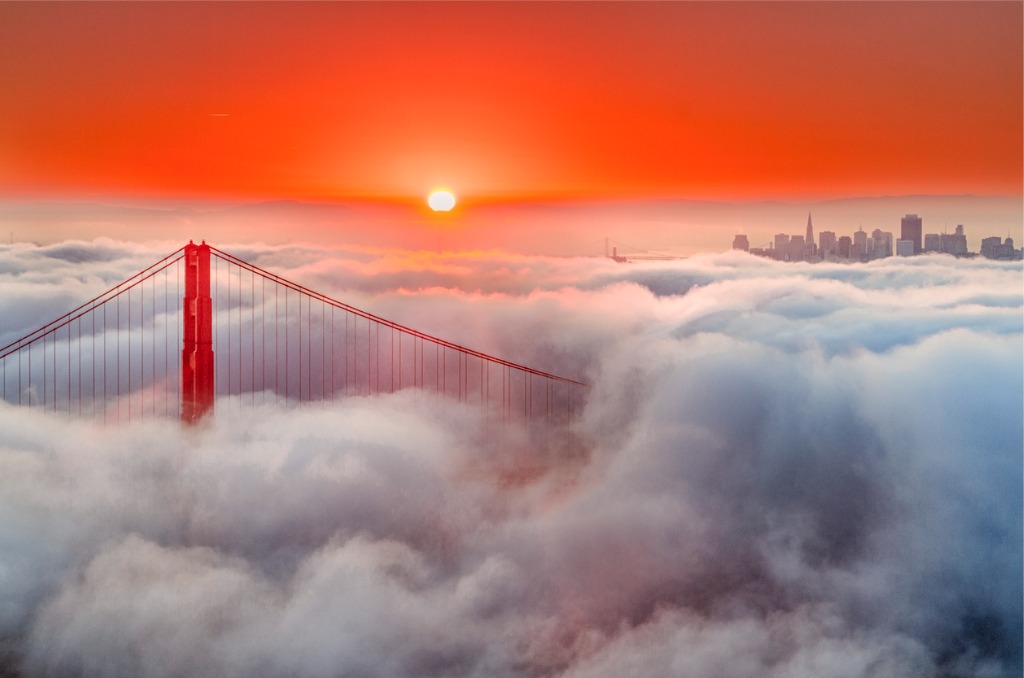
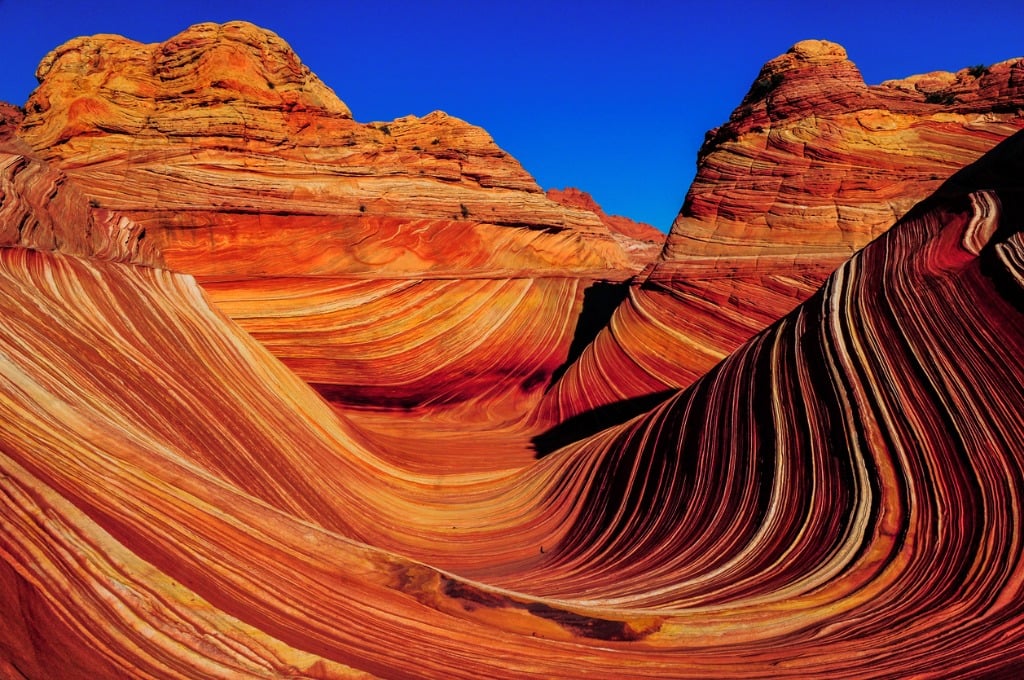
Photo by Spondylotithesis via iStock
Camera location for a foggy landscape image begins with your area. Though fog forms in cities, grassy or tree-covered valleys or low-lying areas are fog magnets. So are locations with water nearby, such as a lakefront or near the ocean.
After being in an area for a while, you get a good idea of what areas are more prone to producing a foggy landscape opportunity. If you’re traveling to another place, a web search of weather patterns can yield lots of information. Including the word “fog” in your search parameters is a good tip.
Another consideration of camera location for capturing a foggy landscape photograph is where the sun is in relation to the camera position, though the difference can be subtle at times. The fog can appear different when the sun is behind you vs shooting into the direction of the sun. Sidelight creates yet another different appearance.
One of the things you often see about lighting conditions for a foggy landscape is that the light can be very diffuse when actually in a foggy area. Even if it seems like you’re shooting down into a foggy landscape, your camera location could still be inside a bit of the fog, diffusing the light (and the focus).
Take Control of Camera Settings
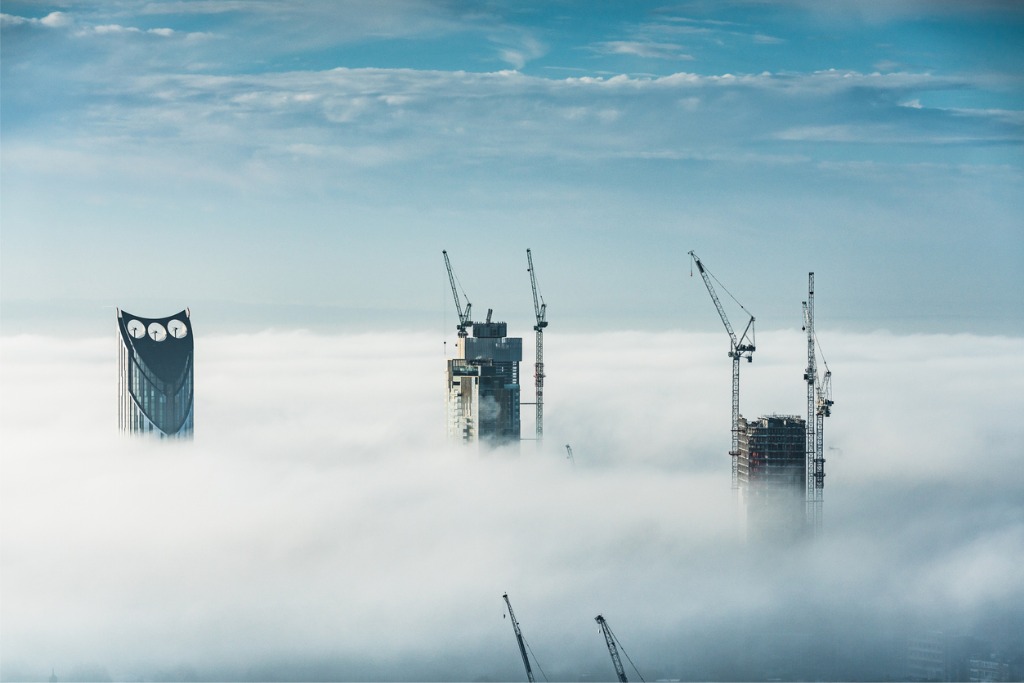
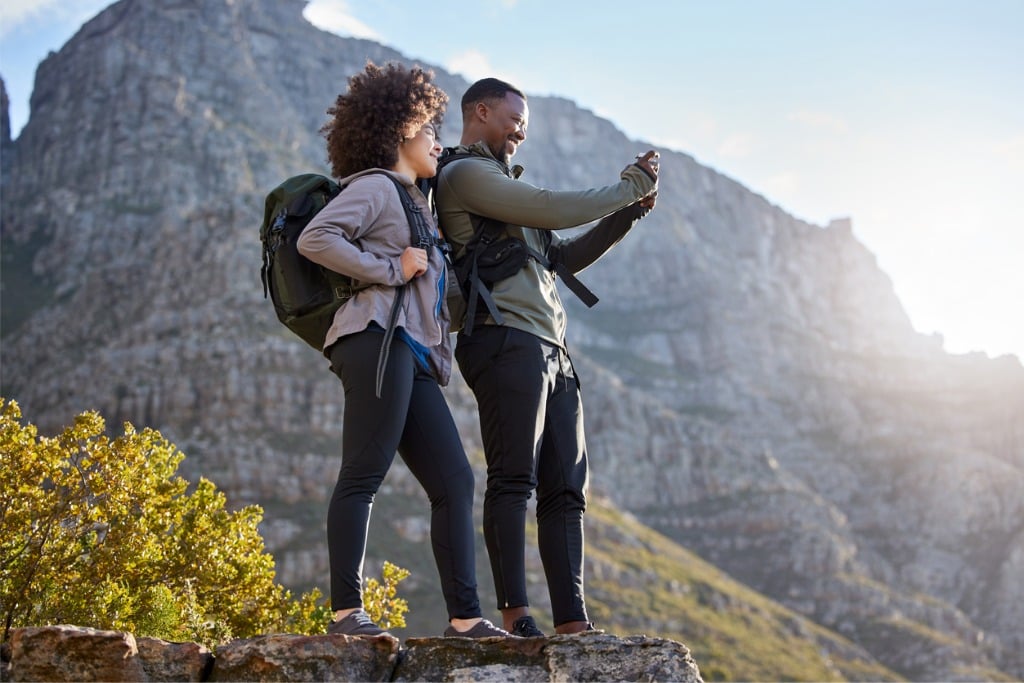
Photo by mbbirdy via iStock
With all of the diffusing and lower contrast that shows up when photographing a foggy landscape, some of the fully automatic controls may need to be adjusted yourself. Autofocus is especially affected by fog, so focusing manually is preferred.
It’s also good practice to take control of the exposure settings. A moderate lens aperture is advantageous for increasing depth of field which can also assist with focus issues. A dense fog is naturally diffusing optically, so you usually have a fairly minimalist composition with a selective focus effect.
Shutter speeds can affect the appearance of the foggy landscape in the final image. If there’s any wind, the fog will move slightly. A fast shutter speed shows more of the fog itself, while a longer shutter speed creates a silky smooth effect. Either way can look amazing in a final printed image.
Displaying a Foggy Landscape Image
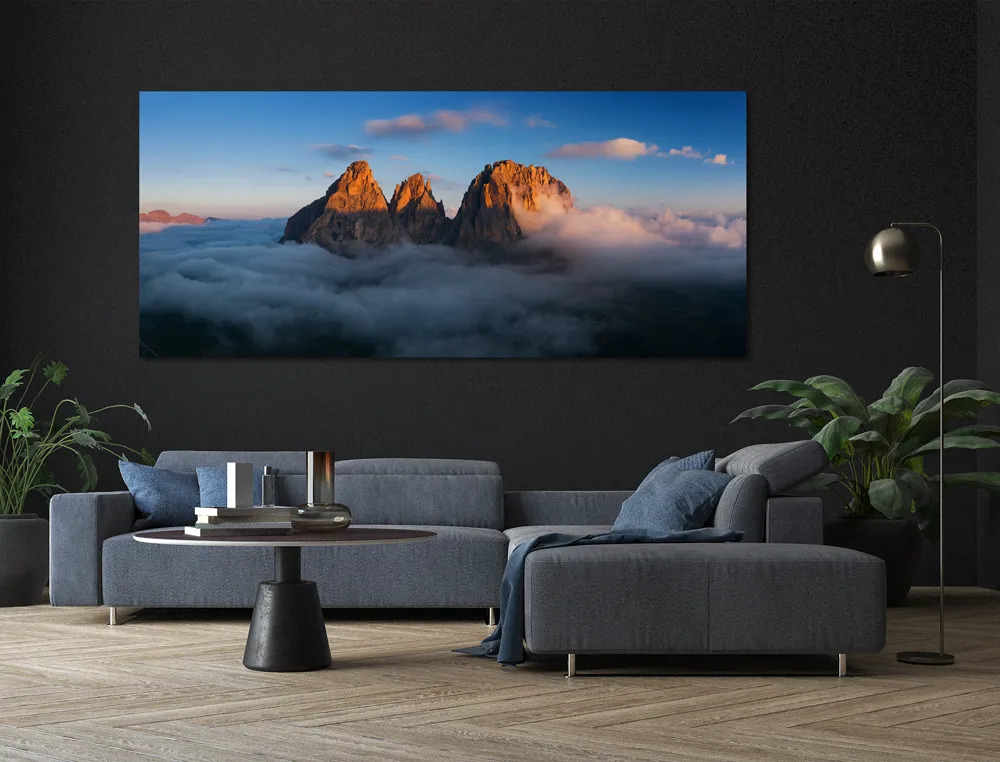
Now we’re at the point where we want to print and display our foggy landscape photography. What type or style of printing looks best for a foggy landscape image?
I find that two processes that end up with a textured finish will really accentuate a foggy mountain landscape or whatever other foggy landscape image you have: Canvas Prints and Velvet Fine Art Paper Prints. Both of these are available from the premium printing company Pure Art Printer.
We have several articles extolling the virtues of printing on canvas, so let’s look a little closer at the Velvet Fine Art Paper Prints from Pure Art Printer. These prints have a non-glare finish, being the very definition of a matte finish. It’s 310gsm bright white 100% cotton fiber fine art paper that is acid-free, lignin free, and has an archival rating of 100 years.
These papers have excellent color fidelity and a huge ink load threshold, whether in black and white or in color. Basically, if you can take it and then process it, this paper will show it perfectly.
Thus, a Velvet Fine Art paper print enlargement is one of the mediums for displaying your foggy landscape photography. Pure Art Printer has a fine reputation for printing excellence and also has outstanding customer service, so you'll be pleased all the way around, as I have been.
From start to finish, you can take total control of your foggy landscape photography opportunities to create a lasting and beautiful final image.