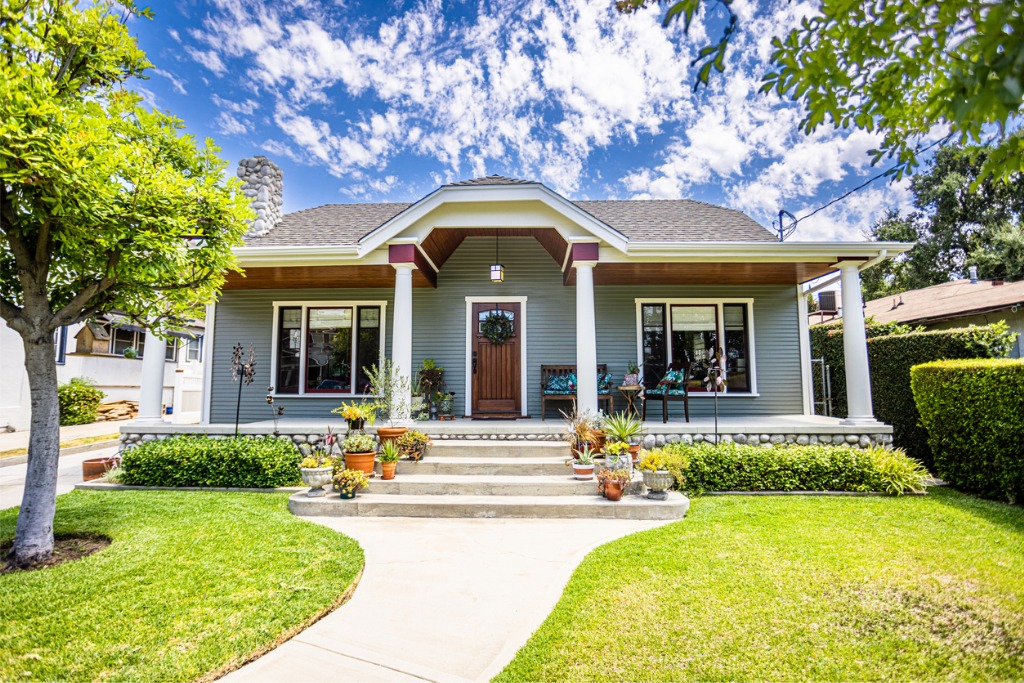
5 Tips for Gorgeous Real Estate Photos
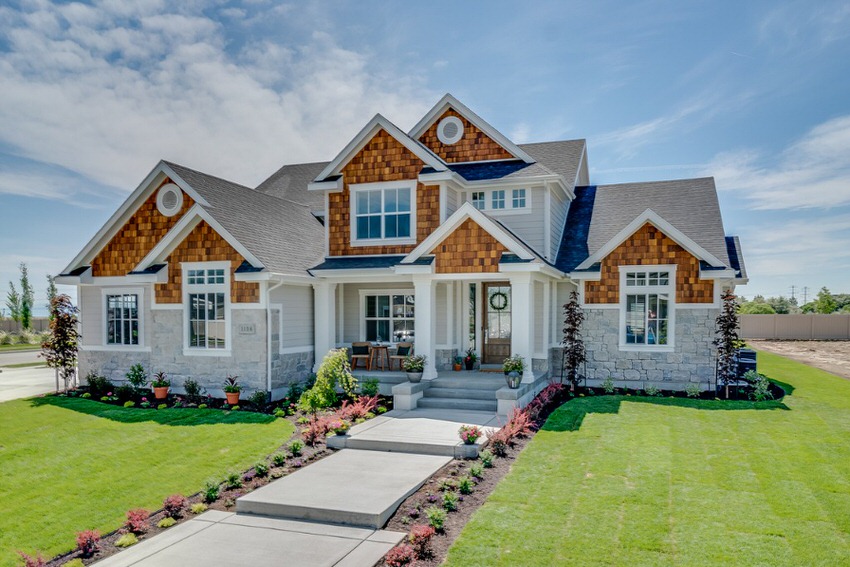
photo by PC Photography via iStock
Good real estate photos can be taken with just about any type of camera, but if you want to shoot gorgeous real estate photos, here are a few useful tips for real estate photographers.
You want to be able to present the best images to your realtor clients for their listings and you also want to have a reasonable workflow. These tips will help you do just that.
Streamline Your Workflow
photo by Tom Merton via iStock
In fact, making sure sure your workflow is streamlined while still offering the highest quality available is one of the most important real estate photography tips for anyone trying to break into this profitable and enjoyable business niche.
You want to streamline your workflow because you will be taking and processing a fair amount of images. All of this takes time, from setting up your shots to processing multiple batches. While wanting to save time in order to maximize your profitability, you don’t want to sacrifice quality.
photo by buzbuzzer via iStock
The product you’re imaging is a big ticket item, a really big ticket item. The listings can make the difference in multiple thousands of dollars of final prices of the properties, so we want to present the best real estate photos we can while not putting ourselves into a hole with doing too much work for them.
Streamlining a workflow involves the shooting, perhaps standardizing on just one or two lenses, having a general shot list you can adapt to most properties, and a way to keep track of rooms and exposures so nothing important is missed.
Streamlining also involves post processing, making sure we’re developing and correcting as needed without spending hours behind our keyboards. Which brings us to the next of our real estate photography tips.
Bracket and Merge
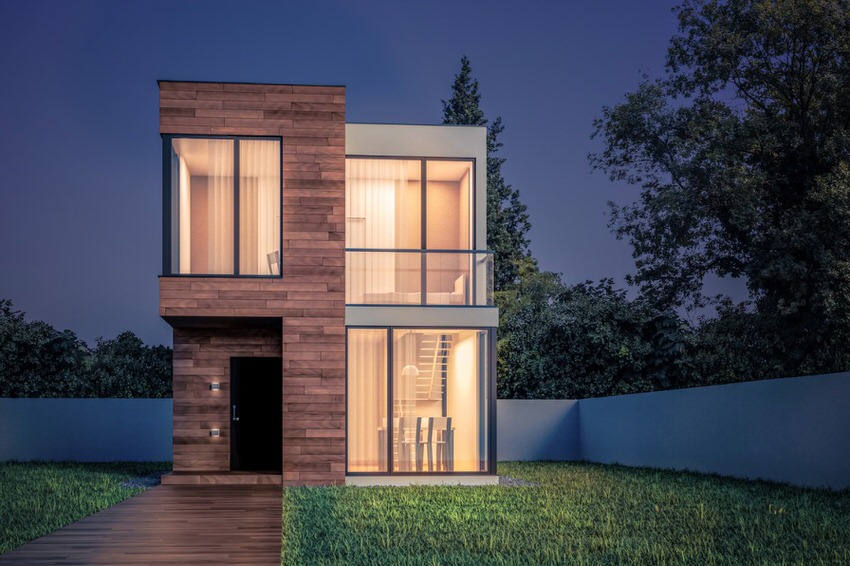
photo by Svetlana Mokrova via iStock
More often than not, one of the major differences between good enough and gorgeous real estate photos is HDR photography. HDR, or high dynamic range photography, is the process of taking multiple images at slightly different exposure levels and merging, or blending, them into one composite image that shows detail in shadow, midrange, and highlight areas.
What makes HDR work so well with real estate photos is that taking pictures of houses involves a lot of exposure values. An interior view of a living room will have deep shadows in a corner, midtones along the walls, and perhaps a view of the bright highlights outside through a window. Bracketing and merging allows all of these values to exist together without highlights being blown out or shadows being blocked up.
We just talked about simplifying our workflow, though. It may seem that all the extra exposures and processing would cause more work, but it doesn’t. It actually makes it easier to get great images, especially if we use one of the fine HDR merge programs that are currently available, as this tutorial shows.
You can also find lots of video tutorials online about HDR merging, such as this one which is part of a larger series about making gorgeous real estate photos.
Learn More:
Manual Focus and Exposure Settings

photo by Savushkin via iStock
In order to capture image files that will work well with HDR merging, we will need to take control of our imaging devices - the camera and lens. Even though our modern digital cameras have superb metering and focusing capabilities, setting things manually is going to work out better for most real estate photos.
Manual exposure is preferred for the bracket and merge method of HDR photography. This way, we can stay in control of the settings we need to stay the same, such as lens aperture for depth of field. It’s better to let the shutter speed vary instead of the lens aperture so that our carefully figured depth of focus isn’t affected by the bracketing.
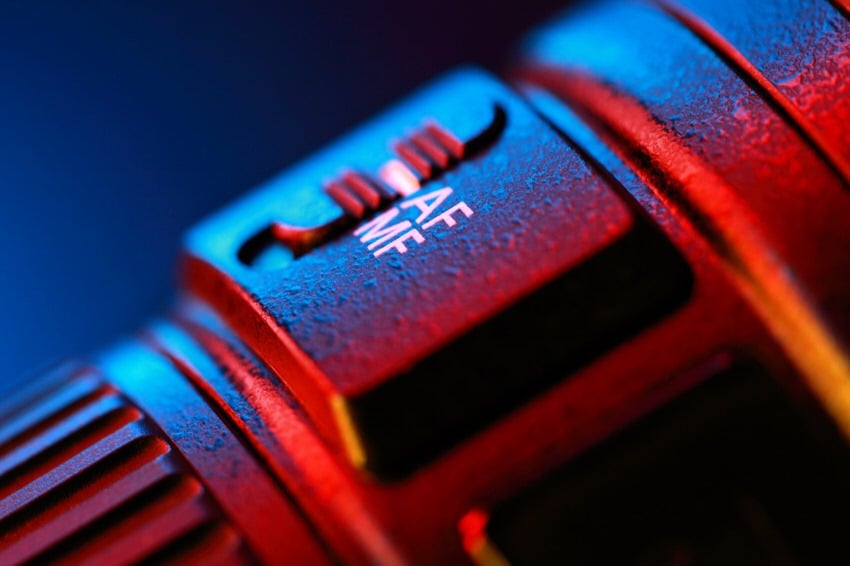
photo by Savushkin via iStock
Manual focus is better when bracketing and merging since we can set the focus based on the aperture and depth of field we want and not have to worry about it changing between exposures. In auto AF modes, the focus may change slightly or the camera may decide to hunt for focus right as we’re trying to make our exposure.
You will set your camera for continuous shots and then set the bracketing control for at least 3 different exposures, though with many cameras you may choose 5, 7, or 9 shots, too. Taking 3 or 5 is pretty common, adjusting exposure by 2 stops if shooting 3 exposures and by 1 or 1.5 stops if shooting 5 exposure brackets. Adjust these real estate photography tips to correspond to your specific camera, post processing program, and imaging style.
Meter a Midtone
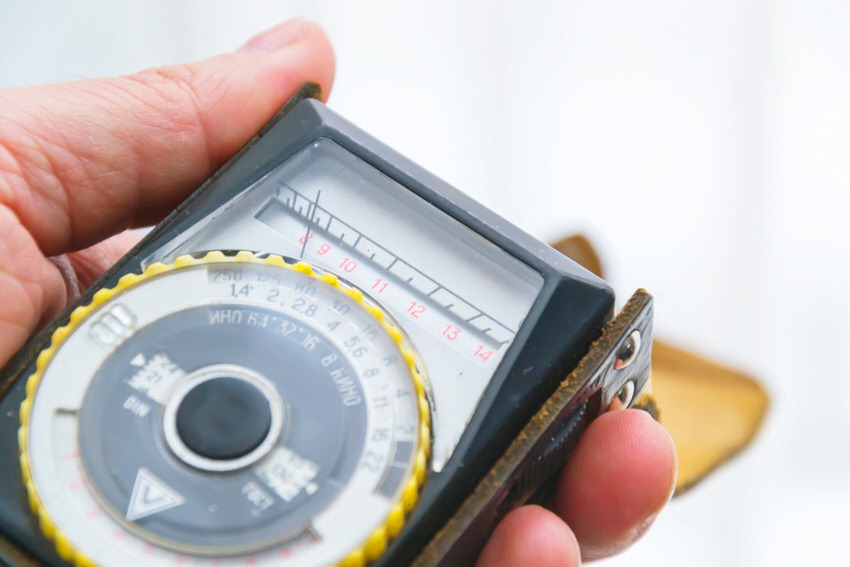
photo by Dugwy via iStock
Even with HDR bracketing and merging, you still need a starting point for exposure. A default of sorts for many tips for real estate photographers is to set your ISO between 320 to 640, the lens aperture at f/8.0 to f/11.0, and the exposure bracket control for 3 shots at +/- 2 stops.
The best results will come if you base your 0 exposure on a midtone. Meter a brick or stucco wall outside. If those walls are extremely bright or dark colored, meter the grass receiving the same sunlight as the walls. Exterior walls, by the way, not the entryway or patio walls which are likely going to be in significant shadow.
When metering for a midtone inside, choose a well lit wall with a neutral color for best results. If there are not neutral color walls, meter off of tile or carpet receiving the same light as the walls. If nothing is a neutral color inside or outside, set up a gray card in the same light and meter from it.
This will get you the shutter speed to complete your exposure triangle for your initial image file of the bracketed set. You could use your camera meter, but a cheap handheld meter will simplify your workflow. You can find many excellent handheld meters on the used market.
And the Rest…

photo by Wavebreakmedia via iStock
The rest of our tips for gorgeous real estate photos are to choose a wide angle lens for most shots. Wider than the widest of our kit lenses. If using APS-C, a lens in the 10mm to 12mm is very usable, so a 10-20mm zoom is an option. For Full Frame format, a lens in the 14mm to 17mm focal length is good, so a zoom like a 14-24mm or 17-35mm will work.
A tripod is a vital accessory for real estate photography, especially if making use of HDR photography or shooting with a very slow shutter speed. Since we want stability between exposures, one of the heavier duty tripods may be preferred. A large, heavy duty, carbon fiber tripod provides extreme stability with lighter weight and better dampening than metal tripods.
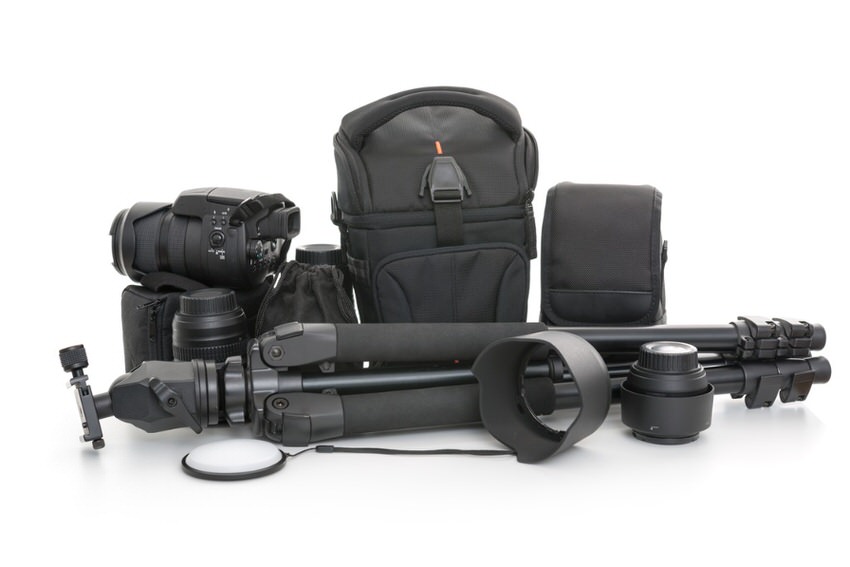
photo by dem10 via iStock
Keeping the camera level will eliminate extra processing work. An ultra wide lens can make straight lines look unusual if the camera and lens is not leveled properly. A simple shoe mounted spirit level will accomplish the task for you.
Following these starter tips for real estate photographers will get you going in a way where you can supply superior images for your realtor clients.
Learn More: