Post-Processing Tips for Real Estate Photography
- Composition Tips for Photographing Real Estate Interiors
- Real Estate Photography Tip: How to Photograph Living Spaces
- Best Camera Settings for Real Estate Photography Interiors
- A How-To Guide for Photographing Bathrooms
- How to Improve Real Estate Photography: Pay Attention to Details
- Home Staging Tips for Real Estate Photography

photo by bogdankosanovic via iStock
Preparing top-notch real estate photos doesn’t end when you press the shutter button. Instead, there is work to be done in post-processing to create images that have maximum appeal.
Processing images can be a little daunting if you don’t have much of a background in photography. But the value of learning a few basic post-processing tips is undeniable.
In this tutorial, you’ll learn three crucial post-processing tips that will help you elevate the quality of your real estate photos.
Editing Real Estate Photos: Pay Close Attention to Color Temperature
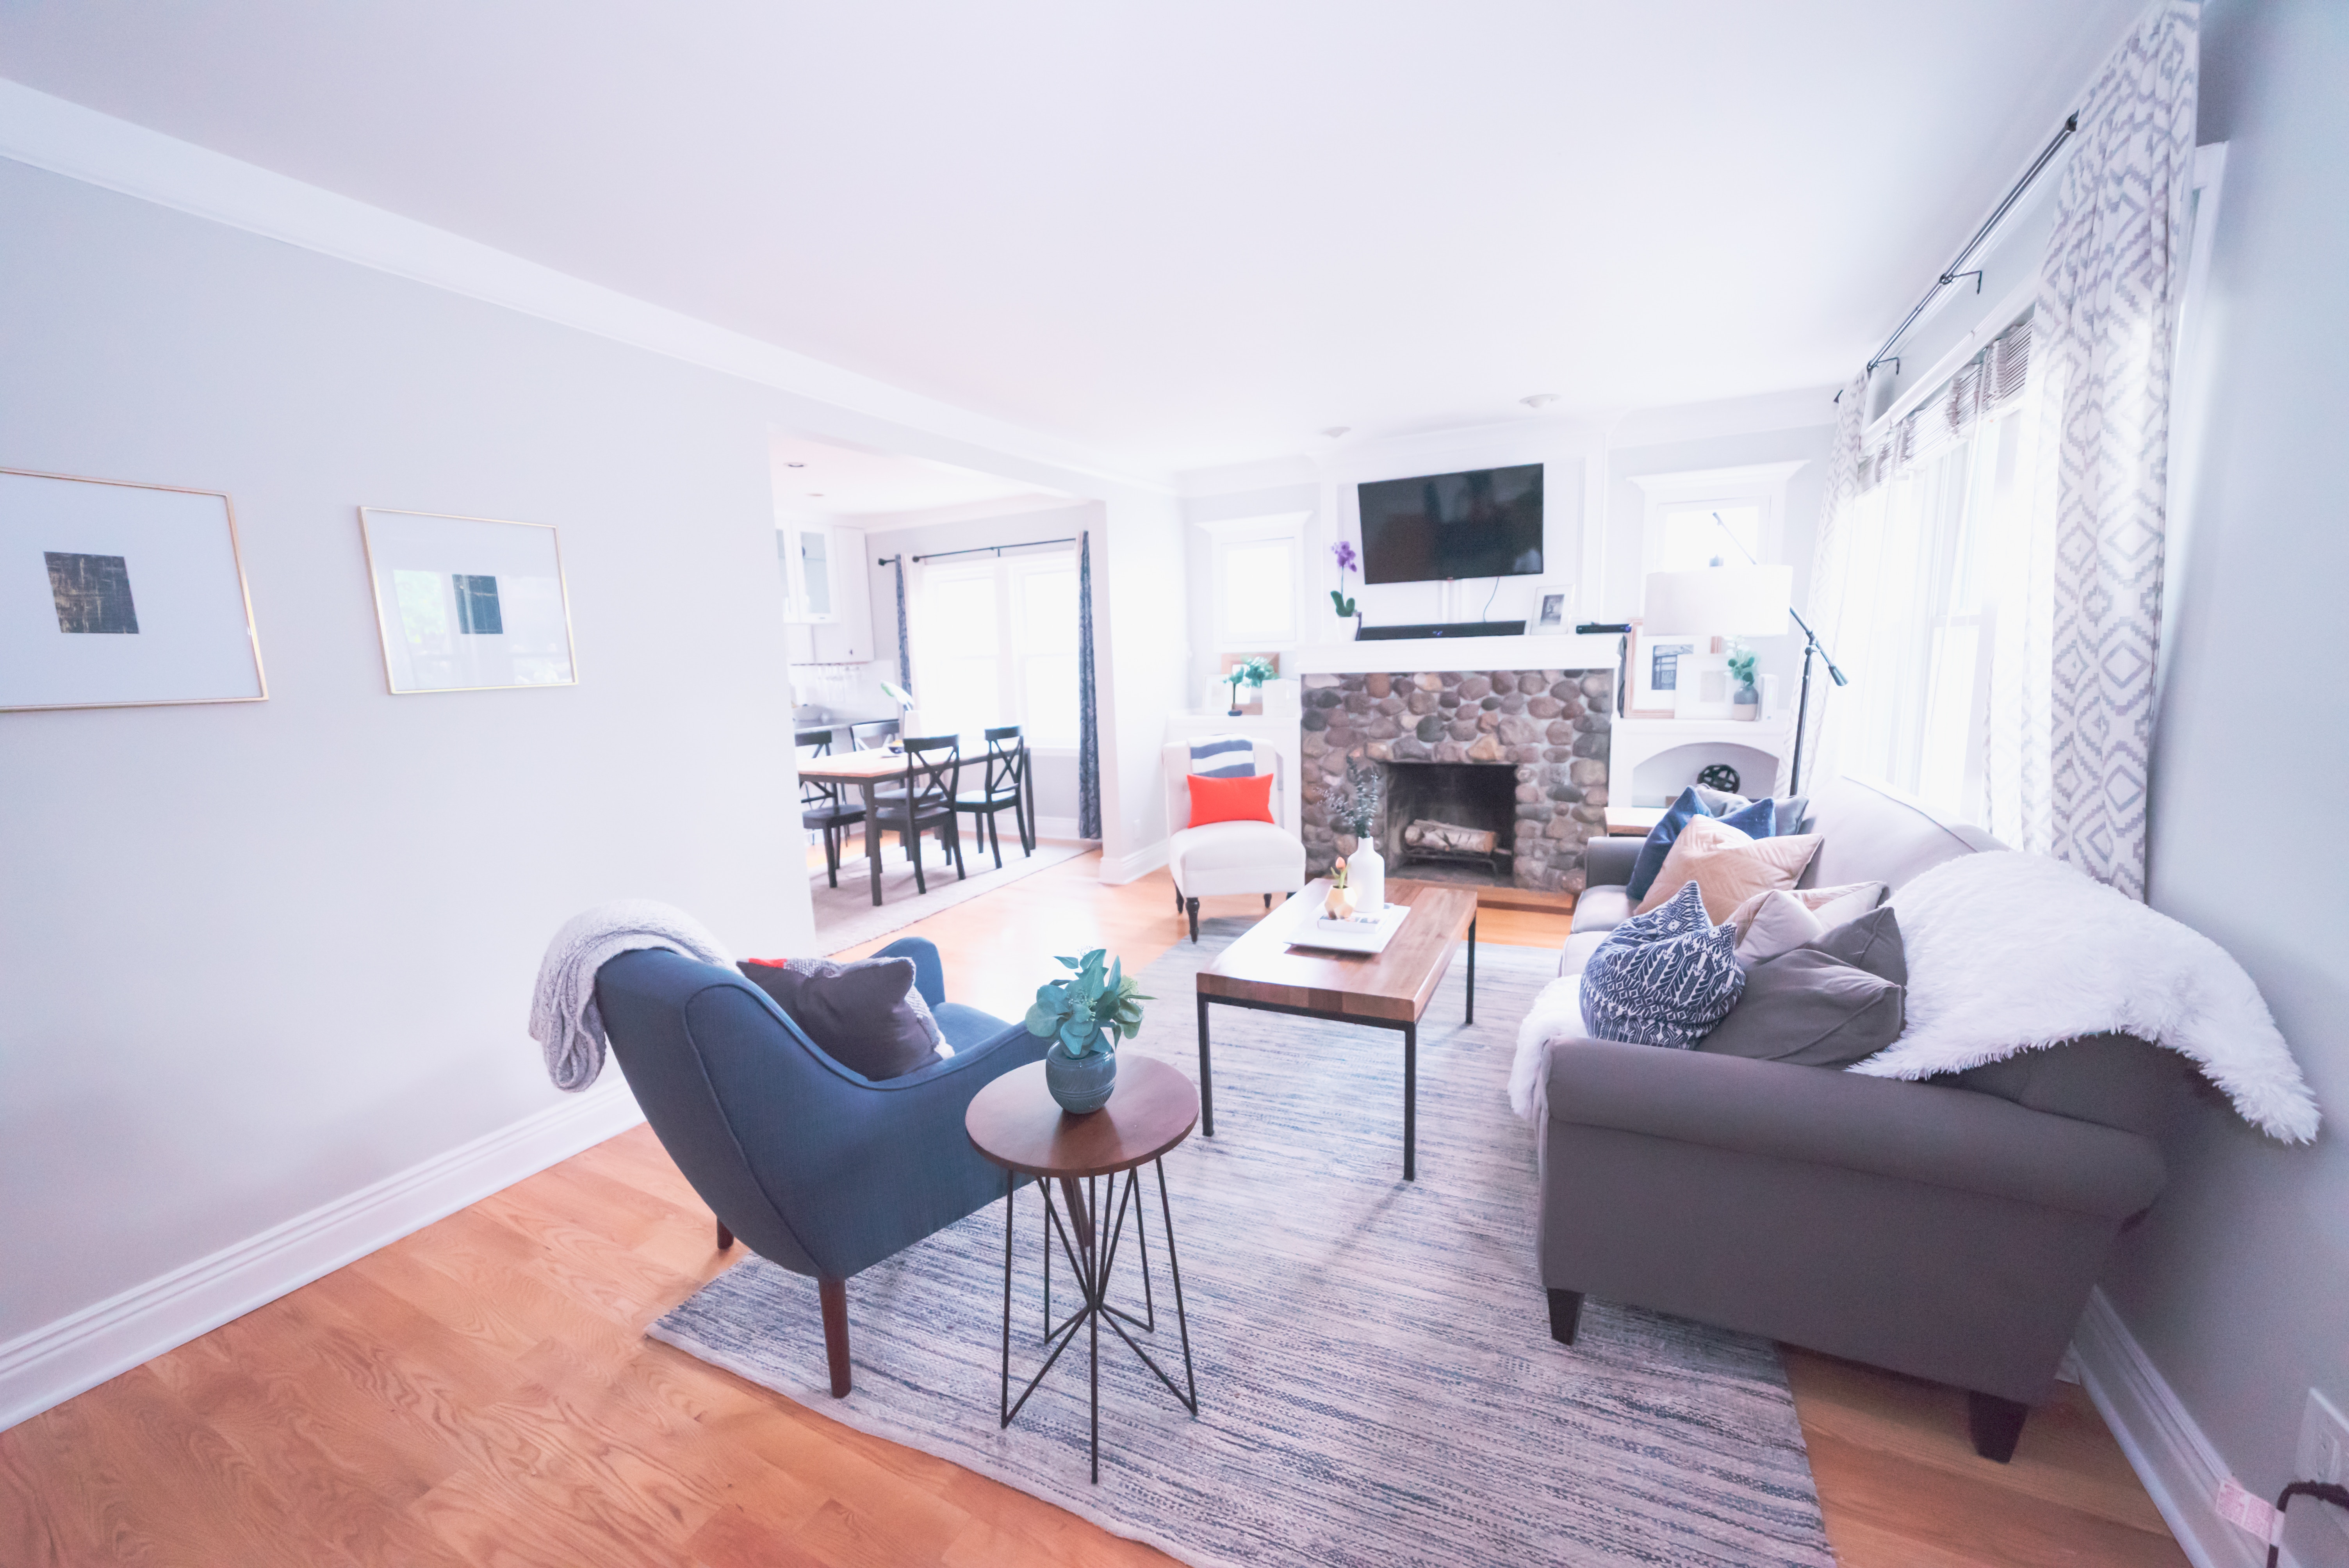
Photo by Andrew Barrowman on Unsplash
As you edit your interior photos of properties, you might notice color temperature variations from one room to the next.
The color temperature of the images you take depends on the available lighting.
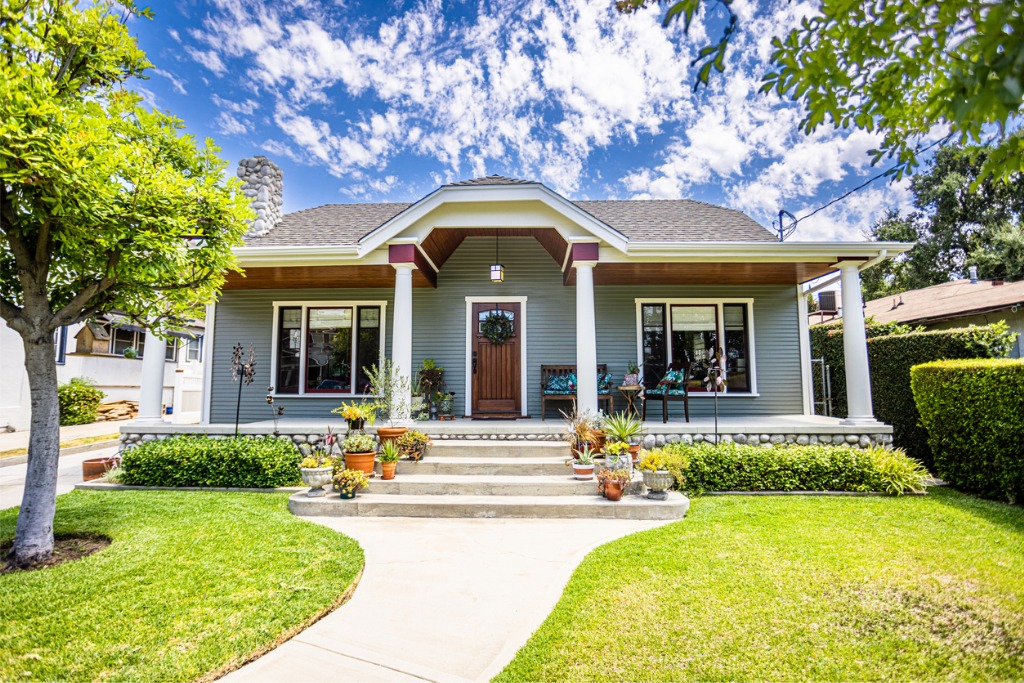
For instance, a living room with many windows that’s photographed at midday might have a cool color temperature because midday sunlight is quite cool.

photo by Bulgac via iStock
However, artificial lighting can be quite warm, so a room with few or no windows might photograph with a yellowish hue.
As a potential buyer surveys the images of the home, it can be a little jarring for the color temperature to change from image to image.
As a result, ensure that you keep an eye on the color temperature and make needed adjustments so it is consistent throughout the collection of images.
If you utilize Photoshop, making these adjustments is easy by applying a filter. Simply copy the background layer (CMD/CTRL J) and then go to Layer > New Adjustment Layer > Photo Filter.
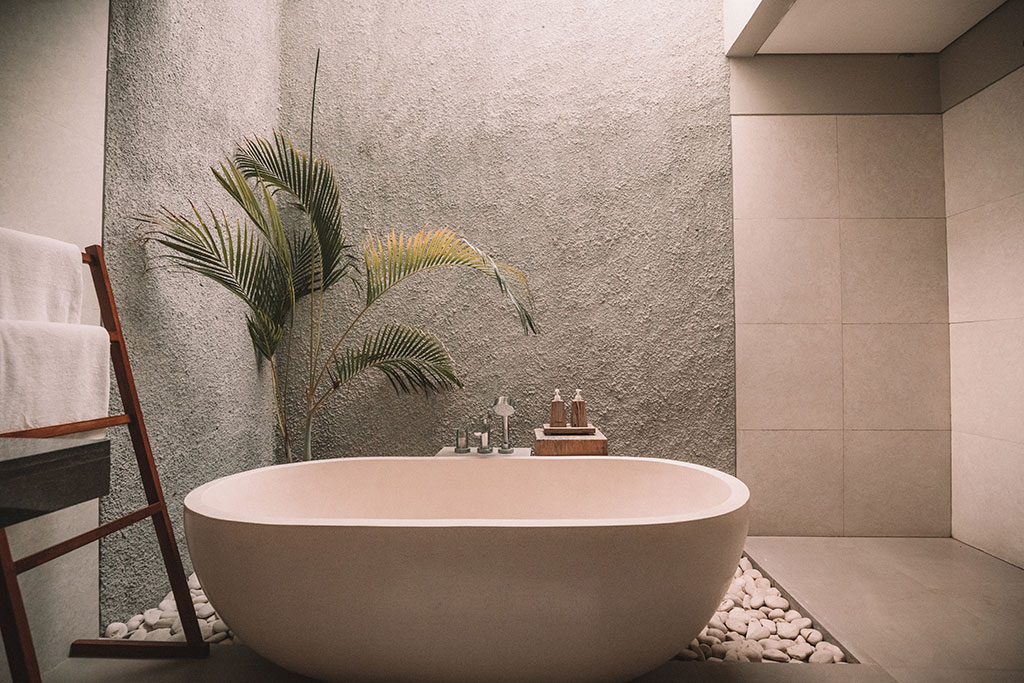
Without a color temperature adjustment.
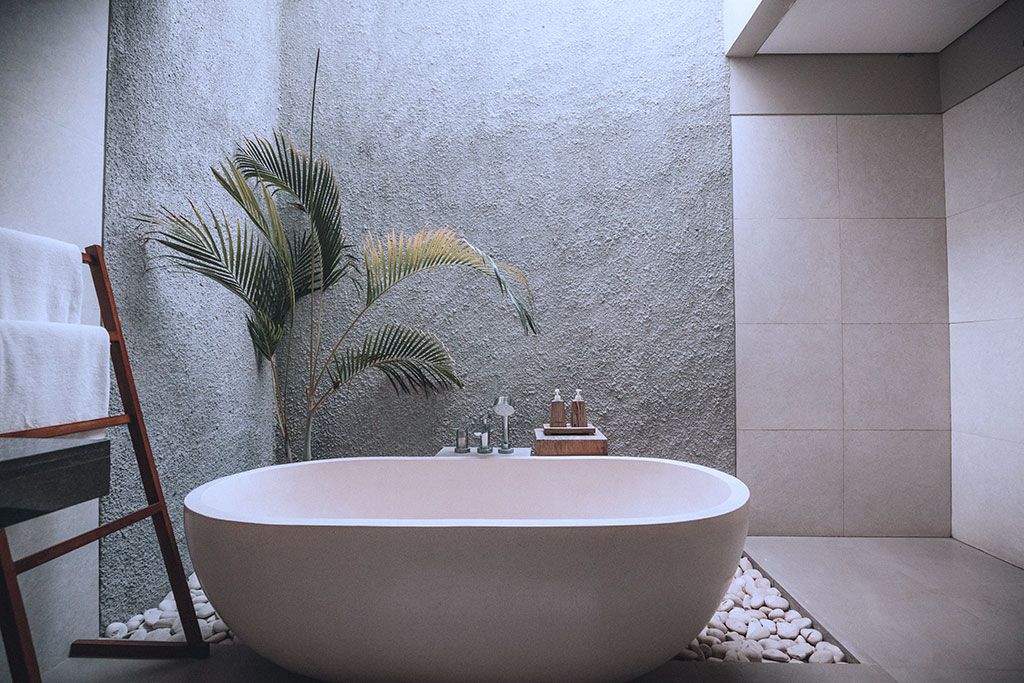
With a color temperature adjustment.
In the ensuing menu, you can select from a variety of preset warming and cooling filters and adjust their density to get the desired color temperature in the photo.
In the “after” image shown above, the Cooling Filter #82 was applied in Photoshop with a density of 25 percent.
The goal here is to ensure that images are color neutral, with whites that appear to be white. Doing so will give your photos the consistency they need to have the best impression on buyers.
Quick Tip: You can also make color adjustments by accessing the Color Balance controls. Choose Layer > New Adjustment Layer > Color Balance and adjust the sliders accordingly. Using this tool gives you more control over color for shadows, midtones, and highlights, but is also more time-intensive.
Learn More:
>
Post-Processing Tip: Merge Bracketed Exposures for the Best Results

As we discussed in an earlier article on real estate photography gear, if you rely on the process of bracketing exposures (like above), you don’t need artificial lighting gear.
Not only is this approach advantageous from a budget perspective, but it’s also a time-saver. On the one hand, you don’t have to carry around and set up lighting equipment while on the other hand you can make faster work of processing your images.
As demonstrated in the video above, the process of merging bracketed exposures is quite simple.
In this case, specialized HDR software was used to create an image that is well-exposed throughout. Additionally, the software automatically aligns the source images, reduces noise, and allows you to crop, sharpen, and straighten the image (more on that in a bit).
Quick Tip: Some HDR programs offer the option of batch processing, too, which helps you make even quicker work of processing your images.
Learn More:
Processing Real Estate Images: Keep It Natural
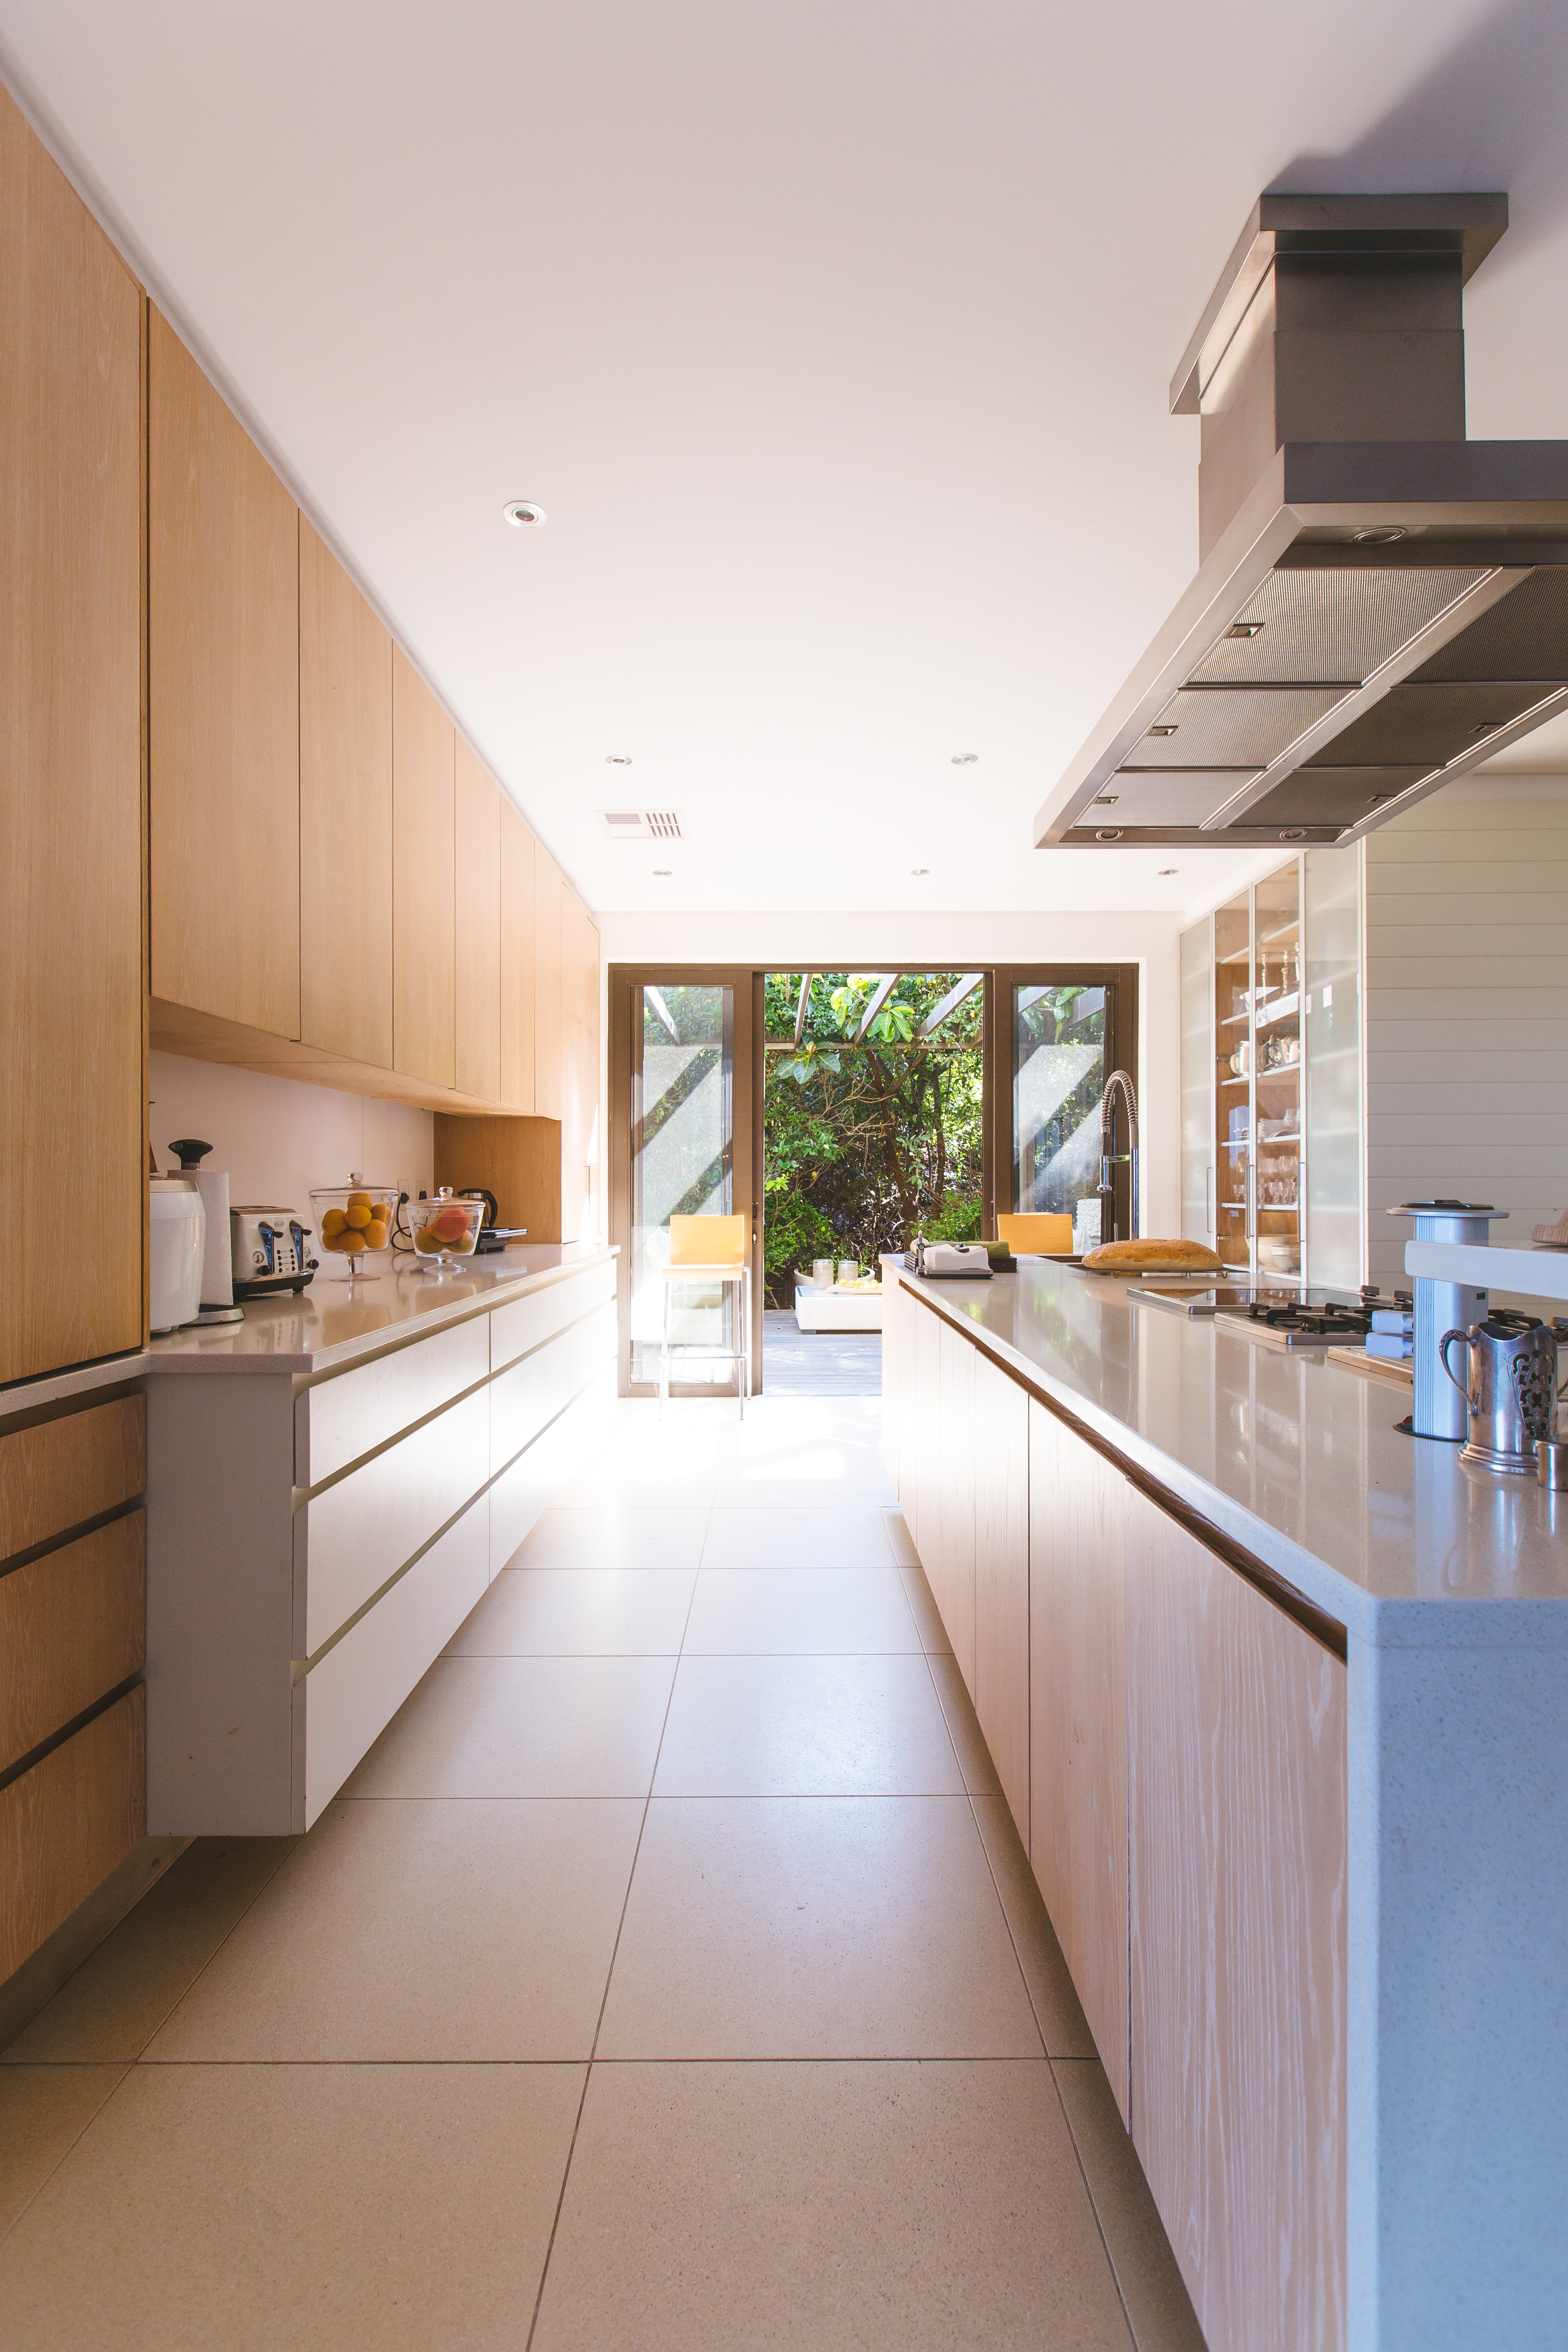
Photo by Jason Briscoe on Unsplash
When photographing real estate, strive to keep the images looking as natural as possible.
Part of that endeavor is the processes outlined above for correcting color and getting well-exposed images using an HDR technique.
In addition to that, you’ll get more natural-looking images if you straighten lines.
Whether lines appear bent due to the angle from which you took the photo or they’re bent due to lens distortion, the end result is that bent lines will be a distraction to potential buyers.
This is the last thing you want, as your real estate photos are intended to intrigue buyers and highlight the home’s best features. Notice in the image below how the vertical and horizontal lines are perfectly straight, just as they should be.
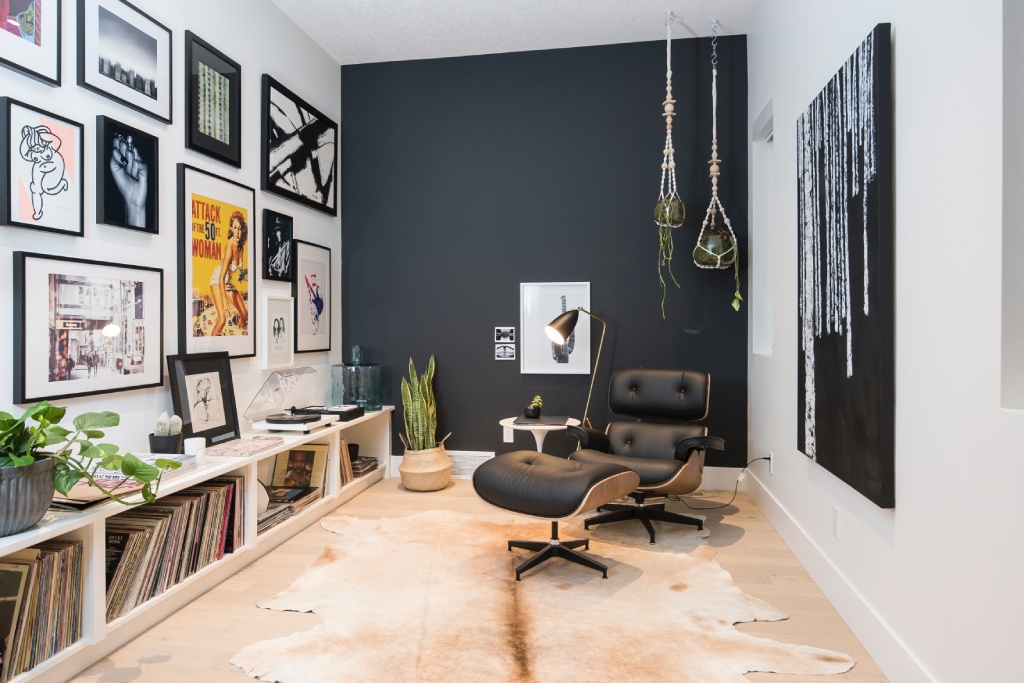
Photo by Jose Soriano on Unsplash
There are many different ways to straighten lines - using lens correction tools in Photoshop, the free transform tool in Lightroom, or using the straightening feature in programs like Photomatix Pro.
No matter which approach you take, having straight vertical and horizontal lines will make the photos you take look natural, which will help prospective buyers see the potential in the home.
Quick Tip: Minimize distortion and bent lines from the start by ensuring that your camera is level to the ground. Use your camera’s virtual horizon or the bubble level on your tripod to ensure the camera is perfectly level.