
Automotive Photography Tips
- How to prep a car for photography
- Equipment needed
- Automotive photography tips about camera settings
- How to add motion
- Post-processing automotive photography tips
- The Exposure Triangle Explained in Plain English
- Understanding Aperture Priority and Shutter Priority Modes
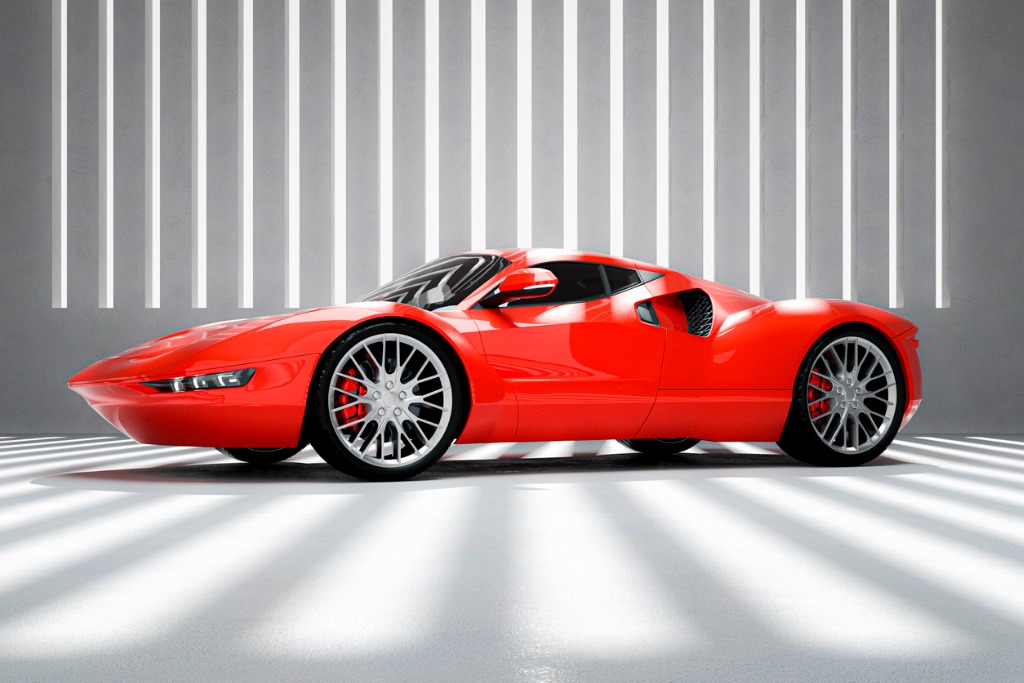
Photo by gremlin via iStock
Car ads, in print, online, and on TV, have evolved into some of the slickest and well-produced images and videos in the world of advertising. Pictures of cars also look great on our own social media pages when done well. Here are a few automotive photography tips that can elevate your own car pictures.
My tips for automotive photography will cover:
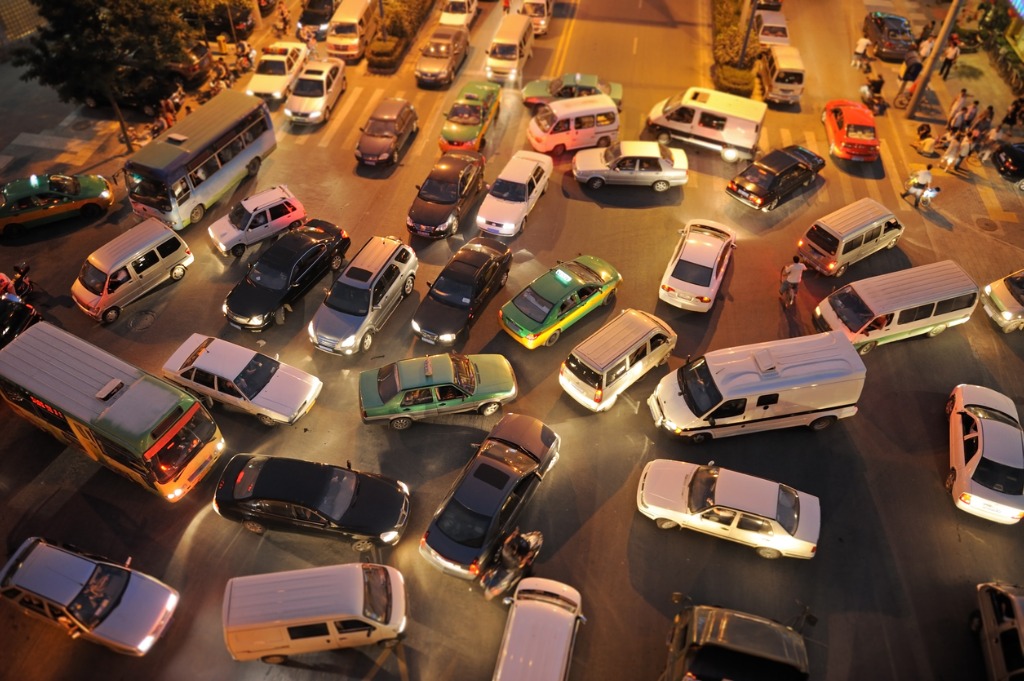
Photo by jacus via iStock
Before we start explaining these automotive photography tips, a few words on safety. Cars, trucks, motorcycles, boats, airplanes, and other large vehicles we try to capture as images are inherently dangerous. They are large, motorized machines which can move suddenly and they also have numerous moving parts within the vehicle such as engines, wheels, and propellers.
If we are on roadways or in parking areas while shooting a vehicle, we also need to guard against other people driving. High visibility clothing and having an assistant being an extra set of eyes can help minimize hazards.
How To Prep a Car for Photography
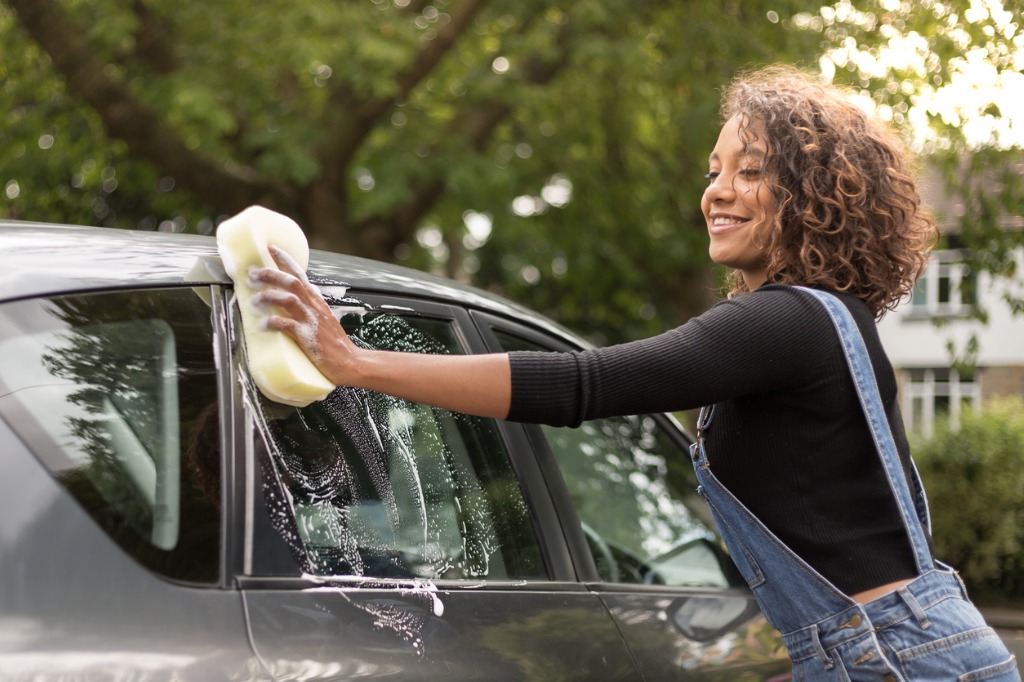
Photo by kelvinjay via iStock
Some reasons we like looking at and taking pictures of cars are that these machines are either interesting, pretty, powerful looking, or a combination of those. So if we’re intending to show the cars at their best, it’s often a good idea to clean up the vehicle.
In fact, one of the more useful automotive photography tips is to have the car, truck, or motorcycle detailed before our photoshoot. Detailing a vehicle involves a deep cleaning with an eye for, you got it, the details.
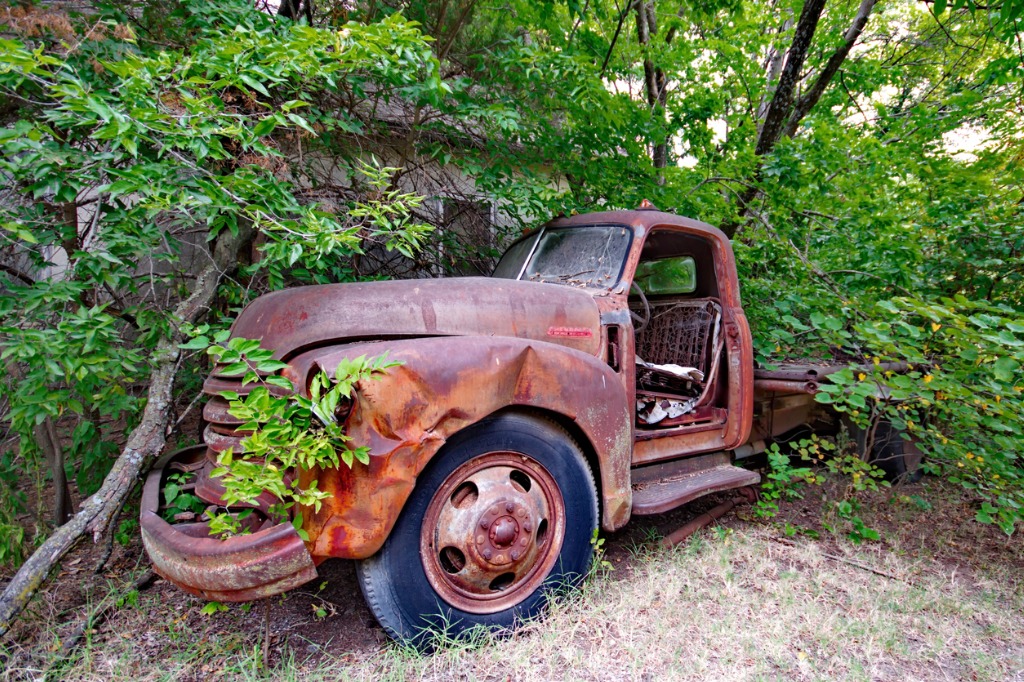
Photo by Stephen Harker via iStock
Unless your intent is to show a different aspect of the vehicle being imaged. Perhaps you’re wanting to emphasize how tough a work truck is, or that the motorcycle is great for off-roading, or perhaps that the old vehicle has almost become a part of the landscape because of its deterioration. All of those situations don’t require a deep cleaning, but you may still end up doing some wiping off of fenders or windshields.
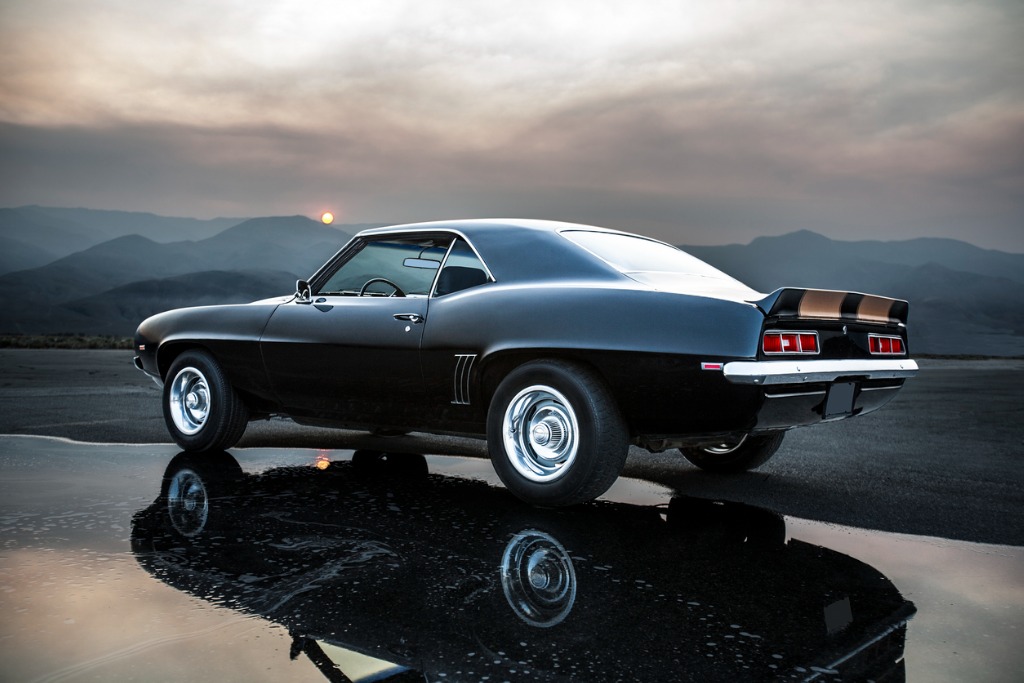
Photo by sierrarat on iStock
Another prep that can add an extra dimension to our automotive photography is the road surface. On public property, we may not have too much control over this, but among the automotive photography tips that may surprise some is to wet down the surface where the vehicle is parked. Wet concrete looks so much better photographically than when dry, and black or dark surfaces such as asphalt gain a sheen which can be used as a reflector of sorts. Wet street night photography can really add some great interest in the final image.
If you’re planning on any motion photography for your vehicle photoshoot, don’t roll up your gear if it rains. As long as you safely do it, capturing a car driving on a wet street can give you some great results.
Equipment Needed
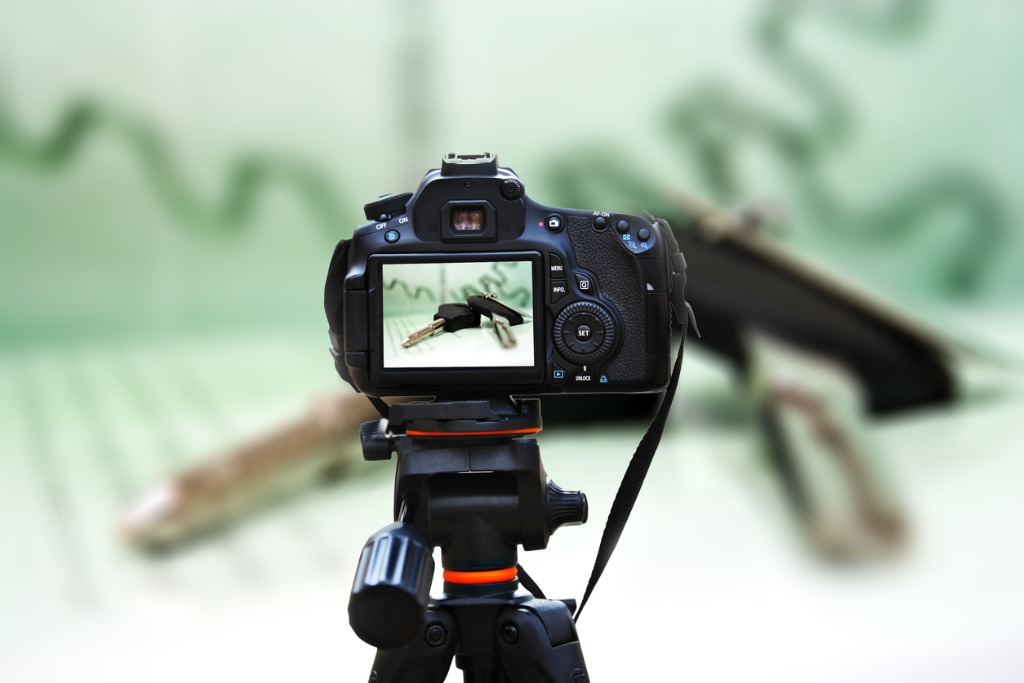
Photo by pixelfusion3d via iStock
So, what automotive photography tips can we give about equipment choices? You need a camera that allows manually adjusting focus and exposure and preferably that records files in a RAW format so you have more to work with during post-processing.
A sharp, fast lens is another preference. Even though the exposure levels may not require a lot of lens speed, having a lens with a fast maximum aperture allows you to stop down to the sweet spot aperture while maintaining a good range of usable shutter speeds.
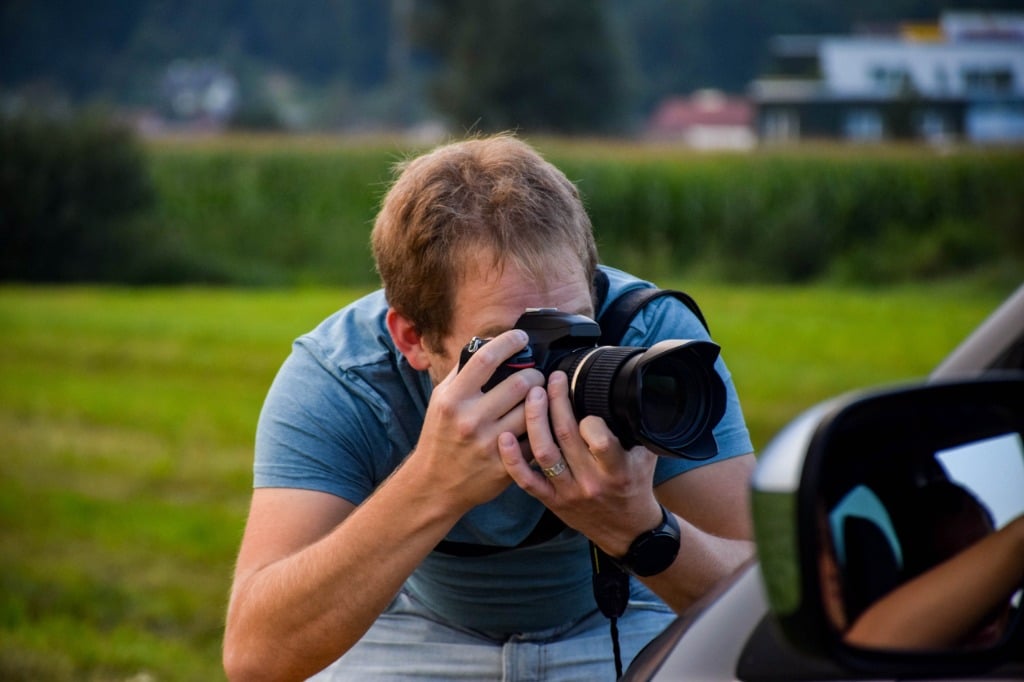
Photo by Pokec via iStock
The sweet spot aperture is preferable for automotive photography since it removes most of the lens aberrations at wide-open apertures but keeps your lens out of the smaller f-stops that can cause image degrading diffraction. So, a fast lens, either prime focal lengths or high-quality zooms will be preferable. Wider angle lenses tend to be a good choice since these allow you to get closer to the subject while keeping most of the subject framed in the shot.
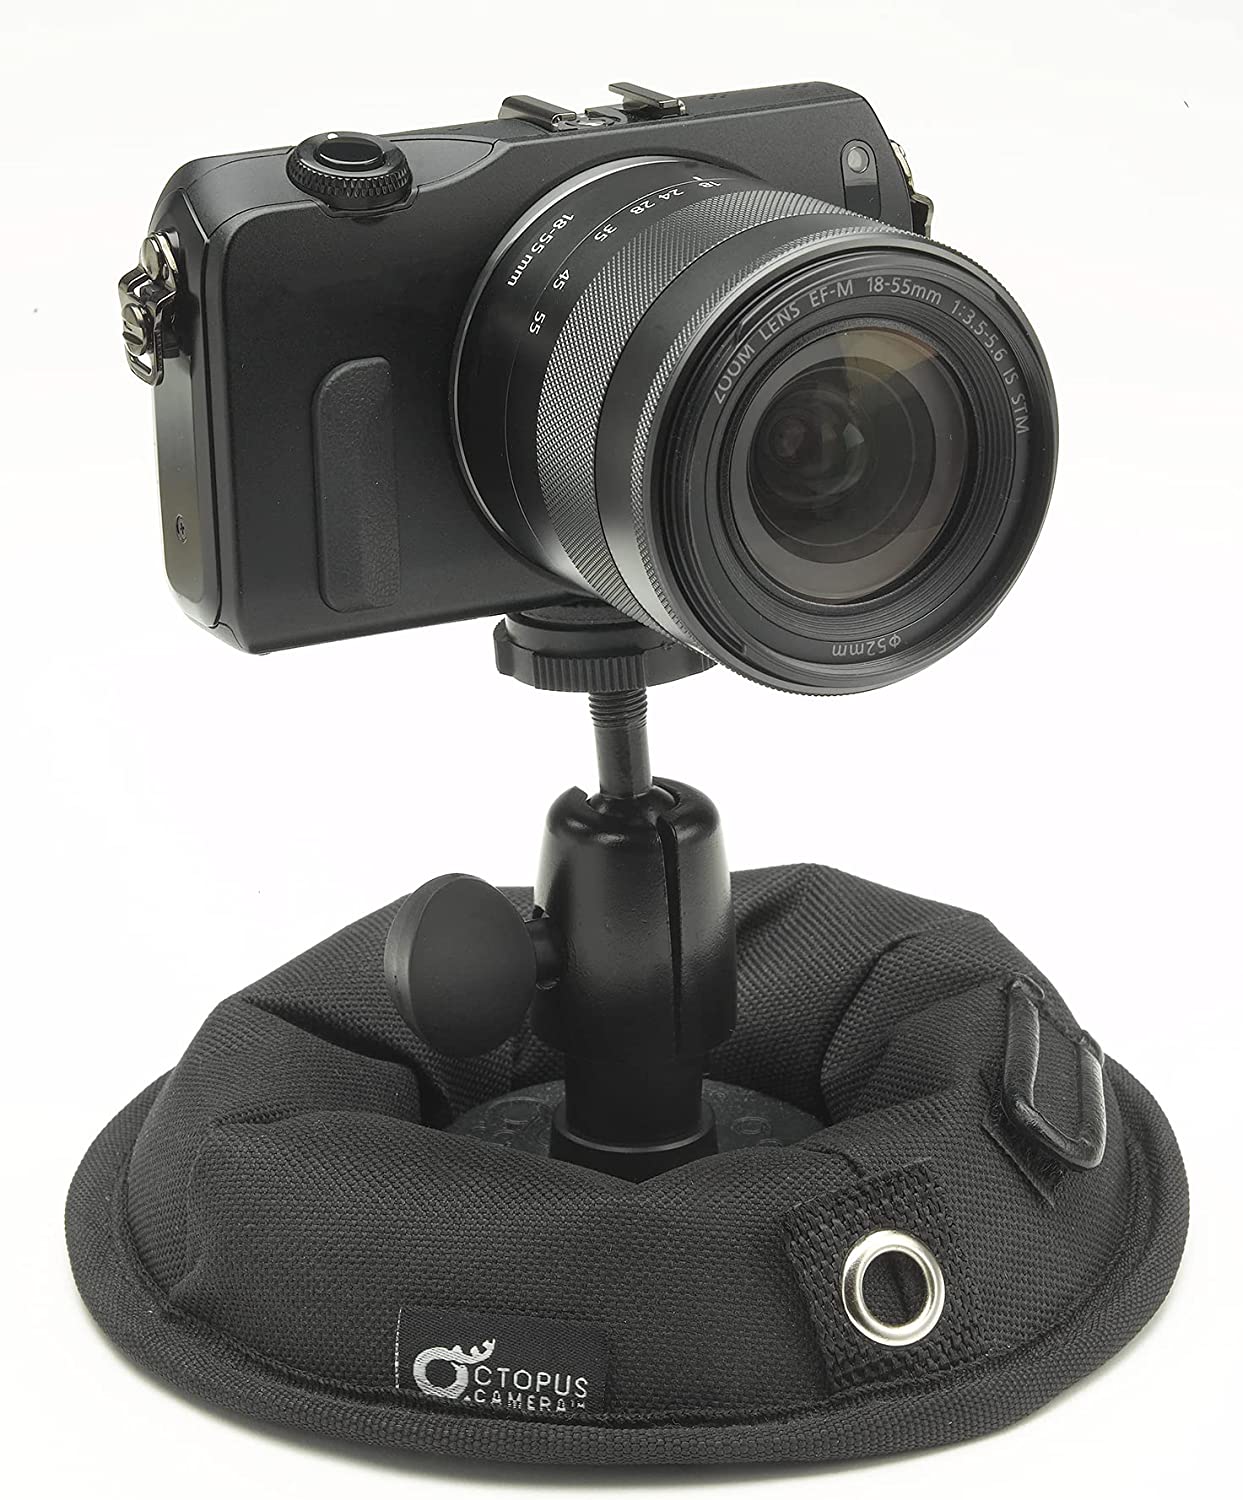
Usually, some sort of camera support is necessary as well. An easy-to-transport tripod or a small tripod alternative like the Octopad can be used for car pictures. As a bonus in our automotive photography tips, adding an LED light or two can be quite useful. Especially since you could also add some interest by changing the color of one of the lights. The Octopad camera mount can also hold your small LED lights.
For motion photography or for any videography, a handheld gimbal or a fluid head can be very useful. You don’t need to be shooting video to get great use out of a fluid video head. Those panning blur motion images can be captured with a good fluid head. It helps keep the subject sharp while doing the long shutter speed panning.
Filters are helpful, too. A circular polarizer (C-POL) filter can be used with those wet surfaces we listed earlier to help control how much of the car reflection we might be able to introduce into the image. Neutral density (ND) filters can give us longer shutter speeds for panning blurs or other motion blurs, and a graduated neutral density (GND) filter can help tame some of the dynamic range issues that come up in automotive photography.
Learn More:
Automotive Photography Tips About Camera Settings
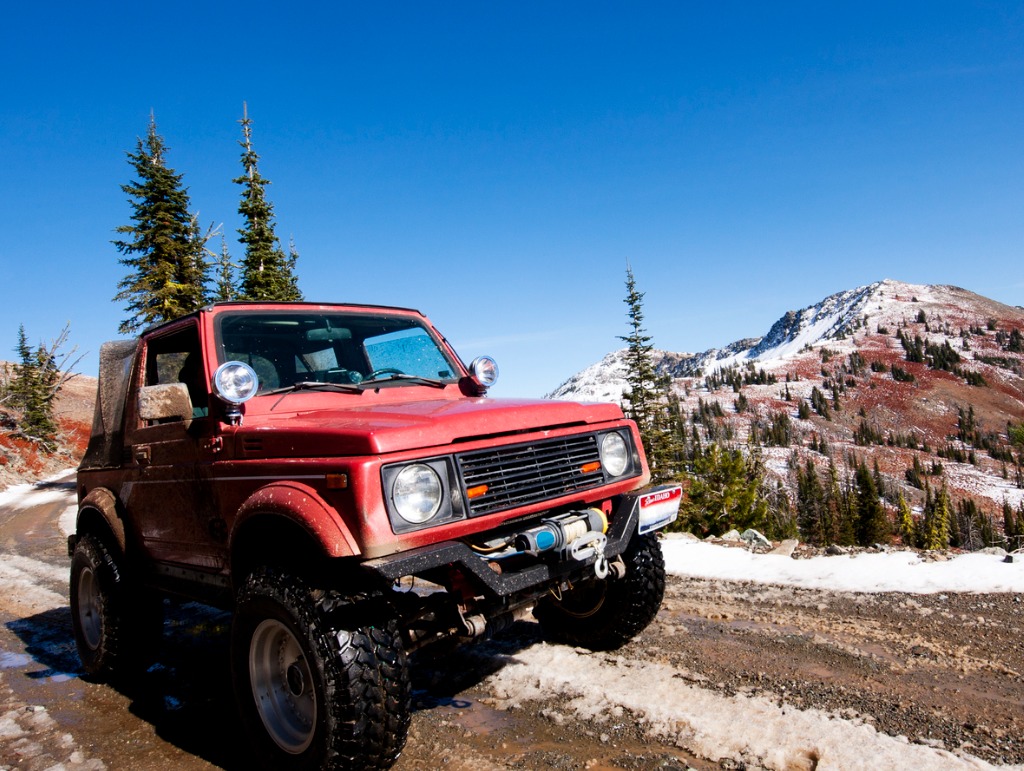
Photo by RonBailey via iStock
Automotive photography tips about camera settings can cover almost any exposure and lighting situation you could imagine. Automotive photography can find us shooting at night or in other low light, we could be in a desert, a showroom floor at a dealer, or our own driveway or garage.
The most important part of automotive photography tips concerning camera settings is to be prepared to adjust every setting manually. This includes focus as well as ISO, shutter speed, and lens aperture or f-stop.
You want to be in control of the ISO so you can maximize sharpness and reduce or eliminate digital noise. You want to be in control of shutter speeds so you can either freeze action or introduce motion blur. You need to be able to set lens aperture to make sure you have enough depth of focus and also to be able to use the lens’s sweet spot aperture. Shiny surfaces like a car finish can also play havoc with autofocus, so manually adjusting that is important as well.
How to Add Motion
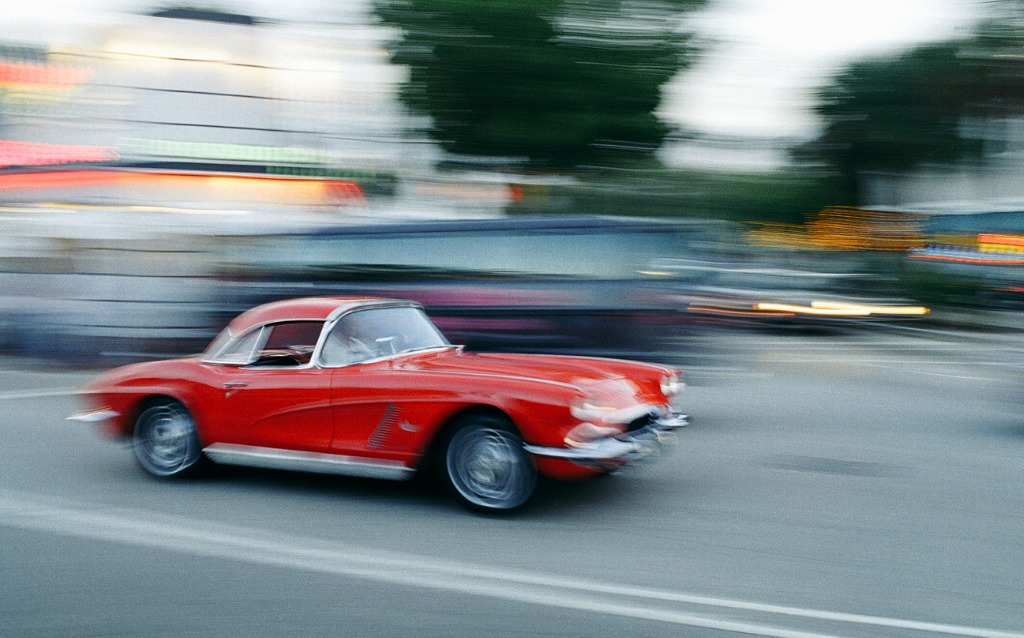
Photo by Mikkaphot via iStock
Incorporating motion effects can create interesting images. Panning with the action while using a long shutter speed is one of the basic automotive photography tips you can employ in your own photo shoots. A fluid head can help keep your subject lined up as you want it.
While we’re at it, composition techniques such as Rule of Thirds and Leading Lines can either enhance the feel of motion or reduce it, whatever it is you're intending. Negative Space combined with other techniques can add to the feel of an image, plus it can give room for any ad copy that a paying client may add to the image.
Photo by NeseriN via iStock
A chase vehicle and a good gimbal can help you make a different type of motion effect. Use the chase vehicle in front of the subject car and shoot back at it with a longish shutter speed. You may find yourself needing an exterior mount for the camera and triggering it remotely from inside the chase vehicle.
A feeling of motion, actually of potential motion, can be acheived by using a lower camera angle and the Negative Space composition tool. This seems to work exceptionally well for sports cars and full-size trucks.
Post-Processing Automotive Photography Tips

Photo by itsskin via iStock
Shooting in a RAW file format is the first and most important of the post-processing automotive photography tips. Without the extra color and exposure information in a RAW file compared to a JPEG, you won’t be able to enhance the final image as well as you may be needing or wanting.
We’re not talking Photoshop tricks (unless you want to use those) but rather making sure that you have the capability to pull out just what you need and balance highlights, midtones, shadow, and colors just enough to make an image the best it can be.
Photo by NiseriN via iStock
Again, we’re not talking about major changes usually, just tweaks, fixes, and enhancements. Using a full-featured program is necessary for getting everything out of a RAW file. A non-destructive editing program, such as Adobe Photoshop Lightroom, will make the processing easier and quicker.
It's important to note that once you process your images, your job isn't quite complete - you should select your best shot and have it made into a beautiful print!
I'm a huge advocate for printing your photos. It's a great way to celebrate your hard work and give others an opportunity to examine your photographic skills.
It's a great way to facilitate growth, too. When you see an image on screen, you might not notice certain triumphs or failures. But when that same image is a large-format print, those triumphs and failures are on full display.
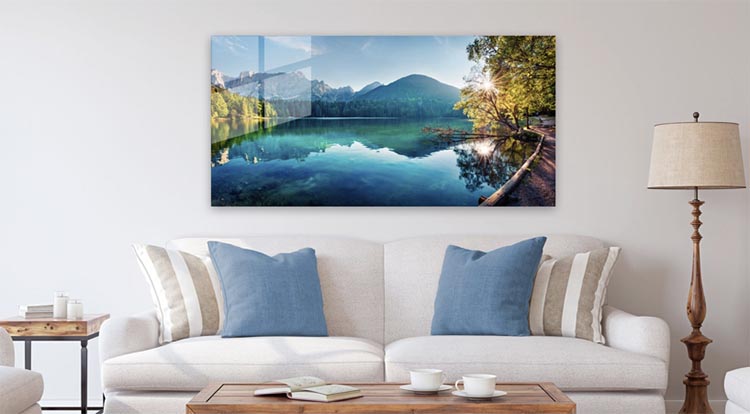
The key with getting large prints is to work with a company that's as committed to quality as you are. For that, I recommend Artbeat Studios.
I've worked with Artbeat Studios for years now, and have always been impressed with the quality of the prints I've gotten in the mail. For automotive prints, acrylic is an excellent choice as it has a luminous appearance that really brings the vehicle to life.
Artbeat Studios offers various sizes of HD acrylic prints, and gives you plenty of customization options in terms of wall mount, frame, and sizing. You can truly tailor the print to your specific needs so the image you select looks its best.
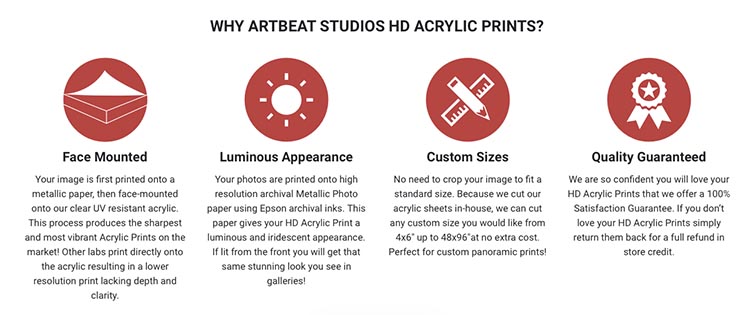
Best of all, Artbeat's process is second-to-none in terms of quality.
The image is printed on metallic paper, which is then face-mounted onto a clear acrylic that's UV resistant. This process generates a result that's incredible vibrant and sharp - just what you want for your automotive prints!
But don't take my word for it - head over to Artbeat Studios today to see for yourself!
Using these automotive photography tips will have you capturing images of cars, trucks, and motorcycles, as well as being able to use the same tips for photographing boats and airplanes, that can hold their own against those slick ads you’ve seen online. Try them out for yourself!