Easy & Effective Real Estate Photography Tips
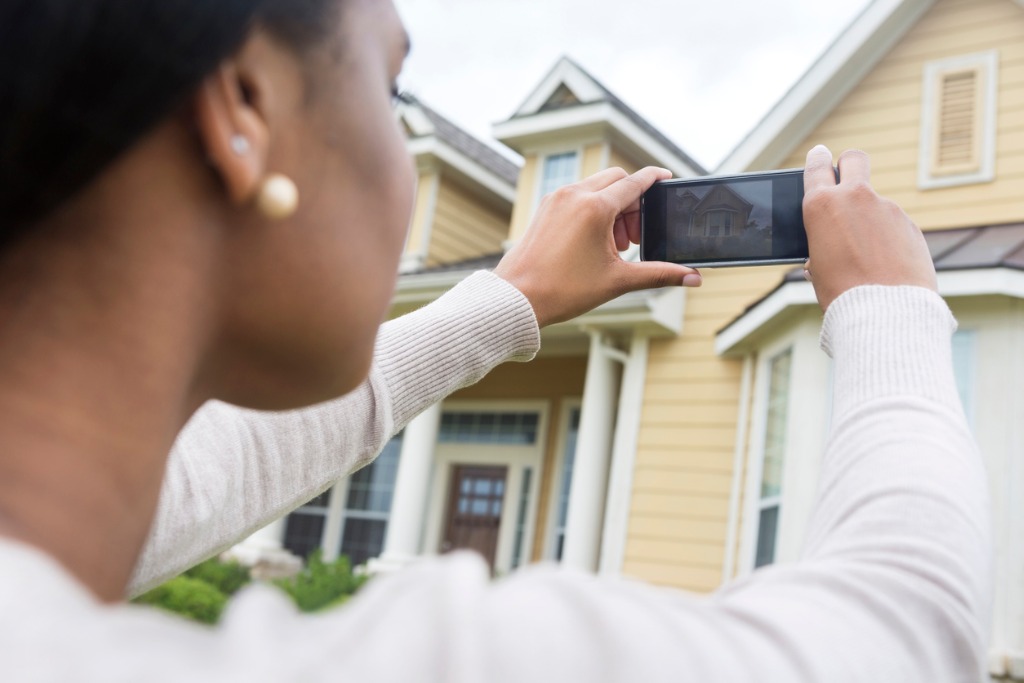
photo by SDI Productions via iStock
The housing market all across America is incredibly hot right now, which means you could be finding yourself in a spot where you’re needing tips for photographing real estate.
Whether you are selling your own home, or you’re starting to photograph real estate as a business, you need to follow some basic requirements to make sure that your photos are of a high enough quality to attract plenty of potential buyers.
If you’ve ever been on the other end of purchasing a house, then you know just how big a deal photos of properties are. I’ve personally passed on plenty of homes, whether I was looking to buy them or even just rent them, because the photos were cluttered, poorly lit, or worse, nonexistent.
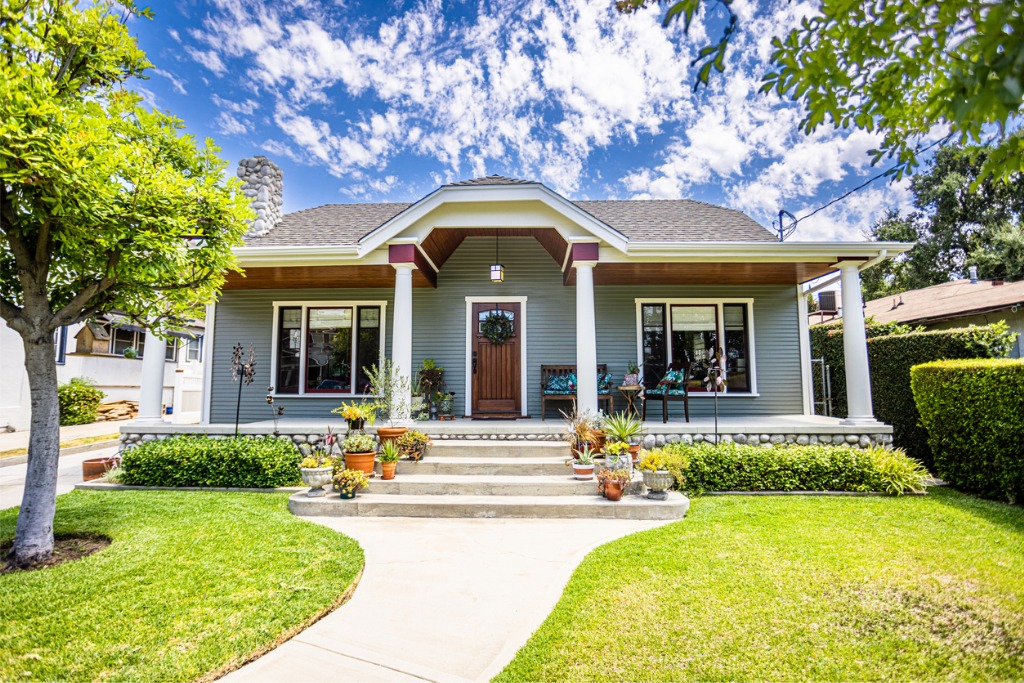
Tips for Photographing Real Estate: Strictly Use Natural Lighting
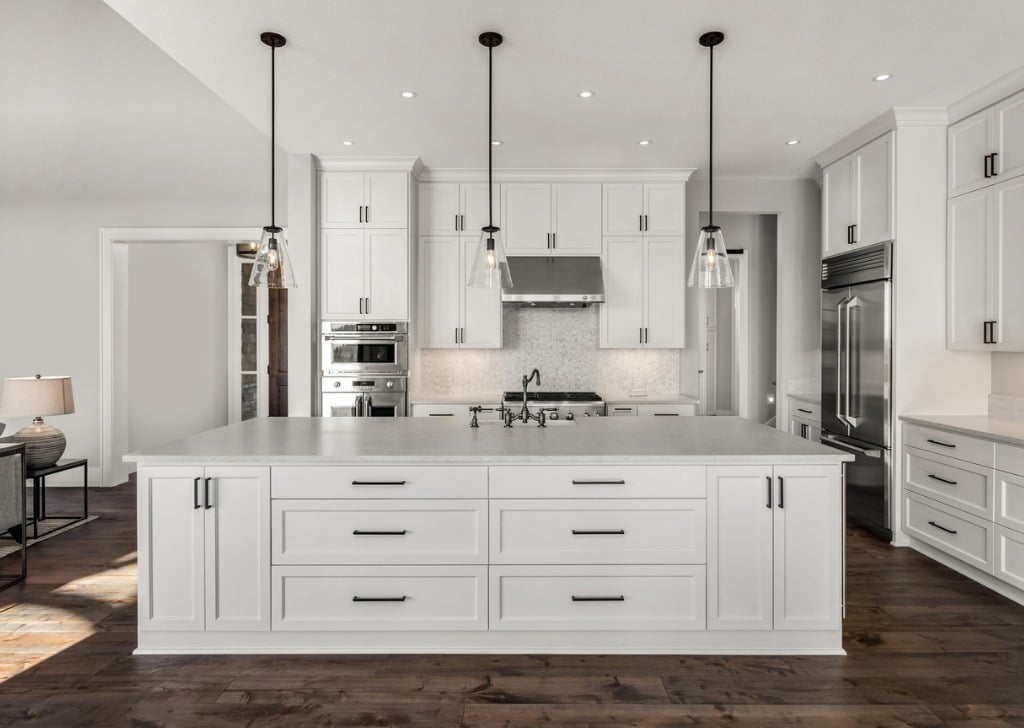
photo by hikesterson via iStock
This is one of the better known exterior real estate photography tips, but I think you can and should apply it to indoor real estate photos as well. You should always use natural lighting.
Of course, natural lighting just looks better than artificial lighting, but if you use artificial lighting you’re also setting yourself up for disaster while editing your photos later.
Think about it. If you use artificial lighting, then the chances are that each light bulb will be a different brightness and different color than other light bulbs in the house. This means you will have to go in during the editing process to try and make all of the lighting throughout the house look as if it is the same color.
Besides, artificial lighting can be harsh, create deep shadows, and it requires that you invest in a lighting system that you then have to set up and take down for each room in the house.
A much easier solution is to utilize HDR photography techniques. By bracketing the exposures, you can blend multiple images together to create an image that retains the details of the room throughout the dynamic range in the scene - including the view out of the windows! See how easy it is in the video below:
Setting up your camera to take bracketed exposures is simple and straightforward, too. And as the video above shows, the results are well worth it!
Tips for Photographing Real Estate: Beware of Distortion
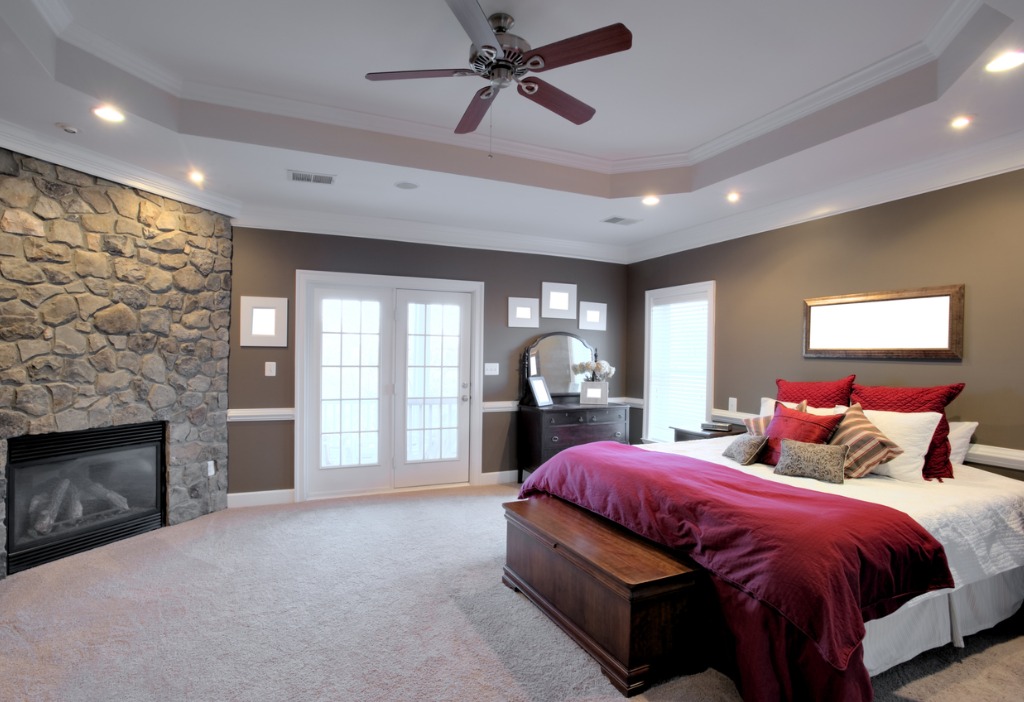
photo by Cardmaverick via iStock
ost photographers will use some type of a wide-angle lens when photographing real estate because wide-angle lenses make the space look larger. This isn’t always necessary, but if you’re shooting a rather small home, then it can make the home look more open and more appealing.
But, one thing that you have to consider is the fact that wide-angle lenses also distort the exact thing that the photographer is trying to sell: the house.
A wide-angle lens will distort features of the room, particularly at the edges. So, if you’re photographing a dining room that has a round table, and you use a wide-angle lens, the table will appear to be oval in shape.
Additionally, objects nearer the camera will be exaggerated in size while objects further away will be smaller than they actually are.
To help mitigate distortion, move the camera back as far as you can and zoom the lens in a little bit. If you use a full frame camera, try to keep the angle of view at 18mm or wider, at a minimum. If you’re using a crop sensor camera, don’t go wider than 12mm.
Learn More:
Tips for Photographing Real Estate: Keep Your Camera Low
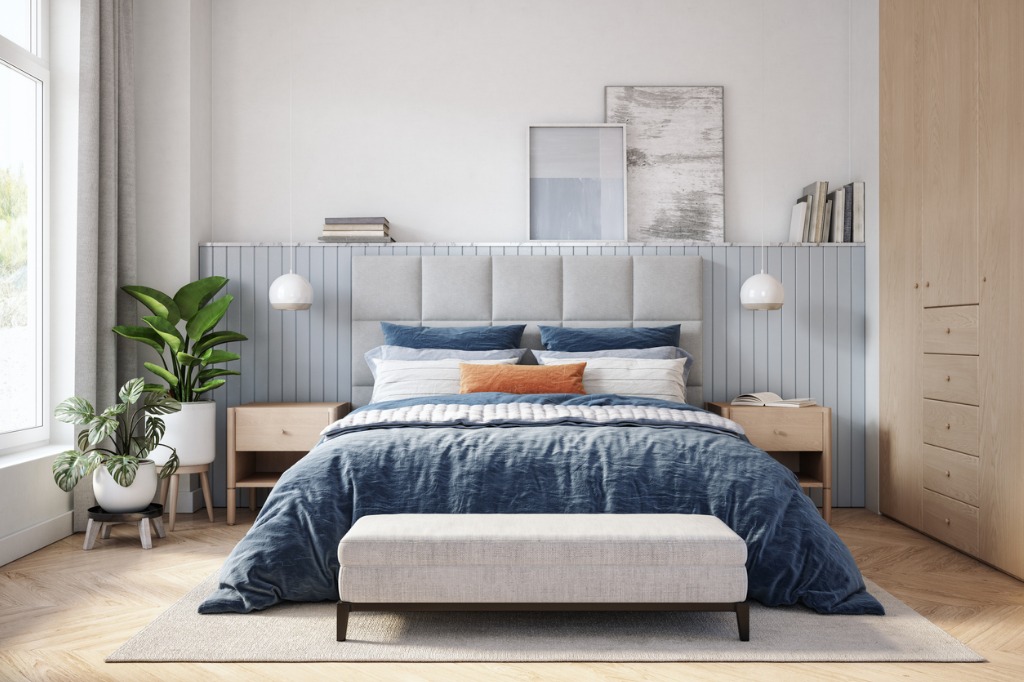
photo by CreativaStudio via iStock
A lot of real estate photographers recommend that you take real estate photos from an eye level or around 5.5 feet. This is so that each of your photos accurately represents what an average person will see when they’re walking through the house.
While this is a good recommendation, I do not always shoot at an eye level of 5.5 feet. I typically shoot my real estate photography closer to 4.5-5 feet in children’s rooms because the furniture is lower to the ground. Conversely, in areas like bathrooms, I bring the eye level up so potential buyers can see the countertops and fixtures on the vanity.
I’d say err on the side of having the eye level a little lower in most situations. This allows you to show potential buyers more of the flooring and less of the ceiling. And by and large, buyers care much more about what they’re walking on than what’s on the ceiling.
Tips for Photographing Real Estate: Photograph Small Details, Like Furniture
photo by AsiaVision via iStock
I was photographing a house sometime last year with one of those clients who is very hands on. He was there the entire time I was shooting. At times, he was trying to direct me. I would normally find this quite annoying, but he and I have a good working relationship and he has been flipping houses for decades, so he typically knows what he’s talking about.
Still, I was taking a photograph in the living room and was trying to frame the couch that had just been set up by the stagers. My client started telling me that I didn’t need to focus on the furniture, because the furniture wasn’t being sold with the house.
I personally believe that this was a huge mistake on his part, firstly because he spent thousands and thousands of dollars to stage that house, and secondly because photos of furniture in real estate photography help people to imagine themselves in that space.
I always recommend that you take the time to take photos of all the details of a space, even if some of those details aren’t for sale. It helps build a story of the home - one that potential buyers can better envision themselves being a part of.
Tips for Photographing Real Estate: Use a Tripod
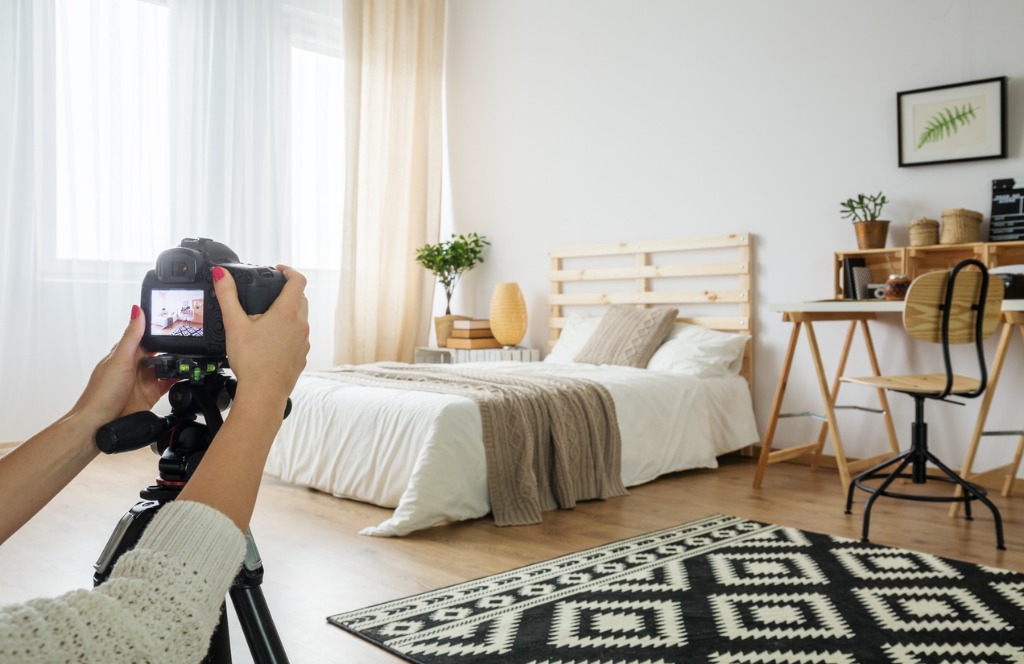
photo by KatarzynaBialasiewicz via iStock
I always find it really frustrating when a homeowner takes a ton of time learning how to photograph their homes for sale, reading all about spring cleaning tips for real estate photography, and then they don’t use a tripod while they’re shooting the photos.
It honestly doesn’t matter if the house looks incredible if the photos you’re going to take of the home aren’t.
By using a tripod, you’re giving yourself a greater ability to take high-quality photos. You won’t have to worry about handshake, plus to utilize HDR techniques like bracketing exposures, a tripod is essential for getting multiple exposures that are framed up in the exact same manner.
Use these tips to improve your real estate photography, and I think you’ll find that the homes you photograph have more interest from potential buyers.