How to Control Depth of Field With a Neutral Density Filter
- Depth of Field Explained
- Landscape Photography Primer: Getting Sharp Images With Depth of Field and Hyperfocal Distance
- Want Better Landscape Photos? Invest in Neutral Density Filters
- A Complete Guide on How to Use Neutral Density Filters
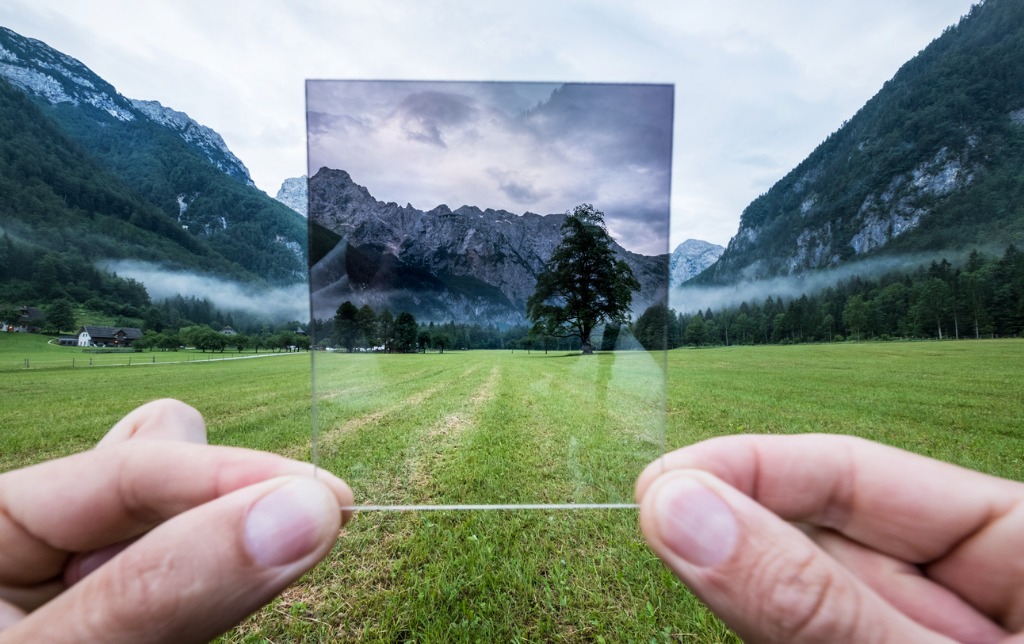
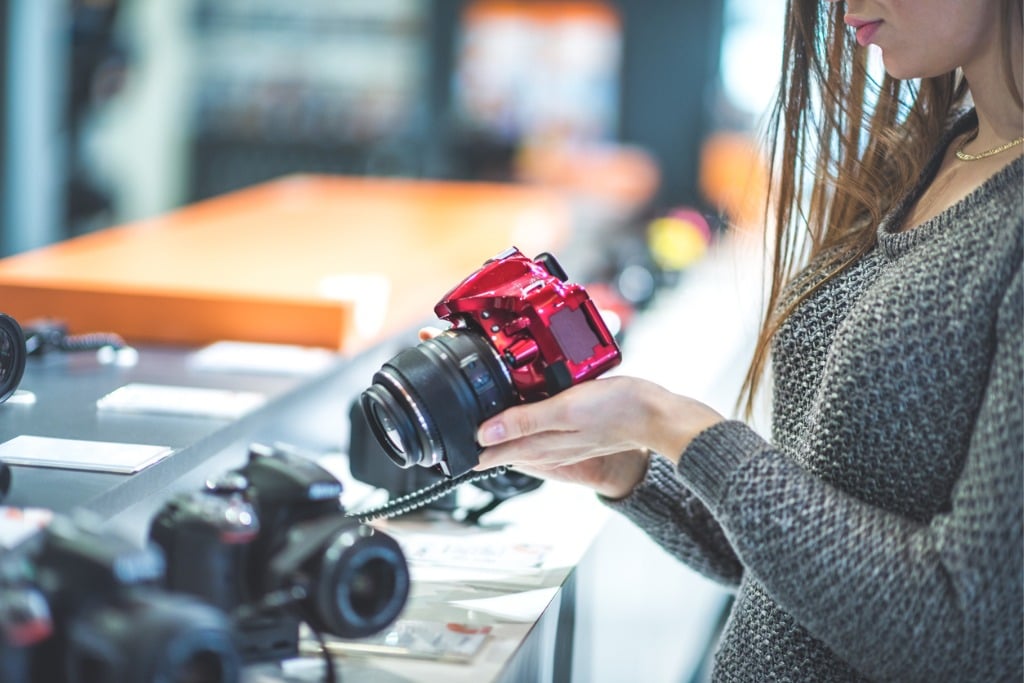
photo by Solovyova via iStock
Depth of field is a well-used and sometimes misunderstood phenomenon and technique for beginner and advanced photography. It’s also quite useful in videography.
In my beginner photography tips, I include a depth of field discussion as one of the first things to learn. Knowing how to control depth of field can set your photos apart from average snapshots. It can be used in multiple ways, from shallow depth to deep and everything in between.
What Is Depth of Field?

photo by krblokhin via iStock
Simply said, depth of field in photography and videography describes how much is in focus and out of focus in the recorded scene. Lens aperture, lens focal length, and the focusing distance all contribute to the calculations for figuring out depth of field.
Interestingly, you can use other photography gear to control depth of field. Such as lights, flash units, and neutral density filters. This is because depth of field is one of the functions of the lens aperture or f-stop. That same aperture is also involved in exposure calculations, being one-third of the Exposure Triangle, and we can adjust that triangle by adding or subtracting light to the exposure or recording..
Since some exposure variables are a little harder to control for video, we’ll also give some helpful tips, such as how to use a neutral density filter or other photography gear, that can be used in videography as well as for still imaging.
Deep or Shallow?
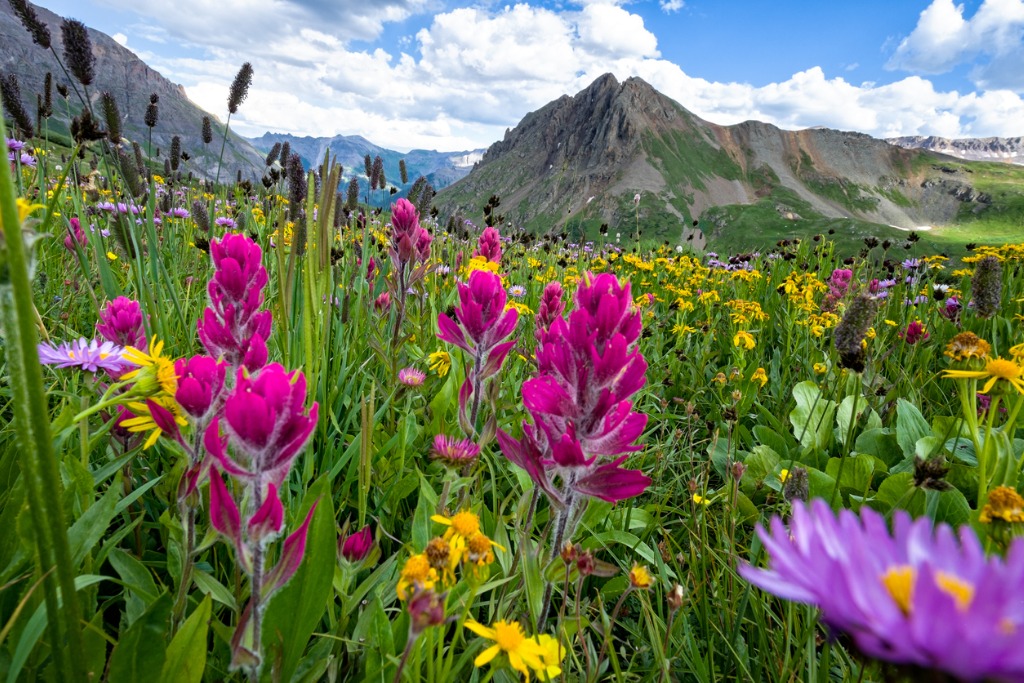
photo by Adventure_Photo via iStock
Depth of field can be used very creatively. We can control it to deliver very deep depth of field, lots of stuff in focus, or very shallow depth, only a few things in focus.
With any lens, the smaller the aperture, which is represented in our calculations by a larger f-stop number, the more things in front of and behind what we actually focused on will be in focus. As a general rule, depth of field will usually extend from around 1/3rd in front of to 2/3rds behind our focus distance.
As a smaller aperture provides more things in focus, a larger aperture, represented by a smaller f-stop number, gives us less things in focus at that focusing distance. is shallow depth of field, also called selective focus.

photo by rez-art via iStock
How you use these depth of field properties is a creative choice as you craft your photo. In order to isolate a subject from the surroundings, such as in a portrait, we want selective focus, shallow depth of field. To create an all-encompassing view, such as in a landscape, we might opt for a very deep depth of field.
Lens focal length, the camera format size, and the actual focusing distance also factor in calculating depth of field. You might want to look at some of our depth of field tutorials for an in depth (ha!) and technical discussion.
Learn More:
Adding and Subtracting Light

photo by recep-bg via iStock
Since the lens aperture is also an exposure control, sometimes we may get stuck with an inappropriate f-stop for what we’re trying to do because of the light levels in the scene.
We could change one or both of the other controls in our Exposure Triangle, the shutter speed or the ISO, in order to achieve an aperture that will supply our intended depth of field. Sometimes, though, we get a little stuck because the scene is just a little too light or dark or because of equipment limitations.
If we can’t adjust our equipment to get the settings we want, then we could try to change the brightness level of the scene. This method is especially valuable for videography, since our shutter speed adjustment is limited by the frame rate of our video recording.
Professional cinematographic digital cameras have an extra control in the rotary shutter. Our dual-use DSLR or mirrorless may have an electronic adjustment that mimics this control, but many of our beginner and intermediate cameras won’t.
Artificial Light
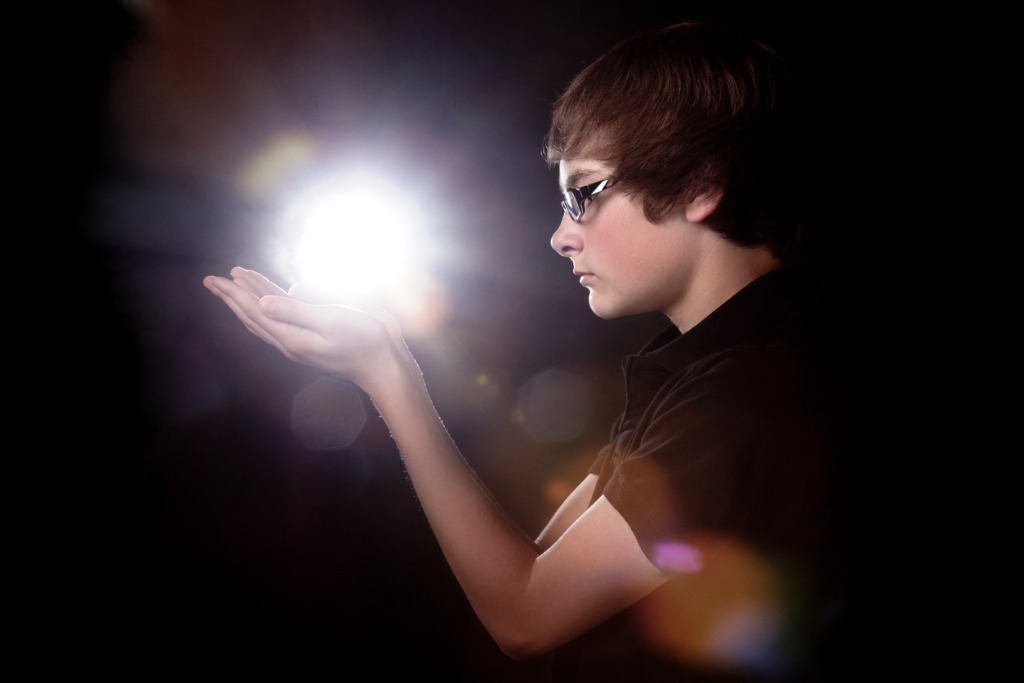
photo by DaydreamsGirl via iStock
Adding light in a controllable and predictable way is accomplished with electronic stones or flash units for still photography, or with some form of continuous light, such as an LED panel or a softbox for either video recordings or still photos.
Strobe and flash are just different ways of saying the same thing, a momentary and controlled burst of light. Colloquially, photographers tend to label the larger studio flash units as strobes, while the small, on camera, battery-powered versions are called flash units or speedlites.
The way we control depth of field with artificial lighting is to use the artificial light to bump up the overall exposure level of the scene. Without the added artificial light, our shutter speed may end up too slow or the lens aperture too wide for our creative vision.
Adding the lighting allows us to close down the lens aperture so that we can have a deeper depth of field for the final image or in the video recording. What’s nice about many of the current videography and photography gear for lighting is that they are variable in power output and some even tie in to our camera’s exposure meters.
Artificial Darkness

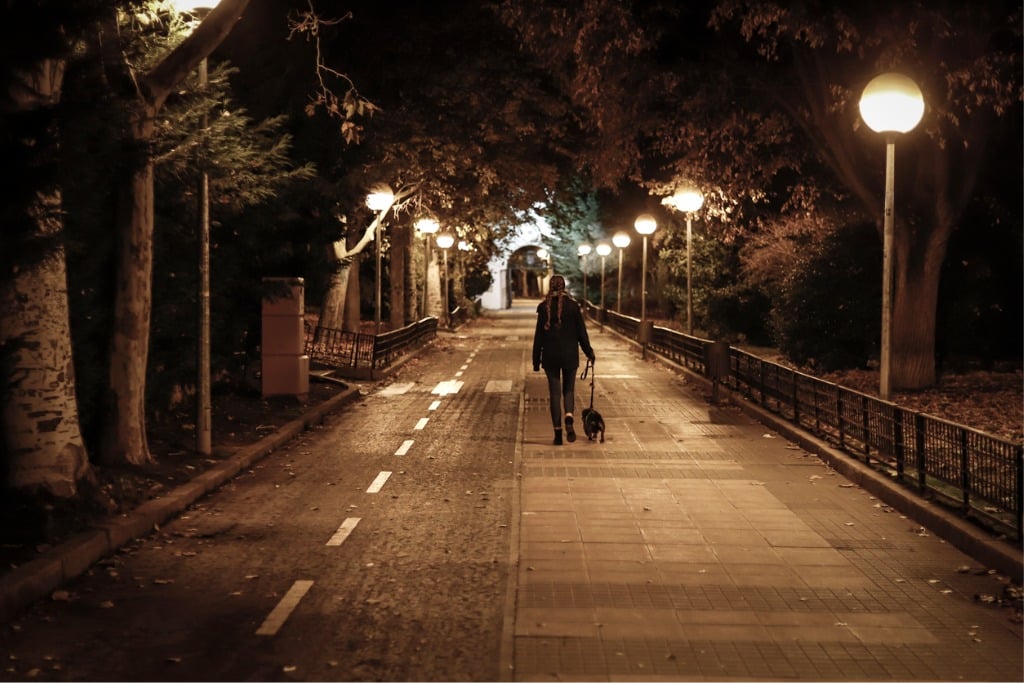
photo by tigristiara via iStock
Our exposure calculation issues may trend the other direction. For instance, the light intensity of the scene is higher than we want for letting us use a wide lens aperture for selective focus (shallow depth of field) or gives us too high a shitter seed or video frame rate.
The faster shutter speed may be much of an issue, but the faster frame rate in video can drastically alter the look and feel of the final recording. Whenever a video seems odd-looking to a viewer, it’s usually because of frame rates.
So, we can either block out the Sun, turn off the stadium lights, or add a neutral density lens filter to the optical path. Photography gear such as a filter holder system is a great way to take advantage of the multiple other types of neutral density filters, such as graduated neutral density. Single glass filters for neutral density may be more practical for your needs, both options are usable and high quality.
A neutral density filter on the lens is like adding darkness to our exposure triangle calculations, or subtracting light from the optical path to the camera sensor. In regular glass filter mounts, variable density filters can be found, while with filter holder systems, we can use multiple or different strengths at the same time.
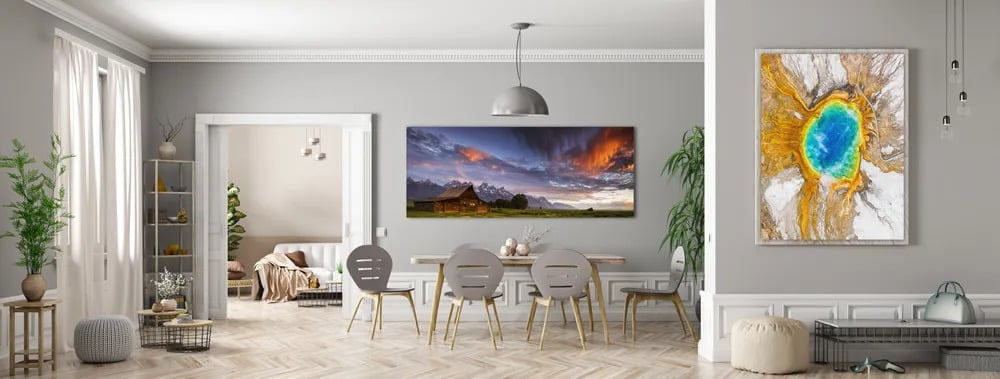
You’re In Control

photo by demaerre via iStock
There are many ways to control depth of field, exposure, video frame rate, and other important factors for still photography and videography.
Such as in controlling depth of field, which always brings lens aperture first and foremost to our minds. Rightly so, but there are other methods we can use to get the results we want. Try them out and see what goes into your own bag of tricks.
Learn More: